はじめに
Part-2では自分のPC(Windows10)を接続してみましたが、今回は自分のPC上で稼働しているLinux(CentOS7 on VirtualBOX)を接続してみます。
参考
Linux コンピューターを Log Analytics に接続する
Operations Management Suite Agent for Linux Public Preview (2016-07)
関連ページ
AzureのLog Analyticsを使う Part-1
AzureのLog Analyticsを使う Part-2
1.OMS Agent for Linux のインストール
$> wget https://github.com/Microsoft/OMS-Agent-for-Linux/releases/download/v1.1.0-217/omsagent-1.1.0-217.universal.x64.sh
$> sha256sum ./omsagent-1.1.0-217.universal.x64.sh
$> sudo sh ./omsagent-1.1.0-217.universal.x64.sh --upgrade -w <YOUR OMS WORKSPACE ID> -s <YOUR OMS WORKSPACE PRIMARY KEY>
で普通にエージェントのインストールと起動までは確認できた。でもOMSポータルを見ててもまったく反応がなかったので、
https://github.com/Microsoft/OMS-Agent-for-Linux/blob/master/docs/Troubleshooting.mdのI'm not seeing any Linux data in the OMS Portalを参照しいくつかチェックしたところ、
/etc/opt/microsoft/omsagent/conf/omsagent.conf
は存在し、
/etc/opt/microsoft/omsagent/conf/omsadmin.conf
が存在しなかったので、
OMS-Agent-for-Linux.md - Onboarding using the command lineを参照し、以下のコマンドで再起動しました。
$> service omsagent stop
$> cd /opt/microsoft/omsagent/bin
$> sudo ./omsadmin.sh -w <WorkspaceID> -s <Shared Key>
$> service omsagent start
2.OMSの設定
OMSはDATAの所でLinux Performance countersを設定します。すべてのチェックボックスにチェックを付けて「Add the selected performance counters 」をクリックし左上のSaveをクリックします。

3.OMSでログの確認
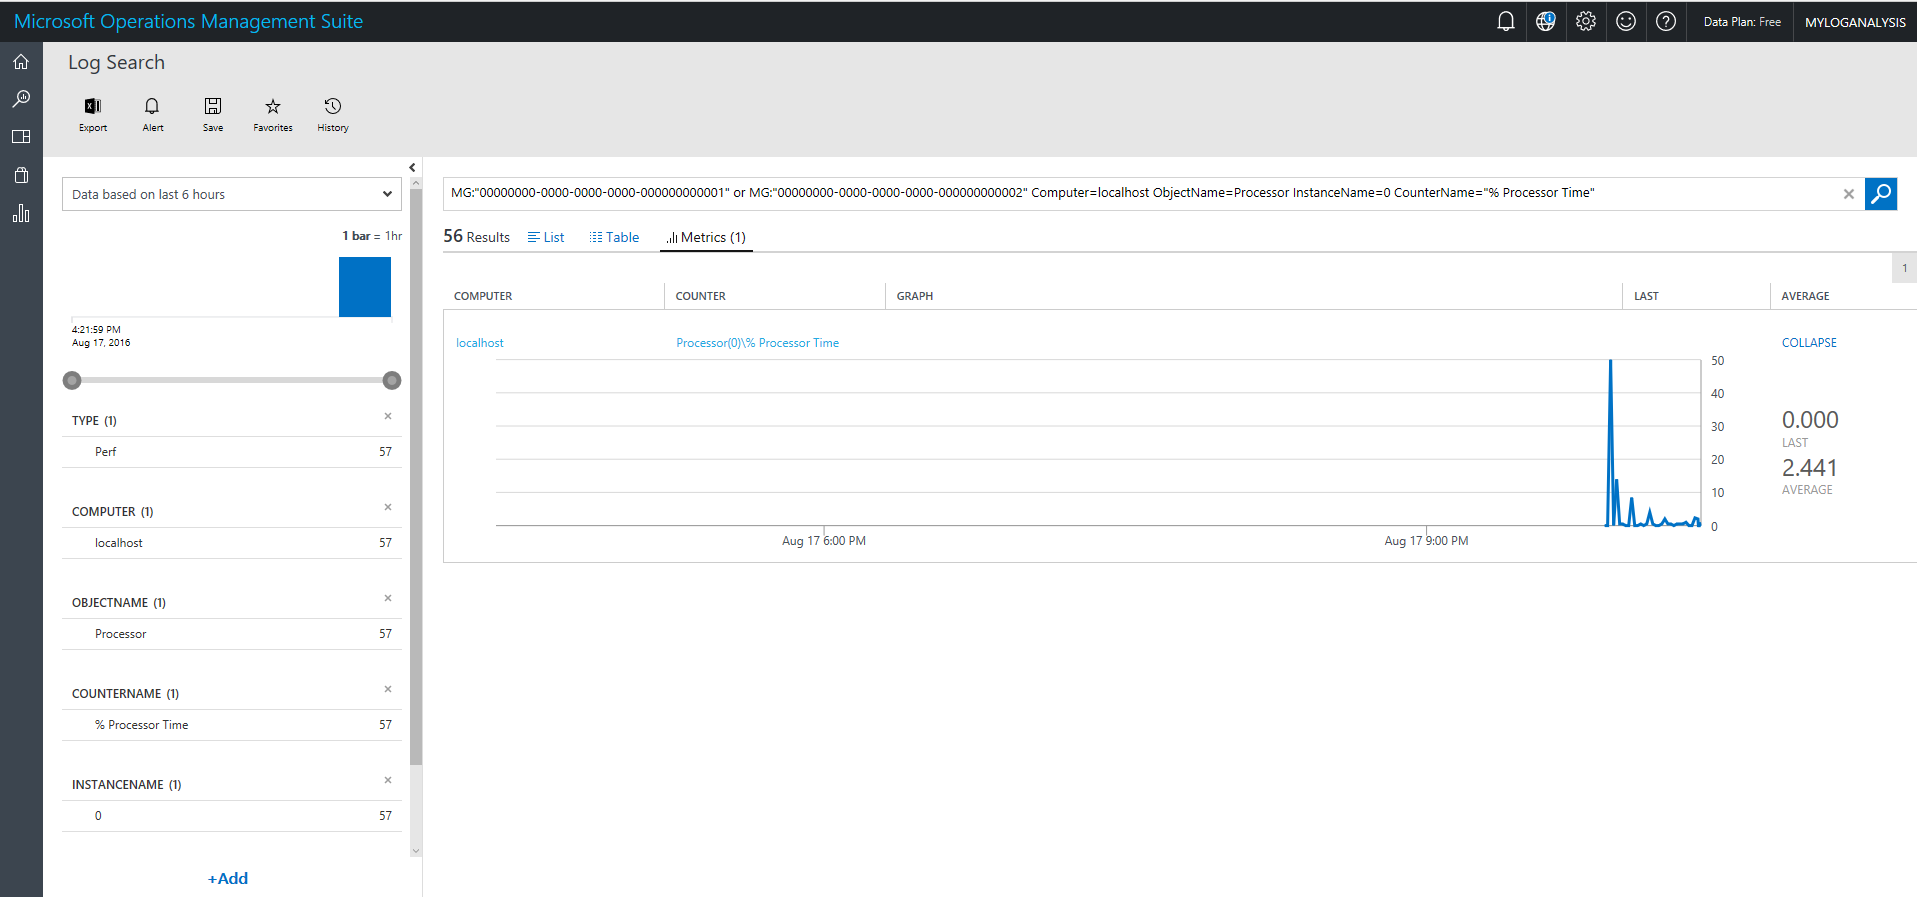
Linux側の設定が少し悪いのかHost名がlocalhostになっていますが、ひとまずログの収集ができるようになりました。
という感じで今回は終了です。