対象機種
OS Mac OSX(Yosemite)
Raspberry Pi Type B 512MB
http://www.amazon.co.jp/dp/B00CBWMXVE
OSのダウンロードとzipの展開
とりあえず、公式から最新バージョンのOSをダウンロード
http://www.raspberrypi.org/downloads/
SDカードを挿して、カードの場所を調べておく。
$ diskutil list
/dev/disk0
   #:                       TYPE NAME                    SIZE       IDENTIFIER
   0:      GUID_partition_scheme                        *750.2 GB   disk0
   1:                        EFI                         209.7 MB   disk0s1
   2:          Apple_CoreStorage                         749.3 GB   disk0s2
   3:                 Apple_Boot Recovery HD             650.0 MB   disk0s3
/dev/disk1
   #:                       TYPE NAME                    SIZE       IDENTIFIER
   0:                  Apple_HFS Macintosh HD           *748.9 GB   disk1
                                 Logical Volume on disk0s2
                                 33656199-1C39-4C86-8C14-9547ACDC60F4
                                 Unencrypted
/dev/disk2
   #:                       TYPE NAME                    SIZE       IDENTIFIER
   0:     FDisk_partition_scheme                        *15.5 GB    disk2
   1:                 DOS_FAT_32                         15.5 GB    disk2s1
SDカードをアンマウント
SDカードはアンマウントしておきます。アンマウントする場所はdiskutilで表示された場所今回の例だと/dev/disk2とします。
(df -hで表示された/dev/disk2s1でもアンマウントできます)
もしくは、Finderから取り外して下さい。
2016/02/28追記:
Finderから取り出すとディスク自体が見えなくなるので、以下のコマンドが正しいようです。
$ sudo diskutil umount /dev/disk2s1
2016/02/28追記ここまで。
$ sudo diskutil unmountDisk /dev/disk2
SDカードへのimgの書き込み
ddコマンドでSDカードに書き込みます。
パスを間違えるとデータが消えるなどの大ダメージとなる可能性があるので気をつけて下さい。
ddコマンドのフォーマットは
dd if=[書き込むimgファイルのパス] of=[書き込み先のパス] bs=[blockサイズ]
という感じです。が、bsの指定は必要なんだろうか…?
書き込み先のパスは今回の例だと/dev/disk2となります。
$ sudo dd bs=1m if=/Users/yokoyama/Desktop/2014-12-24-wheezy-raspbian.img of=/dev/disk2
Password:
3125+0 records in
3125+0 records out
3276800000 bytes transferred in 2784.822319 secs (1176664 bytes/sec)
公式のドキュメントだと、bs=1mの指定が最初になっているのですが、色々なサイトを見ていると、最後に指定していました。最後に指定した時は、実行すると正しく書き込めなかったので、公式のドキュメント通りにやっておいたほうがいいのでしょう。
(オプションの順番で書き込みができる/できないが変わるとは思えないけど…。)
もしくは、再実行したら書き込みが成功するのか…?
正しく書き込めたかどうかの確認
失敗例
以下のように"end of device"と表示されていたら失敗していますので、書き込み直して下さい。
$ sudo dd if=/Users/yokoyama/Desktop/2014-12-24-wheezy-raspbian.img of=/dev/disk2s1 bs=1m
Password:
dd: /dev/disk2s1: end of device
57+0 records in
56+1 records out
58724352 bytes transferred in 52.123976 secs (1126628 bytes/sec)
Mac上での確認
正しく書き込めていると、(私の環境の場合)bootというディスクがマウントされていました。(Finderに表示された)何も気にせずSDカードを抜くと、「不正な取り出し」というメッセージが表示されるので、何も表示されていない場合は書き込みが失敗しているか、書き込み先のパスが間違っている可能性が高いので確認してみてください。
初回電源投入時の確認
Raspberry PiにSDカードを挿して、電源を投入した時にRaspberry Piの基板にあるランプが複数点灯します。もし、赤1色だったらbootに失敗しています。書き込み直して下さい。
最初のログイン
とりあえず、sshでログインします。
デフォルトで、ユーザ:pi、パスワード:raspberryが設定されているのでそれでログイン。
$ ssh pi@[Raspberry Piのアドレス]
pi@[Raspberry Piのアドレス]'s password:
Linux raspberrypi 3.12.35+ #730 PREEMPT Fri Dec 19 18:31:24 GMT 2014 armv6l

The programs included with the Debian GNU/Linux system are free software;
the exact distribution terms for each program are described in the
individual files in /usr/share/doc/*/copyright.

Debian GNU/Linux comes with ABSOLUTELY NO WARRANTY, to the extent
permitted by applicable law.

NOTICE: the software on this Raspberry Pi has not been fully configured. Please run 'sudo raspi-config'

pi@raspberrypi ~ $
GUIを使えるようにしておく
pi@raspberrypi ~ $ sudo apt-get install tightvncserver
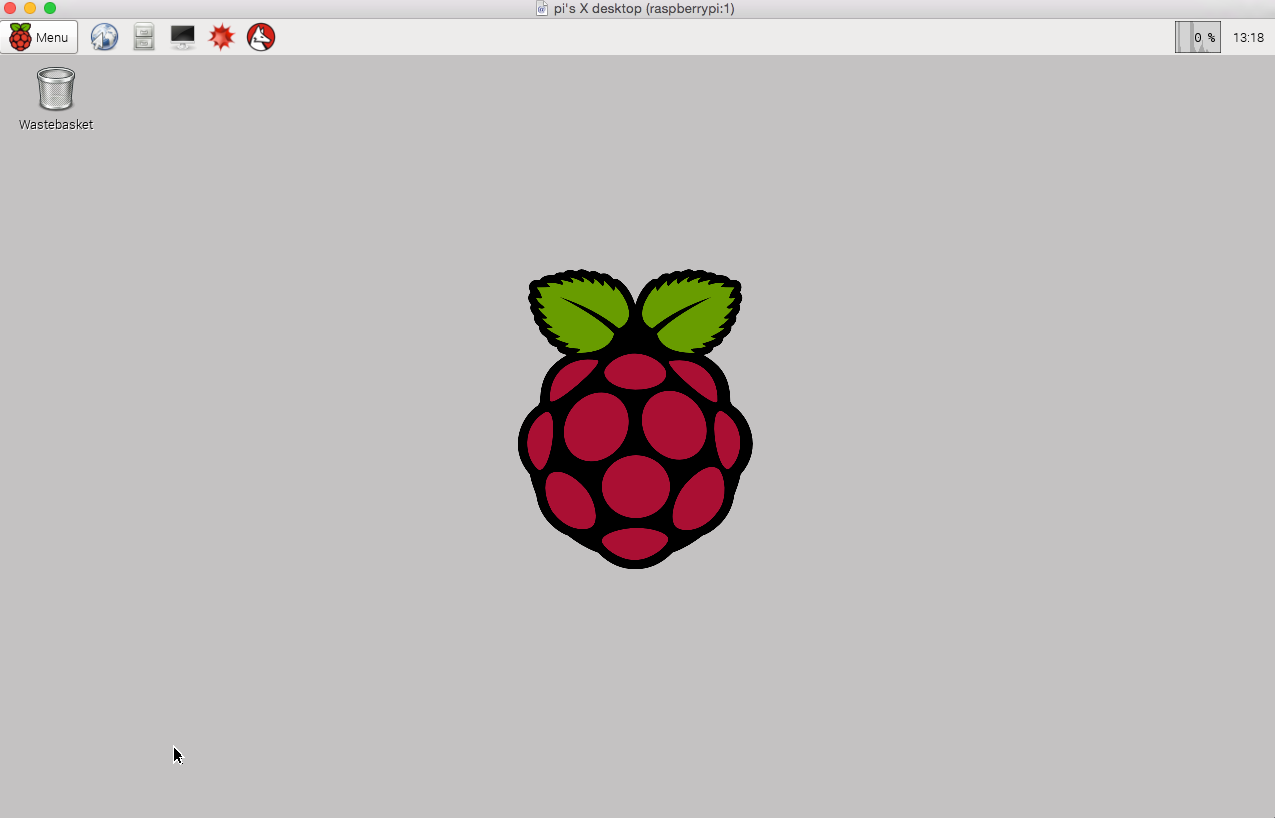
vncでも接続できました。
参考サイト
http://qiita.com/jh3rox/items/684ba1e746a6a3763b5c
http://d.hatena.ne.jp/Michael_e29/20140701/1404181242
http://www.lifehacker.jp/2013/02/130226raspberry_pi_guide.html
http://www.raspberrypi.org/documentation/installation/installing-images/mac.md
Disclaimer
- この記事は個人的なものです。私の雇用者とは全く関係はありません。(一応つけておきます)
