初めに
前回はLambdaのみだったので、API Gatewayも使用して、Http経由でLambdaファンクションの実行を試してみます。
API Gatewayでstageがどう扱われるのかも気になってましたしね。
以下の記事は、前回に引き続いての内容になっています。
Lambda + API Gateway
APIのendpointの作成
公式ドキュメントに従い、以下のように追記します。
functions:
  hello:
    handler: handler.hello
    events:
      - http:
          path: message/hello
          method: get
早速、deployしてみましょう。
$ serverless deploy
Serverless: Packaging service...
Serverless: Uploading CloudFormation file to S3...
Serverless: Uploading service .zip file to S3...
Serverless: Updating Stack...
Serverless: Checking Stack update progress...
.......................
Serverless: Stack update finished...

Service Information
service: my-service
stage: dev
region: ap-northeast-1
endpoints:
  GET - https://XXXXXXXXXX.execute-api.ap-northeast-1.amazonaws.com/dev/message/hello
functions:
  my-service-dev-hello: arn:aws:lambda:ap-northeast-1:XXXXXXXXXXXX:function:my-service-dev-hello
はい、もう出来ちゃってます。
早速、呼び出してみましょう。
$ curl https://XXXXXXXXXX.execute-api.ap-northeast-1.amazonaws.com/dev/message/hello | jq .
・・・
{
  "message": "Go Serverless v1.0! Your function executed successfully!",
  "event": {
    "body": {},
    "stageVariables": {},
    "principalId": "",
    "headers": {
      "Via": "1.1 XXXXXXXXXXXX.cloudfront.net (CloudFront)",
      "CloudFront-Is-Desktop-Viewer": "true",
      "CloudFront-Is-SmartTV-Viewer": "false",
      "CloudFront-Forwarded-Proto": "https",
      "X-Forwarded-For": "XX.XX.XXX.XXX, XXX.XXX.XXX.X",
      "CloudFront-Viewer-Country": "JP",
      "Accept": "*/*",
      "User-Agent": "curl/7.43.0",
      "Host": "XXXXXXXXXX.execute-api.ap-northeast-1.amazonaws.com",
      "X-Forwarded-Proto": "https",
      "X-Amz-Cf-Id": "XXXXXXXXXXXXXXX",
      "CloudFront-Is-Tablet-Viewer": "false",
      "X-Forwarded-Port": "443",
      "CloudFront-Is-Mobile-Viewer": "false"
    },
    "path": {},
    "query": {},
    "method": "GET",
    "identity": {
      "apiKey": "",
      "userArn": "",
      "cognitoAuthenticationType": "",
      "caller": "",
      "userAgent": "curl/7.43.0",
      "user": "",
      "cognitoIdentityPoolId": "",
      "cognitoIdentityId": "",
      "cognitoAuthenticationProvider": "",
      "sourceIp": "XX.XX.XXX.XXX",
      "accountId": ""
    },
    "stage": "dev"
  }
}
API Gateway経由で、Lambdaファンクションが実行され、HTTPのレスポンスとして、結果を取得できているのが確認できます。
簡単ですね。
APIキーの設定
次はAPIキーを設定し、APIキーが正しい場合のみ、レスポンスを返すようにしてみましょう。
こちらも公式ドキュメントに従い、以下のように追記します。
service: my-service

provider:
  name: aws
  runtime: python2.7
  region: ap-northeast-1
  apiKeys:
    - myServiceKey

functions:
  hello:
    handler: handler.hello
    events:
      - http:
          path: message/hello
          method: get
          private: true
再デプロイ
$ serverless deploy
Serverless: Packaging service...
Serverless: Removing old service versions...
Serverless: Uploading CloudFormation file to S3...
Serverless: Uploading service .zip file to S3...
Serverless: Updating Stack...
Serverless: Checking Stack update progress...
.................
Serverless: Stack update finished...

Service Information
service: my-service
stage: dev
region: ap-northeast-1
endpoints:
  GET - https://XXXXXXXXXX.execute-api.ap-northeast-1.amazonaws.com/dev/message/hello
functions:
  my-service-dev-hello: arn:aws:lambda:ap-northeast-1:XXXXXXXXXXXX:function:my-service-dev-hello
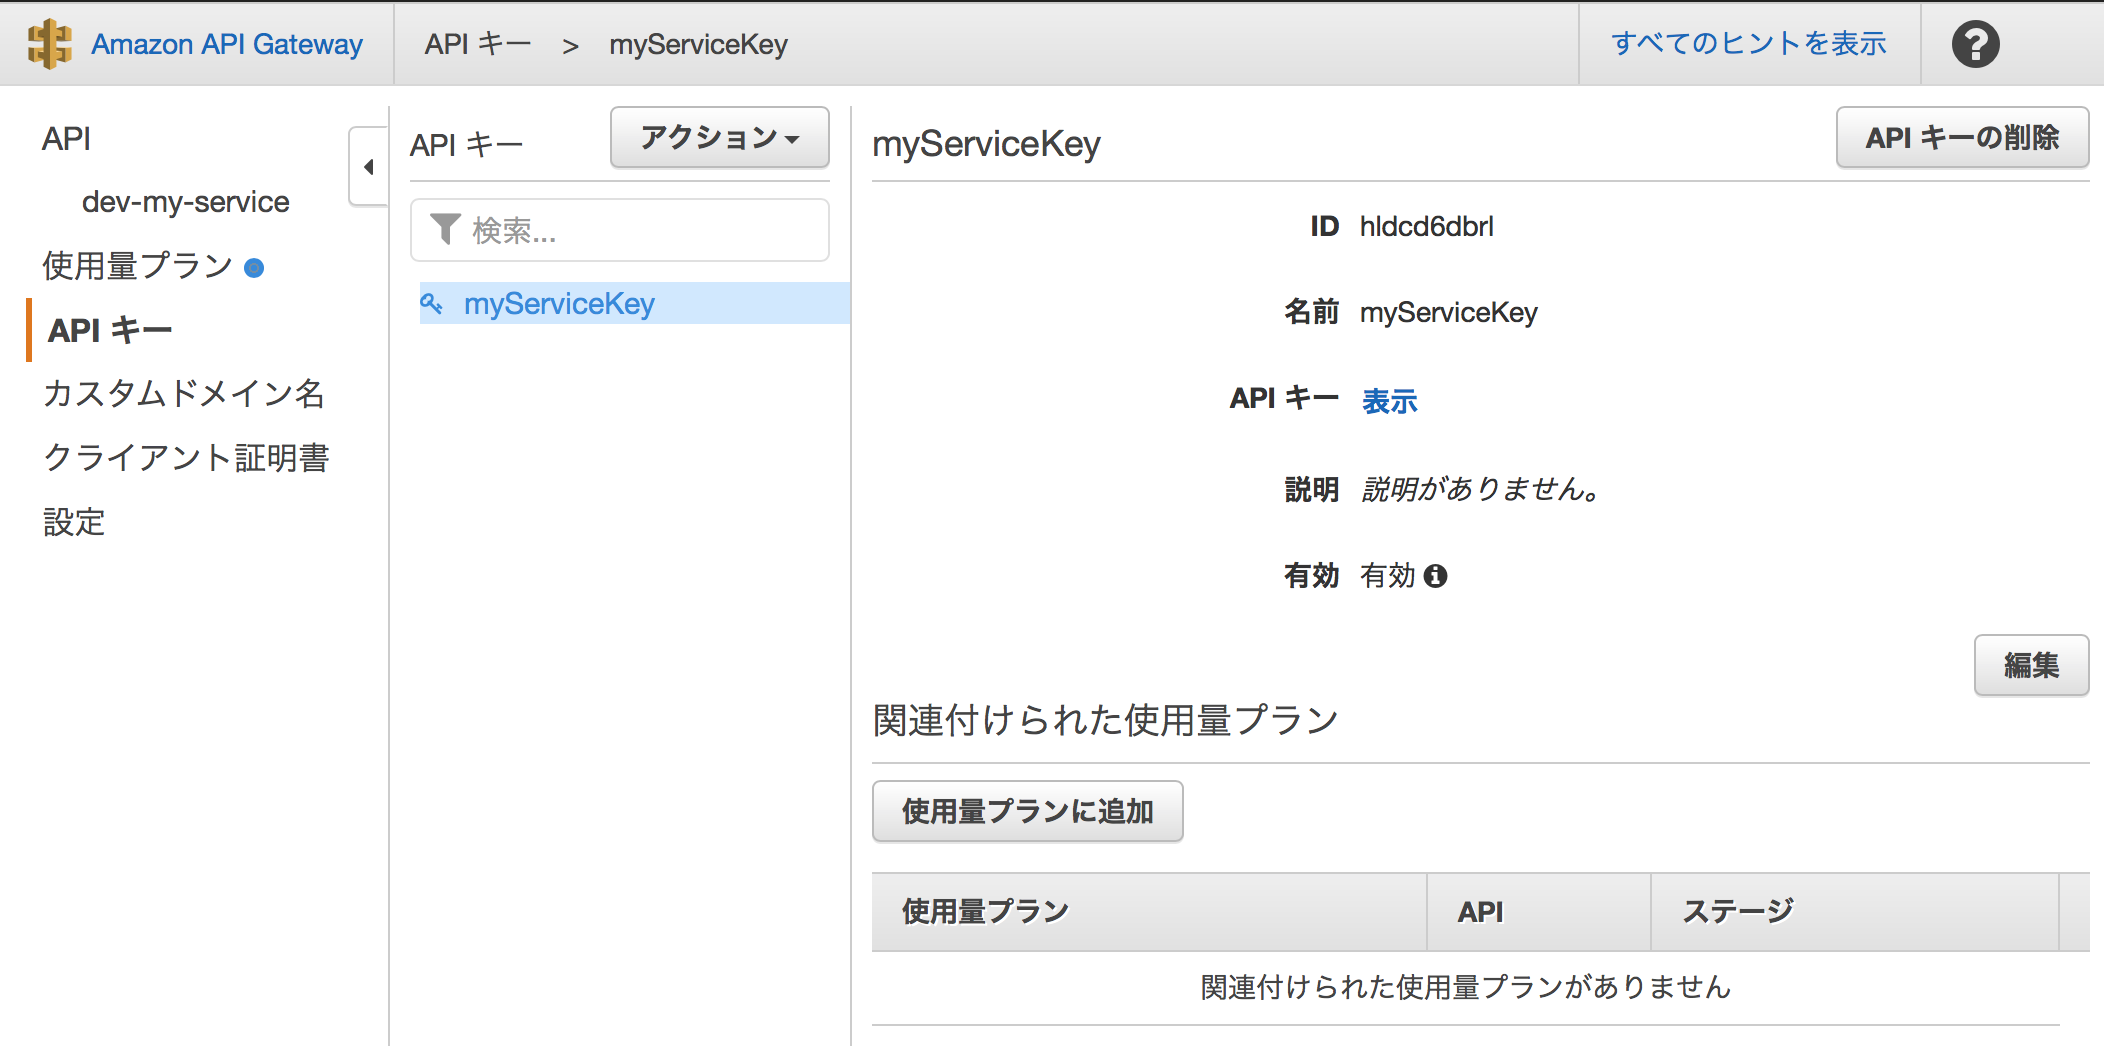
AWSコンソールからもAPIキーが作成されていることが確認できます。
先ほどと同じ、リクエストを実行してみると
$ curl https://XXXXXXXXXX.execute-api.ap-northeast-1.amazonaws.com/dev/message/hello | jq .
・・・
{
  "message": "Forbidden"
}
Lambdaファンクションの実行結果ではないものがレスポンスされました。
続いて、APIキーを指定して、実行してみます。
$ curl https://XXXXXXXXXX.execute-api.ap-northeast-1.amazonaws.com/dev/message/hello --header 'x-api-key: XXXXX' | jq .
・・・
{
  "message": "Forbidden"
}
あれ。。。APIキー間違ってないのにどうして。。。
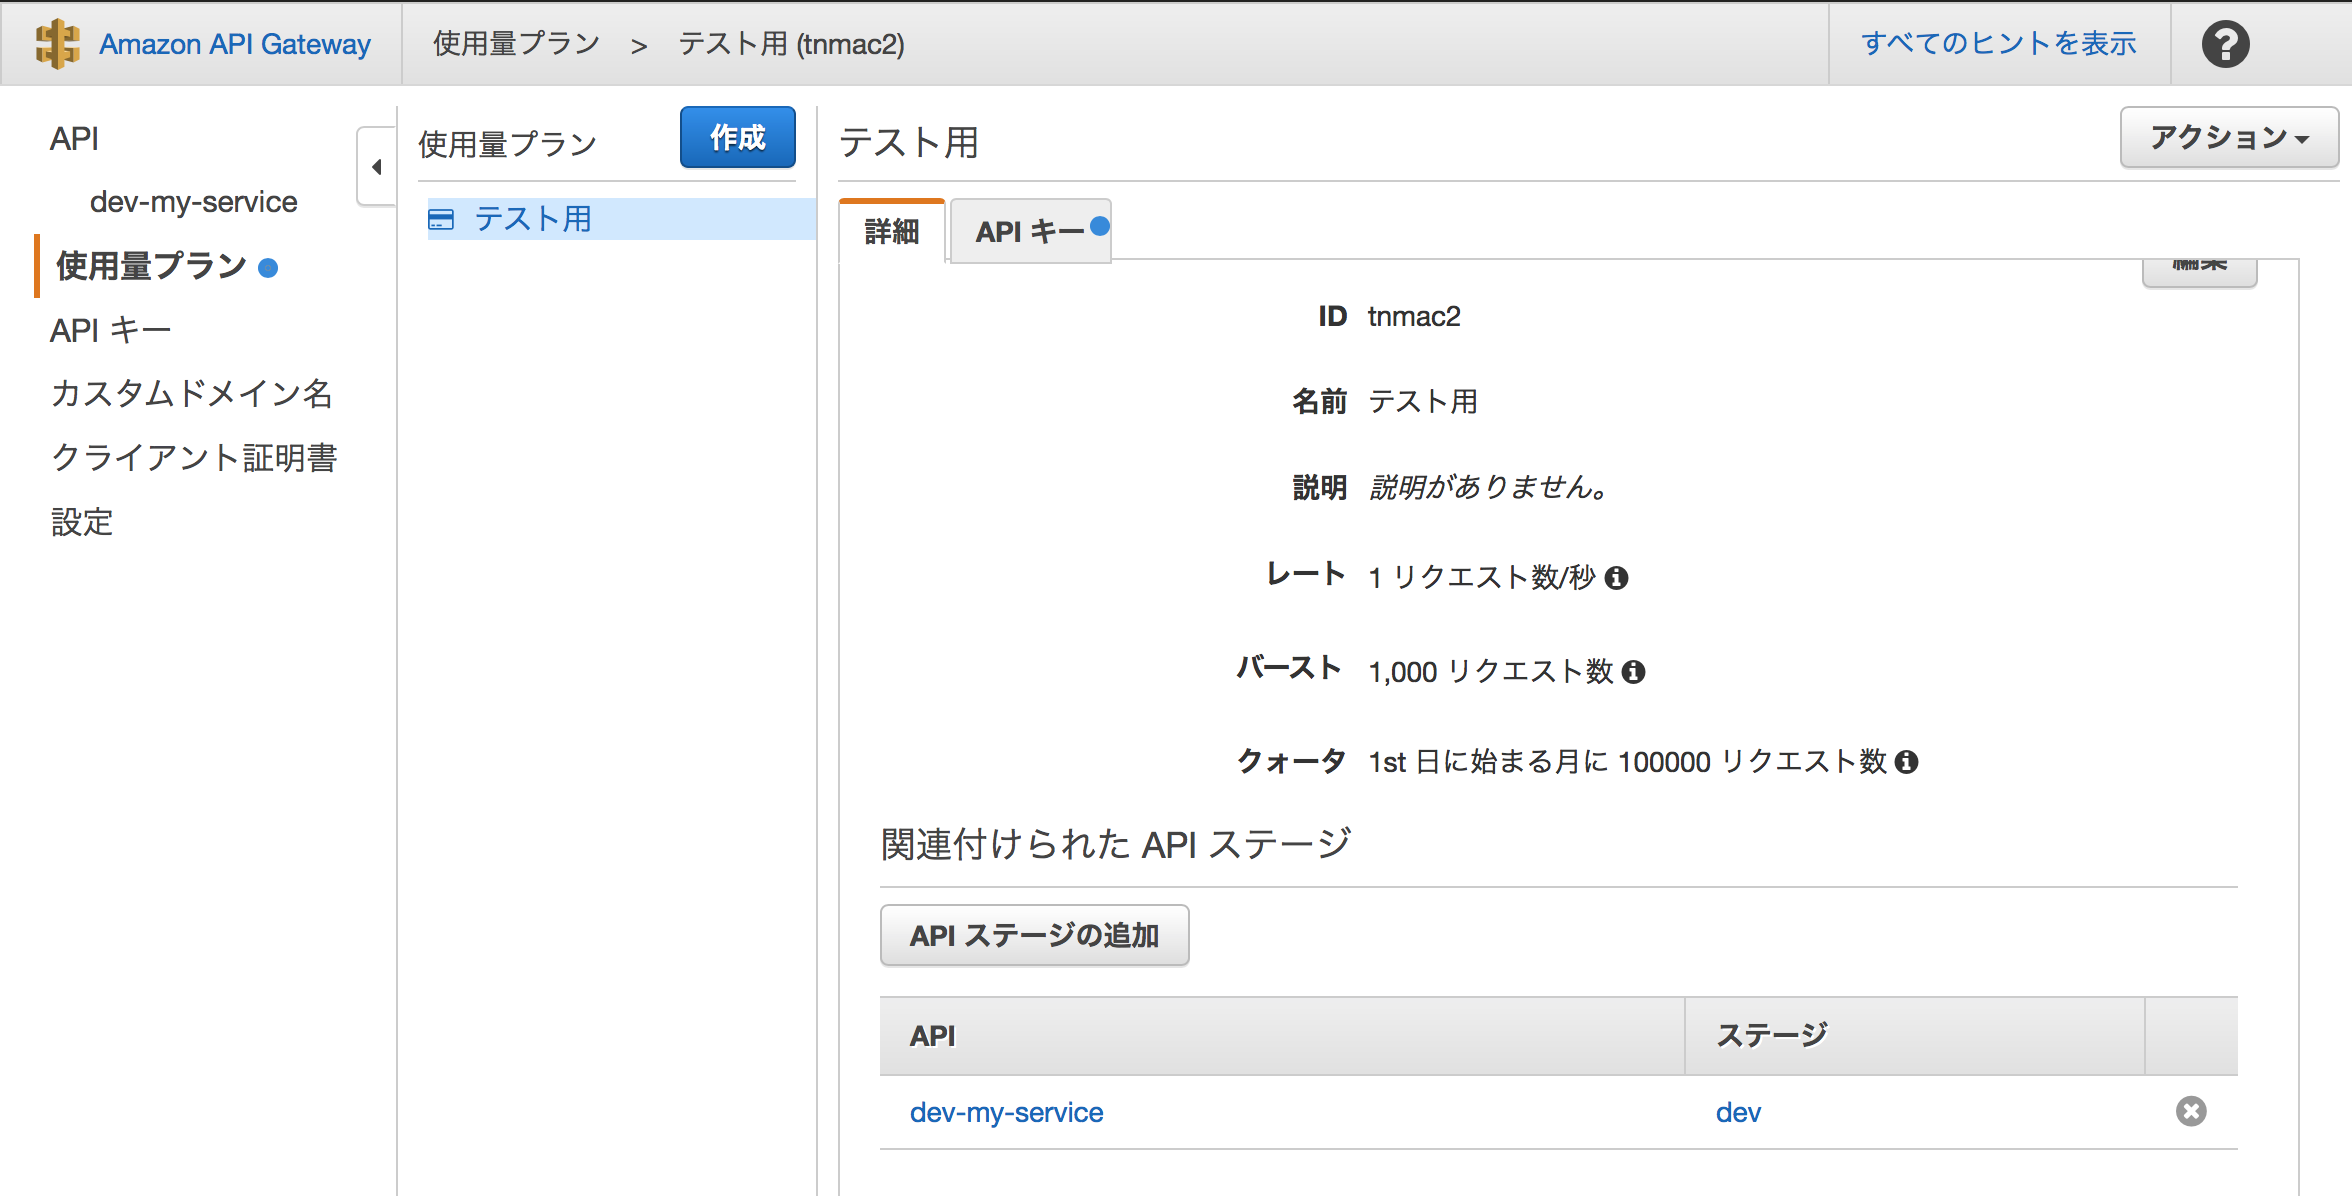
調べてみると、現状、AWSコンソールからAPIステージと使用量プランを紐付けてやらないとダメっぽいです。1
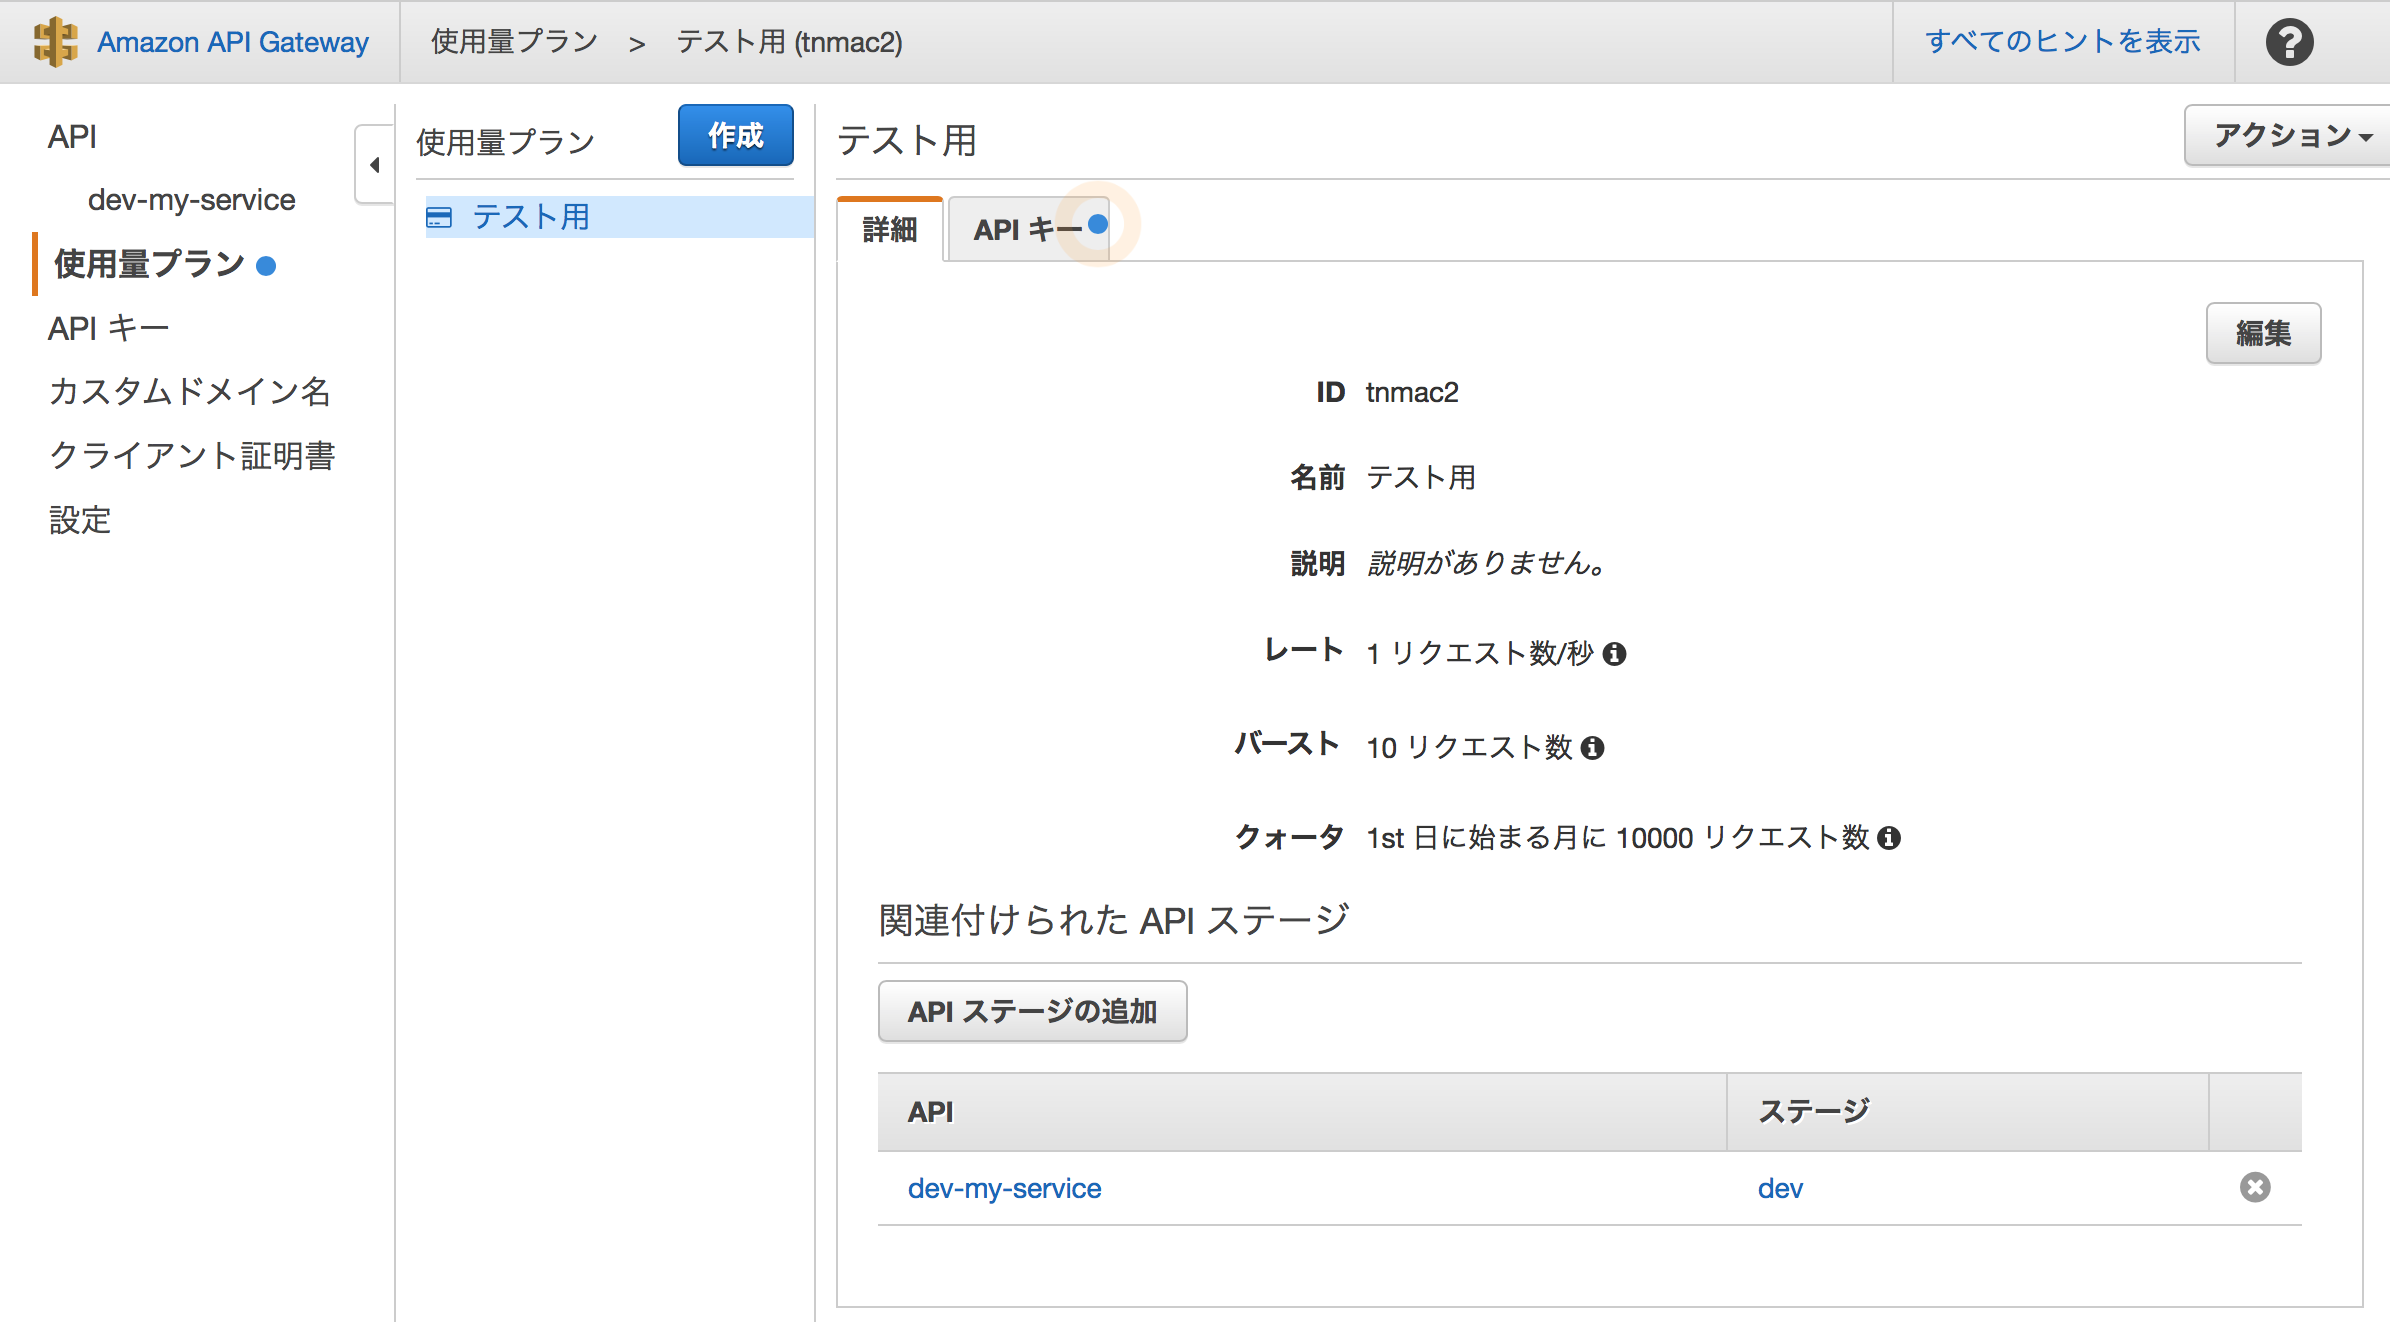
というわけで、下記のように紐付けてあげます。
制限値については、課金がされ過ぎない程度にとりあえず設定してもらえればと思います。2
紐付けた後、再実行。
$ curl https://XXXXXXXXXX.execute-api.ap-northeast-1.amazonaws.com/dev/message/hello --header 'x-api-key: XXXXX' | jq .
・・・
{
  "message": "Go Serverless v1.0! Your function executed successfully!",
  "event": {
    "body": {},
    "stageVariables": {},
    "principalId": "",
    "headers": {
      "Via": "1.1 XXXXXXXXXXXX.cloudfront.net (CloudFront)",
      "CloudFront-Is-Desktop-Viewer": "true",
      "CloudFront-Is-SmartTV-Viewer": "false",
      "CloudFront-Forwarded-Proto": "https",
      "X-Forwarded-For": "XXX.XX.XXX.XX, XXX.XXX.XXX.XXX",
      "CloudFront-Viewer-Country": "JP",
      "Accept": "*/*",
      "User-Agent": "curl/7.43.0",
      "Host": "XXXXXXXXXX.execute-api.ap-northeast-1.amazonaws.com",
      "X-Forwarded-Proto": "https",
      "X-Amz-Cf-Id": "XXXXXXXXXXXXXXX",
      "CloudFront-Is-Tablet-Viewer": "false",
      "X-Forwarded-Port": "443",
      "x-api-key": "XXXXXXXXXXXXXXX",
      "CloudFront-Is-Mobile-Viewer": "false"
    },
    "path": {},
    "query": {},
    "method": "GET",
    "identity": {
      "apiKey": "XXXXXXXXXXXXXXX",
      "userArn": "",
      "cognitoAuthenticationType": "",
      "caller": "",
      "userAgent": "curl/7.43.0",
      "user": "",
      "cognitoIdentityPoolId": "",
      "cognitoIdentityId": "",
      "cognitoAuthenticationProvider": "",
      "sourceIp": "XXX.XX.XXX.XX",
      "accountId": ""
    },
    "stage": "dev"
  }
}
無事取得できました。
stageの切り替え
さて、気になっていたAPI Gatewayと連携させた場合のstageの扱われ方がどうなるのか試してみます。
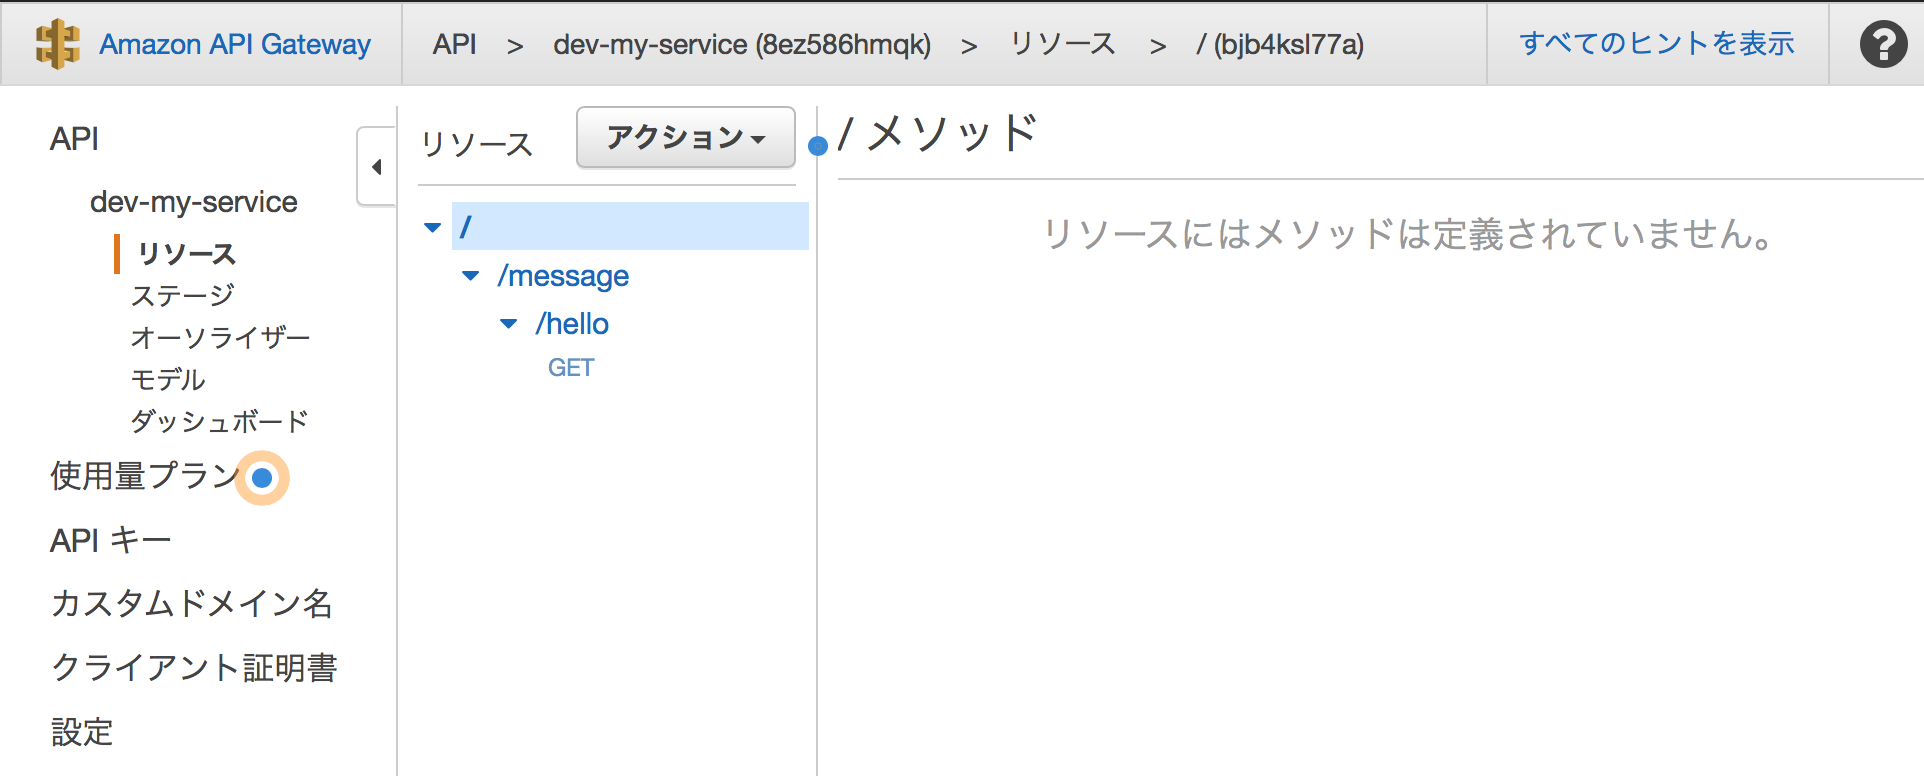
先ほどデプロイしたfunctionはAWSコンソール上ではこんな感じです。
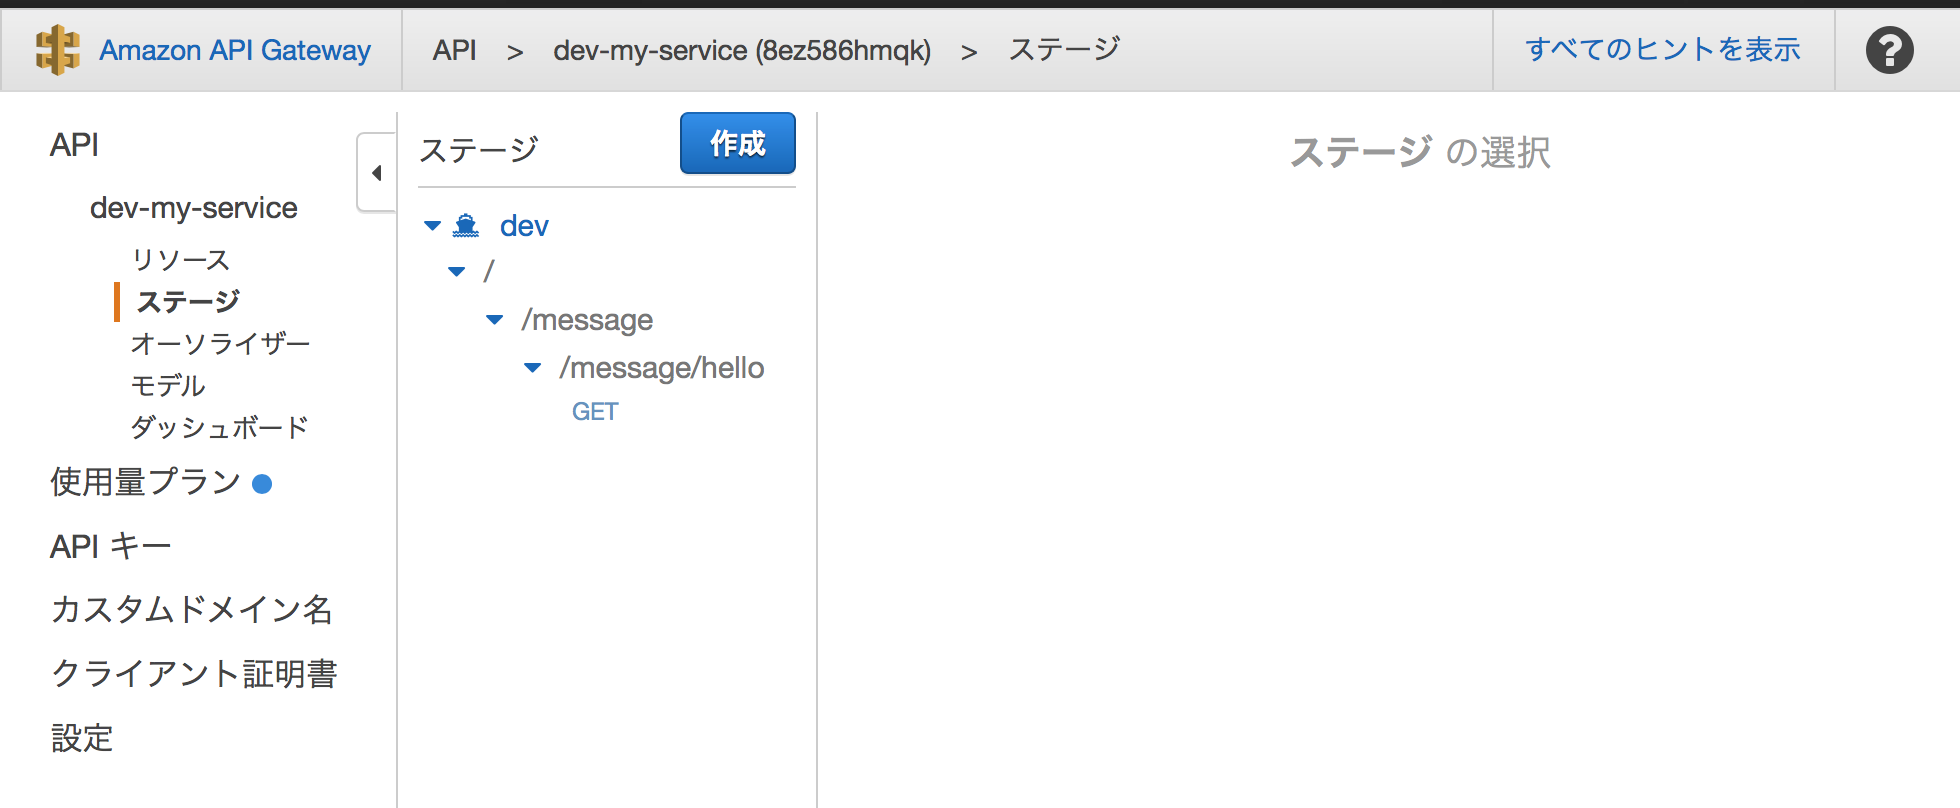
API名にも「dev」が付いている状態で、ステージも「dev」に紐づけられています。
というわけで、stageだけ変えて再度deployしてみます。
$ serverless deploy --stage test
...
Serverless: Deployment failed!

  Serverless Error ---------------------------------------

     An error occurred while provisioning your stack: ApiGatewayApiKey1
     - myServiceKey already exists in stack arn:aws:cloudformation:ap-northeast-1:XXXXXXXXXX:stack/my-service-dev/XXXXXX-XXXXX-XXXXX-XXXX-XXXXXXXXX.

  Get Support --------------------------------------------
     Docs:          docs.serverless.com
     Bugs:          github.com/serverless/serverless/issues
apiKeysの設定があると毎回作成しようとするのかな?
一旦、コメントアウト
service: my-service

provider:
  name: aws
  runtime: python2.7
  region: ap-northeast-1
# apiKeys:
#   - myServiceKey
再チャレンジ。
$ serverless deploy --stage test
...
Serverless: Stack update finished...

Service Information
service: my-service
stage: test
region: ap-northeast-1
endpoints:
  GET - https://or4ebekgae.execute-api.ap-northeast-1.amazonaws.com/test/message/hello
functions:
  my-service-test-hello: arn:aws:lambda:ap-northeast-1:XXXXXXXX:function:my-service-test-hello
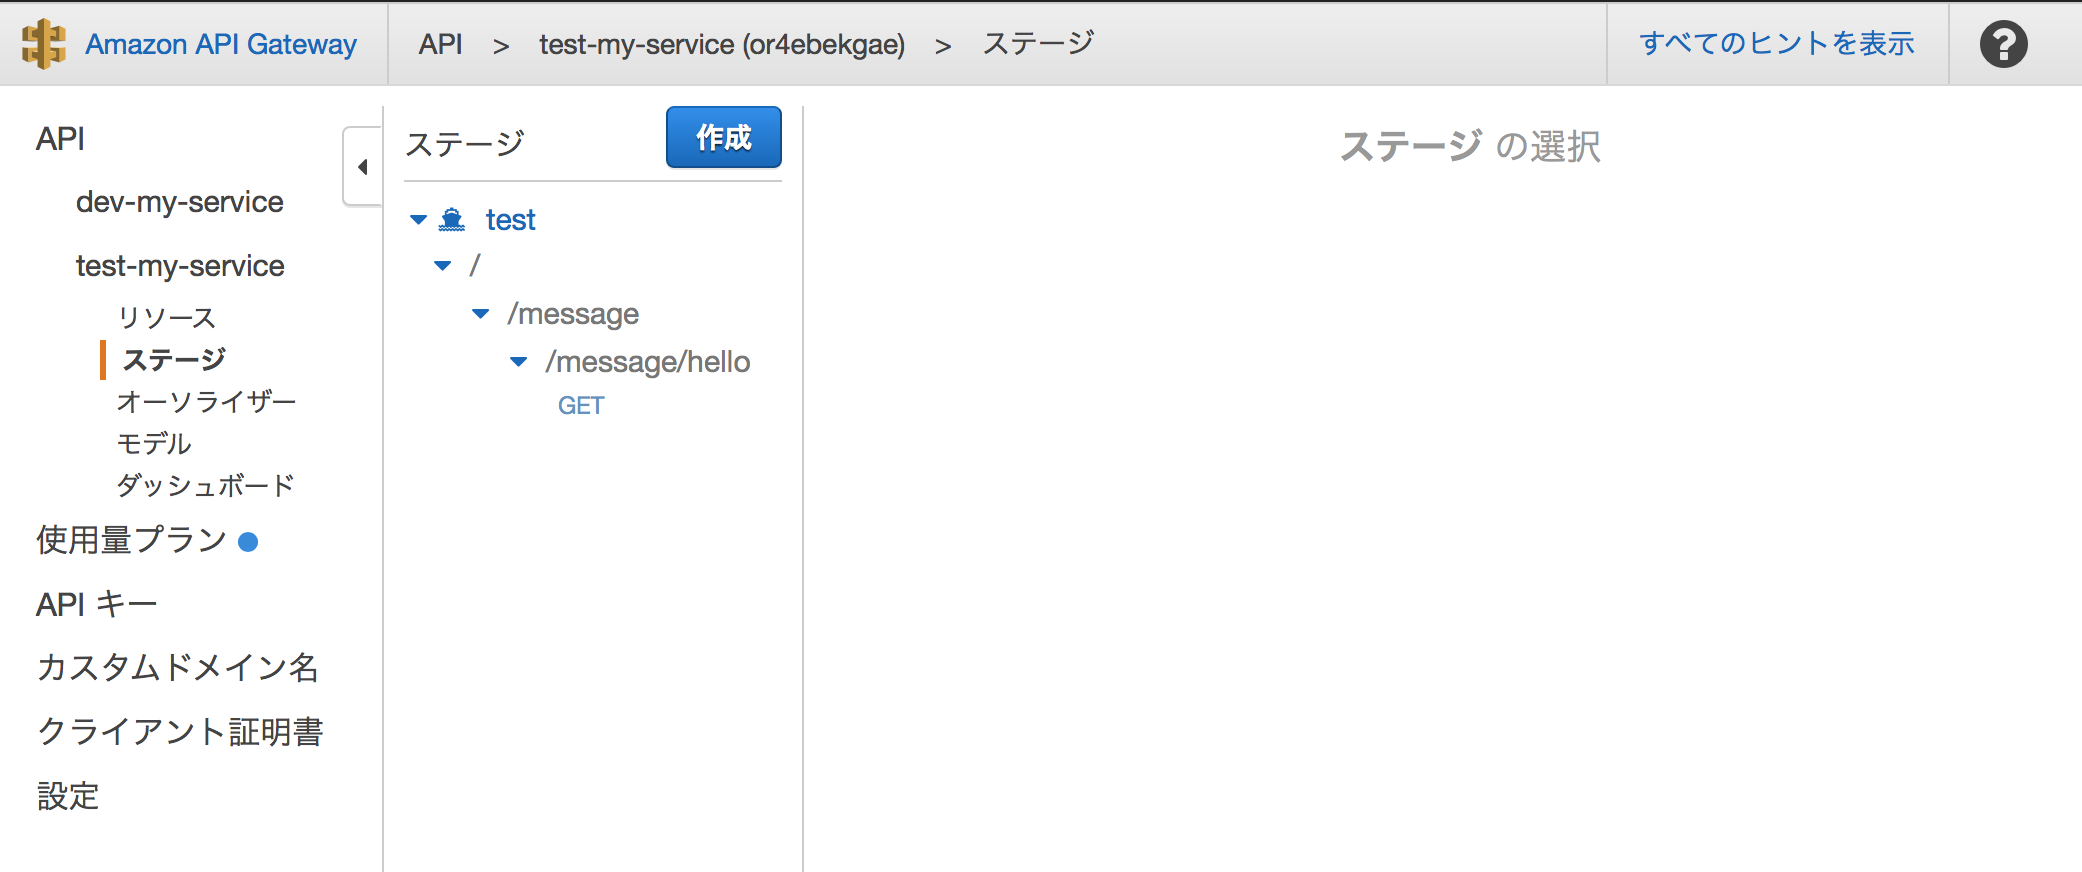
まぁ、予想通りというか、出来ればなってほしくない結果に。
理想としては、
API名は同じで「ステージ」に「dev」と「test」が出来てほしい。
所感
API Gatewayには12か月の無料利用枠もありますし、
サクッと個人的にAPIを作って試したい時は、お手軽に使えますね。
ただ、環境毎(開発、テスト、本番)に用意したい場合、
現状のバージョンでは、AWSのベストプラクティスからは外れた構成になるような気がしました。
ファンクション名やAPI名に「stage」は付与されずに
Lambdaファンクションであれば、「Alias」に、
API Gatewayであれば、「ステージ」に
それぞれ紐づけられて欲しいところ。
ただ上記の問題については、serverlessのissueでも取り上げられていて、近いうちに対応されそうな感じです。3
正式リリース版に含まれてくれると嬉しいですね。
