GYAOのtsです。
我々のチームは、オールパブリッククラウドで、Microservice Architectureを採用した次期バックエンドを設計中です。
経緯
ずっとバックエンドのことばかり書いてきて、frontendのことを何も書いていなかったので、書いてみる。
バックエンドを構築していくチームだが、構築した複数のAPIを使用して、
ひらめき→実装→リリース→測定
のライフサイクルを短い時間で回していくのが目標なので、楽にfrontendを構築できるようにインフラ構築とナレッジを蓄積していく。
ちょうど、別プロジェクトでカメラ画像→emotionAPIのプロト作成があったのでちょうどいい
今回やることは
- firebase hostingを使用
- HTML5でカメラの起動と撮影
- 定期的にカメラ映像のキャプチャを取ってemotionAPIにpost
- 結果を画面に表示
Firebase
今回はFirebaseを使用する。
storage・remote config・hosting、reporting等々、様々な機能が提供されている。
基本的なアプローチとしてはHTML5 + jsのページをhostingして、js経由で様々なアセット(storage等)にアクセスする。
Firebase CLI
- install
CLI等のtoolをインストールします。
sudo npm install -g firebase-tools
- login
まずはlogin
firebase login
- init
プロジェクトディレクトリを作成してinitします。
firebase init
今回は1ページのみで構成されたサイトを作ってみた。

あとはこれを修正してdeployするのみ
- deploy
firebase deploy
カメラ起動
	function startVideo() {
		navigator.mediaDevices.getUserMedia({video: true, audio: false})
 		// success
		.then(function (stream) {
			localStream = stream;
			localVideo.src = window.URL.createObjectURL(localStream);
			setInterval("capture()", 10000);
		})
		// error
		.catch(function (error) {
			console.error("navigator.mediaDevices.getUserMedia() error:", error);
			return;
		});
	}
capture
	function capture() {
		capture_canvas = document.getElementById('capture_canvas');
		var ctx = capture_canvas.getContext('2d');
		var w = localVideo.offsetWidth;
		var h = localVideo.offsetHeight;
		capture_canvas.setAttribute("width", w);
		capture_canvas.setAttribute("height", h);
		ctx.drawImage(localVideo, 0, 0, w, h);
		sendImage();
	}
emotionAPI
画像データを一旦バイナリに変換しなければならないのでこうなった。。。
	makeblobdata = function (dataURL) {
        var BASE64_MARKER = ';base64,';
        if (dataURL.indexOf(BASE64_MARKER) == -1) {
            var parts = dataURL.split(',');
            var contentType = parts[0].split(':')[1];
            var raw = decodeURIComponent(parts[1]);
            return new Blob([raw], { type: contentType });
        }
        var parts = dataURL.split(BASE64_MARKER);
        var contentType = parts[0].split(':')[1];
        var raw = window.atob(parts[1]);
        var rawLength = raw.length;

        var uInt8Array = new Uint8Array(rawLength);

        for (var i = 0; i < rawLength; ++i) {
            uInt8Array[i] = raw.charCodeAt(i);
        }

        return new Blob([uInt8Array], { type: contentType });
    }

	var api_key = 'xxxxxxxxxxx';
	function sendImage() {
        var request =  $.ajax({
        url: "https://api.projectoxford.ai/emotion/v1.0/recognize",
        processData: false,
        beforeSend: function(xhrObj){
            // Request headers
            xhrObj.setRequestHeader("Content-Type","application/octet-stream");
            xhrObj.setRequestHeader("Ocp-Apim-Subscription-Key", api_key);
        },
        type: "POST",
        // Request body
        data: makeblobdata(capture_canvas.toDataURL())
    })
    .done(function(data) {
		var res = document.getElementById('res');
		res.innerHTML = JSON.stringify(data);
    })
    .fail(function() {
        alert("error");
    });
	}
result
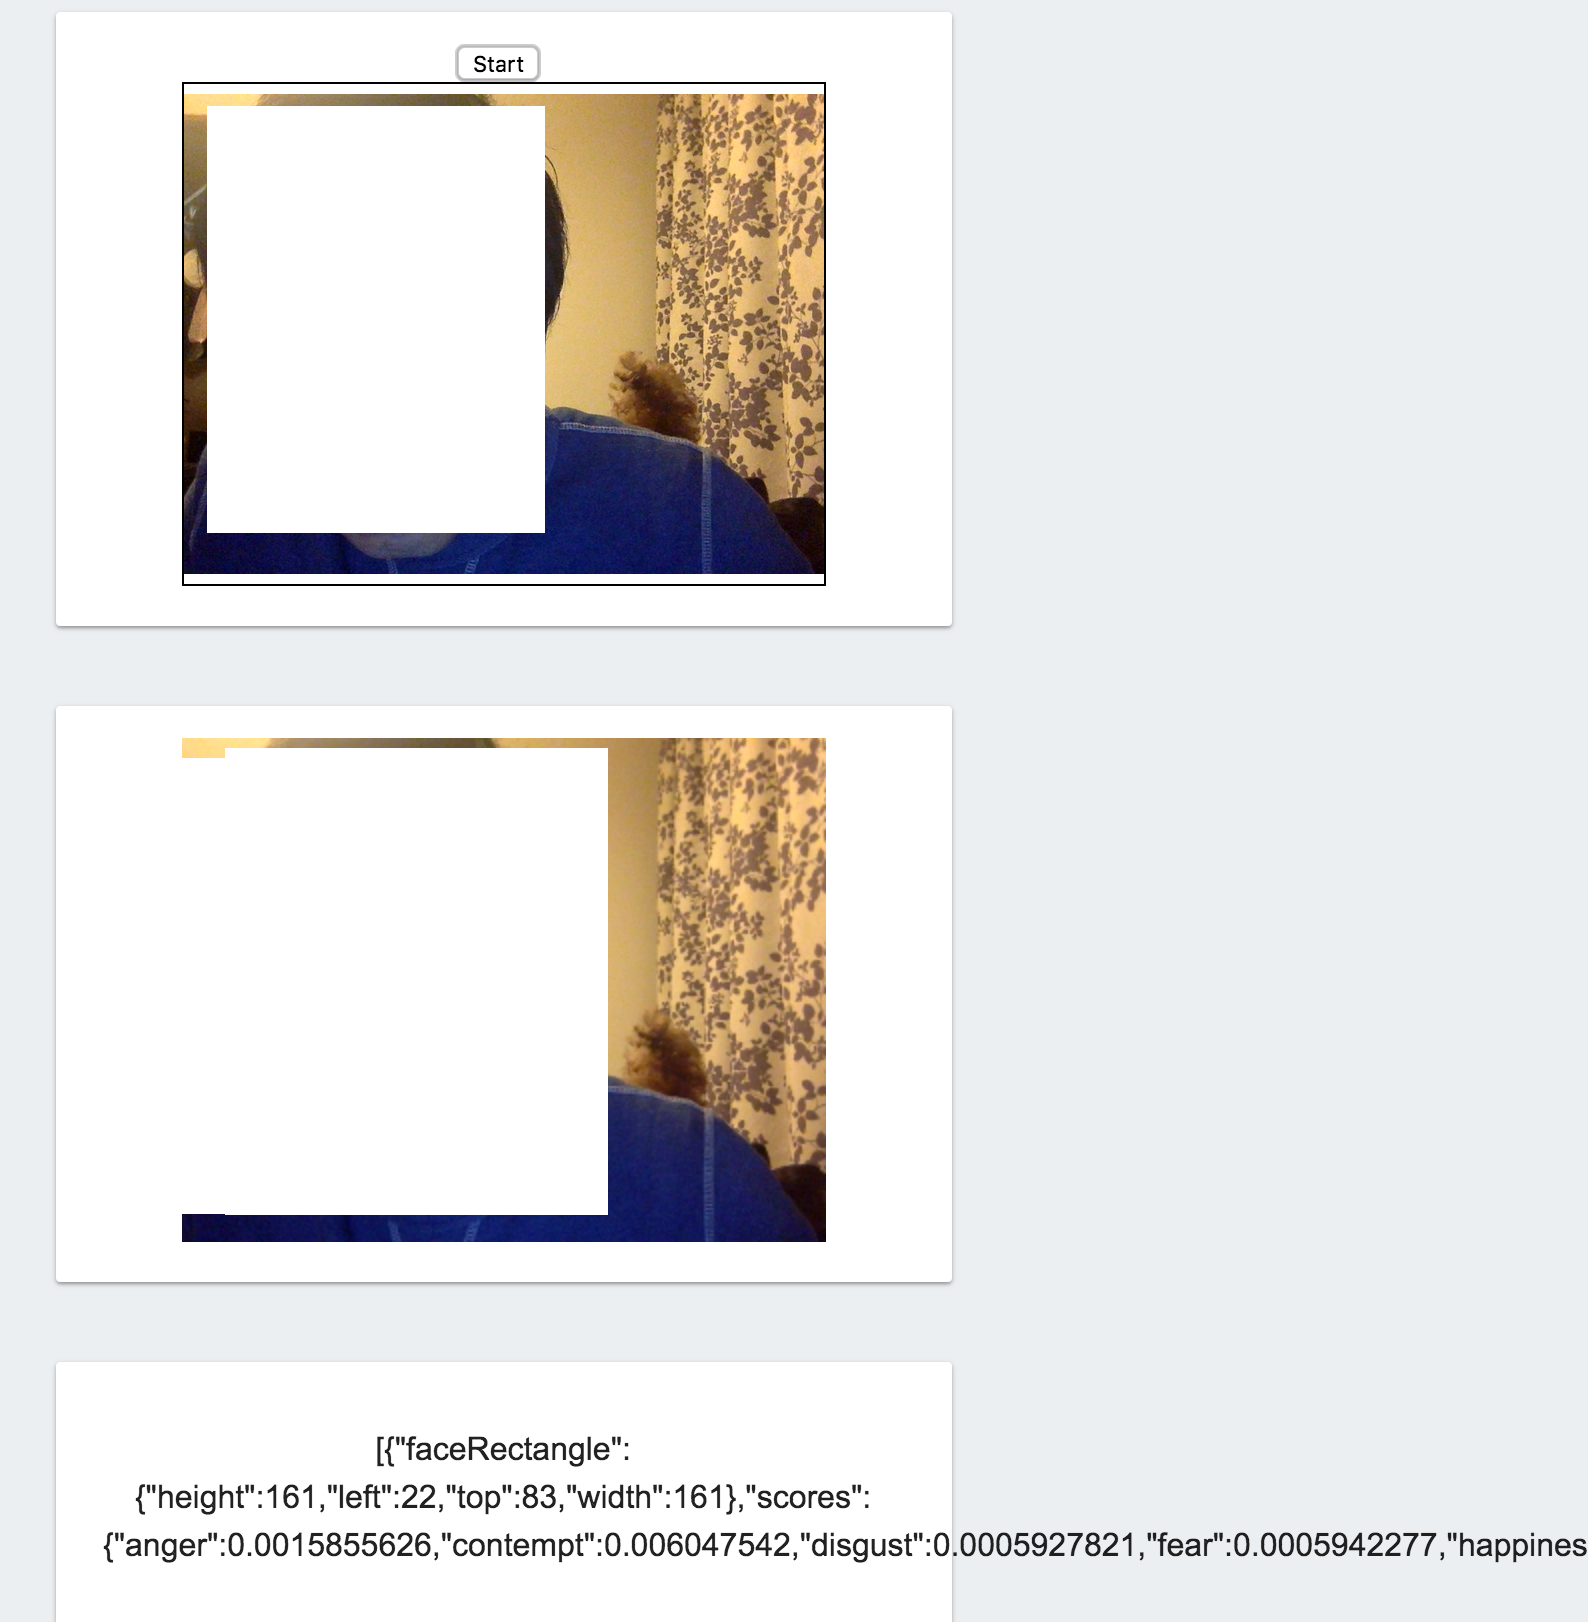
汚いが、プロトだからまあいいか。下記のように出力できる。

