目的
iOS標準のカメラと同じ、ピンチイン・ピンチアウトによるズーム機能やタップによるピント調節を持つ無音カメラの実装
コード
import UIKit
import AVFoundation

class CameraViewController: UIViewController, AVCaptureVideoDataOutputSampleBufferDelegate, UIGestureRecognizerDelegate  {

    var input:AVCaptureDeviceInput!
    var output:AVCaptureVideoDataOutput!
    var session:AVCaptureSession!
    var camera:AVCaptureDevice!
    var imageView:UIImageView!

    override func viewDidLoad() {
        super.viewDidLoad()

        // 画面タップでピントをあわせる
        let tapGesture = UITapGestureRecognizer(target: self, action: #selector(CameraViewController.tappedScreen(_:)))
        let pinchGesture = UIPinchGestureRecognizer(target: self, action: #selector(CameraViewController.pinchedGesture(_:)))

        // デリゲートをセット
        tapGesture.delegate = self

        // Viewにタップ、ピンチのジェスチャーを追加
        self.view.addGestureRecognizer(tapGesture)
        self.view.addGestureRecognizer(pinchGesture)

        let underView = UIView(frame: CGRect(origin: CGPointZero, size: CGSize(width: self.view.frame.size.width, height:self.view.frame.size.height/8)))
        underView.center = CGPoint(x: self.view.frame.size.width/2, y: self.view.frame.size.height-underView.frame.size.height/2)
        underView.backgroundColor = UIColor.blackColor().colorWithAlphaComponent(0.4)
        self.view.addSubview(underView)

        let shutterButton = UIButton(frame: CGRect(origin: CGPointZero, size: CGSize(width: underView.frame.size.height-15, height: underView.frame.size.height-15)))
        shutterButton.center = CGPoint(x: underView.frame.size.width/2, y: underView.frame.size.height/2)
        shutterButton.backgroundColor = UIColor.whiteColor().colorWithAlphaComponent(0)
        shutterButton.layer.masksToBounds = true
        shutterButton.layer.cornerRadius = shutterButton.frame.size.width/2
        shutterButton.layer.borderColor = UIColor.whiteColor().CGColor
        shutterButton.layer.borderWidth = 6
        shutterButton.addTarget(self, action: #selector(tapedShutterButton(_:)), forControlEvents: .TouchUpInside)
        underView.addSubview(shutterButton)

        let shutterShadowView = UIView(frame: CGRect(origin: CGPointZero, size: CGSize(width: shutterButton.frame.size.height-18, height: shutterButton.frame.size.height-18)))
        shutterShadowView.center = CGPoint(x: shutterButton.frame.size.width/2, y: shutterButton.frame.size.height/2)
        shutterShadowView.backgroundColor = UIColor.whiteColor()
        shutterShadowView.layer.masksToBounds = true
        shutterShadowView.layer.cornerRadius = shutterShadowView.frame.size.width/2
        // shutterShadowView.layer.borderColor = UIColor.blackColor().CGColor
        // shutterShadowView.layer.borderWidth = 3
        shutterShadowView.userInteractionEnabled = false
        shutterButton.addSubview(shutterShadowView)

        let closeButton = UIButton()
        closeButton.setTitle("閉じる", forState: .Normal)
        closeButton.setTitleColor(UIColor.whiteColor(), forState: .Normal)
        closeButton.sizeToFit()
        closeButton.center = CGPoint(x: (underView.frame.size.width+shutterButton.center.x+shutterButton.frame.size.width/2)/2, y: underView.frame.size.height/2)
        closeButton.addTarget(self, action: #selector(tapedCloseButton(_:)), forControlEvents: .TouchUpInside)
        underView.addSubview(closeButton)
    }

    override func viewWillAppear(animated: Bool) {
        // スクリーン設定
        setupDisplay()

        // カメラの設定
        setupCamera()
    }

    // メモリ解放
    override func viewDidDisappear(animated: Bool) {
        // camera stop メモリ解放
        session.stopRunning()

        for output in session.outputs {
            session.removeOutput(output as? AVCaptureOutput)
        }

        for input in session.inputs {
            session.removeInput(input as? AVCaptureInput)
        }

        session = nil
        camera = nil
    }

    func setupDisplay(){
        //スクリーンの幅
        let screenWidth = UIScreen.mainScreen().bounds.size.width;
        //スクリーンの高さ
        let screenHeight = UIScreen.mainScreen().bounds.size.height;

        // カメラからの映像を映すimageViewの作成
        if let iv = imageView {
            //以前のimageViewがあれば剥がしておく
            iv.removeFromSuperview()
        }
        imageView = UIImageView()
        imageView.frame = CGRectMake(0.0, 0.0, screenWidth, screenHeight)
        view.addSubview(imageView)
        view.sendSubviewToBack(imageView)
    }

    func setupCamera(){
        // AVCaptureSession: キャプチャに関する入力と出力の管理
        session = AVCaptureSession()

        // sessionPreset: キャプチャ・クオリティの設定
        session.sessionPreset = AVCaptureSessionPresetHigh

        // AVCaptureDevice: カメラやマイクなどのデバイスを設定
        for caputureDevice: AnyObject in AVCaptureDevice.devices() {
            // 背面カメラを取得
            if caputureDevice.position == AVCaptureDevicePosition.Back {
                camera = caputureDevice as? AVCaptureDevice
            }
        }

        // カメラからの入力データ
        do {
            input = try AVCaptureDeviceInput(device: camera) as AVCaptureDeviceInput
        } catch let error as NSError {
            print(error)
        }

        // 入力をセッションに追加
        if(session.canAddInput(input)) {
            session.addInput(input)
        }

        // AVCaptureVideoDataOutput:動画フレームデータを出力に設定
        output = AVCaptureVideoDataOutput()

        // 出力をセッションに追加
        if(session.canAddOutput(output)) {
            session.addOutput(output)
        }

        // ピクセルフォーマットを 32bit BGR + A とする
        output.videoSettings = [kCVPixelBufferPixelFormatTypeKey : Int(kCVPixelFormatType_32BGRA)]

        // フレームをキャプチャするためのサブスレッド用のシリアルキューを用意
        output.setSampleBufferDelegate(self, queue: dispatch_get_main_queue())

        output.alwaysDiscardsLateVideoFrames = true

        session.startRunning()

        // deviceをロックして設定
        do {
            try camera.lockForConfiguration()
            // フレームレート
            camera.activeVideoMinFrameDuration = CMTimeMake(1, 30)
            camera.unlockForConfiguration()
        } catch _ {
        }
    }


    // 新しいキャプチャの追加で呼ばれる
    func captureOutput(captureOutput: AVCaptureOutput!, didOutputSampleBuffer sampleBuffer: CMSampleBuffer!, fromConnection connection: AVCaptureConnection!) {

        // キャプチャしたsampleBufferからUIImageを作成
        let image:UIImage = self.captureImage(sampleBuffer)

        // カメラの画像を画面に表示
        dispatch_async(dispatch_get_main_queue()) {
            self.imageView.image = image
        }
    }

    // sampleBufferからUIImageを作成
    func captureImage(sampleBuffer:CMSampleBufferRef) -> UIImage{

        // Sampling Bufferから画像を取得
        let imageBuffer:CVImageBufferRef = CMSampleBufferGetImageBuffer(sampleBuffer)!

        // pixel buffer のベースアドレスをロック
        CVPixelBufferLockBaseAddress(imageBuffer, 0)

        let baseAddress:UnsafeMutablePointer<Void> = CVPixelBufferGetBaseAddressOfPlane(imageBuffer, 0)

        let bytesPerRow:Int = CVPixelBufferGetBytesPerRow(imageBuffer)
        let width:Int = CVPixelBufferGetWidth(imageBuffer)
        let height:Int = CVPixelBufferGetHeight(imageBuffer)

        // 色空間
        let colorSpace:CGColorSpaceRef = CGColorSpaceCreateDeviceRGB()!

        let newContext:CGContextRef = CGBitmapContextCreate(baseAddress, width, height, 8, bytesPerRow, colorSpace,  CGImageAlphaInfo.PremultipliedFirst.rawValue|CGBitmapInfo.ByteOrder32Little.rawValue)!

        let imageRef:CGImageRef = CGBitmapContextCreateImage(newContext)!
        let resultImage = UIImage(CGImage: imageRef, scale: 1.0, orientation: UIImageOrientation.Right)

        return resultImage
    }


    // タップイベント.
    func tapedShutterButton(sender: UIButton) {
        takeStillPicture()

        self.imageView.alpha = 0.4

        UIView.animateWithDuration(0.5, animations: {
            self.imageView.alpha = 1
        })
    }

    func takeStillPicture(){
        if var _:AVCaptureConnection? = output.connectionWithMediaType(AVMediaTypeVideo){
            // アルバムに追加
            UIImageWriteToSavedPhotosAlbum(self.imageView.image!, self, nil, nil)
        }
    }

    func tapedCloseButton(sender: UIButton) {
        print("Close")

        // 前の画面に戻るとき
        // self.dismissViewControllerAnimated(true, completion: nil)
    }

    let focusView = UIView()

    func tappedScreen(gestureRecognizer: UITapGestureRecognizer) {
        let tapCGPoint = gestureRecognizer.locationOfTouch(0, inView: gestureRecognizer.view)
        focusView.frame.size = CGSize(width: 120, height: 120)
        focusView.center = tapCGPoint
        focusView.backgroundColor = UIColor.whiteColor().colorWithAlphaComponent(0)
        focusView.layer.borderColor = UIColor.whiteColor().CGColor
        focusView.layer.borderWidth = 2
        focusView.alpha = 1
        imageView.addSubview(focusView)

        UIView.animateWithDuration(0.5, animations: {
            self.focusView.frame.size = CGSize(width: 80, height: 80)
            self.focusView.center = tapCGPoint
            }, completion: { Void in
                UIView.animateWithDuration(0.5, animations: {
                    self.focusView.alpha = 0
                })
        })

        self.focusWithMode(AVCaptureFocusMode.AutoFocus, exposeWithMode: AVCaptureExposureMode.AutoExpose, atDevicePoint: tapCGPoint, motiorSubjectAreaChange: true)
    }

    var oldZoomScale: CGFloat = 1.0

    func pinchedGesture(gestureRecgnizer: UIPinchGestureRecognizer) {
        do {
            try camera.lockForConfiguration()
            // ズームの最大値
            let maxZoomScale: CGFloat = 6.0
            // ズームの最小値
            let minZoomScale: CGFloat = 1.0
            // 現在のカメラのズーム度
            var currentZoomScale: CGFloat = camera.videoZoomFactor
            // ピンチの度合い
            let pinchZoomScale: CGFloat = gestureRecgnizer.scale

            // ピンチアウトの時、前回のズームに今回のズーム-1を指定
            // 例: 前回3.0, 今回1.2のとき、currentZoomScale=3.2
            if pinchZoomScale > 1.0 {
                currentZoomScale = oldZoomScale+pinchZoomScale-1
            } else {
                currentZoomScale = oldZoomScale-(1-pinchZoomScale)*oldZoomScale
            }

            // 最小値より小さく、最大値より大きくならないようにする
            if currentZoomScale < minZoomScale {
                currentZoomScale = minZoomScale
            }
            else if currentZoomScale > maxZoomScale {
                currentZoomScale = maxZoomScale
            }

            // 画面から指が離れたとき、stateがEndedになる。
            if gestureRecgnizer.state == .Ended {
                oldZoomScale = currentZoomScale
            }

            camera.videoZoomFactor = currentZoomScale
            camera.unlockForConfiguration()
        } catch {
            // handle error
            return
        }
    }

    func focusWithMode(focusMode : AVCaptureFocusMode, exposeWithMode expusureMode :AVCaptureExposureMode, atDevicePoint point:CGPoint, motiorSubjectAreaChange monitorSubjectAreaChange:Bool) {

        dispatch_async(dispatch_queue_create("session queue", DISPATCH_QUEUE_SERIAL), {
            let device : AVCaptureDevice = self.input.device

            do {
                try device.lockForConfiguration()
                if(device.focusPointOfInterestSupported && device.isFocusModeSupported(focusMode)){
                    device.focusPointOfInterest = point
                    device.focusMode = focusMode
                }
                if(device.exposurePointOfInterestSupported && device.isExposureModeSupported(expusureMode)){
                    device.exposurePointOfInterest = point
                    device.exposureMode = expusureMode
                }

                device.subjectAreaChangeMonitoringEnabled = monitorSubjectAreaChange
                device.unlockForConfiguration()

            } catch let error as NSError {
                print(error.debugDescription)
            }

        })
    }

    override func didReceiveMemoryWarning() {
        super.didReceiveMemoryWarning()
        // Dispose of any resources that can be recreated.
    }
}
補足
カメラのピンチアウト、ピンチインでズームさせる機能の実装に時間がかかってしまいました。一度分かってしまうとそれほど大したことではなかったのでメモ
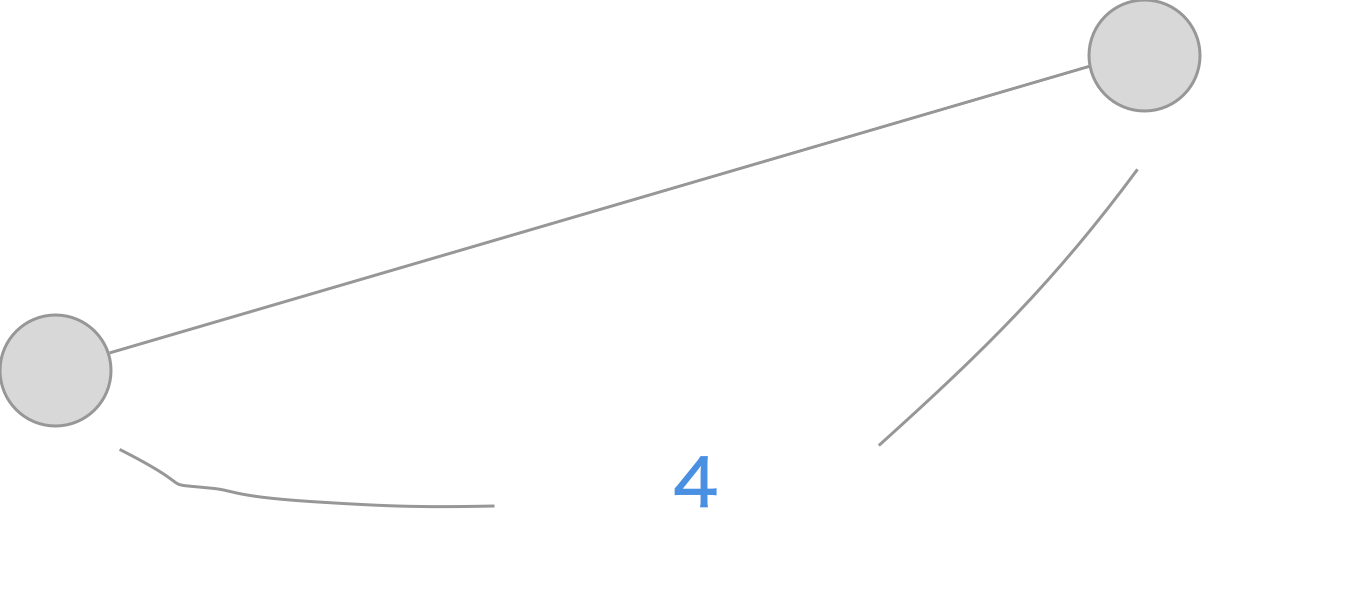
次に、ピンチアウト(拡大)します。拡大した大きさは4となります

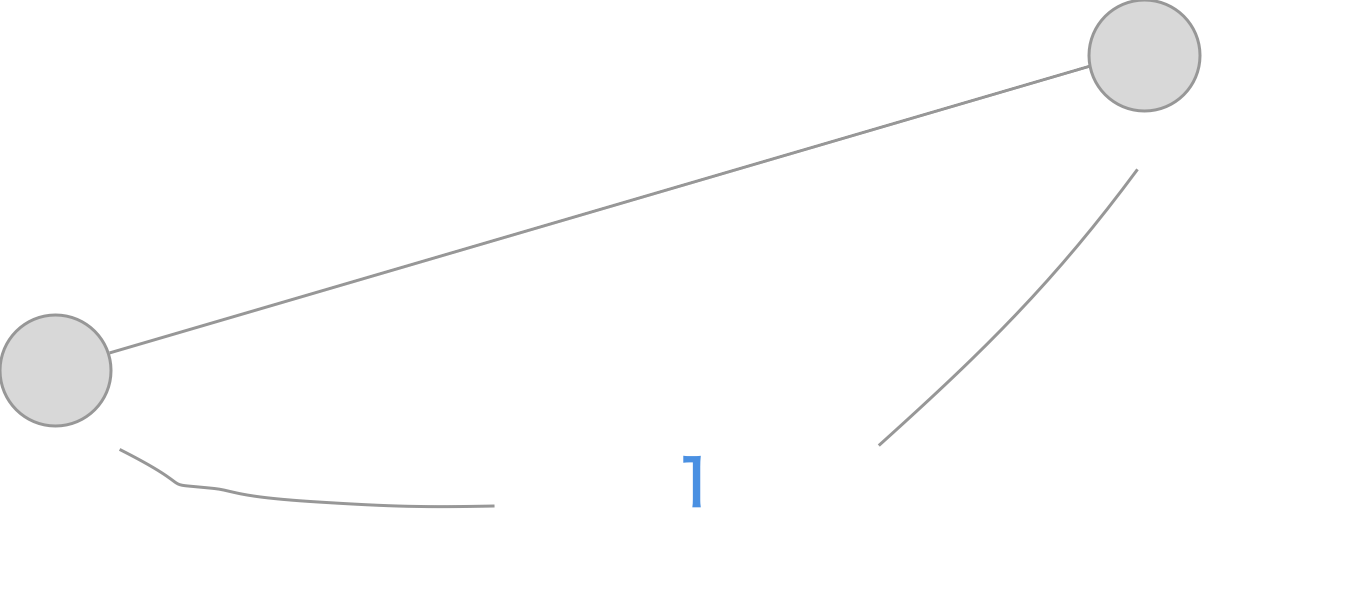
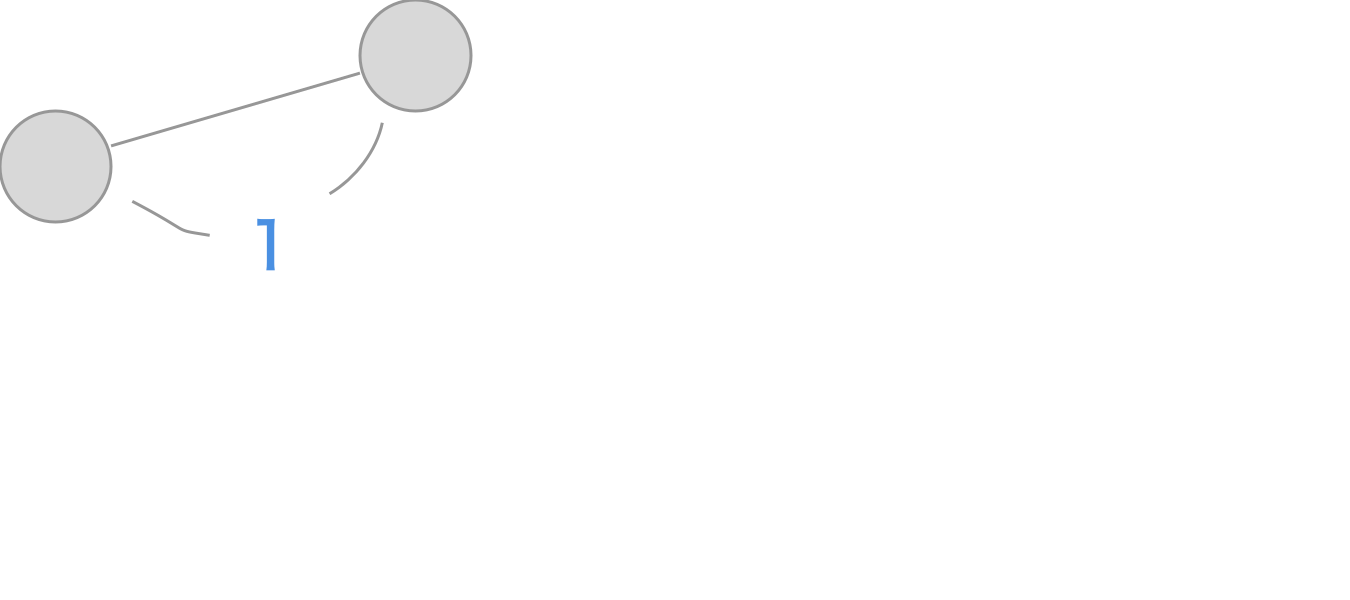
そして、指を離しもう一度同じところにふれると、その距離が1となります

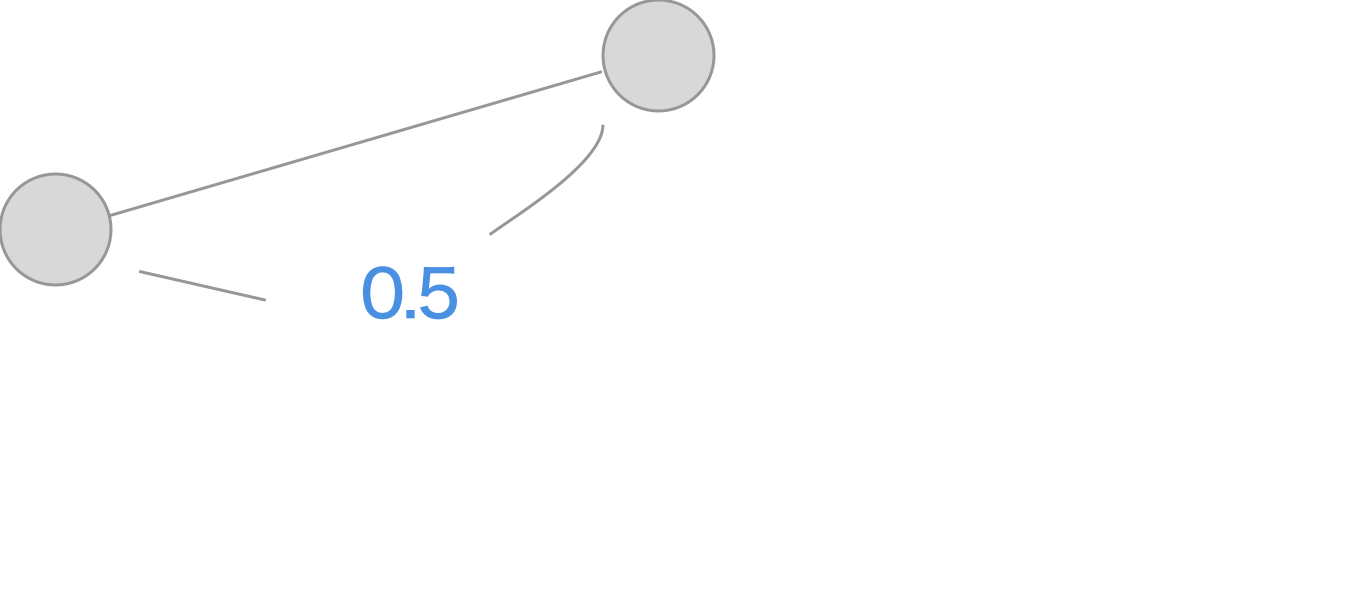
そして、半分ほど指を近づけピンチイン(縮小)します。縮小した大きさは0.5となります。

ここで、ピンチとズームの関係を考えると、最初の拡大で1→4になり、指を話した後の縮小で半分縮めたので4→2になるべきです。
しかし、指を離した後の距離は1になっているので縮小した大きさは0.5になっています。
そこで、前回(指を離す前)の大きさ4を掛けてやる必要があります。
よって
// 2 = 4-(1-0.5)*4
currentZoomScale = oldZoomScale-(1-pinchZoomScale)*oldZoomScale
という風になります。
