作業メモです。
参考
Let's Encrypt サーバー証明書の取得と自動更新設定メモ
環境
- Amazon Linux AMI 2016.03.2 (HVM)
- Apache2.4
- certbot-auto 0.8.1
事前準備
- HTTPS化するドメインが名前解決した時にApacheが起動しているIPアドレスを返却するようにAレコードに登録されていること
- 443番、80番ポートを解放しておくこと
Apacheのインストール
$sudo yum install httpd24 -y
$sudo yum install mod24_ssl
$sudo service httpd start

# 確認
$curl http://localhsot/
$curl http://domain
certbot をインストール
Let's Encrpytによる証明書の発行で利用するcertbotをインストールします。
$wget https://dl.eff.org/certbot-auto
$chmod a+x ./certbot-auto

$./certbot-auto --version
WARNING: Amazon Linux support is very experimental at present...
if you would like to work on improving it, please ensure you have backups
and then run this script again with the --debug flag!
バージョンを確認しようとするとAmazonLinuxはまだexperimentalなので実行するときは--debugフラグを利用してくださいという旨が表示されます。
まだ、certbotに依存するライブラリがインストールされていないので--debugフラグを有効化して実行してみます
$./certbot-auto --version --debug
Requesting root privileges to run certbot...
  /home/ec2-user/.local/share/letsencrypt/bin/letsencrypt --version --debug
letsencrypt 0.8.1
依存ファイルインストール後、無事バージョンも確認できました。
証明書を取得する
今回は初めだったのでcertbotコマンドによって自分でWebサーバーを立てて認証を行い、証明書を取得するPluginのStandaloneを利用します。
# ポートが衝突しないように一旦停止
$sudo service httpd stop

# standaloneにて証明書取得
$./letsencrypt-auto certonly --standalone --standalone-supported-challenges http-01 -d [domain]
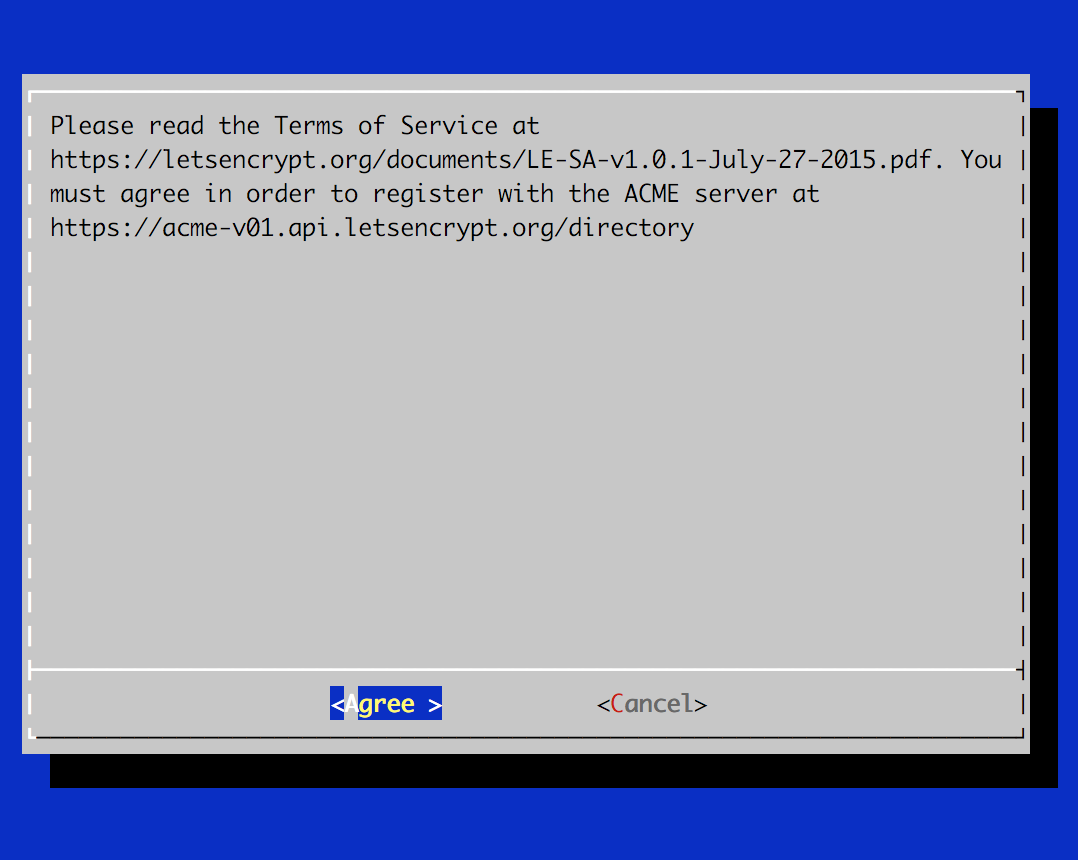
実行すると以下のように通知用の連絡先を入力する画面がターミナル上で表示されるので入力します。

メールアドレス入力後、規約を承諾します。
Requesting root privileges to run certbot...
  /home/ec2-user/.local/share/letsencrypt/bin/letsencrypt certonly --standalone --standalone-supported-challenges http-01 -d [domain]
Version: 1.1-20080819
Version: 1.1-20080819

IMPORTANT NOTES:
 - Congratulations! Your certificate and chain have been saved at
   /etc/letsencrypt/live/[domain]/fullchain.pem.
   Your cert will expire on 2016-09-23. To obtain a new or tweaked
   version of this certificate in the future, simply run certbot-auto
   again. To non-interactively renew *all* of your certificates, run
   "certbot-auto renew"
 - If you like Certbot, please consider supporting our work by:

   Donating to ISRG / Let's Encrypt:   https://letsencrypt.org/donate
   Donating to EFF:                    https://eff.org/donate-le
証明書が発行されているかを確認します。
$sudo ls /etc/letsencrypt/live/[domain]/
cert.pem  chain.pem  fullchain.pem  privkey.pem
- cert.pem->証明書
- chain.pem->中間CA証明書
- fullchain.pem->証明書+中間CA証明書
- private.pem->秘密鍵
Apache2.4でHTTPS化の設定をする
CentOS 7 + Apache 2.4 で Let’s Encrypt の証明書を導入する手順
ssl.confに先ほど取得した証明書を設定します。
/etc/httpd/conf.d/ssl.conf
SSLCertificateFile /etc/letsencrypt/live/[domain]/cert.pem

SSLCertificateKeyFile /etc/letsencrypt/live/[domain]/privkey.pem

SSLCertificateChainFile /etc/letsencrypt/live/[domain]/chain.pem
設定後、httpdを起動します。
$sudo service httpd start
起動後、ドメインにアクセスしてみます。
無事HTTPS化されてました!

