今日の目標
PHPでHello Worldを書いてみる
使うもの
Windows環境でPHPを触るには荷が重すぎたので、CentOS使います。
そしてWindowsでCentOS用意するのも荷が重いのでvagrant使います。
- VirtualBox
- Vagrant
- CentOS6.5
- Windows7
参考
- PHP + Apacheのインストール - Linux環境 - CentOS
- Apacheのエラー:httpd: apr_sockaddr_info_get() failed for・・・
- vagrant で centosを使ってみる
ではスタート
boxをインストールする
下記のサイトで配布されているboxが一覧で見れます。今回はCentOS6.5を配布しているリポジトリを選択しました。
vagrant box add centos65 https://github.com/2creatives/vagrant-centos/releases/download/v6.5.3/centos65-x86_64-20140116.box
結構時間かかります。
ちなみに、プロキシ越えしたい場合は、Windowsの環境変数にプロキシをsetしてからaddしてください。
set http_proxy="【プロキシ】"
set https_proxy="【プロキシ】"
設定
ディレクトリを切って、vagrantの初期化と設定ファイルを編集します。
mkdir phpRun
cd phpRun
vagrant init centos65
initすると、そのカレントディレクトリにvagrantfileという設定ファイルができるため、それを編集します。
今回はネットワークとプロビジョニングに実行するシェルを設定すればよいかな、と思います。
インストールするものが決まっているため、シェルでphpとhttpdをインストールします。
config.vm.network "private_network", ip: "192.168.33.20"
…省略…
config.vm.provision "shell", inline: <<-SHELL
    sudo yum update
    sudo yum install -y httpd php
  SHELL
end
ちなみに、プロキシ越えが必要な場合は、プラグインの追加とvagrantfileの編集が必要です。
vagrant plugin install vagrant-proxyconf
Vagrant.configure(2) do |config| ←この行の下に追記する
if Vagrant.has_plugin?("vagrant-proxyconf")
    config.proxy.http = "【プロキシ】"
    config.proxy.https = "【プロキシ】"
    config.proxy.no_proxy = "localhost,127.0.0.1"
  end
起動して接続する
vagrant up
vagrant ssh
こんな感じでプロンプトが返ってきたらOK。
[vagrant@vagrant-centos65 ~]
Apacheの起動
sudo service httpd start
きちんと起動しているか確認します。
sudo echo '<h1>It works</h1>' > /var/www/html/index.html
It worksと表示されたらきちんと動いてます。
が、起動時にwarningが出るため解消します。
sudo vi /etc/sysconfig/network
networkに記述されているHOSTNAMEをコピって、hostsの127.0.0.1に仲間入りさせます。
sudo vi /etc/hosts
127.0.0.1 localhost… 【ここに】
再起動
sudo /etc/rc.d/init.d/httpd restart
PHPファイルを置く
ほんとに今日は簡単なことしかやらないです。
PHPでechoしか。
sudo mkdir /var/www/html/htdocs
sudo vi /var/www/html/htdocs/index.php
<html>
  <head>
    <title>PHP Test</title>
  </head>
  <body>
    <?php
      $msg = "<p>Hello World!</p>";
      echo $msg;
    ?>
  </body>
</html>
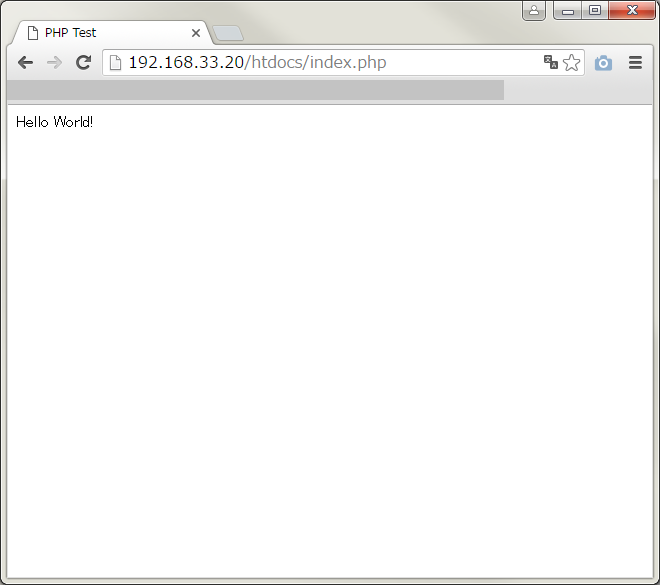
http://192.168.33.20/htdocs/index.phpにアクセスしてみると。

ということで、PHPでHello Worldでした。
むしろVagrantの説明の方が多かったですが!