はじめに
Rails5.1は、フロントエンド周りが充実しているらしく、遊びながらどのような設計思想になっているか感じてみたいと思った。
いまのローカルにはrbenvなどが入っていないので、バージョン管理の手間など考えるとdockerでVM立ち上げたほうが手っ取り早そうだ、ということで、docker経由で環境構築した。
ちなみに、Railsに触るのは5年ぶりくらいで、Rails2.3以来、ほぼ触っていない。
この記事で目指す所
所要時間 : 15分程度
Docker経由でrailsのプロジェクトを作成し、サーバを起動し、
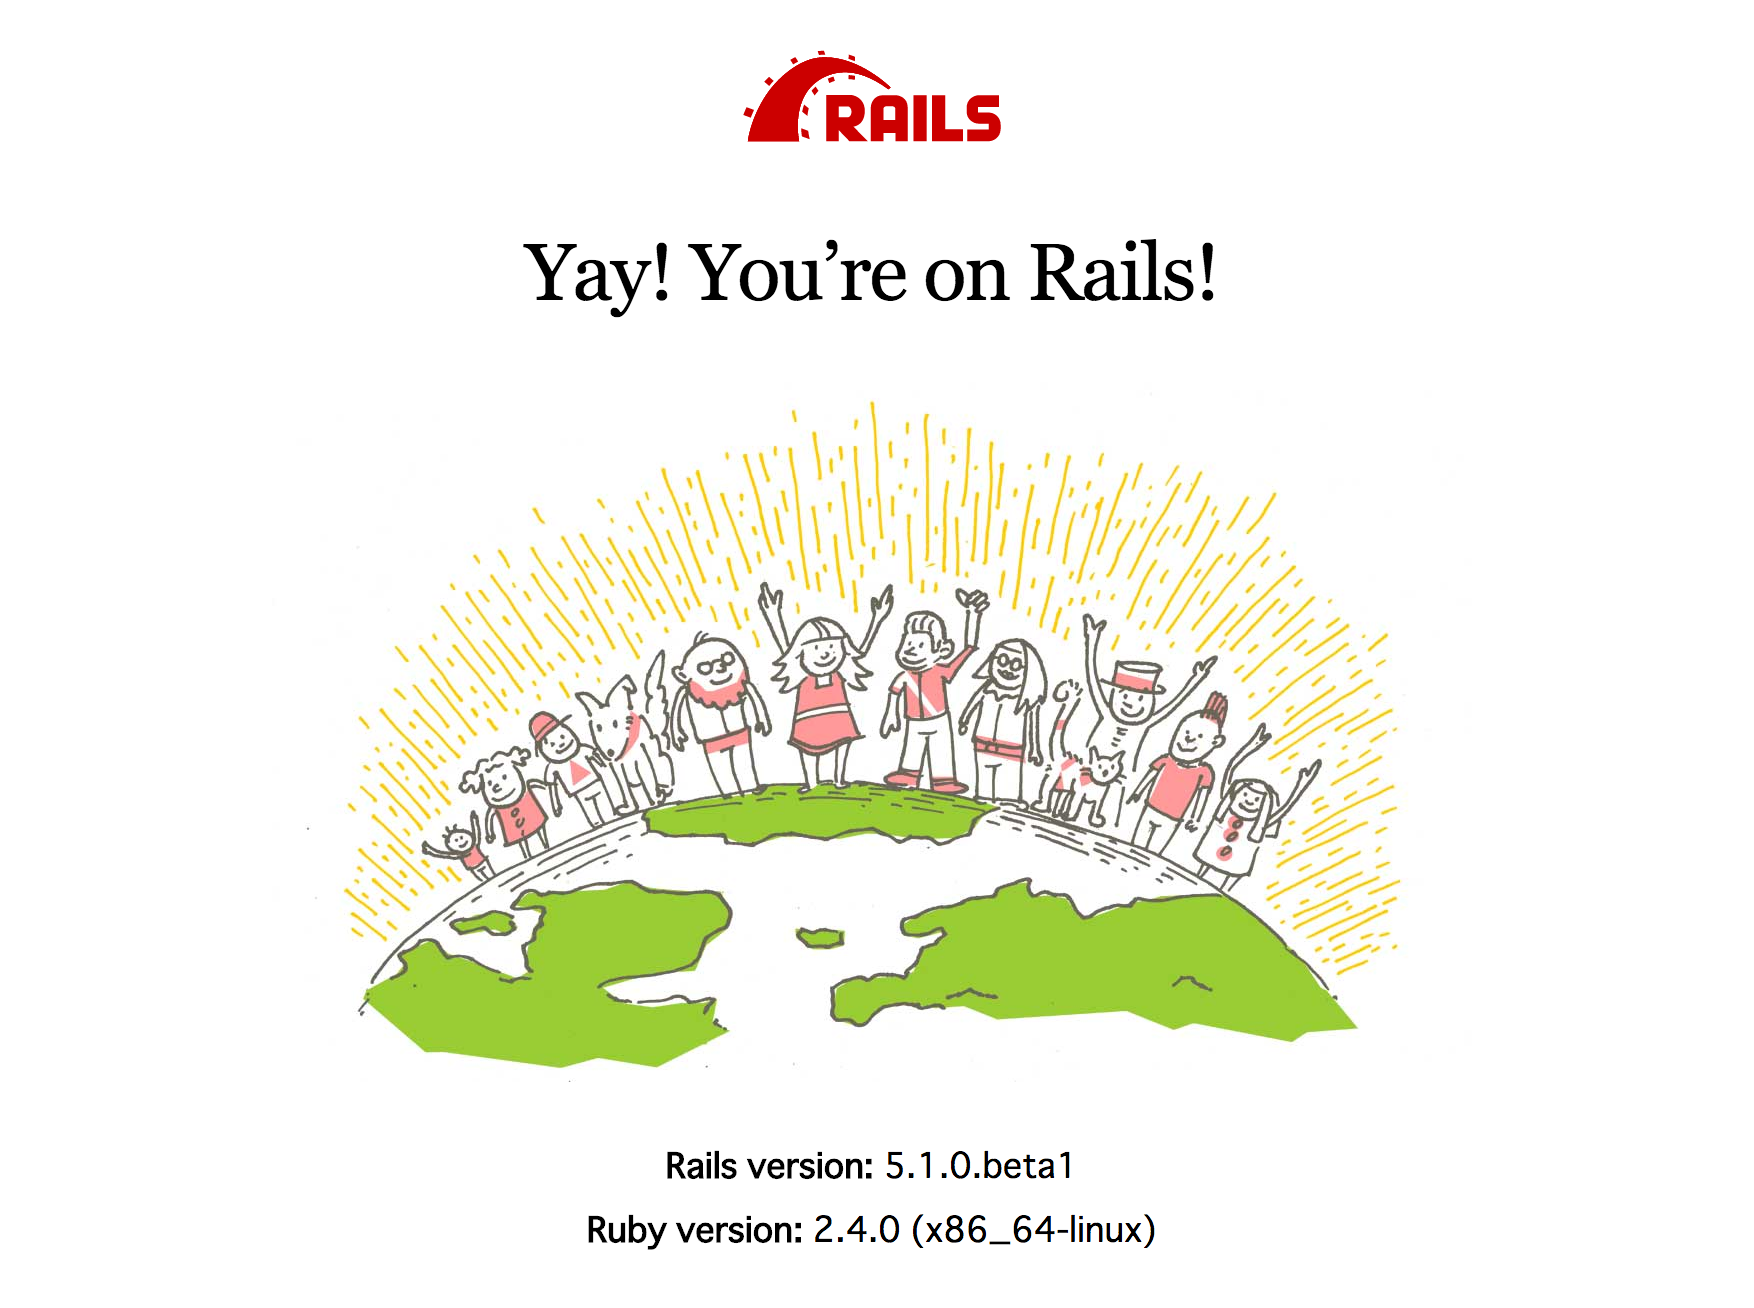
ローカルマシンのブラウザでrailsの起動画面が表示されるまで。
特にJavaScriptを利用した開発はしない。
<環境>
- Ruby 2.4.0
- Rails 5.1.0.beta1
- PostgreSQL
ソースコード
以下のソースコードが最終盤。
https://github.com/tomoyamachi/rails_sample
手順
Dockerfileの作成
プロジェクトのディレクトリ名は適当に決める。
FROM ruby:2.4.0
RUN apt-get update -qq && apt-get install -y build-essential libpq-dev
RUN mkdir /rails_sample
WORKDIR /rails_sample
ADD Gemfile /rails_sample/Gemfile
ADD Gemfile.lock /rails_sample/Gemfile.lock
RUN bundle install
ADD . /rails_sample
Gemfile/Gemfile.lockの作成
以下のGemfileを作成。
source 'https://rubygems.org'
gem 'rails', '~> 5.1.0.beta1'
Gemfile.lockファイルを作成。
$ touch Gemfile.lock
docker-compose.ymlの作成
当面の目標はとりあえず動かすことなので、DBとWebサーバのみの準備。
version: '2'
services:
  db:
    image: postgres
  web:
    build: .
    command: rails server -p 3000 -b '0.0.0.0'
    volumes:
      - .:/rails_sample
    ports:
      - "3000:3000"
    depends_on:
      - db
railsプロジェクトの作成
以下を実行すると、gemのインストールが行われ、railsプロジェクトの雛形が完成する。
$ docker-machine start default
# defaultマシンを起動
# ※なければdocker-machine create --driver virtualbox defaultなどでマシンを作成

$ eval "$(docker-machine env default)"
# defaultの環境設定を読み込む

$ docker-compose run web rails new . --force --database=postgresql --skip-bundle
# docker-composeの「web」環境で「rails new ...」を実行
docker-compose環境のビルド
先ほどのコマンドによりGemfileが更新されている。
更新されたGemfileの中に追加された以下の行のコメントアウトを外す。
コメントアウトをつけたままだと、Gem Load Error is: Could not find a JavaScript runtime. See https://github.com/rails/execjs for a list of available runtimes.というエラーが出る。
gem 'therubyracer', platforms: :ruby # コメントアウトを外す
そしてビルド
$ docker-compose build
DBの設定
docker-composeで作成する[db]サーバと紐付ける。
development:
  <<: *default
  database: rails_sample_development
  username: postgres
  password:
  host: db
test:
  <<: *default
  database: rails_sample_test
  username: postgres
  password:
  host: db
DBの作成
「rake db:create」を利用し、DBを作成する。
$ docker-compose run web rake db:create
Created database 'rails_sample_development'
Created database 'rails_sample_test'
サーバを起動
$ docker-compose up
db_1  | The files belonging to this database system will be owned by user "postgres".
db_1  | This user must also own the server process.
...
web_1 | Puma starting in single mode...
web_1 | * Version 3.7.1 (ruby 2.4.0-p0), codename: Snowy Sagebrush
web_1 | * Min threads: 5, max threads: 5
web_1 | * Environment: development
web_1 | * Listening on tcp://0.0.0.0:3000
web_1 | Use Ctrl-C to stop
表示の確認
以下のコマンドで、defaultマシンのDOCKER_HOSTを確認。
以下の例で言うと192.168.99.101:3000で表示を確認できる。
$ docker-machine env default
export DOCKER_TLS_VERIFY="1"
export DOCKER_HOST="tcp://192.168.99.101:2376"
export DOCKER_CERT_PATH="/Users/amachi/.docker/machine/machines/default"
export DOCKER_MACHINE_NAME="default"
まとめ
次回はフロントエンドの設計思想を確認していきたい。
