Androidに新しく導入されたToolbarにはデフォルトだと影がついてません。
影を付ける方法はざっくり4通りあると思うので紹介します。
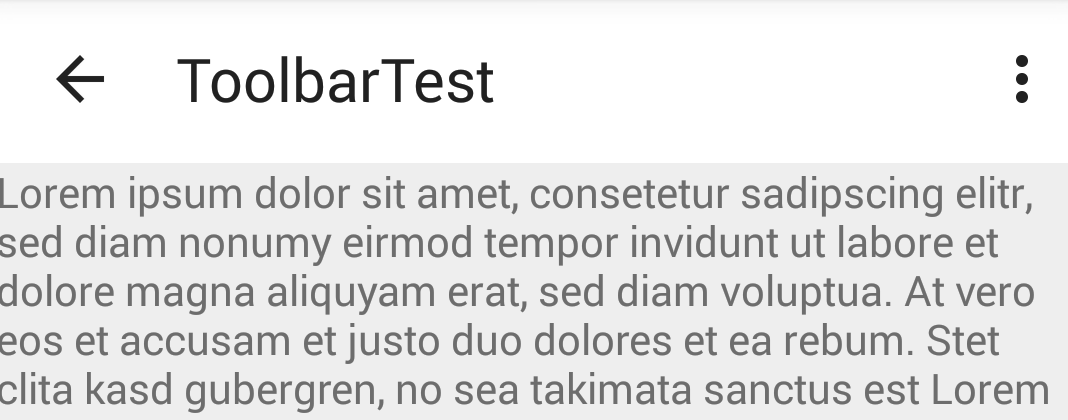
デフォルト:
1.elevationを使う(Lollipopのみ有効)
Lollipopから利用できるelevationを使うと、ViewのZ軸が指定できます。上に浮かした分だけ影が入るって寸法です。うーん、マテリアル!
elevationは当然5.0以下では効きませんが、あっても特にエラーでないみたいです。
5dpだと結構深く影がつきます。
main.xml
    <android.support.v7.widget.Toolbar
        android:id="@+id/my_toolbar"
        android:layout_height="wrap_content"
        android:layout_width="match_parent"
        android:elevation="5dp"
        android:minHeight="?attr/actionBarSize"
        android:background="@android:color/white"
        app:theme="@style/ThemeOverlay.AppCompat.ActionBar" />
2.windowContentOverlayを使う
android:foreground="?android:windowContentOverlay"を設定すると、フォアグラウンドにその前で呼ばれているレイアウトが上乗せされて、結果として影がつきます。
若干細めの影がつきます。
実装例としては以下になります。
main.xml
<LinearLayout xmlns:android="http://schemas.android.com/apk/res/android"
             android:id="@+id/container"
             android:layout_width="match_parent"
             android:layout_height="match_parent"
             android:orientation="vertical"
             tools:context=".MainActivity"
             tools:ignore="MergeRootFrame">
    <LinearLayout
        android:id="@+id/headerbar"
        android:layout_width="match_parent"
        android:layout_height="wrap_content"
        android:background="@android:color/white"
        android:clickable="true"
        android:orientation="vertical" >
    <android.support.v7.widget.Toolbar
        android:id="@+id/my_toolbar"
        android:layout_height="wrap_content"
        android:layout_width="match_parent"
        android:minHeight="?attr/actionBarSize"
        android:background="@android:color/white"
        app:theme="@style/ThemeOverlay.AppCompat.ActionBar" />
     </LinearLayout>
<!-- Overlayされる側のコンテンツをFrameLayoutで囲う -->
    <FrameLayout
        android:layout_width="match_parent"
        android:layout_height="wrap_content"
        android:foreground="?android:windowContentOverlay"
        >
        <ScrollView
            android:id="@+id/scroll_view"
            android:layout_width="match_parent"
            android:layout_height="match_parent"
            >
        </ScrollView>
    </FrameLayout>
</LinearLayout>
ただ、こちらの情報にもあるように4.3系のバグで線がでなくなります。自分も4.3系のエミュレータで線が出ない現象が発生しました。なのであまり推奨されないかもです。
3.影を自作する
影のレイアウトを作る方法です。
ポイントとしては、コンテンツをFrameLayoutで囲んで上げて、それに影のレイアウトをセットしてあげるってところでしょうか。影は色々カスタマイズできます。コード的には若干煩雑になりますね。
実装例はこんな感じ。
main.xml
<LinearLayout xmlns:android="http://schemas.android.com/apk/res/android"
             android:id="@+id/container"
             android:layout_width="match_parent"
             android:layout_height="match_parent"
             android:orientation="vertical"
             tools:context=".MainActivity"
             tools:ignore="MergeRootFrame">
    <LinearLayout
        android:id="@+id/headerbar"
        android:layout_width="match_parent"
        android:layout_height="wrap_content"
        android:background="@android:color/white"
        android:clickable="true"
        android:elevation="5dp"
        android:orientation="vertical" >
    <android.support.v7.widget.Toolbar
        android:id="@+id/my_toolbar"
        android:layout_height="wrap_content"
        android:layout_width="match_parent"
        android:minHeight="?attr/actionBarSize"
        android:background="@android:color/white"
        app:theme="@style/ThemeOverlay.AppCompat.ActionBar" />
     </LinearLayout>
    <FrameLayout
        android:layout_width="match_parent"
        android:layout_height="wrap_content"
        >
    <include layout="@layout/toolbar_shadow" /> <!--影-->
    <ScrollView
        android:id="@+id/scroll_view"
        android:layout_width="match_parent"
        android:layout_height="match_parent"
        >
    </ScrollView>
    </FrameLayout>
</LinearLayout>
toolbar_shadow.xml
<View xmlns:android="http://schemas.android.com/apk/res/android"
      android:layout_width="match_parent"
      android:layout_height="10dp"
      android:id="@+id/shadow_prelollipop"
      android:background="@drawable/background_shadow" />
background_shadow
<shape xmlns:android="http://schemas.android.com/apk/res/android"
       android:shape="rectangle">
<!--影のグラデーションを設定-->
    <gradient
        android:startColor="#02444444"
        android:endColor="#33111111"
        android:angle="90"></gradient>
</shape>
4.9patchで線をつける
9patchでToolbarのbackgroundに影をつけてあげます。カスタマイズはできませんが、コードもelevation並にシンプルになるので、9patchが作れるならよいかなと思ってます。
main/xml
<android.support.v7.widget.Toolbar
    android:id="@+id/my_toolbar"
    android:layout_height="wrap_content"
    android:layout_width="match_parent"
    android:minHeight="?attr/actionBarSize"
    android:background="@drawable/toolbar_shadow"  <!--影を付けた9patchを設定してあげる -->
    app:theme="@style/ThemeOverlay.AppCompat.ActionBar" />
結局のところ手っ取り早いのは昔ながらの9patchかなと思いますが、影を自作する場合は影の長さをカスタマイズできるという良さもあります。用途によって使い分けるのもよいかもしれません。