はじめに
1年以上前に、
Codeaを使ってiPadでアプリ開発(概要)
という記事を書いたのですが、概要の紹介だけで終わっていました。
今回はもう少し詳しく、Codeaで開発する際の実際のコードを紹介したいと思います。
なお、Codeaのリファレンスはアプリ上で見られる他、以下のページで確認できます。
Codea Reference
setup
まずはHelloWorld。
CodeaはMainのsetupという関数が最初に呼ばれます。
function setup()
    print("Hello World!")
end
実行すると、「アウトプット」欄にHello World!が出力されているはずです。
draw
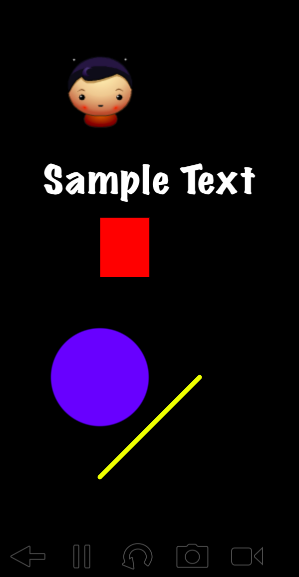
次に描画です。Codeaでは、draw関数が毎フレーム毎に呼び出されます。
function draw()
    -- 黒で塗りつぶす
    background(0, 0, 0)

    -- ########## 線を引く ##########
    -- rgba
    stroke(255, 255, 0, 255)
    -- 線の太さ
    strokeWidth(5)
    -- 線の端のスタイル
    lineCapMode(ROUND)
    -- x=100,y=100 -> x=200,y=200 の位置に線を引く
    line(100, 100, 200, 200)


    -- ########## 円を描く ##########
    -- 円の縁の線をなしに
    noStroke()
    -- 円の塗りつぶしの色
    fill(0, 0, 255, 255)
    -- x=100,y=200, 直径=100 の円を描く
    ellipse(100, 200, 100)


    -- ########## 四角を描く ##########
    -- 四角の塗りつぶしの色
    fill(255, 0, 0, 255)
    -- x=100,y=300,width=50,height=100 の四角を描く
    rect(100, 300, 50, 60)


    -- ########## 文字を描く ##########
    -- 文字色
    fill(255, 255, 255, 255)
    -- 文字サイズ
    fontSize(40)
    -- フォント
    font("MarkerFelt-Wide")
    -- x=150,y=400 の位置に文字を描画
    text("Sample Text", 150, 400)


    -- ########## 画像を描画 ##########
    -- x=100,y=500 の位置に画像を描画
    sprite("Planet Cute:Character Boy", 100, 500)
end
Codeaは円が綺麗に描けるのが、個人的には気に入っています。
最初にbackgroundやrect等で背景を塗りつぶさないと、一度描画したものが残り続けます。
fillやstroke等で設定した内容は、それ以降ずっと有効となったままです。
そのため、一時的に色やスタイルを変え、描画後に戻したい場合はpushStyle、popStyleで挟むと良いです。
function draw()
    background(0, 0, 0)

    pushStyle()
    fill(0, 0, 255, 255)
    rect(100, 100, 100)
    popStyle()
end
Touch
タッチイベントは、Mainのtouchedという関数で受け取ります。
function touched(touch)
    if touch.state == BEGAN then
        print("BEGAN : " .. touch.x .. ", " .. touch.y)
    elseif touch.state == MOVING then
        print("MOVING : " .. touch.x .. ", " .. touch.y)
    elseif touch.state == ENDED then
        print("ENDED : " .. touch.x .. ", " .. touch.y)
    end
end
引数のtouchオブジェクトの中身は以下を参照してください
http://twolivesleft.com/Codea/Reference/Touch.html#touch
stateの値は、タッチ開始がBEGAN、ドラッグ中がMOVING、離すとENDEDとなります。
そのため、タッチ1回だけの取得であれば、touch.stage == ENDEDの場合のみ処理を実行すれば良いかと思います。
アニメーション
Codeaでオブジェクトを動かしたい場合、基本的な考え方は、drawでずらしながら描画するという方法です。
function setup()
   x = 100
end

function draw()
    background(0, 0, 0)

    fill(0, 0, 255, 255)
    ellipse(x, 100, 100)

    -- x = 100 -> 300 まで移動
    x = x + DeltaTime * 100
    if x > 300 then
        x = 300
    end
end
しかしこれを毎回実装するのは面倒です。
そこでtween関数を使います。tweenを使うと、指定時間でオブジェクトの値を変化させる処理を
簡単に書くことができます。
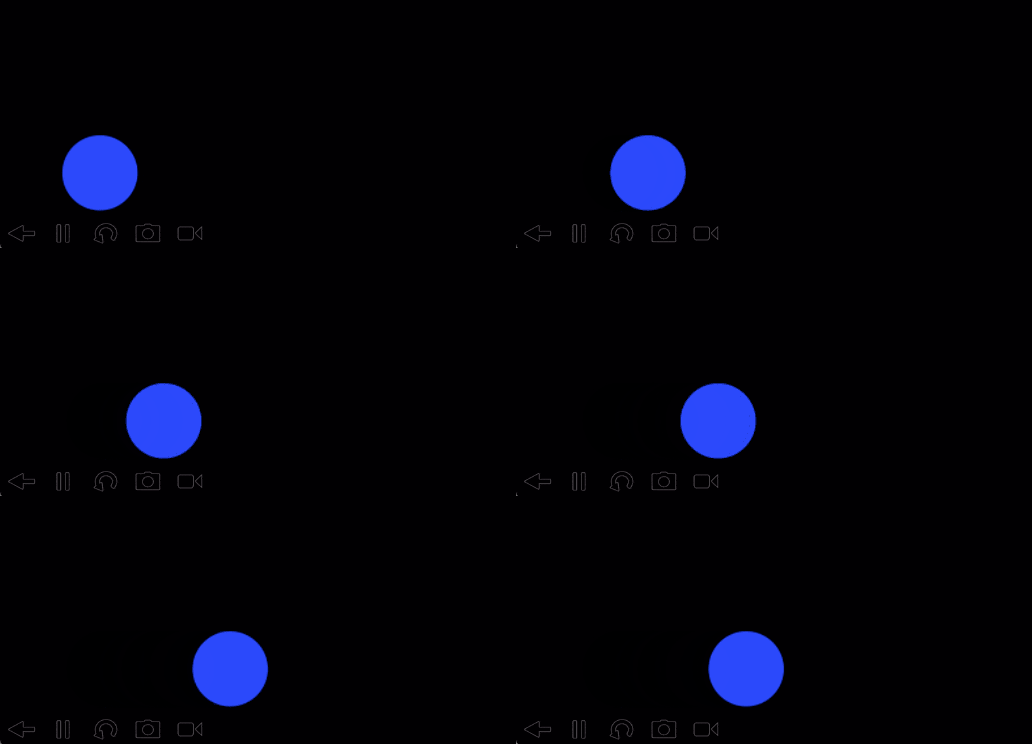
上記と同じような処理をtweenで書き直すと、以下のようになります。
function setup()
   obj = {x = 100, y = 100}
   -- 2秒かけて、objのxを300まで変化させる
   tween(2, obj, {x = 300})
end

function draw()
    background(0, 0, 0)

    fill(0, 0, 255, 255)
    ellipse(obj.x, obj.y, 100)
end
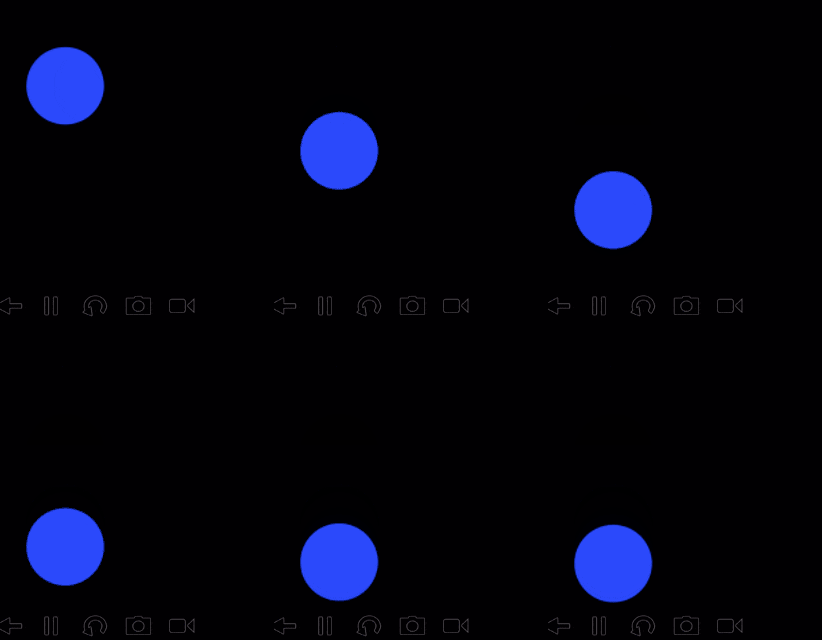
tweenではeasingを指定することもできます。
function setup()
   obj = {x = 100, y = 300}
   tween(2, obj, {y = 100}, tween.easing.bounceOut)
end

function draw()
    background(0, 0, 0)

    fill(0, 0, 255, 255)
    ellipse(obj.x, obj.y, 100)
end
easingは結構種類があります。
http://twolivesleft.com/Codea/Reference/Animation.html#3
さらにloopを指定することで、アニメーションを繰り返し実行することができます。
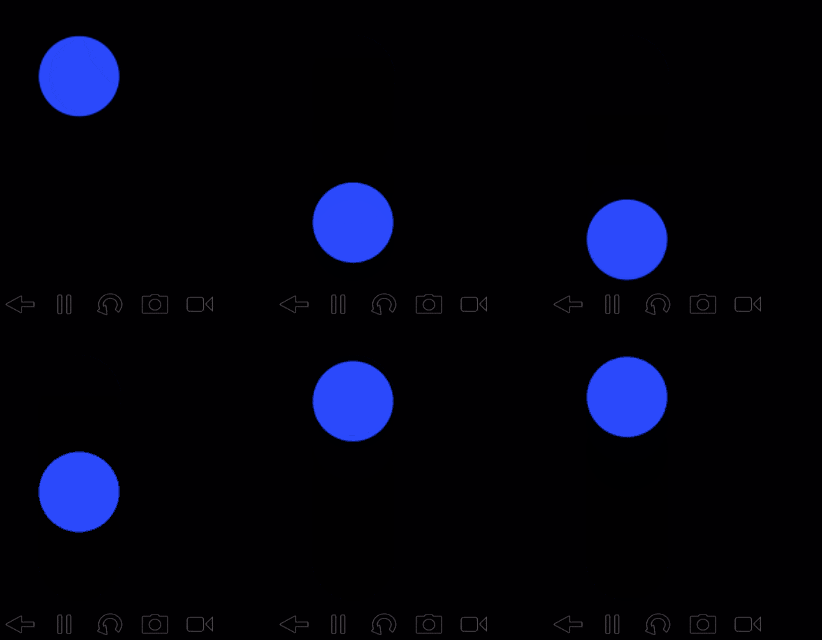
loopには、tween.loop.forever、tween.loop.pingpong を指定することができ、
pingpong は以下のように行ったり来たりを繰り返します。
function setup()
   obj = {x = 100, y = 300}
   tween_id = tween(0.5, obj, {y = 100}, {easing=tween.easing.cubicInOut, loop=tween.loop.pingpong})
end

function draw()
    background(0, 0, 0)

    fill(0, 0, 255, 255)
    ellipse(obj.x, obj.y, 100)
end
tweenでは、さらにアニメーション完了時のコールバックを指定できます。
   tween(0.5, obj, {y = 100}, tween.easing.liner, function()
       print("complete.")
   end)
Class
Codeaのアプリ上では、「新規クラスを作成」というボタンがあり、Classを作成して処理を分割することができます。
「新規クラスを作成」を実行すると、以下のような雛形が生成されます。
TestClass = class()

function TestClass:init(x)
    -- you can accept and set parameters here
    self.x = x
end

function TestClass:draw()
    -- Codea does not automatically call this method
end

function TestClass:touched(touch)
    -- Codea does not automatically call this method
end
このクラスはCodea独特のもので、以下のような特徴があります。
- 作ったクラスは自動で
requireされる - クラス名() でインスタンスを生成できる (例:TestClass() )
- initはコンストラクタ相当のもので、引数はインスタンス生成時に指定する
- 雛形で生成される
draw、touchedは勝手に呼ばれないので、Mainから呼び出す処理を書く
クラスの例
-- Main
function setup()
    test = TestClass(100, 100)
end

function draw()
    background(0, 0, 0)
    test:draw()
end

function touched(touch)
    test:touched(touch)
end


-- TestClass
TestClass = class()

function TestClass:init(x, y)
    self.x = x
    self.y = y
    self.tween_id = tween(0.5, self, {y = 300}, {easing=tween.easing.linear, loop=tween.loop.pingpong})
end

function TestClass:draw()
    pushStyle()
    fill(0, 0, 255, 255)
    ellipse(self.x, self.y, 100)
    popStyle()
end

function TestClass:touched(touch)
    if touch.state == ENDED and self.tween_id then
        tween.stop(self.tween_id)
        self.tween_id = nil
    end
end
なお、class(親クラス) とすることで、クラスを継承することができます。
-- TestClass2
TestClass2 = class(TestClass)
補足
説明上、「クラス」「継承」と記載していますが、Luaにクラスは存在せず、実態はただのLuaのテーブルです。
当然クラスの継承というものもありません。
Codeaではclass()関数で特別なテーブルを生成しており、それにより、上記のような
オブジェクト指向的な書き方ができるようになっています。
物理エンジン(Physics)
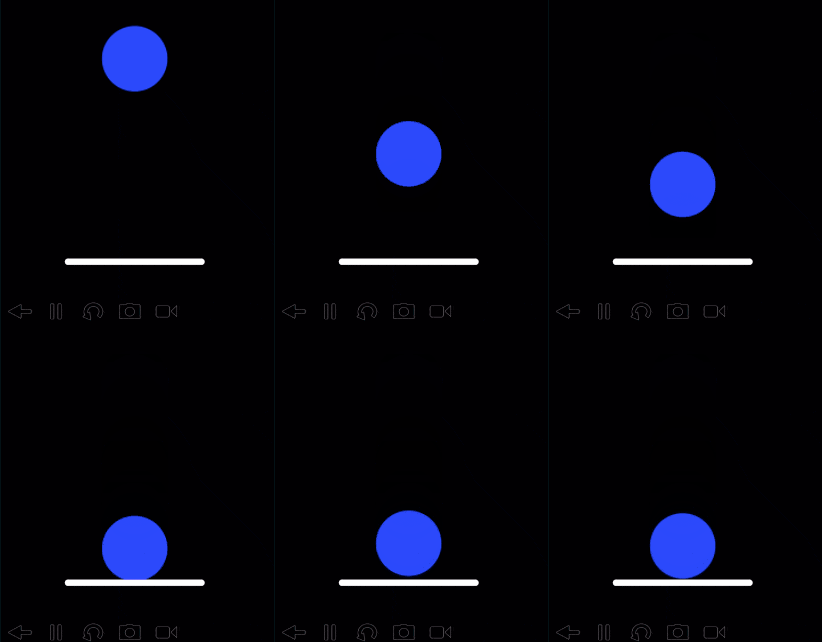
Codeaでは物理エンジンを使うこともできます。物理エンジンはBox2Dを使っています。
-- Main
function setup()
    physics.gravity(0, -100)  -- 重力

    -- ボール
    ball = physics.body(CIRCLE, 50)
    ball.x = 200
    ball.y = 400
    ball.gravityScale = 10  -- 重力10倍
    ball.restitution = 0.7  -- 反発係数

    -- 床
    flr = physics.body(EDGE, vec2(100, 100), vec2(300, 100))
    flr.w = 10
end

function draw()
    background(0, 0, 0)

    -- ボール描画
    pushStyle()
    fill(0, 0, 255, 255)
    ellipse(ball.x, ball.y, ball.radius * 2)

    -- 床描画
    pushStyle()
    stroke(255, 255, 255, 255)
    strokeWidth(flr.w)
    local p = flr.points
    line(p[1].x, p[1].y - 5, p[2].x, p[2].y - flr.w * 0.5)
    popStyle()
end
Physicsはリファレンス等を見ても情報が少なく、使う方がわかりづらいのですが、
物理エンジンはBox2Dのため、Box2Dの使い方を調べればだいたいわかります。
おわりに
Codeaでゲームを開発する際の、基本的なAPIを紹介してみました。
他にもストレージやネットワーク、サウンド等、色々と便利なAPIがあるため、
興味がある方はリファレンスを一通り見てみると良いと思います。
最後に、Codeaで簡単な数字パズル的なゲームを作ってリリースしてみたので紹介しておきます。
Chain Numbers
以上
