1. はじめに
多くのクラウドではデフォルトでCUI(キャラクターベースのインターフェース)しか提供されておらず、SSHなどでログインすることが殆どです。ただし、最近の製品の中ではGUI(グラフィカルユーザーインターフェース)を要求されていることも多いため、どうしてもGUIを使いたい!という人もいらっしゃいます。
本記事では、Bluemix Infrastructure(旧SoftLayer)にてVNCおよびGUI環境を導入し、安全に接続する方法を記載します。利用しているOSはCentOS7です。
# cat /etc/redhat-release
CentOS Linux release 7.3.1611 (Core)

# uname -a
Linux guitest.softlayer.com 3.10.0-514.21.1.el7.x86_64 #1 SMP Thu May 25 17:04:51 UTC 2017 x86_64 x86_64 x86_64 GNU/Linux
2. コンポーネントの確認と導入
GUIを利用するためにはVNC(tiger-VNC)を利用すればいいのですが、VNCを単純に導入するだけでは、ウィンドウマネージャーがないためにほぼ使い物になりません。そのため、GUI付のServerコンポーネントを導入します。2GBぐらいあるので注意して下さい。
ServerWithGUIおよびVNCの確認
# yum grouplist
Loaded plugins: fastestmirror
There is no installed groups file.
Maybe run: yum groups mark convert (see man yum)
Loading mirror speeds from cached hostfile
Available Environment Groups:
   Minimal Install
   Compute Node
   Infrastructure Server
   File and Print Server
   Basic Web Server
   Virtualization Host
   Server with GUI
   GNOME Desktop
   KDE Plasma Workspaces
   Development and Creative Workstation
Available Groups:
   Compatibility Libraries
   Console Internet Tools
   Development Tools
   Graphical Administration Tools
   Legacy UNIX Compatibility
   Scientific Support
   Security Tools
   Smart Card Support
   System Administration Tools
   System Management
Done

# yum search tigervnc
Loaded plugins: fastestmirror
Loading mirror speeds from cached hostfile
========================================================================== N/S matched: tigervnc ==========================================================================
tigervnc.x86_64 : A TigerVNC remote display system
tigervnc-icons.noarch : Icons for TigerVNC viewer
tigervnc-license.noarch : License of TigerVNC suite
tigervnc-server.x86_64 : A TigerVNC server
tigervnc-server-applet.noarch : Java TigerVNC viewer applet for TigerVNC server
tigervnc-server-minimal.x86_64 : A minimal installation of TigerVNC server
tigervnc-server-module.x86_64 : TigerVNC module to Xorg

  Name and summary matches only, use "search all" for everything.
ServerWithGUIおよびVNCの導入
# yum groupinstall "Server with GUI"
# yum install tigervnc-server.x86_64
3. VNC Serverの動作確認
vncserverコマンドを実行し、VNCアクセス用のパスワードを設定して、、、
vncserverの実行
# vncserver

You will require a password to access your desktops.

Password:
Verify:

New 'guitest.softlayer.com:1 (root)' desktop is guitest.softlayer.com:1

Creating default startup script /root/.vnc/xstartup
Starting applications specified in /root/.vnc/xstartup
Log file is /root/.vnc/guitest.softlayer.com:1.log
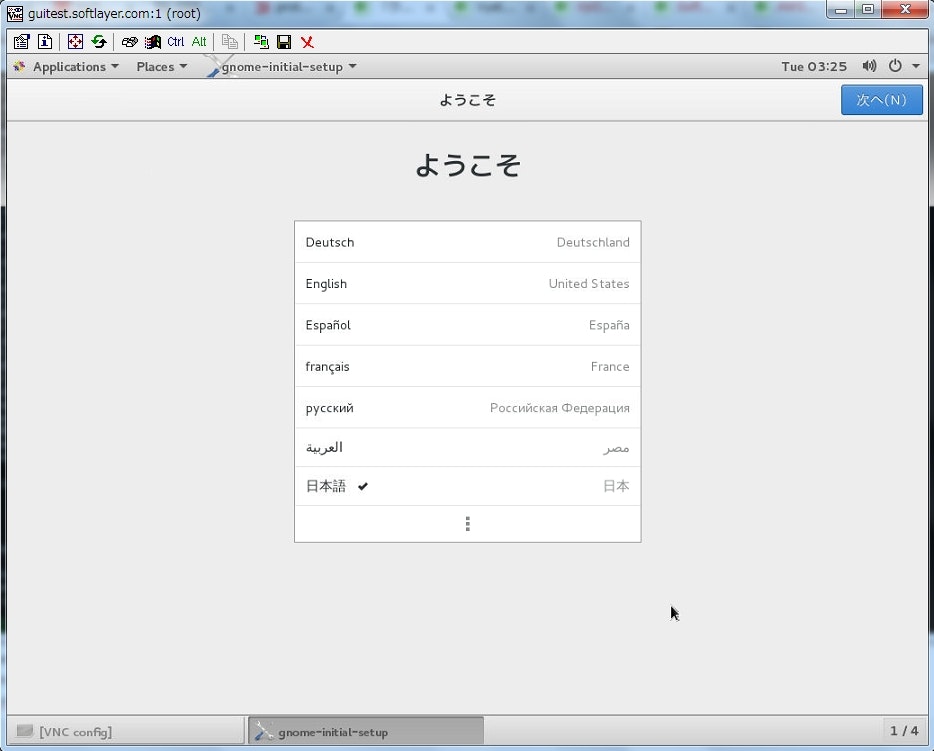
VNC Viewerからポート5901にアクセスすると、無事アクセスできました。
しかし、このままだとVNC Serverは5901を全てのインターフェースに対して公開してしまっています。。。しかも、6001番も。。。
# ss -anptu|grep vnc
tcp    LISTEN     0      5         *:5901                  *:*                   users:(("Xvnc",pid=3714,fd=10))
tcp    LISTEN     0      128       *:6001                  *:*                   users:(("Xvnc",pid=3714,fd=1))
tcp    LISTEN     0      5        :::5901                 :::*                   users:(("Xvnc",pid=3714,fd=11))
tcp    LISTEN     0      128      :::6001                 :::*                   users:(("Xvnc",pid=3714,fd=0))
4. 安全な接続に向けて実施する内容
以下の4つの組み合わせによって対応しましょう。
- firewallを構成し、必要なポート以外は閉じる。
- デフォルトのポート番号を5901から他の番号に変更する。
- VNCがLISTENするインターフェースをPrivate NW側のみにする(SoftLayerは無料のSSL-VPNでPrivate NWからもアクセスできます)
- X Server用のポート(6001)を無効化する。VNC Server起動時に上がってきますが、VNCアクセスするだけなら不要です。これは、Xアプリケーションが接続する際に利用するポートです。
2~4の対策を盛り込んだ例
# vncserver :10001 -interface=10.132.75.77 -nolisten tcp
# ss -anptu|grep vnc
tcp    LISTEN     0      5      10.132.75.77:15901                 *:*                   users:(("Xvnc",pid=7779,fd=6))
コマンドオプションの解説は以下の通り。
- VNCのデフォルトは5901番から始まり、:1に対応します。:10001のように指定することで、ポート15901が新たにListenするポート番号になります。
- interfaceでListenするアドレスを指定できます。-localhostとすることで、localhost(127.0.0.1)からしかアクセスできないようにもできます。SSH port fowardingとかを使うのであれば、こちらのオプションも有力な選択肢でしょう。
- nolisten tcpで、X Server用のポート(6001)の利用を停止します。
- なお、
vncserver --helpおよびXvnc --helpで他のオプションの確認も可能です。
firewallの構成は今回は紹介しませんが、別途必ずやっておきましょう。GUIを導入する際に知らないサービスが上がってきている可能性もあるので、ss -anptuで知らないサービスが上がっているかどうかもチェック必須です。
※ちなみにsystemdがTCPポート111でポートオープンしていたので、私は以下のようにして無効化しました。
# systemctl stop rpcbind.socket
# systemctl disable rpcbind.socket