はじめに
中井悦司さんより紹介頂きました実行可能な手順書としての
Ansible run on Jupyter notebookについて試してみたので構築方法などをメモしておきます。
中井さんありがとうございます。
Ansible run on Jupyter notebookが、どんなものなのかは中井さんのこちらのブログLiterate Automation(文芸的自動化)についての考察を参照ください。
使いどころ
中井さんより初めてJupyterからAnsibleを実行する話を紹介いただいた時には、正直なところあまりピンとこなかったです。(中井さんすみません。。。)
しかし、最近、多数の手順書をAnsibleのPlaybook化し構築作業等を自動化する案件があり、考えが変わりました。
構築途中にGUI作業が必要であったり、物理的に中断しなければいけないなど、どうしてもPlaybookだけでは全てを自動化できない部分が出てきました。
自動化できない部分は手順書とJenkinsおじさんのプロジェクトでどうにかしようかと考えていたのですが、
ふとJupyterの利用を思い出し、試してみたところ、引き継ぎや結果の状況報告・共有含めて、とても便利に使えることがわかりました。
環境構築
中井さんのブログではCentOS7上のDockerで動かすのですが、Dockerfileにtensorflowが入っているのと、
諸事情によりDockerが利用できない環境であったため、
Dockerfileの内容を参考とさせていただきつつ
今回はCentOS6上に以下をインストールして構築し、VagrantのBoxファイル化して現場で利用しました。
Vagrantについてはこちらの記事クローズドネットワーク環境の32bit Windows7上でAnsibleなどを動かす方法なども参考にしてください。
Jupyter自体はpip install Jupyterで簡単にインストール可能なのですが、CentOS6のデフォルトのPythonのバージョン2.6.6?ではうまく動作しなかったので、
PyenvでPythonをバージョン2.7.8に上げてから、JupyterのインストールとAnsibleのインストールを行いました。
※pyenvのインストール部分のみをこちらの記事へ切り出しましたpyenvだけで良い方はこちらを参照ください。
構築の主な手順
JupyterとAnsibleをインストールしたいCentOS6に対して以下をrootで実施します
1. pyenvのインストール
2. python2.7.8のインストール
3. Ansibleのインストール
4. Jupyter notebookのインストール
5. Jupyter notebookの設定
6. Jupyter notebookのポート(8888)の穴あけ
7. Jupyter notebookのパスワード設定(pass)と起動
8. Vagrantの場合、ポート:8888のフォワード設定
playbook や Vagrantfile(Ansible provisoner)等
具体的な環境構築については以下プレイブックを参考にしてください。
gistはこちらとなります。
git clone https://gist.github.com/tbuchi888/240df64592302bbee9d823c1c36e0692
---
 - include: install_pyenv_without_proxy.yml
 - include: install_jupyter_ansible_without_proxy.yml
---
- hosts: all
  gather_facts: no
  become: yes
  vars:
    python_ver: 2.7.8
  tasks:
    - name: which pyenv
      shell:  source ~/.bash_profile; which pyenv
      register: pyenv_install
      failed_when: pyenv_install.rc == 0
    - debug: var=pyenv_install

    - block:
        - debug: msg="---------- block start ----------"
        - name: yum install with_items
          yum:
            name:  '{{ item.name }}'
            state: latest
          register: RESULT
          with_items:
            - name: gcc
            - name: gcc-c++
            - name: make
            - name: git
            - name: openssl-devel
            - name: bzip2-devel
            - name: zlib-devel
            - name: readline-devel
            - name: sqlite-devel
            - name: bzip2
            - name: sqlite
            - name: patch
        - name: results
          debug: var=RESULT.results

        - name: git clone pyenv , pyenv-virtualenv
          git:
            repo: '{{ item.repo }}'
            dest: '{{ item.dest }}'
          register: RESULT
          with_items:
            - repo: git://github.com/yyuu/pyenv.git
              dest: ~/.pyenv
            - repo: git://github.com/yyuu/pyenv-virtualenv.git
              dest: ~/.pyenv/plugins/pyenv-virtualenv
        - name: results
          debug: var=RESULT.results

        - name: "install pyenv and python ver.{{ python_ver }}"
          shell: '{{ item.cmd }}'
          register: RESULT
          with_items:
            - cmd: echo 'export PYENV_ROOT="${HOME}/.pyenv"' >> ~/.bash_profile
            - cmd: echo 'if [ -d "${PYENV_ROOT}" ]; then' >> ~/.bash_profile
            - cmd: echo '    export PATH=${PYENV_ROOT}/bin:$PATH' >> ~/.bash_profile
            - cmd: echo '    eval "$(pyenv init -)"' >> ~/.bash_profile
            - cmd: echo 'fi' >> ~/.bash_profile
            - cmd: source ~/.bash_profile; pyenv -v
            - cmd: source ~/.bash_profile; python -V
            - cmd: source ~/.bash_profile; pyenv install '{{ python_ver }}'
            - cmd: source ~/.bash_profile; pyenv global '{{ python_ver }}'
            - cmd: source ~/.bash_profile; python -V
        - name: results
          debug: var=RESULT.results

        - debug: msg="---------- block end   ----------"

      when: pyenv_install.rc == 1
Jupyterのパスワードについては以下jupyter_password: pass で設定していますので適時変更してください。
---
# Setting the destination inventory host
- hosts: all
  become: yes
  become_method: sudo
  become_user: root

# Don't gather hosts facts for performance
  gather_facts: no
  vars:
    jupyter_password: pass

# Setting the task
  tasks:
    - name: yum install with_items
      yum:
        name: '{{ item.name }}'
        state: latest
      with_items:
        - name: '*'
        - name: "@Development Tools"
        - name: epel-release
        - name: python-devel
        - name: python-pip
        - name: lapack-devel
        - name: freetype-devel
        - name: libpng-devel
        - name: libjpeg-turbo-devel
        - name: ansible

    - name: copy init.sh for jupyter notebook
      template:
        src: init.sh.j2
        dest: /usr/local/bin/init.sh
        mode: u+x

    - name: command by shell module with_items
      shell: '{{item.cmd}}'
      register: RESULT
      with_items:
        - cmd: source ~/.bash_profile; pip install jupyter
        - cmd: source ~/.bash_profile; jupyter notebook --generate-config
        - cmd: source ~/.bash_profile; echo "c.NotebookApp.ip = '*'" >>/root/.jupyter/jupyter_notebook_config.py && echo "c.NotebookApp.open_browser = False" >>/root/.jupyter/jupyter_notebook_config.py
        - cmd: source ~/.bash_profile; nohup /usr/local/bin/init.sh &
        - cmd: lokkit -p 8888:tcp
    - debug: var=RESULT.results
Jupyterのパスワード設定と起動用シェルのjinjya2テンプレート
# !/bin/bash
trap 'pkill -f jupyter-notebook; sleep 3; exit 0' EXIT

if [ "${PASSWORD-undef}" = "undef" ]; then
  export PASSWORD='{{jupyter_password}}'
fi

if ! grep -qE '^c.NotebookApp.password =' $HOME/.jupyter/jupyter_notebook_config.py; then
  HASH=$(python -c "from IPython.lib import passwd; print(passwd('${PASSWORD}'))")
  echo "c.NotebookApp.password = u'${HASH}'" >>$HOME/.jupyter/jupyter_notebook_config.py
fi
unset PASSWORD
unset HASH

mkdir -p $HOME/notebook
cd $HOME/notebook
# Comment out the following line.
# ipython -c '%matplotlib' # build font cache for matplotlib
jupyter notebook
以下はVagrant環境の場合
以下はvagrant upにてCentOS6のServer起動とAnsible provisonerを利用してpyenv環境でのJupyterとAnsibleをインストールし、さらにjupyterで利用する8888ポートのフォーワーディング設定を行います。
なお、boxファイル名については、自環境のCentOS6のboxファイル名に置き換えて利用してください。特に32bitマシン環境の場合は、自作の32bit版CentOS6のboxファイル名への置き換えをお願いします。
Vagrantfile
# -*- mode: ruby -*-
# vi: set ft=ruby :

Vagrant.configure(2) do |config|
  # Every Vagrant development environment requires a box. You can search for
  # boxes at https://atlas.hashicorp.com/search.
  # Please replace it with a BOX name of CentOS6 for one's own 32bit when your host is 32bit machine.
  config.vm.box = "geerlingguy/centos6"

  # Add forwarded port to use on Jupyter notebook
  config.vm.network "forwarded_port", guest: 8888, host: 8888, host_ip: "127.0.0.1",
    auto_correct: true
  # Add ansible provisioner
  config.vm.provision "ansible" do |ansible|
    ansible.playbook = "site.yml"
  end
end
使い方
- OSX等でAnsible provisonerが利用できるVagrant環境の場合
- 上記playbook等資材を用意した上でvagrant upしてください。
- Ansible環境のみの場合
- インベントリホストファイルを各自用意してCentOS6サーバに対してPlaybookを実行してください。
ansible-playbook -i インベントリファイル site.yml
上記プレイブックの実行環境
Ansible provisioner and Vagrant,Virtulbox Host
- OS:OSX yosemite
- Virtulbox:バージョン 5.0.10 r104061
- Vagrant: Vagrant 1.8.1
- Ansible:
$ansible --version
ansible 2.1.0 (devel c600ab81ee) last updated 2016/04/20 11:11:25 (GMT +900)
  lib/ansible/modules/core: (detached HEAD 98322a777f) last updated 2016/04/20 11:11:54 (GMT +900)
  lib/ansible/modules/extras: (detached HEAD 1aecfc1e19) last updated 2016/04/20 11:11:55 (GMT +900)
  config file =
  configured module search path = Default w/o overrides
Jupyter and Ansible Server
- OS: CentOS6.8
参考:Jupyterの画面
- ブラウザよりJupyter(http://127.0.0.1:8888/)へアクセス
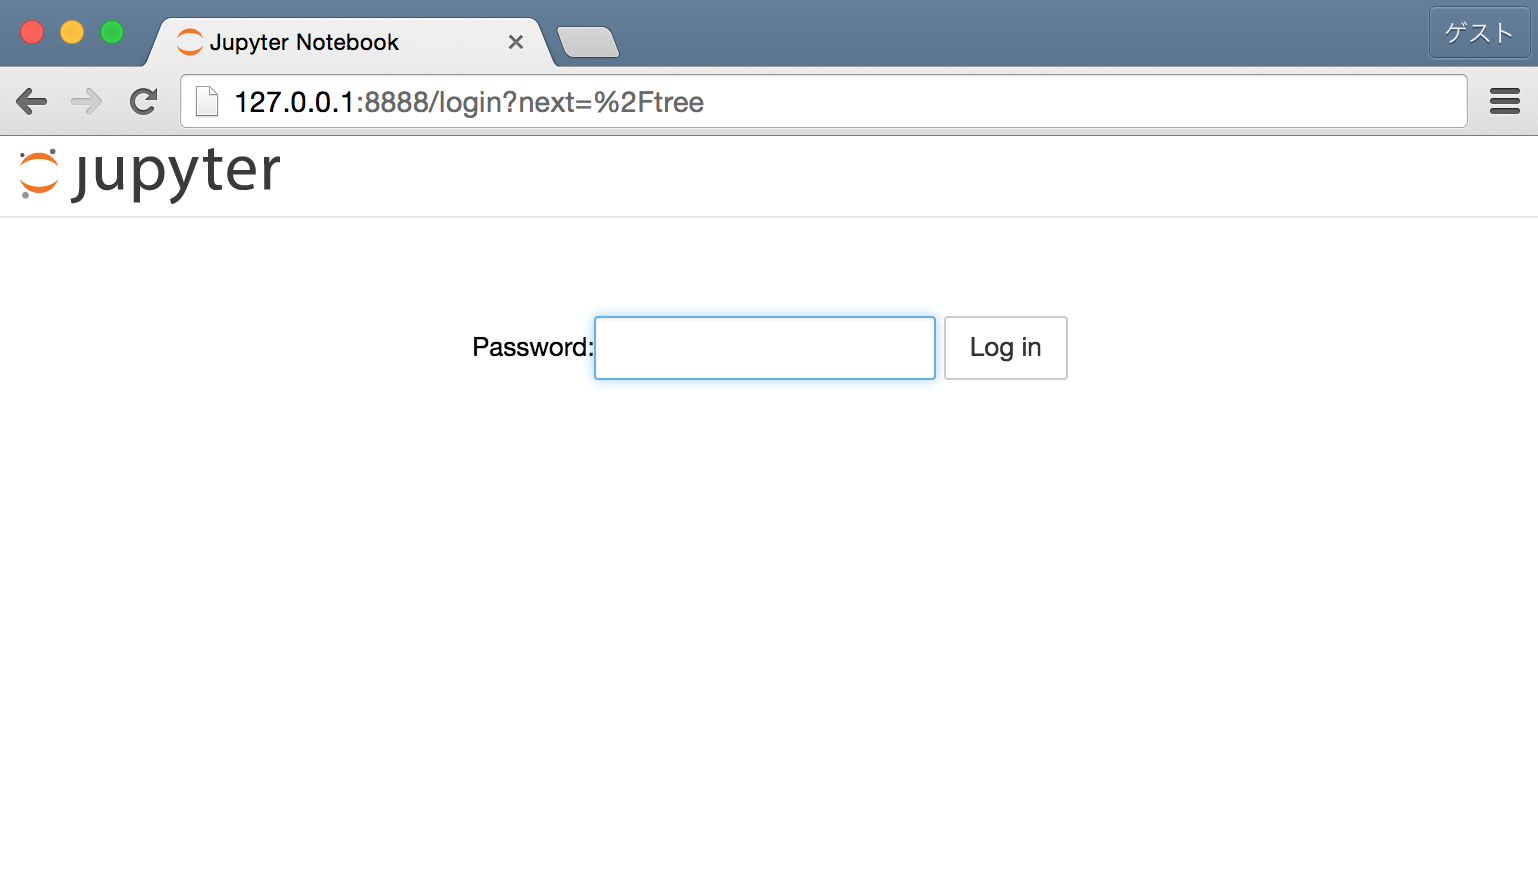
- パスワード(pass)を入力してログイン
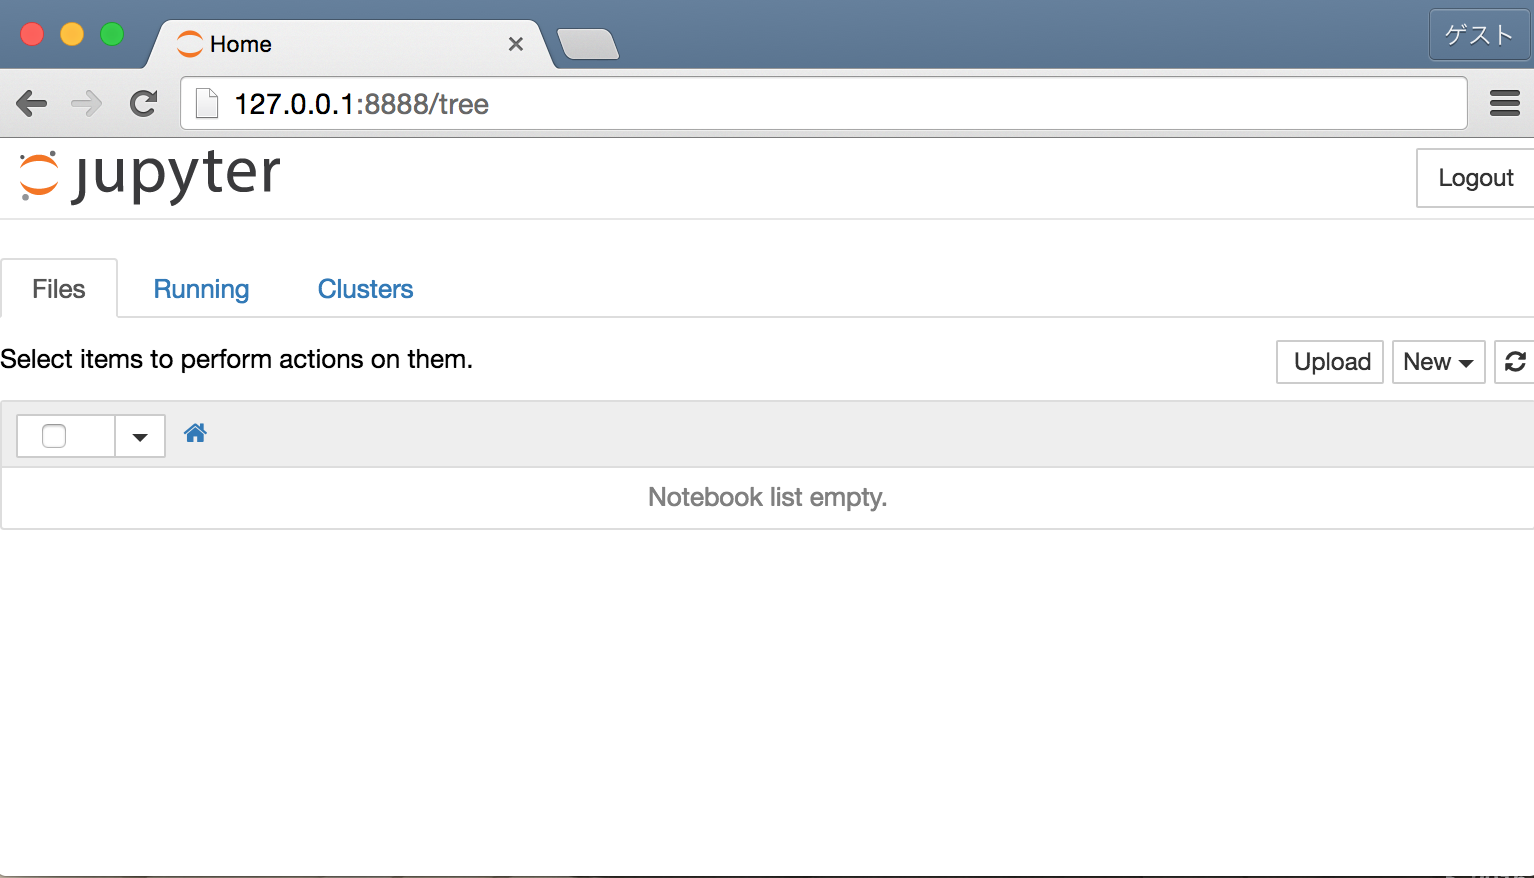
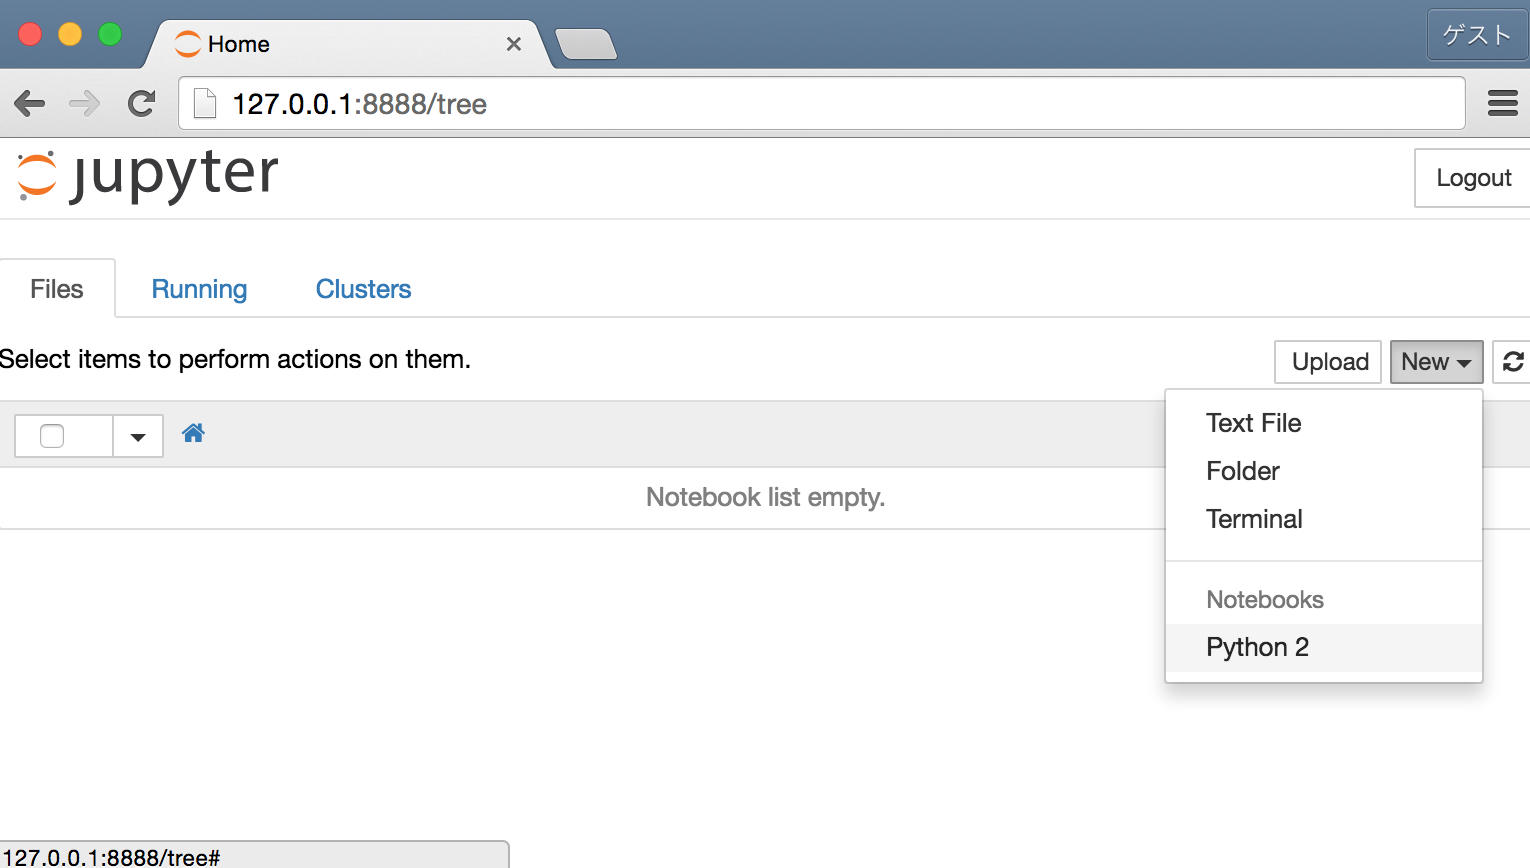
- NewからPython 2を選択し、notebookを新規作成
- Markdownの行と Codeの行(bashコマンドでansibleのバージョンを表示)を追加
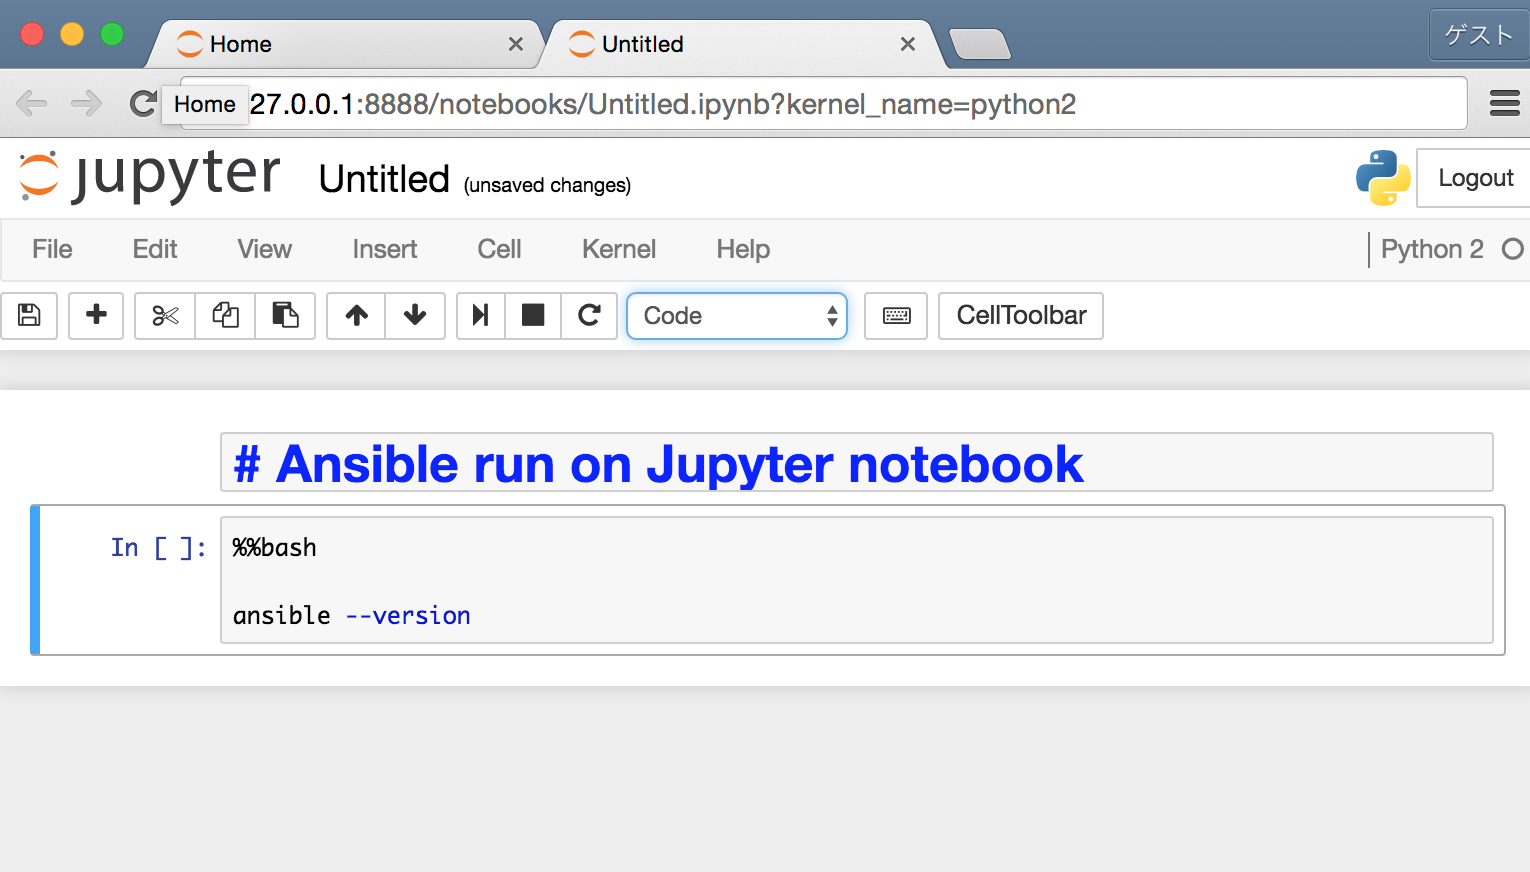
- Codeの実行結果
