Kandan | Kandan1.1 で Hubot を利用する場合の設定手順
概要
Kandan1.1 で Hubot を利用する場合の設定について。
Kandanの master 最新版では Hubot連携がうまくいかなかったため、
2014/08/08現在の Kandan の安定版である version 1.1 で環境構築した手順を記します。
- 環境構築試行表
| Kandan version | git URL | 結果 |
|---|---|---|
| master最新(1.2) | https://github.com/kandanapp/kandan.git | 色々試すがHubot連携できず |
| 1.2 tag | https://github.com/kandanapp/kandan/archive/v1.2.tar.gz | 試してない。 すんなり環境構築に成功している方はこのバージョンを利用したのかも? |
| 1.1 tag | https://github.com/kandanapp/kandan/archive/v1.1.tar.gz | そのままでは動作しない。 いくつかファイルを修正してHubot連携可能。この記事の手順参照 |
前提
Kandan , Hubot ともに Ubuntu 14.04 サーバーにインストールしています。
Kandan
基本的なインストール手順については下記の公式資料を参考にしました。
https://github.com/kandanapp/kandan/blob/master/DEPLOY.md
Kandan のインストール
基本は公式サイトの手順通りですが、安定版を利用するため
公式サイトで
$ git clone git@github.com:kandanapp/kandan.git
$ cd kandan
となっている手順を
$ sudo wget https://github.com/kandanapp/kandan/archive/v1.1.tar.gz
$ tar xvf v1.1.tar.gz
$ mv kandan-1.1/ kandan
$ cd kandan
に変更します。
また、このバージョンの Hubot ユーザー作成用の rake タスクはHubot連携に対応しきれていないため、
下記のように修正します。
# :
# : 略
# :
  desc "Creates the default hubot account."
  task :boot_hubot => :environment do
    user = User.find_by_email("hubot@cloudfuji.com")

    if user.nil?
      puts "Creating hubot user..."

      password = ""
      128.times { password << (('a'..'z').to_a + ('A'..'Z').to_a + ['!','@','#','$','%','^','&','*','(',')'].to_a).sample }

      hubot = User.new
      hubot.email      = "hubot@cloudfuji.com"
      hubot.first_name = "Hubot"
      hubot.last_name  = "vonGithubben"
# -------------ここから追加開始-------------------------
      hubot.username   = "hubot"                       # => username の設定を追加
# -------------ここで 追加終了-------------------------
      hubot.ido_id     = "a-bot-lives-in-solitude"
      hubot.password   = password            if hubot.respond_to?("password=".to_sym)
      hubot.password_confirmation = password if hubot.respond_to?("password_confirmation=".to_sym)
      hubot.save!
    end
  end
# :
# : 略
# :
このコードを見ると、 Hubot ユーザーのパスワードを攻略する方法がわかる人が多々いると思いますが、
その話は置いておきましょう・・・
Kandan のインストールが完了したら Hubot のユーザー追加とアクセストークンの取得を行います。
$ bundle exec rake kandan:boot_hubot
#
# 略(Hubot ユーザー作成のSQLログが表示されます)
#
$ bundle exec rake kandan:hubot_access_key
  User Load (1.5ms)  SELECT "users".* FROM "users" WHERE "users"."email" = 'hubot@cloudfuji.com' LIMIT 1
Your hubot access key is your_token
your_token の部分にアクセスキーが表示されるのでコピーしておきます。
このキーは、続く Hubot サーバーの設定時に利用します。
Kandan サーバーの起動
Kandan の公式手順通りにインストールした場合の起動停止コマンドは以下。
# 起動
$ sudo bundle exec thin start -d

# 停止
$ sudo bundle exec thin stop
何かトラブルがあり、ログを確認したい場合は以下
$ cd ~/kandan
$ ~/kandan$ tail -f log/thin.log
# :
# : ログ
# :
Hubot
Hubot のインストール
私は Kandan と Hubot を別のサーバーにインストールしました。
hubot-kandan adapter が Hubot 2.4.7 に依存しているため、
最新の Hubot をインストールしてしまうと動作しません。
Hubot 2.4.7 をインストールします。
apt-package と nodejs/npm のインストール
$ sudo apt-get update -y
$ sudo apt-get install -y nodejs
$ sudo apt-get install -y npm
$ sudo apt-get install -y git
$ sudo apt-get install -y unzip
$ sudo apt-get install -y wget
$ sudo npm install -g coffee-script
$ sudo ln -s /usr/bin/nodejs /usr/bin/node
Hubot (2.4.7) のインストール
$ cd
$ wget https://github.com/github/hubot/archive/v2.4.7.zip
$ unzip v2.4.7.zip
$ cd hubot-2.4.7
$ npm install
$ make package

$ cd hubot
$ git clone https://github.com/kandanapp/hubot-kandan.git node_modules/hubot-kandan
$ npm install faye
$ npm install ntwitter
Hubot の ~/hubot-2.4.7/hubot/node_modules/hubot-kandan/package.json を修正
version を 1.0 から 1.0.0 に修正
Hubot の ~/hubot-2.4.7/hubot/package.json を修正
dependencies に
"hubot-kandan": ">= 1.0.0",
を追加
Hubot の ~/hubot-2.4.7/hubot/hubot-scripts.json を修正
redis-brain.coffee を削除
修正前
["redis-brain.coffee", "tweet.coffee", "shipit.coffee"]
修正後
["tweet.coffee", "shipit.coffee"]
環境変数の設定
例えば、 Kandan サーバーが
http://kandan.com:3000
で、ログレベルを debug にする場合。
export HUBOT_KANDAN_HOST=kandan.com
export HUBOT_KANDAN_PORT=3000
export HUBOT_KANDAN_TOKEN=your_token
export HUBOT_LOG_LEVEL=debug
ポートが80の場合は、デフォルトで適用されるので設定不要。
your_token は Kandan サーバーの bundle exec rake kandan:hubot_access_key で取得した内容を設定します。
Hubot 起動確認
./bin/hubot -a kandan
エラーになった
ERROR Kandan error: 404
Kandan 側のログも確認してみると、 /me への route が未設定とのこと。
$ tail -f log/thin.log
# :
# : その他のログ
# :
ActionController::RoutingError (No route matches [GET] "/me"):
# :
# : その他のログ
# :
Kandan の routing 修正
※修正するのはKandanサーバーの設定ファイルです
./kandan/config/route.rb に /me への routing を追加します
# 他のrouting 設定
# :
  get "/me" => "apis#me" # => me への routing を追加
# :
# 他のrouting 設定
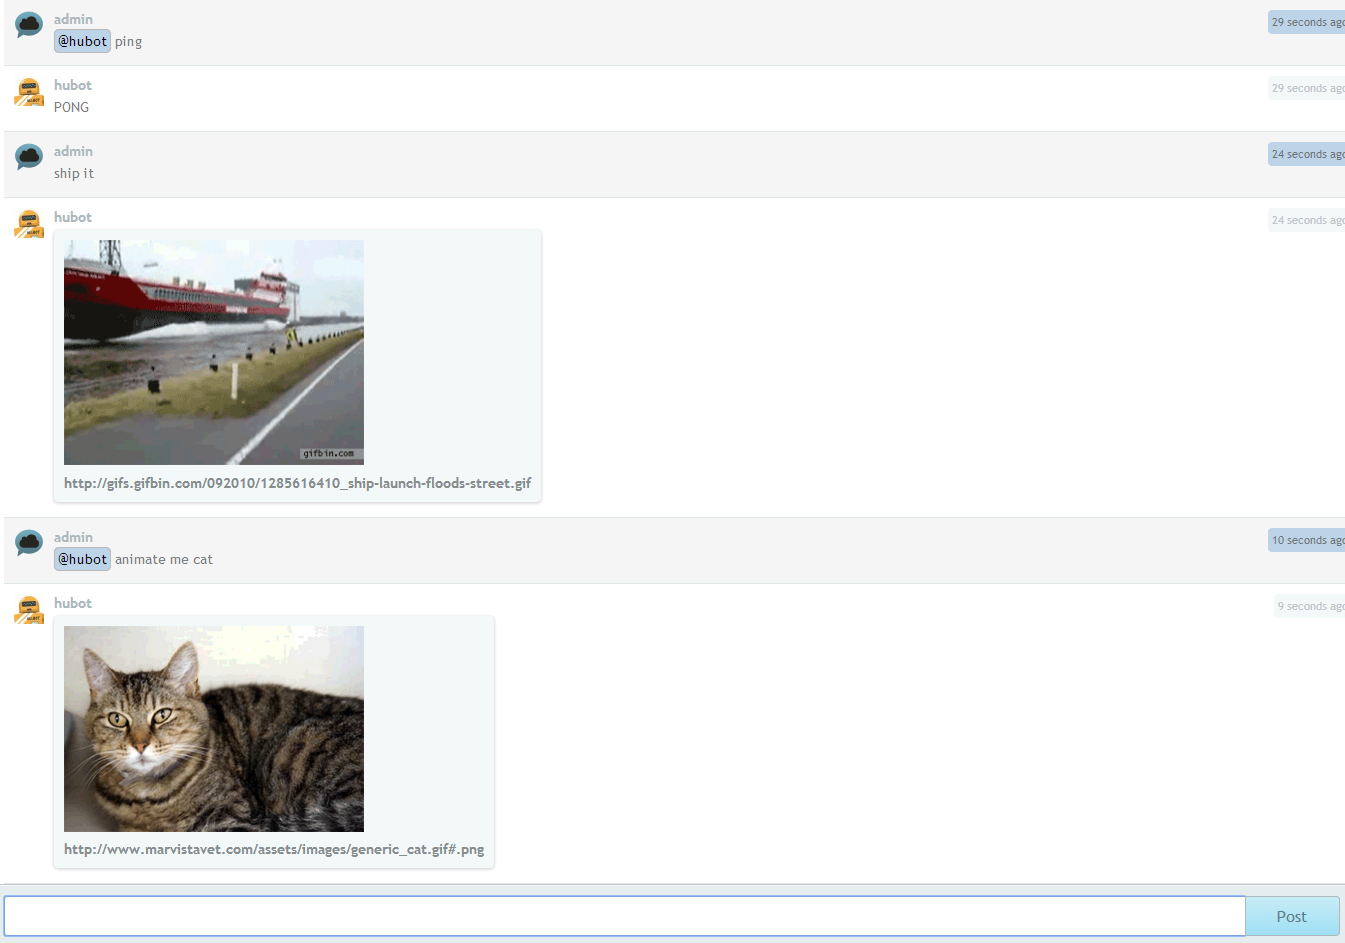
動作確認
Kandan , Hubot ともに再起動して確認
Thanks!
-
tenten0213 様
社内でHipChatクローンのKandanとHubotを動かす
基本的な手順についてはQiitaの上記記事を参考にさせていただきました -
ryosy383 様
情報提供ありがとうございます
参照
-
Hubot GitHub
https://github.com/github/hubot -
Kandan GitHub
https://github.com/kandanapp/kandan -
Hubot-Kandan adapter GitHub
https://github.com/kandanapp/hubot-kandan/