3
3

Delete article

Deleted articles cannot be recovered.

Draft of this article would be also deleted.

Are you sure you want to delete this article?

More than 5 years have passed since last update.

Wercker + Bitbucket で Ruby のプロジェクトの CI の疎通確認を行う #ruby #wercker #bitbucket

Posted at

Wercker + Bitbucket で Ruby のプロジェクトの CI の疎通確認を行う #ruby #wercker #bitbucket

概要

Wercker + Bitbucket で Ruby のプロジェクトの CI を疎通させます

前提

  • Bitbucket は登録済み
  • 事前に ci_sample というリポジトリを作成。簡単な実装とテストを用意しておく
    • 適当な Ruby のプログラムを実装します
    • 適当な Ruby のプログラムのテストコード( rspec )を実装します
    • Gemfile を用意しておきます( rspec のみ指定)
# A sample Gemfile
source "https://rubygems.org"

gem 'rspec', '~> 2.14.1'

手順

  • Wercker にユーザー登録

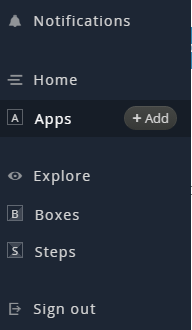
  • Apps + Add を選択
    1select_apps.png

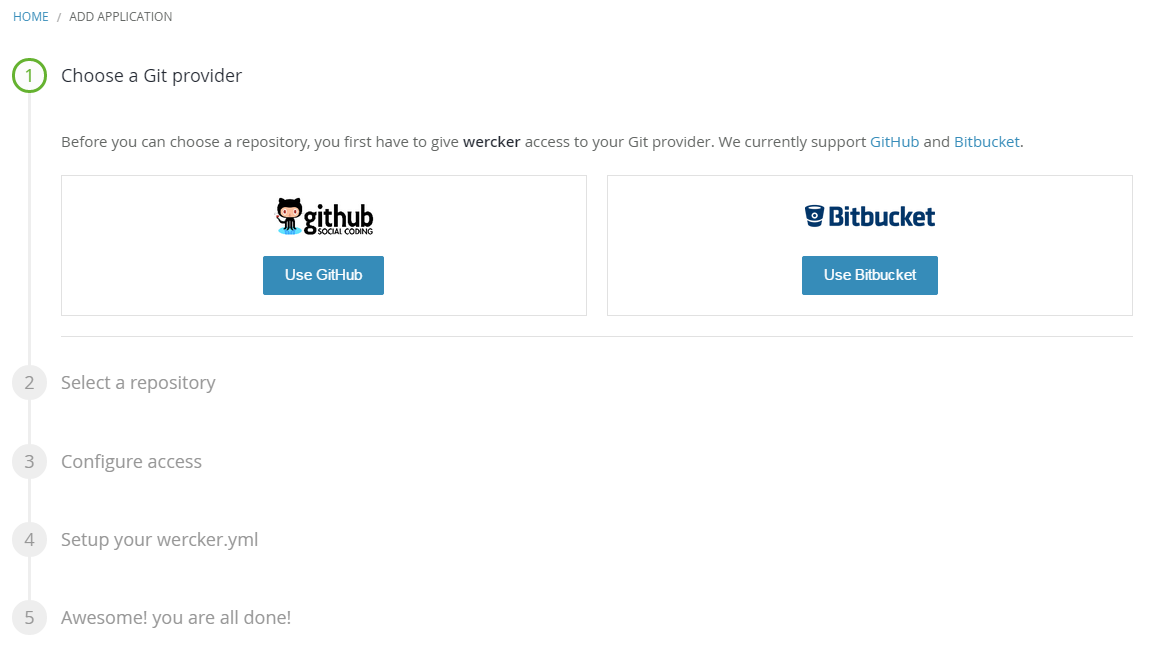
  • Choose a Git Provider

    • Bitbucket を選択します
      1choose_git_provider.png
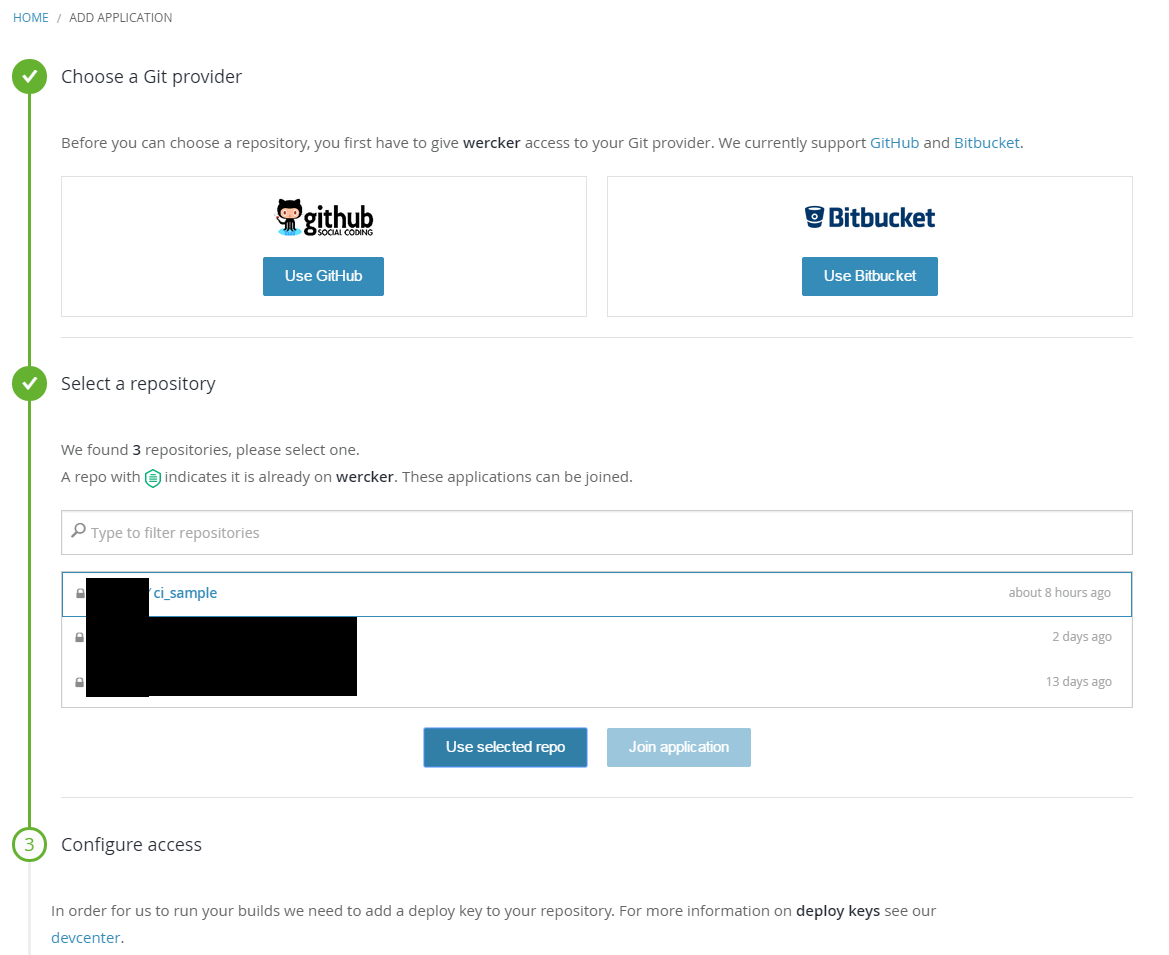
  • Select a repository

    • ci_sample を選択
      1select_repository.png
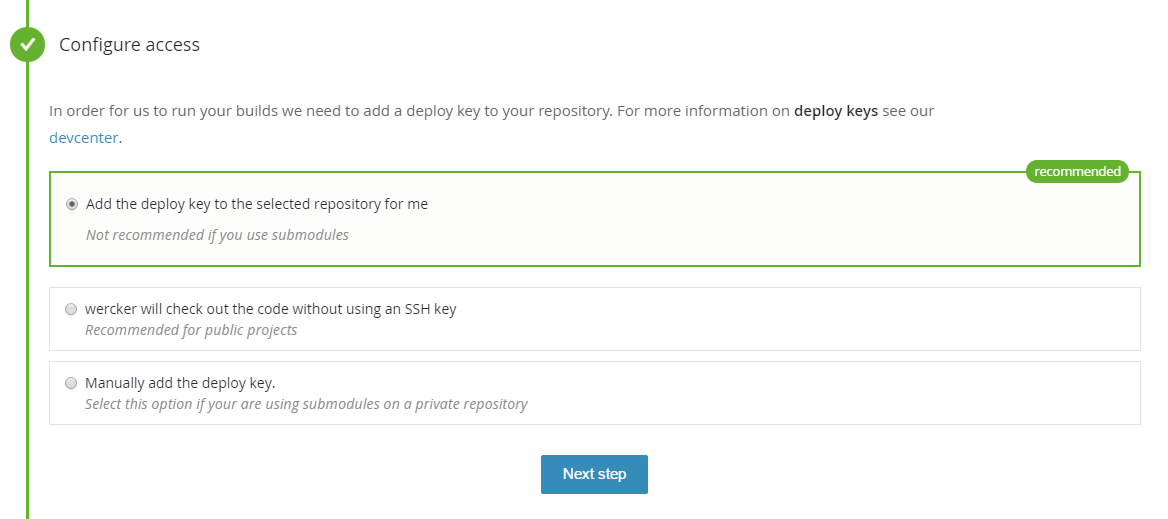
  • Configure access

    • Add the deploy key to the selected repository for me を選択します
      4configure_access.png
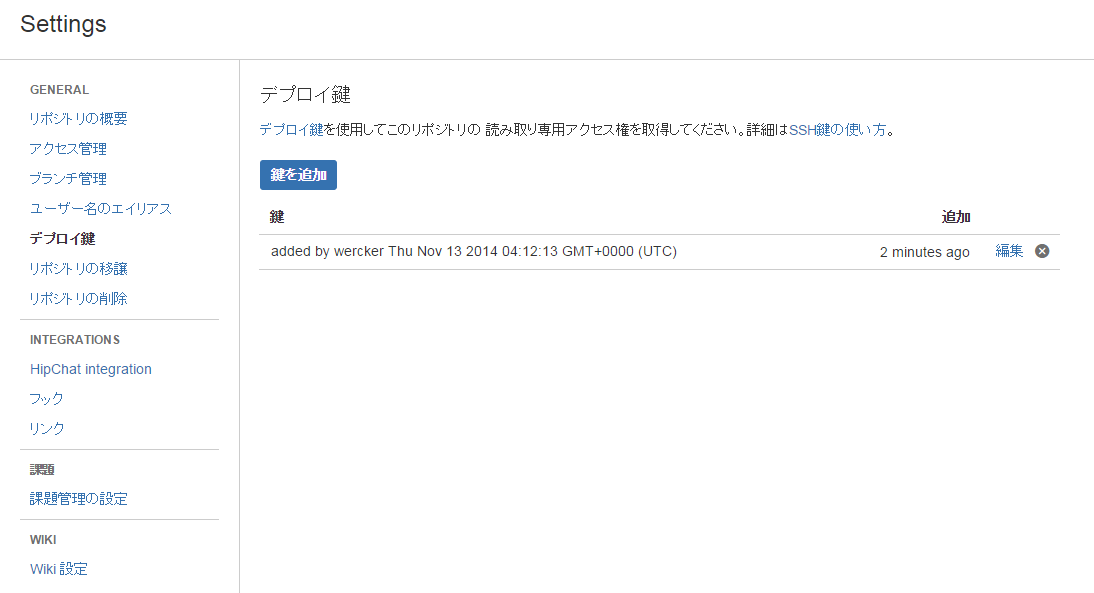
    • Bitbucket のデプロイ鍵設定が反映されたことを確認できます
      5configure_access.png
  • Setup your wercker.yml

    • Bitbucket のリポジトリのルートディレクトリに wercker.yml を追加します
    • wercker.yml を下記のように編集します
box: wercker/ruby
build:
    steps:
        - script:
            name: Bundle install
            code: bundle install
        - script:
            name: Run RSpec
            code: bundle exec rspec spec
  • Finish を選択
  • Bitbucket に push をします
  • push をトリガーに、 wercker が実行されます。
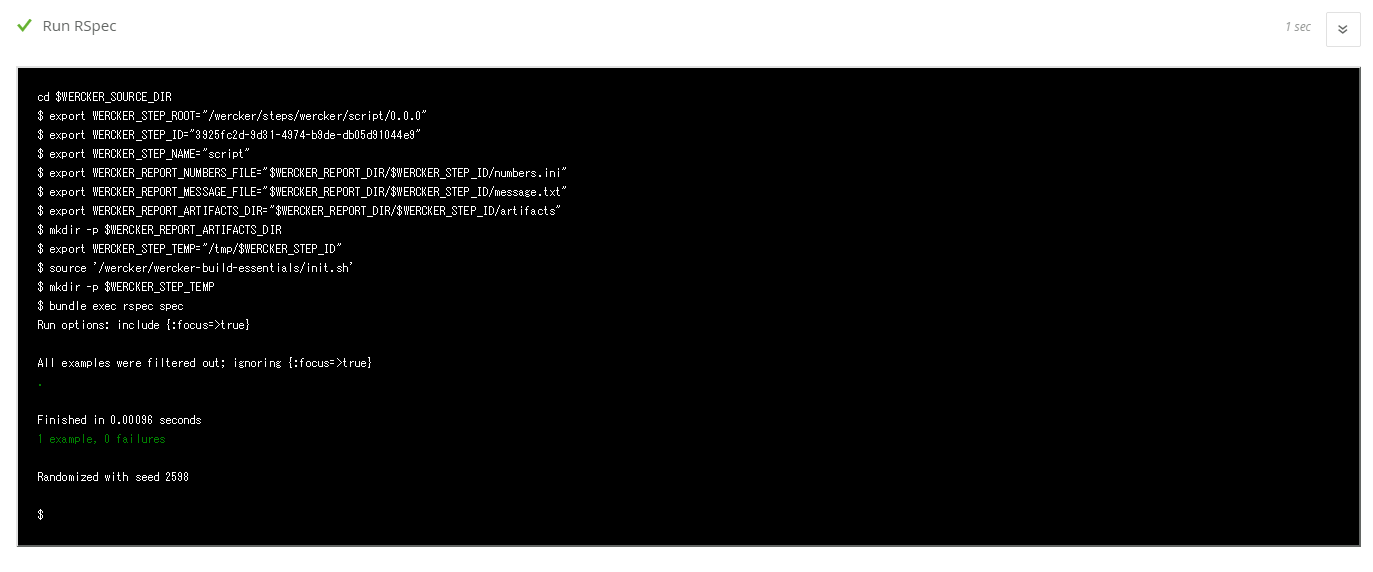
  • 結果を確認します
    wercker.yml で指定した name が表示されています
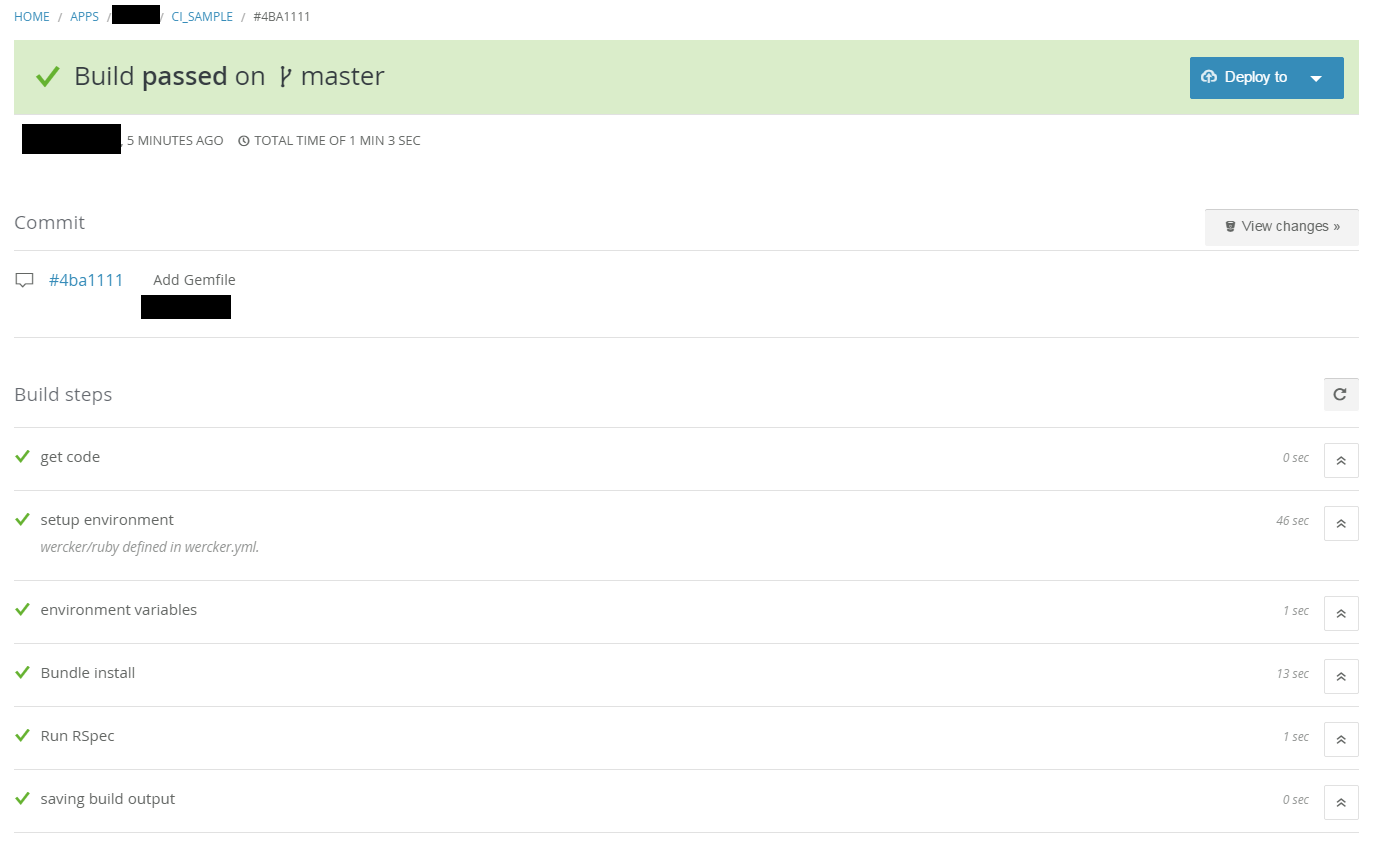
    6deploy_result.png
  • Run RSpec の部分をクリックすると、結果が表示されます
    7rspec_result.png

参照

Wercker

3
3
0

Register as a new user and use Qiita more conveniently

  1. You get articles that match your needs
  2. You can efficiently read back useful information
  3. You can use dark theme
What you can do with signing up
3
3

Delete article

Deleted articles cannot be recovered.

Draft of this article would be also deleted.

Are you sure you want to delete this article?