前回、nginx→fluentd→elasticsearch→kibanaでアクセスログを可視化したが、fluentdの設定やpluginを調べたり、kibanaの設定やら正直めんどくさかった。そこで「The Beats」。agentをインストールするだけでサクッと可視化できる。予想以上に便利だった。
The Beats
以下の3つのBeatが正式に用意されていてる。
Topbeat
topコマンドの様なものを可視化
Packetbeat
ネットワークのアプリケーショントラフィックを可視化
Filebeat
ログを直接またはLogstash経由でElasticsearchに転送
kibana
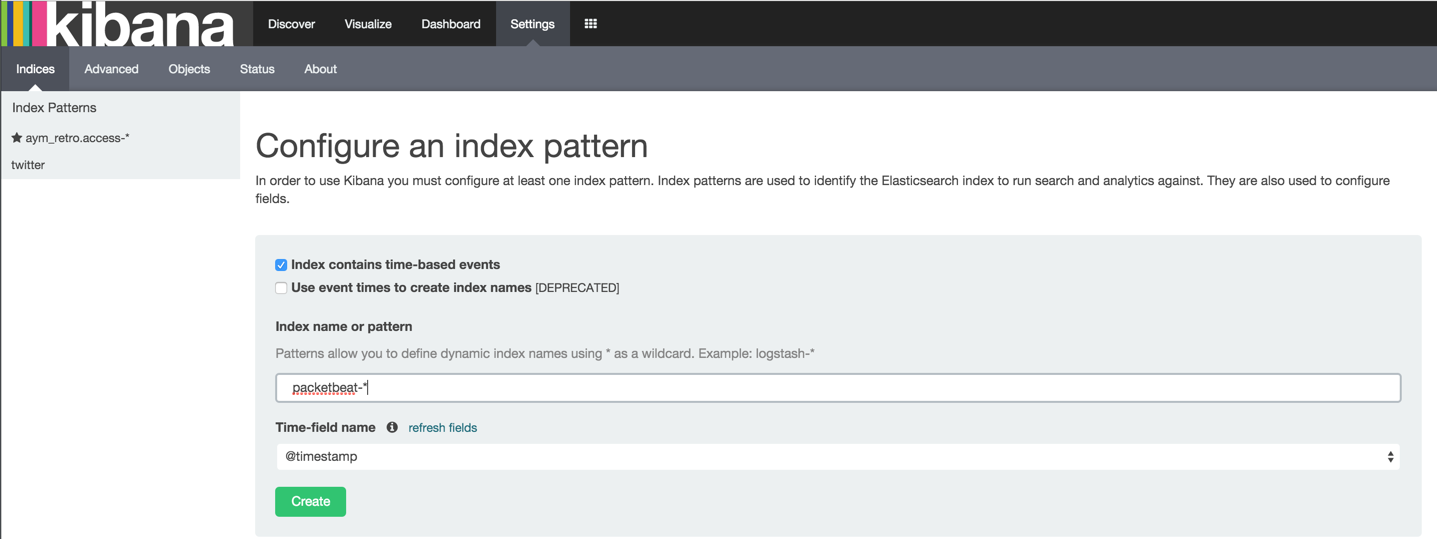
Beats用のDashboardが用意されているのでインストールしておく。
# curl -L -O http://download.elastic.co/beats/dashboards/beats-dashboards-1.0.1.tar.gz
# tar xzvf beats-dashboards-1.0.1.tar.gz
# cd beats-dashboards-1.0.1/
# ./load.sh
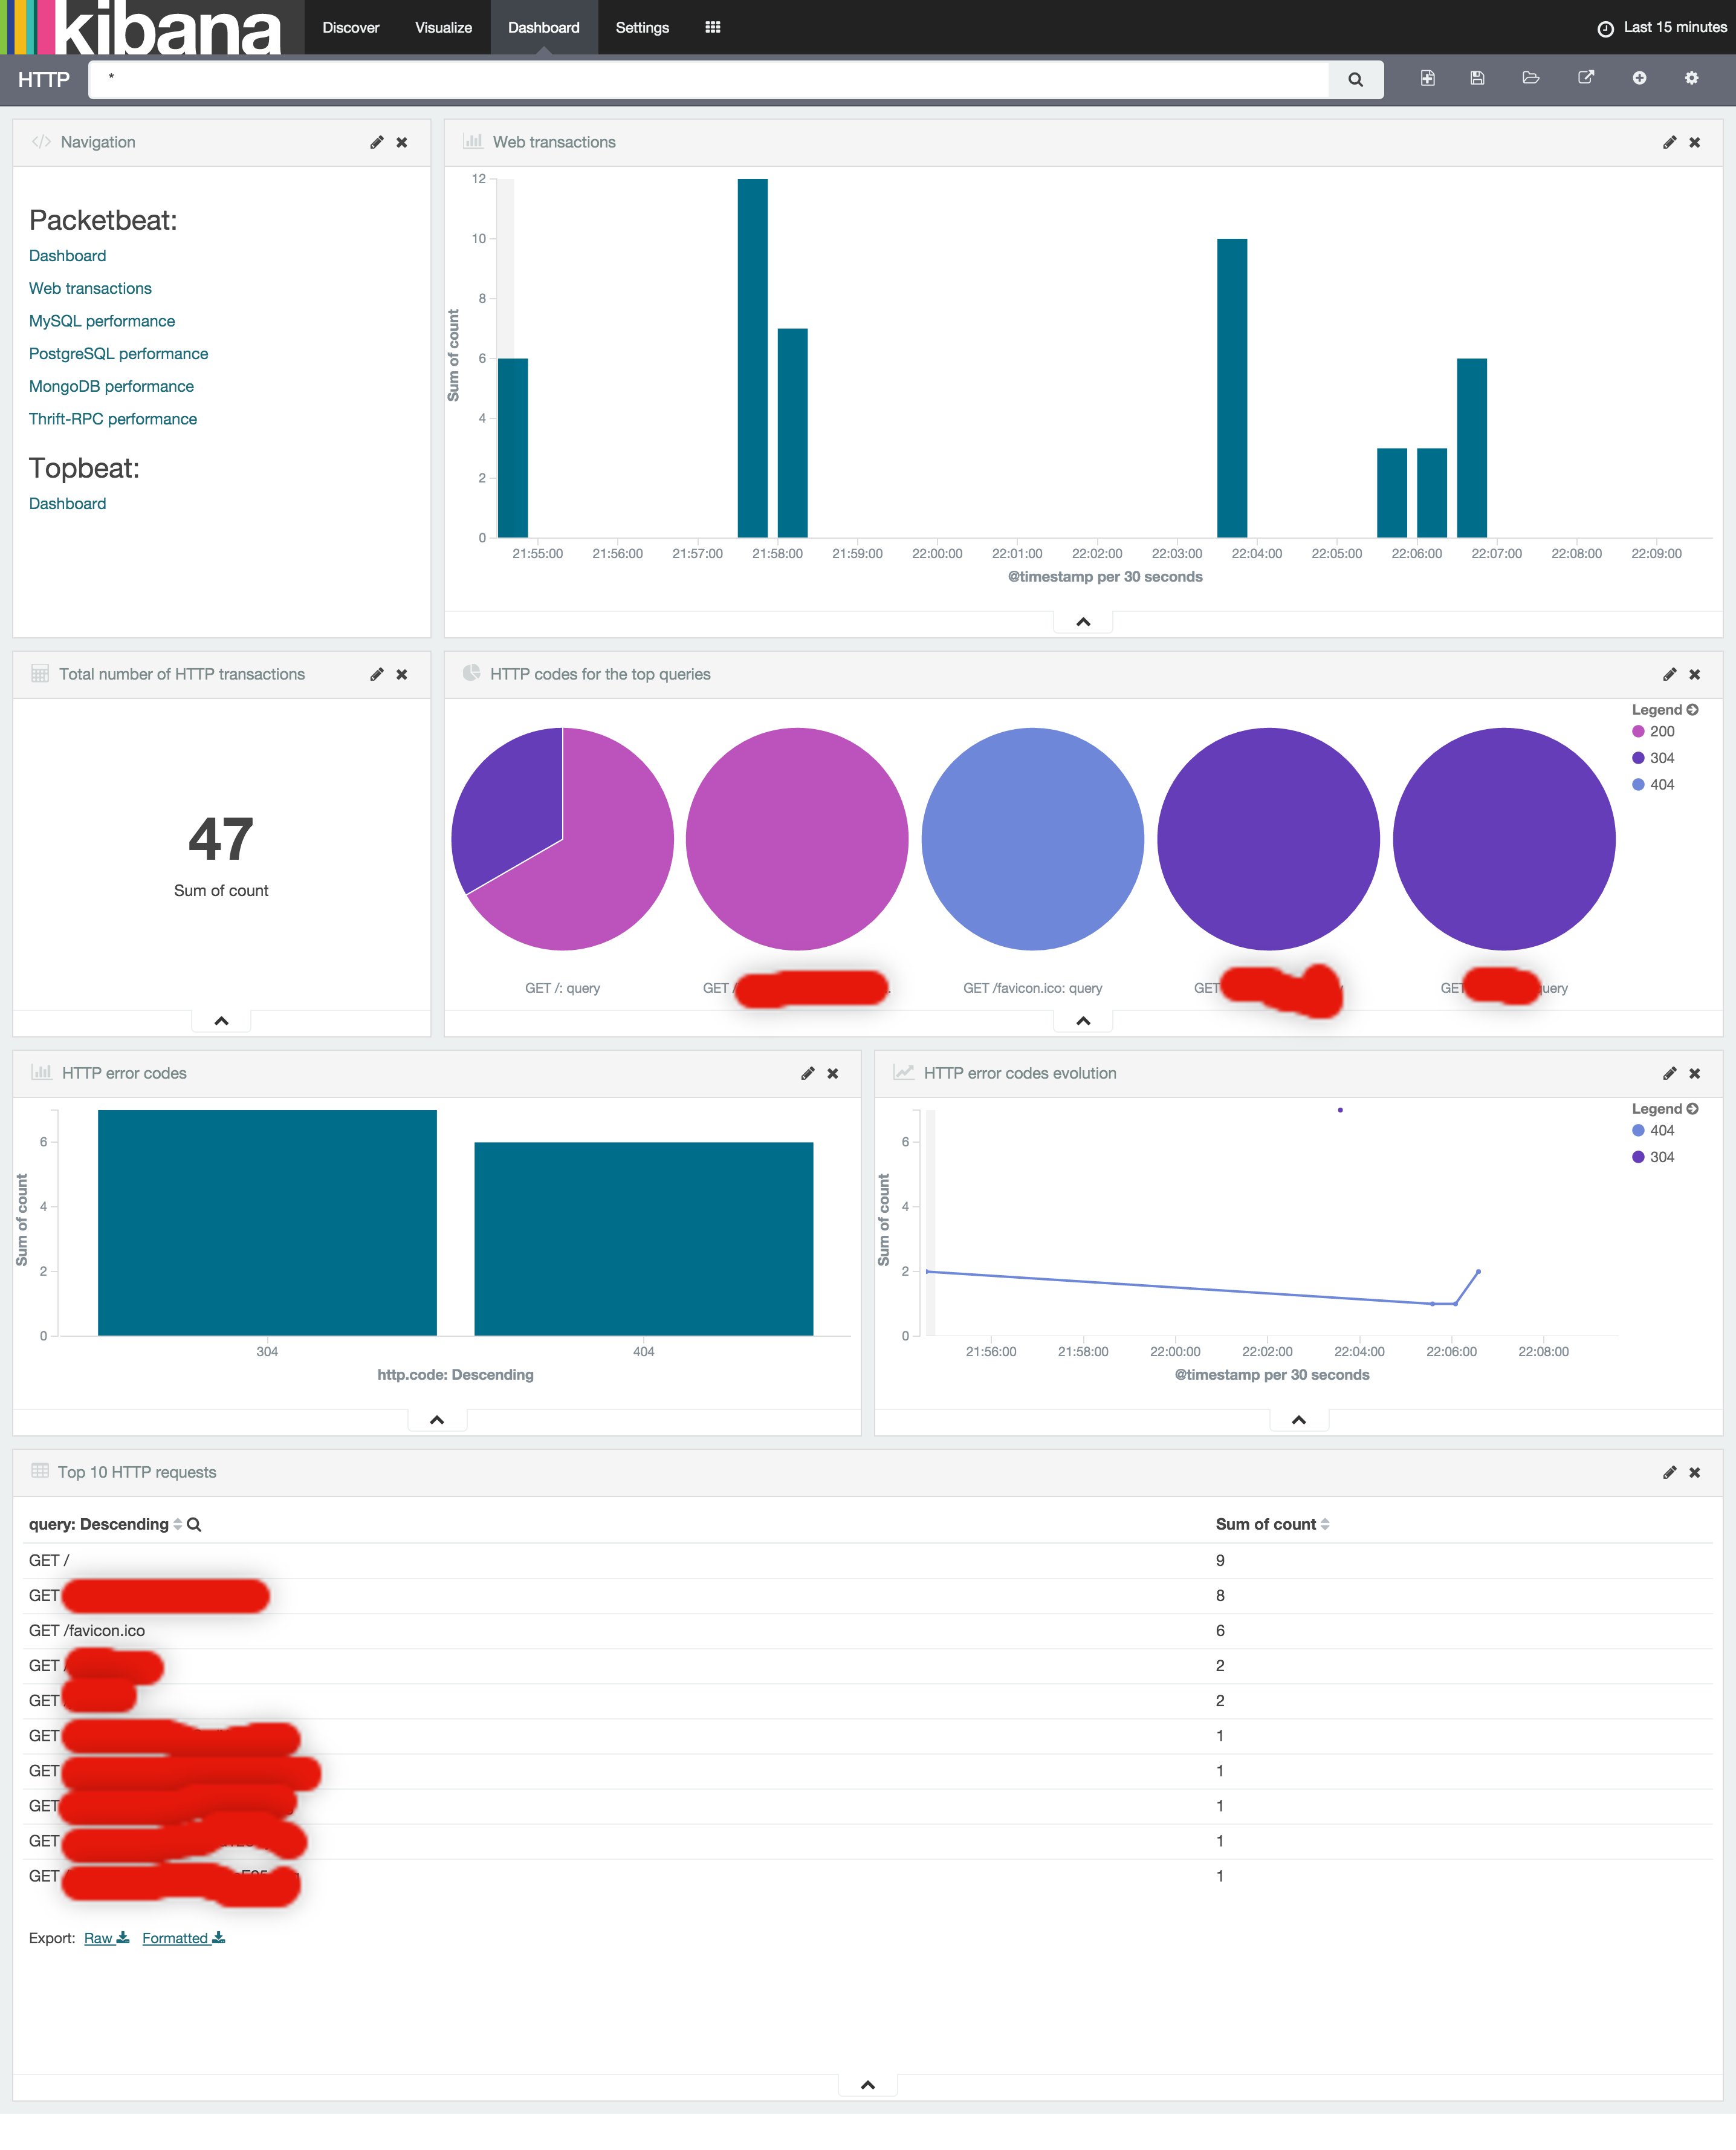
Packetbeat
install
# curl -L -O https://download.elastic.co/beats/packetbeat/packetbeat-1.0.1-x86_64.rpm
# rpm -vi packetbeat-1.0.1-x86_64.rpm
config
elasticsearchのIPを設定
# vi /etc/packetbeat/packetbeat.yml
output:

  ### Elasticsearch as output
  elasticsearch:
    # Array of hosts to connect to.
    # Scheme and port can be left out and will be set to the default (http and 9200)
    # In case you specify and additional path, the scheme is required: http://localhost:9200/path
    # IPv6 addresses should always be defined as: https://[2001:db8::1]:9200
    hosts: ["localhost:9200"]
index template をLoad
# curl -XPUT 'http://localhost:9200/_template/packetbeat' -d@/etc/packetbeat/packetbeat.template.json
起動
# /etc/init.d/packetbeat start
kibana
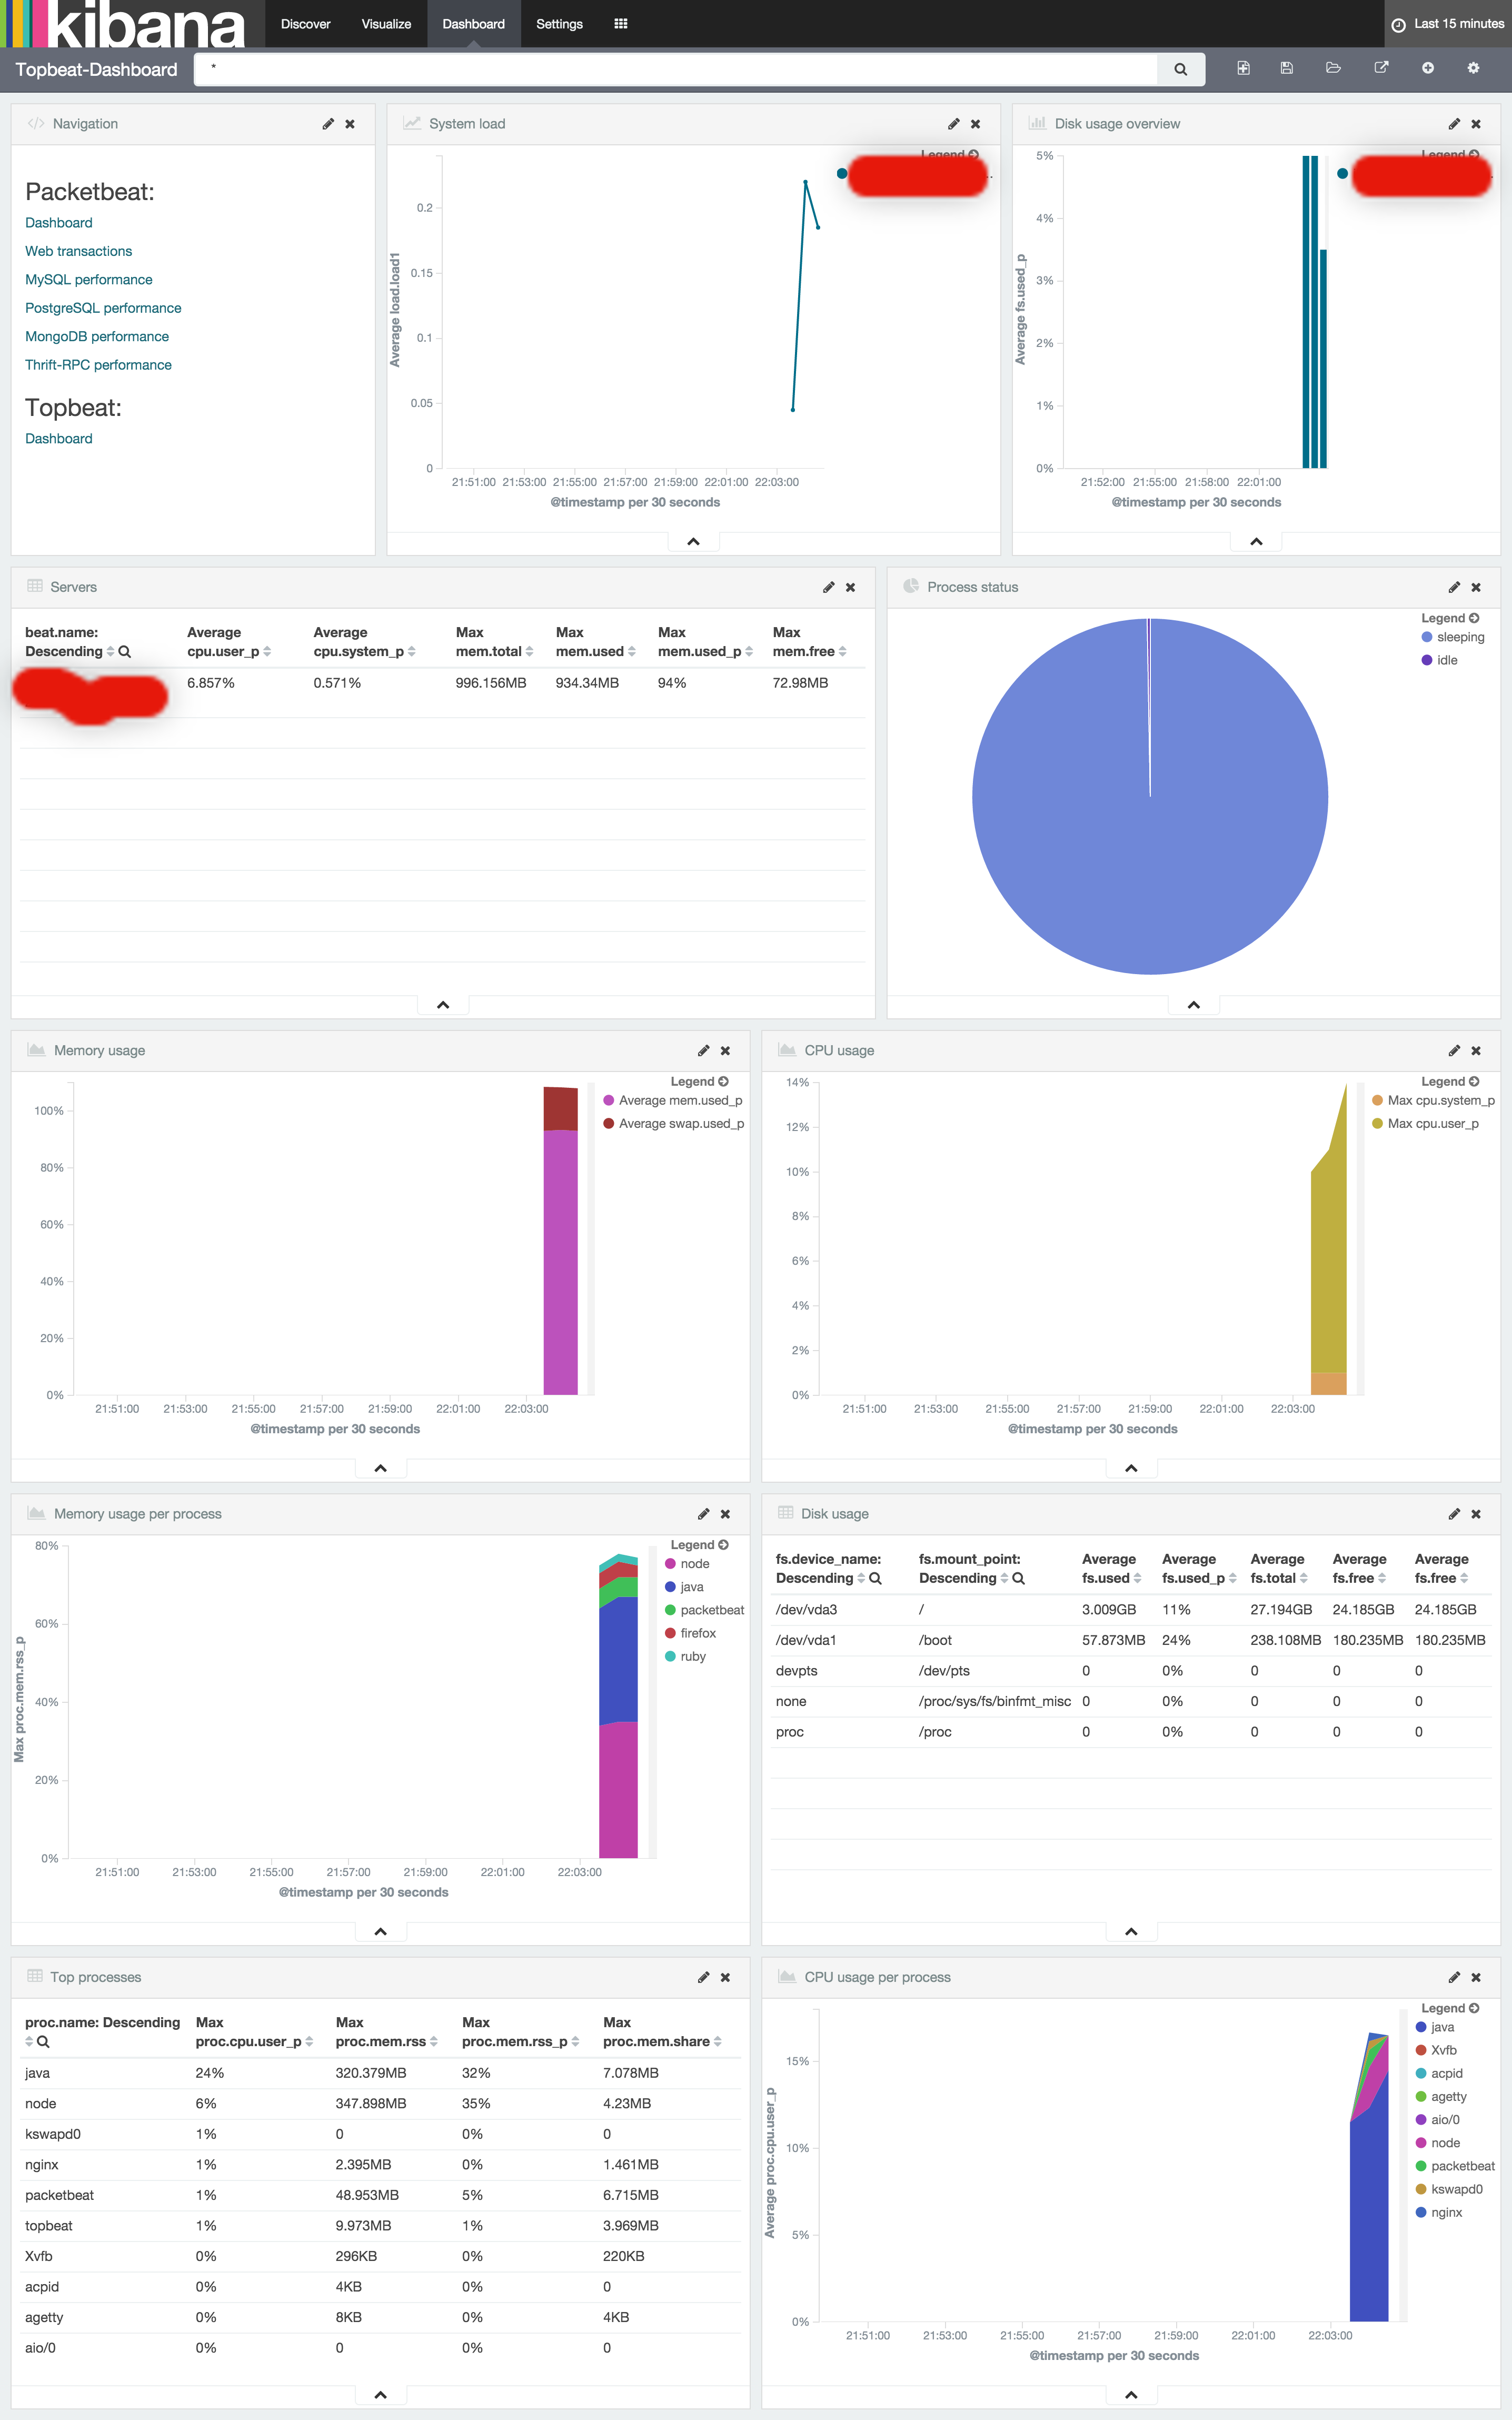
Topbeat
install
# curl -L -O https://download.elastic.co/beats/topbeat/topbeat-1.0.1-x86_64.rpm
# rpm -vi topbeat-1.0.1-x86_64.rpm
config
elasticsearchのIPを設定
# vi /etc/topbeat/topbeat.yml
output:

  ### Elasticsearch as output
  elasticsearch:
    # Array of hosts to connect to.
    # Scheme and port can be left out and will be set to the default (http and 9200)
    # In case you specify and additional path, the scheme is required: http://localhost:9200/path
    # IPv6 addresses should always be defined as: https://[2001:db8::1]:9200
    hosts: ["localhost:9200"]
index template をLoad
# curl -XPUT 'http://localhost:9200/_template/topbeat' -d@/etc/topbeat/topbeat.template.json
起動
# /etc/init.d/topbeat start
kibana
Filebeat
これの良さがわからなかった。ログをゴニョゴニョして計測は、fluentdで良さそう。


