はじめに
AndroidStudioとGenymotionで高速android開発を楽しめるのはいいのですが、Google Maps Android API v2を使おうとした時につまずいたのでメモ
前提条件
AndroidStudioとGenymotionのインストールはすんでいるものとして説明していきます
GenymotionにGoogle Play Servicesをインストール
はじめGenymotionにはGoogle Play Servicesがインストールされていません。そのためまずこれをインストールします
1.必要なものをダウンロード
まずARM Translation Installer v1.1をダウンロード
その次に
- Google Apps for Android 4.4
- Google Apps for Android 4.3
- Google Apps for Android 4.2
-
Google Apps for Android 4.1
の中から、シミュレーターのバージョンにあったものをダウンロード
2.ダウンロードしたものをGenymotionにインストール
ダウンロードしたzipファイルをGenymotion VMにドラッグアンドドロップします。File transfer in progressが表示されたあとダイアログが出るのでOKします。
3.VMを再起動
Genymotion VMを再起動します
以上でGenymotionにGoogle Play Servicesをインストールできました。
Google Play services SDKを導入
-
AndroidStudioのメニューバーにある
 のアイコンをクリック
 -
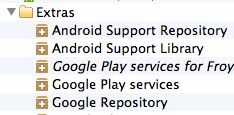
Extrasの中のGoogle Play servicesとGoogle Repositoryを選択してインストール
-
設定を反映するために念のためAndroid Studioを再起動
以上でGoogle Play services SDKを導入できました
プロジェクトへの組み込む
インストールが完了したので、プロジェクトに組み込みましょう
1.「File」→「Project Structure」を選択して、Project Structureを開く
2.「Modules」→「あなたのアプリ名」→「Dependencies」タブ→「+」アイコン→「1 Library dependency」とするとダイアログが出てくるので、Google Play Servicesを選択してOKをおす
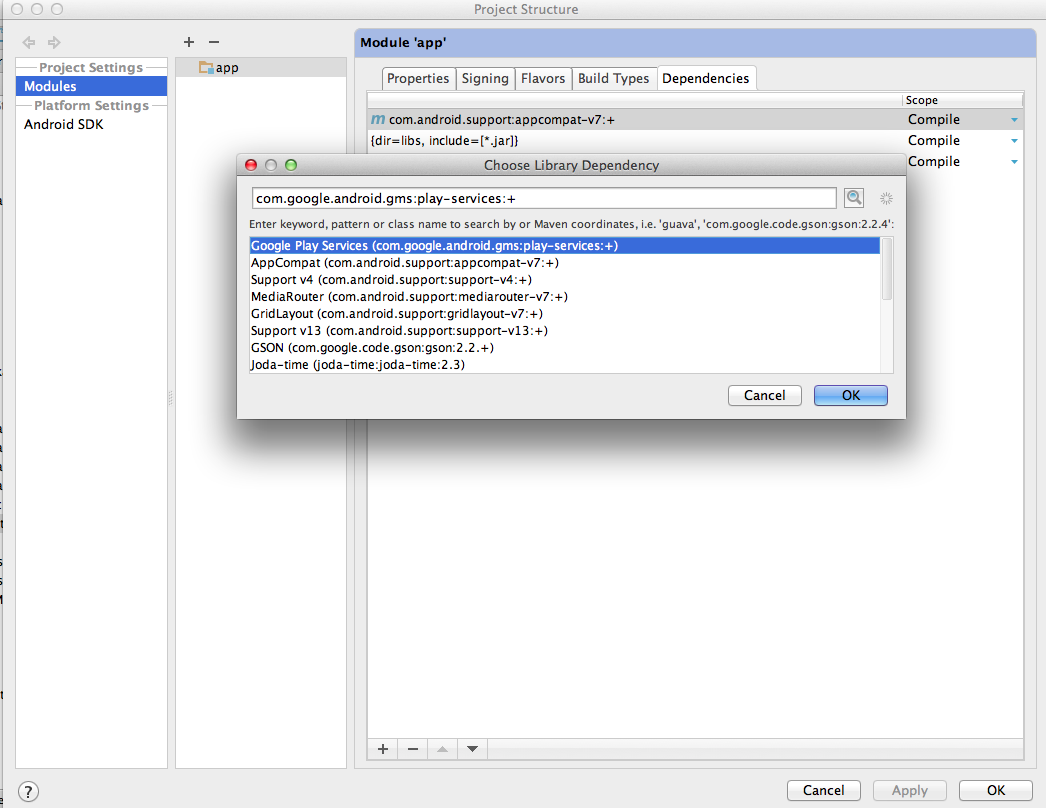
3.OKを押してProject Structureをとじ、リストに反映されるのを待つ
srcファイルと同じ階層にあるbuild.gradleファイルのdependenciesに、
...
dependencies {
    compile 'com.google.android.gms:play-services:+'
    ...中略...
}
...
というように追加されていればOK!
Google APIs ConsoleでAPI keyを取得
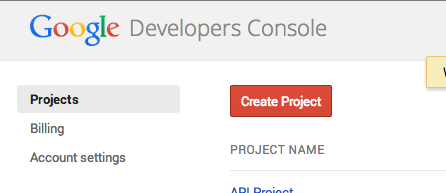
- Google APIs Consoleに接続
- 左側のProjectタブを選択し、新しいプロジェクトを作成する
- 作ったプロジェクトを選択
- APIs & auth -> APIsと行き、Google Maps Android API v2のスイッチをオンにする

- APIs & auth -> Credentialsと行きCreate new Keyをクリック
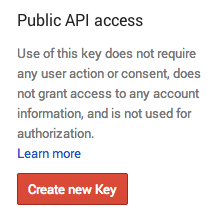
ここでAndroid Keyを選択すると次のような画面が出てきます
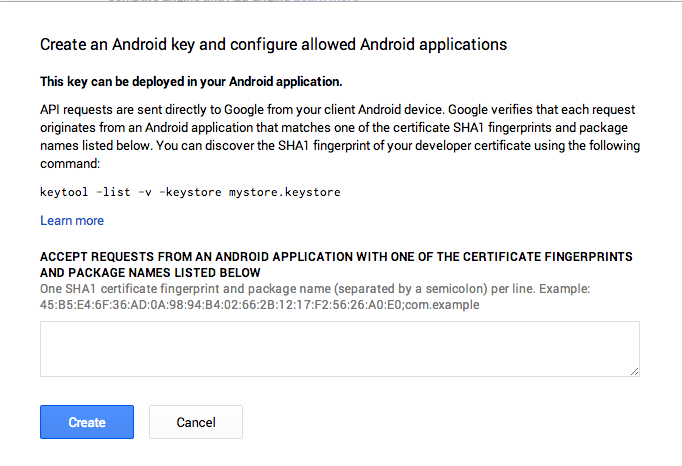
ここで一番下の欄に入れるべき値はターミナルにつぎのように打ち込むことで取得できます
Mac OSの場合:
keytool -list -v -keystore ~/.android/debug.keystore -alias androiddebugkey -storepass android -keypass android
Windows OSの場合:
keytool -list -v -keystore "C:¥Users¥{Your account name}¥.android¥debug.keystore" -alias androiddebugkey -storepass android -keypass android
この値 + ; + パッケージ名でいいのですが、例えば
45:B5:E4:6F:36:AD:0A:98:94:B4:02:66:2B:12:17:F2:56:26:A0:E0;com.example.myapp.app
のようにパッケージ名を全て書き込まないと正常に動きませんでした。
コードを書く
いよいよ実装です
import android.app.Activity;
import android.os.Bundle;

public class MainActivity extends Activity {

    @Override
    protected void onCreate(Bundle savedInstanceState) {
        super.onCreate(savedInstanceState);
        setContentView(R.layout.activity_main);
    }
}
<?xml version="1.0" encoding="utf-8"?>
<manifest xmlns:android="http://schemas.android.com/apk/res/android"
    package="com.example.myapp.app" >
    <uses-permission android:name="android.permission.INTERNET"/>
    <uses-permission android:name="android.permission.ACCESS_NETWORK_STATE"/>
    <uses-permission android:name="android.permission.WRITE_EXTERNAL_STORAGE"/>
    <uses-permission android:name="android.permission.ACCESS_COARSE_LOCATION"/>
    <uses-permission android:name="android.permission.ACCESS_FINE_LOCATION"/>
    <uses-permission android:name="com.google.android.providers.gsf.permission.READ_GSERVICES"/>
    <uses-feature
        android:glEsVersion="0x00020000"
        android:required="true"/>
    <application
        android:allowBackup="true"
        android:icon="@drawable/ic_launcher"
        android:label="@string/app_name"
        android:theme="@style/AppTheme" >
        <meta-data
            android:name="com.google.android.gms.version"
            android:value="@integer/google_play_services_version" />
        <meta-data
            android:name="com.google.android.maps.v2.API_KEY"
            android:value="xxxxxxxxxxxxxxxxxxxxxxxxxxxxxxxxx"/>
        <activity
            ・・・・中略・・・
        />
        </activity>
    </application>

</manifest>
<?xml version="1.0" encoding="utf-8"?>
<fragment xmlns:android="http://schemas.android.com/apk/res/android"
    android:id="@+id/map"
    android:layout_width="match_parent"
    android:layout_height="match_parent"
    android:name="com.google.android.gms.maps.MapFragment"/>
なかなか解決できないエラーが出てきた時は
エラーが出る場合は大抵すぐに解決できるものですが、もしなかなか解決できない場合は
- VM上でアプリをアンインストール
- Android Studio上でプロジェクトをクリーン
するとうまくいくかもしれません
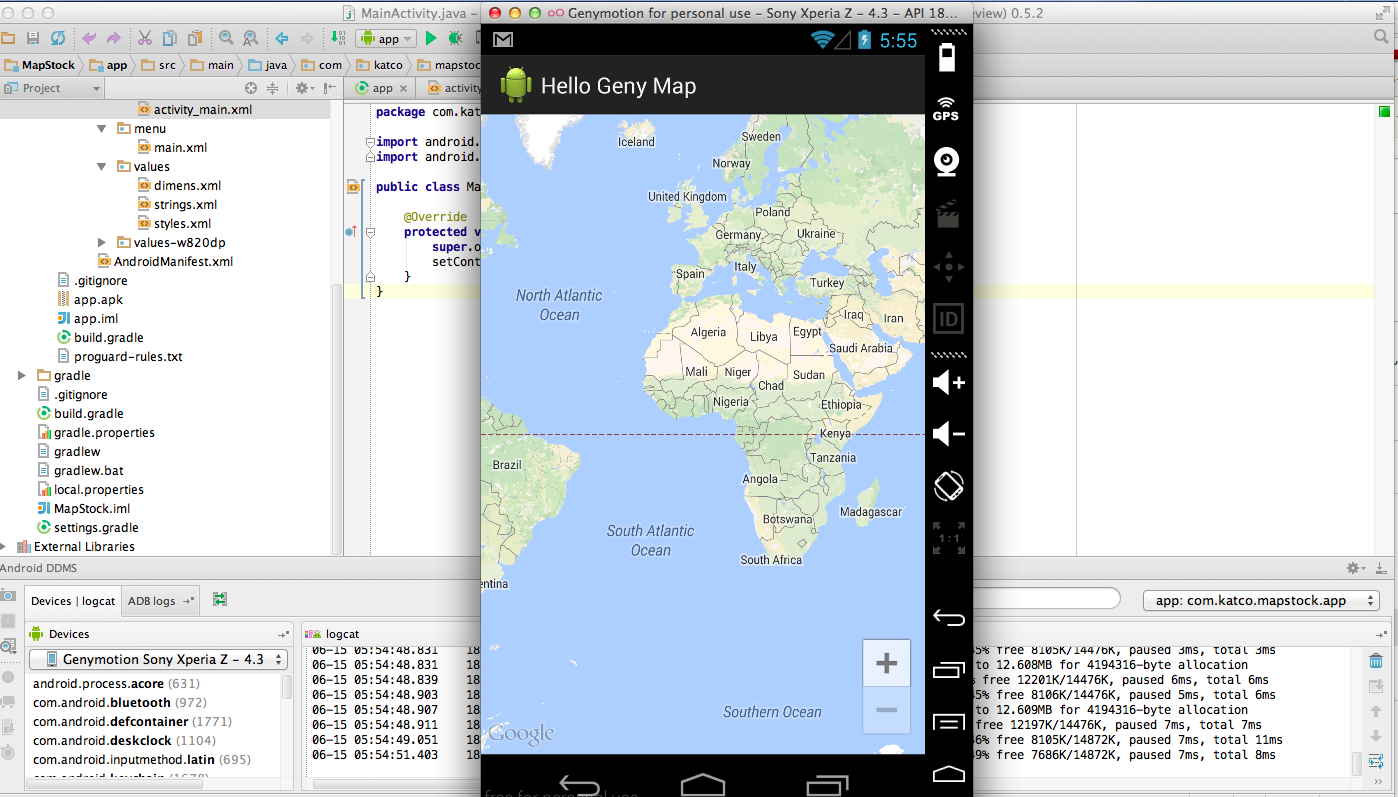
終わりに
以上でAndroidStudio × Genymotion で Google Maps Android API v2を動かすことができるようになりました!GPSでの移動などは実機がないとつらいものがありますが、大抵のことは爆速エミュレーターであるGenymotionでできるようです!