概要
Compose とは、複数のコンテナを使う Docker アプリケーションを、定義・実行するツールです。Compose はアプリケーションのサービスの設定に、Compose ファイルを使います。そして、コマンドを1つ実行するだけで、設定した全てのサービスを作成・起動します。
Docker Compose 概要 — Docker-docs-ja 1.13.RC ドキュメントより抜粋
プロジェクトを定義する
1. 任意の場所にディレクトリを作成し移動
$ cd Desktop

$ mkdir docker

$ cd docker
2. Dockerfileを作成
FROM ruby:2.3.3
RUN apt-get update -qq && apt-get install -y build-essential libpq-dev nodejs
RUN mkdir /myapp
WORKDIR /myapp
ADD Gemfile /myapp/Gemfile
ADD Gemfile.lock /myapp/Gemfile.lock
RUN bundle install
ADD . /myapp
3.Gemfileを作成
source 'https://rubygems.org'
gem 'rails', '5.0.0.1'
4.Gemfile.lockを作成
$ touch Gemfile.lock
5.docker-compose.ymlを作成
version: '2'
services:
  db:
    image: postgres
  web:
    build: .
    command: bundle exec rails s -p 3000 -b '0.0.0.0'
    volumes:
      - .:/myapp
    ports:
      - "3000:3000"
    depends_on:
      - db
注:タブインデントで書くと実行時エラーになります。(vimで書いてたら行毎にエラー出まくり(汗)
プロジェクトを構築
1.Railsアプリケーションを生成
$ docker-compose run web rails new . --force --database=postgresql --skip-bundle
下記の様な構成のアプリケーションが生成されます。
$ ls -l

total 64
-rw-r--r--   1 username  staff   222  5 17 17:19 Dockerfile
-rw-r--r--   1 username  staff  1738  5 17 17:37 Gemfile
-rw-r--r--   1 username  staff  4306  5 17 18:18 Gemfile.lock
-rw-r--r--   1 username  staff   374  5 17 17:37 README.md
-rw-r--r--   1 username  staff   227  5 17 17:37 Rakefile
drwxr-xr-x  10 username  staff   340  5 17 17:37 app
drwxr-xr-x   7 username  staff   238  5 17 17:37 bin
drwxr-xr-x  14 username  staff   476  5 17 17:47 config
-rw-r--r--   1 username  staff   130  5 17 17:37 config.ru
drwxr-xr-x   3 username  staff   102  5 17 17:37 db
-rw-r--r--   1 username  staff   211  5 17 17:33 docker-compose.yml
drwxr-xr-x   4 username  staff   136  5 17 17:37 lib
drwxr-xr-x   4 username  staff   136  5 17 18:24 log
drwxr-xr-x   9 username  staff   306  5 17 17:37 public
drwxr-xr-x   9 username  staff   306  5 17 17:37 test
drwxr-xr-x   7 username  staff   238  5 17 18:24 tmp
drwxr-xr-x   3 username  staff   102  5 17 17:37 vendor
2.イメージをビルドする
$ docker-compose build
3.データベースの設定を行う
database.ymlのdevelopmentの設定を下記に変更
config/database.yml
development: &default
  adapter: postgresql
  encoding: unicode
  database: myapp_development
  pool: 5
  username: postgres
  password:
  host: db
4.アプリケーションの起動
$ docker-compose up
うまくいっていれば下記の様なログが出力されます。
web_1  | => Booting Puma
web_1  | => Rails 5.0.0.1 application starting in development on http://0.0.0.0:3000
web_1  | => Run `rails server -h` for more startup options
web_1  | Puma starting in single mode...
web_1  | * Version 3.8.2 (ruby 2.3.3-p222), codename: Sassy Salamander
web_1  | * Min threads: 5, max threads: 5
web_1  | * Environment: development
web_1  | * Listening on tcp://0.0.0.0:3000
注:アプリケーションを再起動しようとすると下記のエラーが出ました。このエラーが出た際はserver.pidを削除し、再起動します。
A server is already running. Check /myapp/tmp/pids/server.pid.
5.データベースの作成
$ docker-compose run web rake db:create
ブラウザで確認してみる
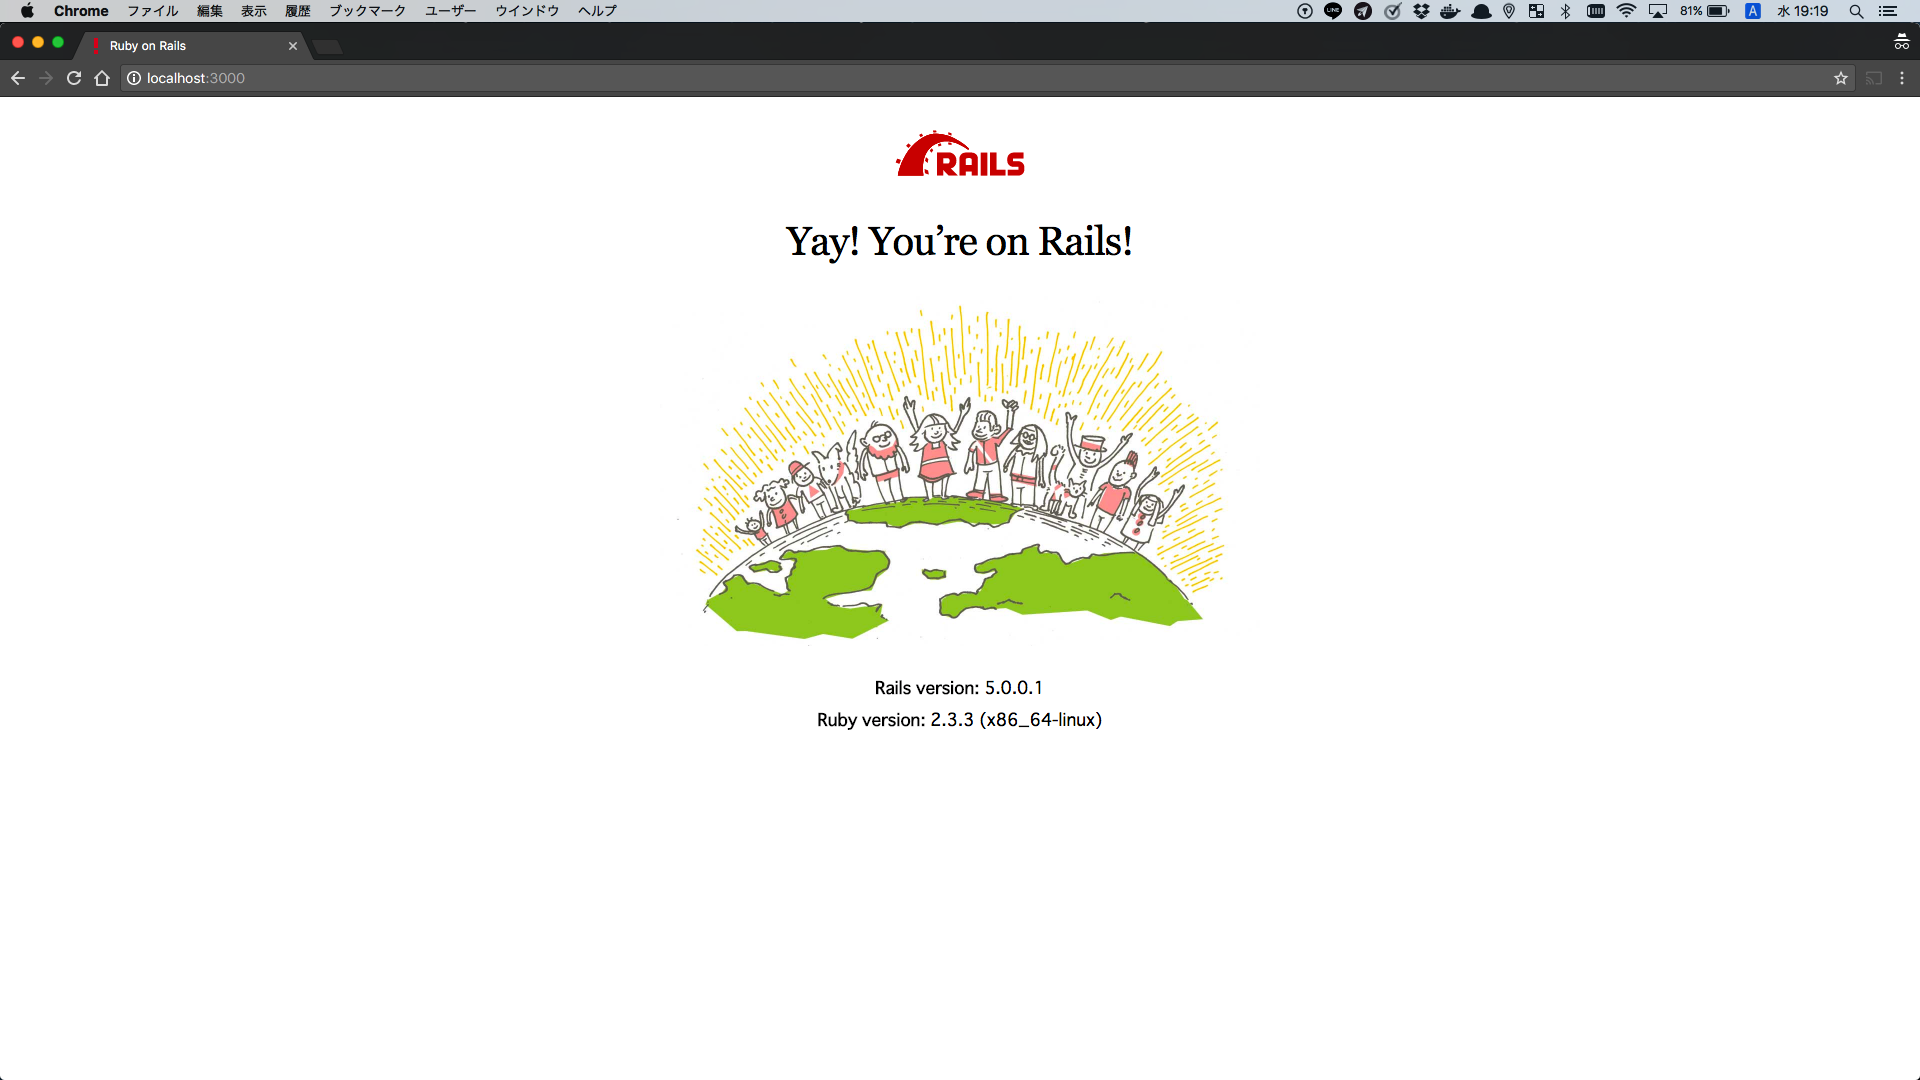
おお...なんということでしょう。
最後に
普段なにげなく使用していたDockerでしたが、自分でいちから環境を作ってみると改めて便利さがわかりました。
あんなに煩わしい環境構築がこれだけの手順でできてしまうとは、すごいの一言!!
今回はQuickstart: Compose and Rails - Docker Documentationを写経しただけでしたが、他にも色々試してみて理解を深めたいと思います。