ElixirのコードでRaspberry Pi Picoを動かすことを目標にするコラムです
今回はExAtomVMを使います
開発環境
- Ubuntu 24.04
- elixir 1.17.1-otp-27
- erlang 27.2.1
- Raspberry Pi Pico
プロジェクトを作成
$ mix new rpi_pico_led
ソースを変更
- exatomvmの追加
- atomvm:を追加
mix.exs
defmodule RpiPicoLed.MixProject do
  use Mix.Project

  def project do
    [
      app: :rpi_pico_led,
      version: "0.1.0",
      elixir: "~> 1.17",
      start_permanent: Mix.env() == :prod,
-     deps: deps()
+     deps: deps(),
+     atomvm: [
+        start: RpiPicoLed,
+        flash_offset: 0x210000
      ]
    ]
  end

  # Run "mix help compile.app" to learn about applications.
  def application do
    [
      extra_applications: [:logger]
    ]
  end

  # Run "mix help deps" to learn about dependencies.
  defp deps do
    [
+      {:exatomvm, git: "https://github.com/atomvm/ExAtomVM/"}
      # {:dep_from_hexpm, "~> 0.3.0"},
      # {:dep_from_git, git: "https://github.com/elixir-lang/my_dep.git", tag: "0.1.0"}
    ]
  end
end
lib/rpi_pico_led.exを下記のソースに置き換える
lib/rpi_pico_led.ex
defmodule RpiPicoLed do
  @moduledoc """
  Documentation for `RpiPicoLed`.
  """
  @pin 25

  # コンパイルする際の警告を抑制する
  # AtomVMのライブラリGPIOが対象です
  @compile {:no_warn_undefined, [GPIO]}
  def start do
    IO.inspect("RpiPicoLed boot Ver 0.03")
    GPIO.init(@pin)
    GPIO.set_pin_mode(@pin, :output)
    loop(@pin, :low)
  end

  defp loop(pin, level) do
    GPIO.digital_write(pin, level)
    Process.sleep(100)
    loop(pin, toggle(level))
  end

  defp toggle(:high), do: :low
  defp toggle(:low), do: :high
end
ライブラリを追加
依存関係を取得・ダウンロードする
$ mix deps.get
AtomVM固有のライブラリ
atomvmlibはビルド時に必要です
これがないと実機で実行できません
atomvmlib-v0.6.6.avmをダウンロード
プロジェクトの直下にavm_depsフォルダーを作成
ダウンロードしたatomvmlib-v0.6.6.avmをavm_depsにコピーする
ビルド
mix atomvm.uf2create --family_id rp2040
ビルドが完了するとプロジェクトの直下にrpi_pico_led.uf2が作成されます
Raspberry Pi Picoにビルド結果を転送
前提
AtomVM-pico-v0.6.6.uf2 を一度転送済みであること
https://github.com/atomvm/AtomVM/releases/download/v0.6.6/atomvmlib-v0.6.6.uf2
からダウンロードできます
この部分にハマりました
Raspberry Pi Picoをリセットボタンを押しなら、USBを差し込むと
フォルダーが表示されます
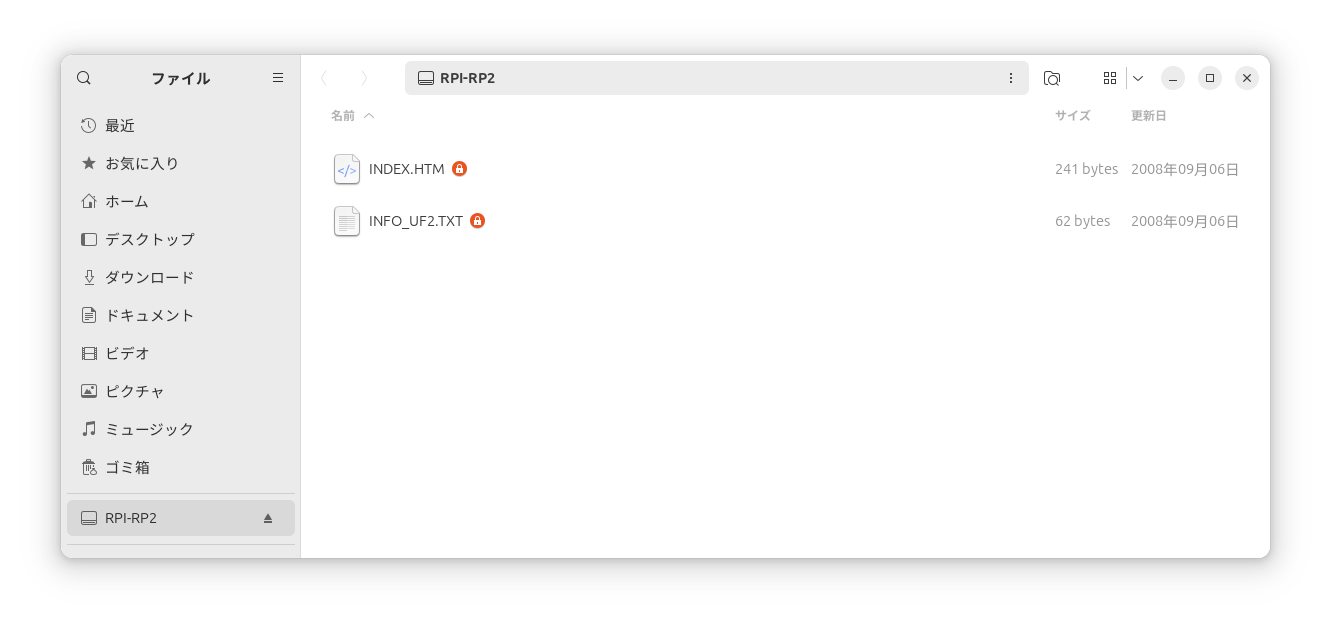
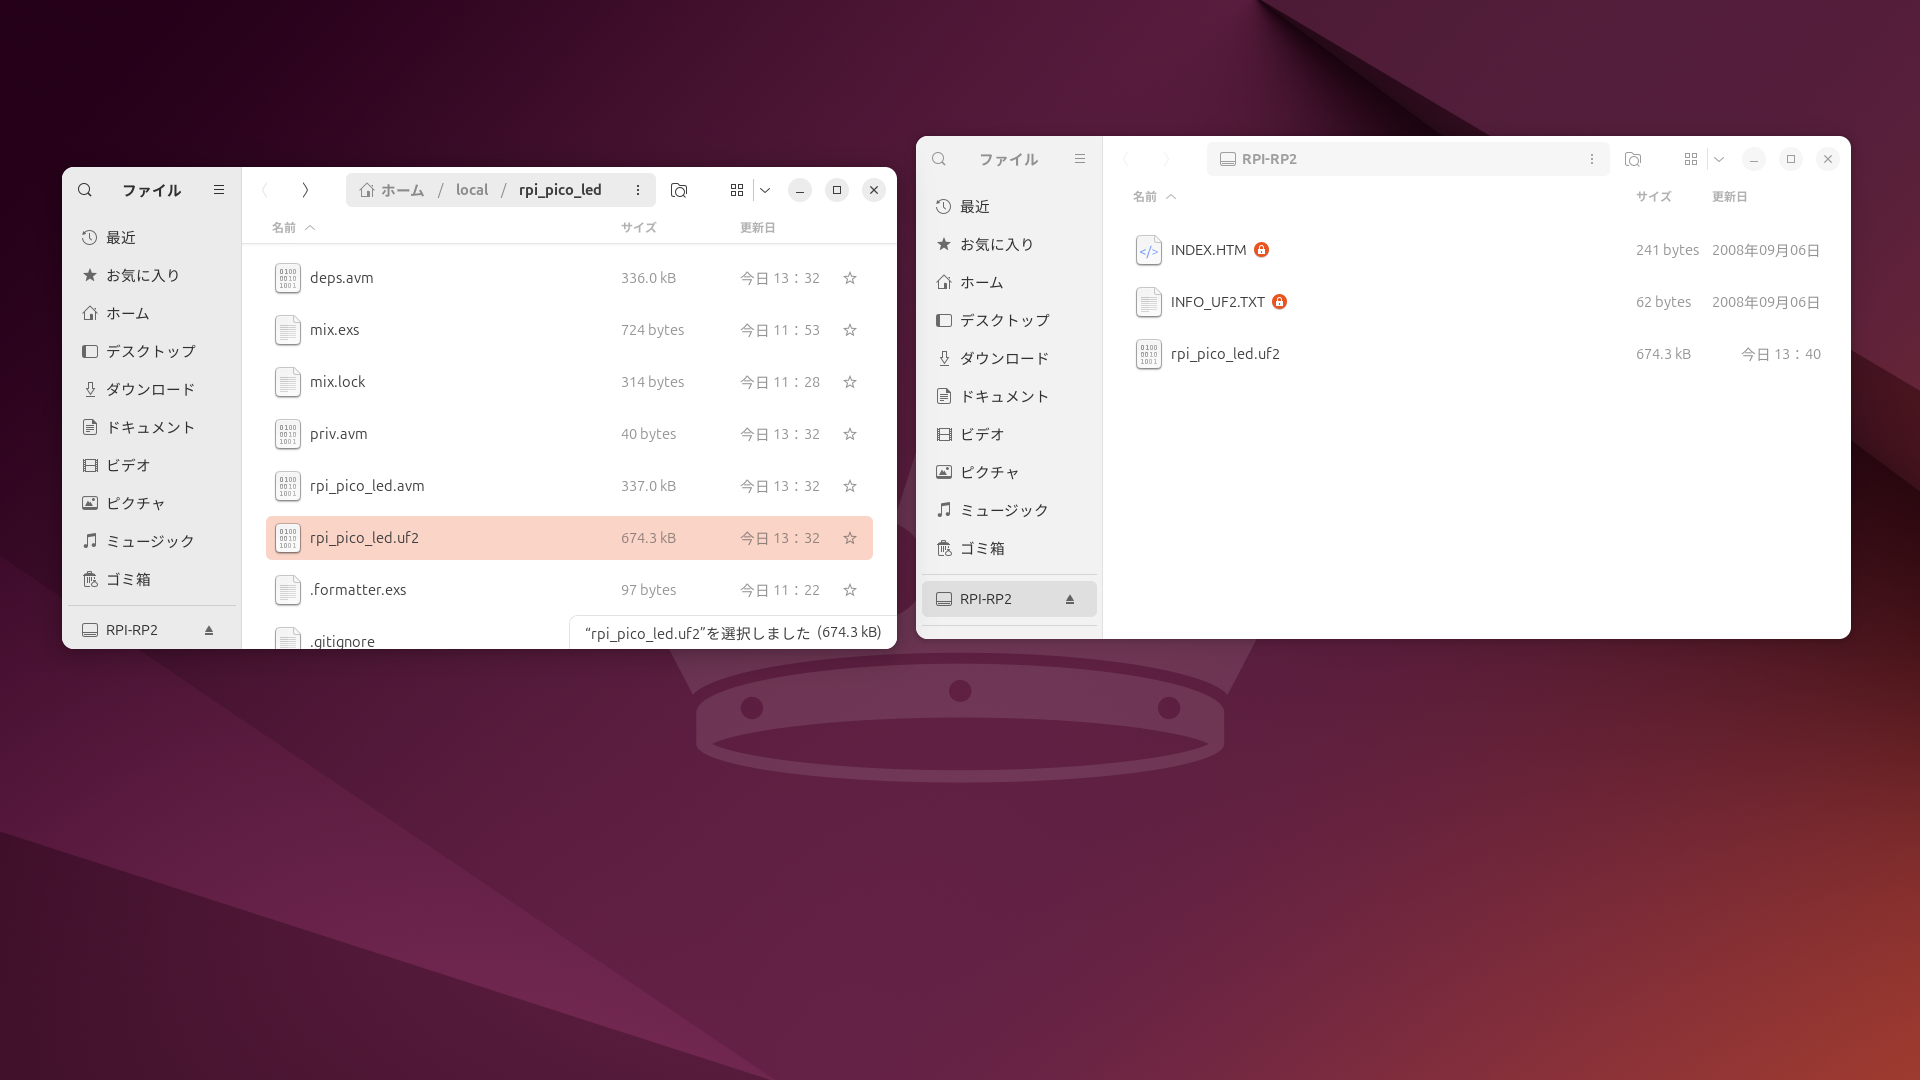
rpi_pico_led.uf2をRPI-RP2にコピーします
コピーが完了すると自動でアンマウントします
数秒するとLEDが点滅します
シリアル経由で確認
screen /dev/ttyACM0 115200
    ###########################################################

       ###    ########  #######  ##     ## ##     ## ##     ##
      ## ##      ##    ##     ## ###   ### ##     ## ###   ###
     ##   ##     ##    ##     ## #### #### ##     ## #### ####
    ##     ##    ##    ##     ## ## ### ## ##     ## ## ### ##
    #########    ##    ##     ## ##     ##  ##   ##  ##     ##
    ##     ##    ##    ##     ## ##     ##   ## ##   ##     ##
    ##     ##    ##     #######  ##     ##    ###    ##     ##

    ###########################################################

Starting AtomVM revision 0.6.6
Found startup beam Elixir.RpiPicoLed.beam
Warning: invalid lib.avm packbeam
Starting Elixir.RpiPicoLed.beam...---
"RpiPicoLed boot Ver 0.03"
バージョン情報等を入れておくと、更新を確認できます
IO.inspect("RpiPicoLed boot Ver 0.03")を書いた理由はこれでした
screenの止め方
Ctrl + a を押したあとCtrl + dで停止できます
ソース