今話題のPhoenixFrameworkをとりあえず動くレベルまでやってみます。
Hexのインストール
Hexはパッケージ管理システムです。
$ mix local.hex
PhoenixFrameworkのインストール
2015/08/28時点での最新のPhoenixFrameworkをインストールします。(v0.17.1)
$ mix archive.install https://github.com/phoenixframework/phoenix/releases/download/v0.17.1/phoenix_new-0.17.1.ez
これなんですがインストールによく以下のコマンドを紹介しているんですが当方では動きませんでした。。。
$ mix archive install phoenix
$ mix -h
mix                   # Run the default task (current: mix run)
mix app.start         # Start all registered apps
mix archive           # List all archives
mix archive.build     # Archive this project into a .ez file
mix archive.install   # Install an archive locally
mix archive.uninstall # Uninstall archives
mix clean             # Delete generated application files
mix cmd               # Executes the given command
mix compile           # Compile source files
mix deps              # List dependencies and their status
mix deps.clean        # Remove the given dependencies' files
mix deps.compile      # Compile dependencies
mix deps.get          # Get all out of date dependencies
mix deps.unlock       # Unlock the given dependencies
mix deps.update       # Update the given dependencies
mix do                # Executes the tasks separated by comma
mix escript.build     # Builds an escript for the project
mix help              # Print help information for tasks
mix hex               # Print hex help information
mix hex.config        # Read or update hex config
mix hex.docs          # Publish docs for package
mix hex.info          # Print hex information
mix hex.key           # Hex API key tasks
mix hex.outdated      # Shows outdated hex deps for the current project
mix hex.owner         # Hex package ownership tasks
mix hex.publish       # Publish a new package version
mix hex.search        # Search for package names
mix hex.user          # Hex user tasks
mix loadconfig        # Loads and persists the given configuration
mix local             # List local tasks
mix local.hex         # Install hex locally
mix local.rebar       # Install rebar locally
mix new               # Create a new Elixir project
mix phoenix.new       # Create a new Phoenix v0.17.1 application
mix run               # Run the given file or expression
mix test              # Run a project's tests
iex -S mix            # Start IEx and run the default task
mix phoenix.newが表示されればインストール成功です。
PhoenixFrameworkプロジェクトを作成する
PhoenixFrameworkを使ってプロジェクトを作成してみます。
プロジェクト名は文字で始まり、文字・数字・_(アンダースコア)以外は使えないので注意してください。
$ mix phoenix.new testphoenix
* creating test_phoenix/config/config.exs
* creating test_phoenix/config/dev.exs
* creating test_phoenix/config/prod.exs
* creating test_phoenix/config/prod.secret.exs
* creating test_phoenix/config/test.exs
* creating test_phoenix/lib/test_phoenix.ex
* creating test_phoenix/lib/test_phoenix/endpoint.ex
* creating test_phoenix/test/controllers/page_controller_test.exs
* creating test_phoenix/test/views/error_view_test.exs
* creating test_phoenix/test/views/page_view_test.exs
* creating test_phoenix/test/views/layout_view_test.exs
* creating test_phoenix/test/support/conn_case.ex
* creating test_phoenix/test/support/channel_case.ex
* creating test_phoenix/test/test_helper.exs
* creating test_phoenix/web/channels/user_socket.ex
* creating test_phoenix/web/controllers/page_controller.ex
* creating test_phoenix/web/templates/layout/app.html.eex
* creating test_phoenix/web/templates/page/index.html.eex
* creating test_phoenix/web/views/error_view.ex
* creating test_phoenix/web/views/layout_view.ex
* creating test_phoenix/web/views/page_view.ex
* creating test_phoenix/web/router.ex
* creating test_phoenix/web/web.ex
* creating test_phoenix/mix.exs
* creating test_phoenix/README.md
* creating test_phoenix/lib/test_phoenix/repo.ex
* creating test_phoenix/test/support/model_case.ex
* creating test_phoenix/priv/repo/seeds.exs
* creating test_phoenix/.gitignore
* creating test_phoenix/brunch-config.js
* creating test_phoenix/package.json
* creating test_phoenix/web/static/css/app.css
* creating test_phoenix/web/static/js/app.js
* creating test_phoenix/web/static/js/socket.js
* creating test_phoenix/web/static/assets/robots.txt
* creating test_phoenix/web/static/assets/images/phoenix.png
* creating test_phoenix/web/static/assets/favicon.ico

# 依存関係を解決しつつフェッチするか
Fetch and install dependencies? [Yn] Y

* running npm install && node node_modules/brunch/bin/brunch build
* running mix deps.get

We are all set! Run your Phoenix application:

    $ cd test_phoenix
    $ mix ecto.create
    $ mix phoenix.server

You can also run your app inside IEx (Interactive Elixir) as:

    $ iex -S mix phoenix.server
これでプロジェクトが作成されました!
プロジェクトを動かしてみる
それでは作成したプロジェクトを早速動かしてみます。
$ cd test_phoenix
$ mix ecto.create
Could not find rebar, which is needed to build dependency :fs
I can install a local copy which is just used by mix
Shall I install rebar? [Yn] Y

/*** 諸々インストール ***/

$ mix phoenix.server
[info] Running TestPhoenix.Endpoint with Cowboy on http://localhost:4000
※mix ecto.create時に以下のエラーが出た場合はPostgreSQLのインストールを、
** (RuntimeError) could not find executable `psql` in path, please guarantee it is available before running ecto commands
以下のエラーが出た場合はPostgreSQL上でpostgresユーザを作成して下さい。
** (Mix) The database for repo HelloPhoenix.Repo couldn't be created, reason given: psql: FATAL: role "postgres" does not exist
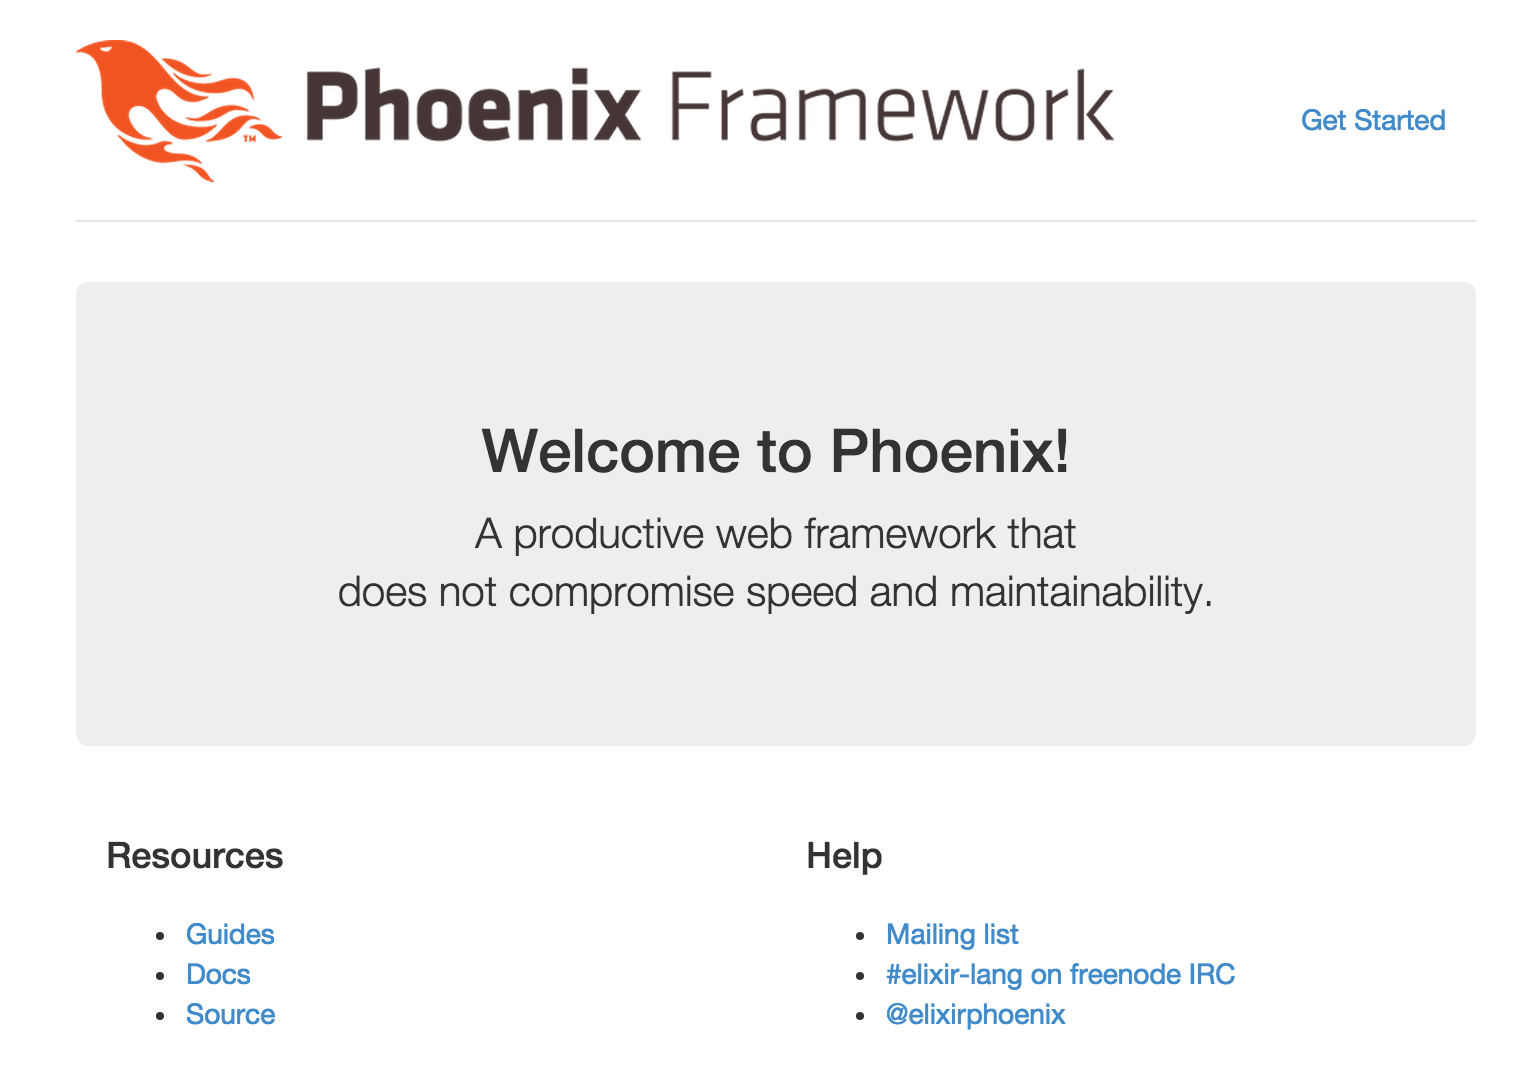
それではhttp://localhost:4000 にアクセスしてみましょう。

無事表示されればOKです。
少しいじってみる
それでは少し中身をいじってみましょう。
プロジェクトの構成については以下の記事で解説されています。
Phoenix Framework Guide をなんとなく訳してみた③ Adding Pages
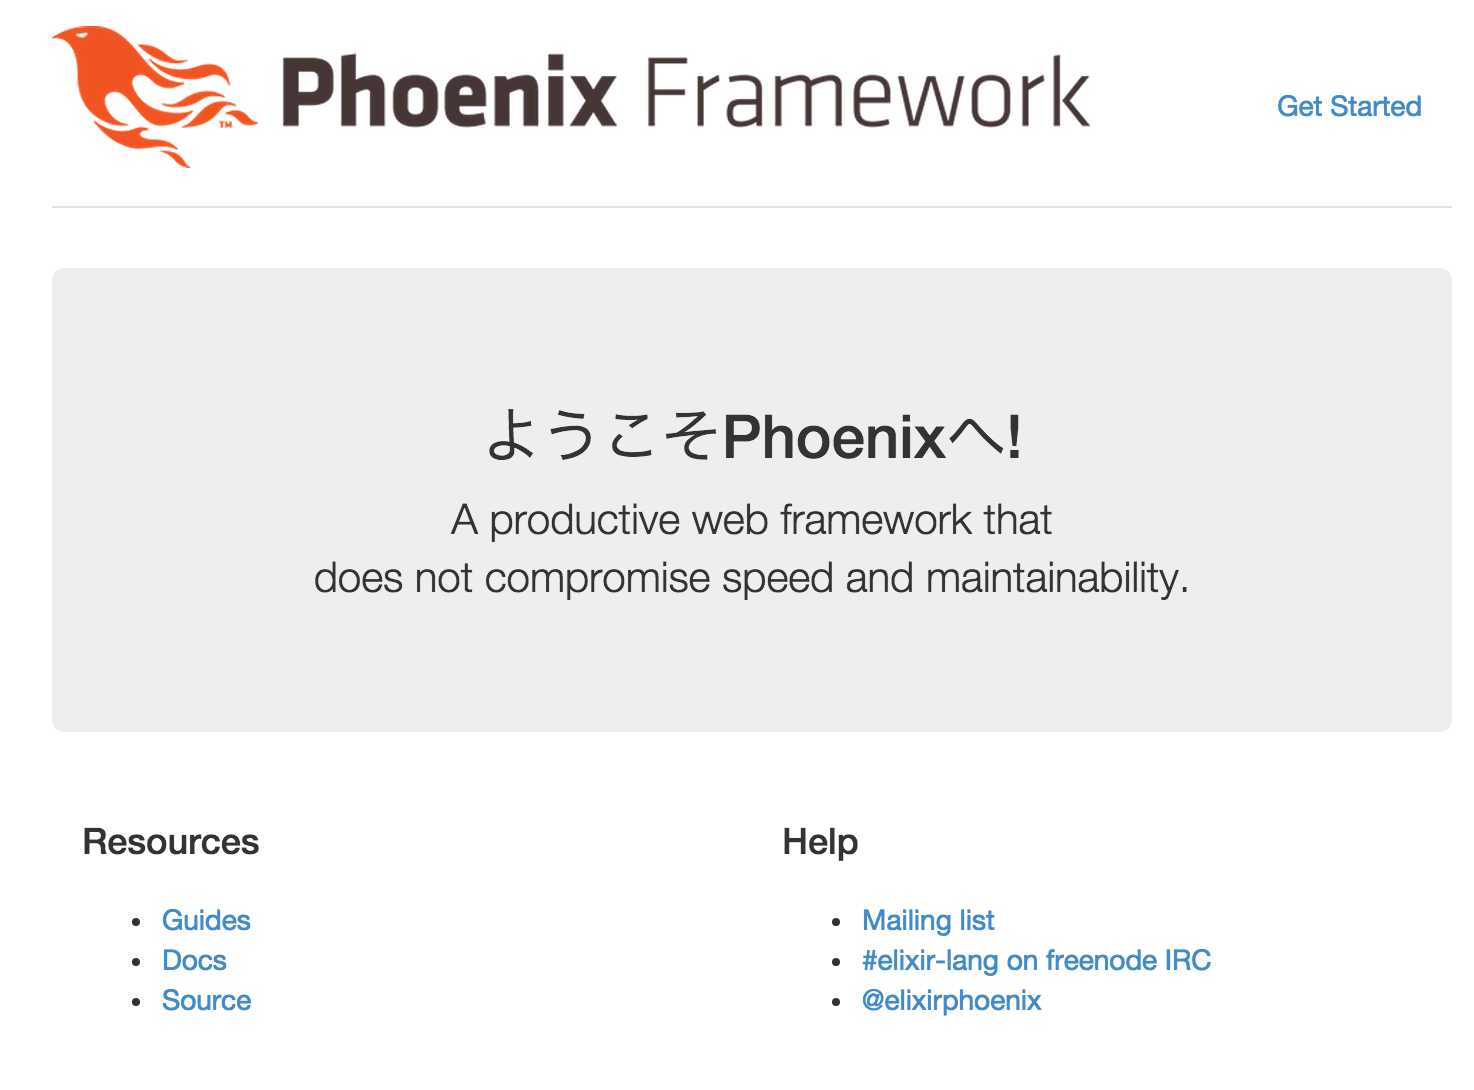
手始めに、Welcome to Phoenix!を日本語にしましょう。
<div class="jumbotron">
  <!-- <h2>Welcome to Phoenix!</h2> 以下に変更-->
  <h2>ようこそPhoenixへ!</h2>
  <p class="lead">A productive web framework that<br />does not compromise speed and maintainability.</p>
</div>

<div class="row marketing">
  <div class="col-lg-6">
    <h4>Resources</h4>
    <ul>
      <li>
        <a href="http://phoenixframework.org/docs/overview">Guides</a>
      </li>
      <li>
        <a href="http://hexdocs.pm/phoenix">Docs</a>
      </li>
      <li>
        <a href="https://github.com/phoenixframework/phoenix">Source</a>
      </li>
    </ul>
  </div>

  <div class="col-lg-6">
    <h4>Help</h4>
    <ul>
      <li>
        <a href="http://groups.google.com/group/phoenix-talk">Mailing list</a>
      </li>
      <li>
        <a href="http://webchat.freenode.net/?channels=elixir-lang">#elixir-lang on freenode IRC</a>
      </li>
      <li>
        <a href="https://twitter.com/elixirphoenix">@elixirphoenix</a>
      </li>
    </ul>
  </div>
</div>
こうすることで再びhttp://localhost:4000 へアクセスすると、

文言が変わりましたね!
ひとまず今回はここまで。