前提
※ この記事はiOSアプリを対象に述べています。
$ date
2017年 3月19日 日曜日 17時09分47秒 JST

$ yarn -V
0.21.3

$ react-native -v
react-native-cli: 2.0.1
react-native: 0.42.3
React Native Navigation とは
ReactNative標準Navigationの微妙なところを改善しようとしている代替パッケージ。詳細はREADMEほかを参照。筆者の導入モチベーションとしては、__標準のNavigatorIOSだとReduxにてpropsの更新を伝えられないのを解決できる__点でした。
 wix/react-native-navigation

導入前の準備
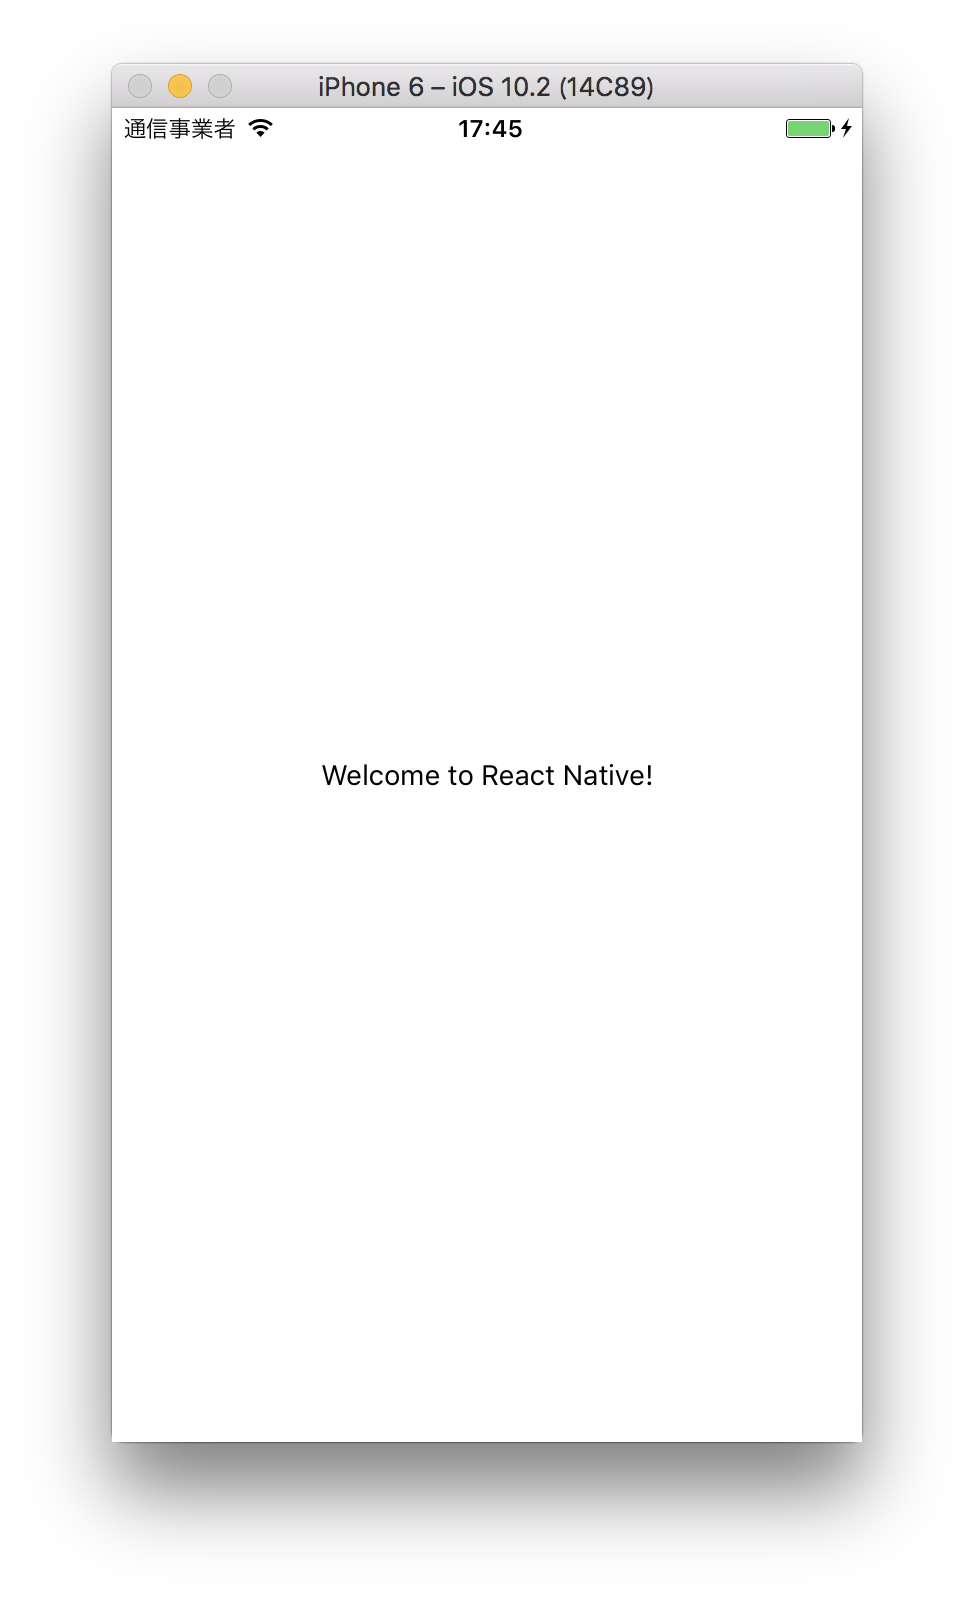
本パッケージを導入するにあたって、標準で想定されているコードとどう違うのかを把握したいところ。なのでまずは、最小限のReactNative新規アプリを用意します。ここでは、自動生成されるコードをさらに削って見通しを良くしています。
$ react-native init AwesomeProject
$ cd AwesomeProject
$ react-native run-ios
import React, { Component } from 'react';
import { AppRegistry, Text, View } from 'react-native';

class AwesomeProject extends Component {
  render() {
    return (
      <View style={{ flex: 1, justifyContent: 'center', alignItems: 'center' }}>
        <Text>
          Welcome to React Native!
        </Text>
      </View>
    );
  }
}

AppRegistry.registerComponent('AwesomeProject', () => AwesomeProject);
導入の手順
ドキュメントはサイトにちゃんとまとめられています。 ReactNative の古いバージョンについて触れられていたり、ややこしいので__本記事冒頭の前提をもと__に簡潔に説明します。これをお読みになっているあなたが導入するときには事情が変わっているかもしれないので、下記のリンクから併せてご確認ください。
ざっくり全体の流れ
- パッケージをインストールする
- Xcode にライブラリをリンクする
-
AppDelegate.mを編集する -
index.ios.jsを編集する
1. パッケージをインストールする
$ yarn add react-native-navigation@next
yarn add v0.21.3
[1/4] 🔍  Resolving packages...
[2/4] 🚚  Fetching packages...
[3/4] 🔗  Linking dependencies...
[4/4] 📃  Building fresh packages...
success Saved 0 new dependencies.
✨  Done in 3.52s.
2. Xcode にライブラリをリンクする
$ react-native link
Scanning 552 folders for symlinks in /Users/syon/repo/AwesomeProject/node_modules (3ms)
rnpm-install info Linking react-native-navigation android dependency
rnpm-install info Android module react-native-navigation has been successfully linked
rnpm-install info Linking react-native-navigation ios dependency
rnpm-install info iOS module react-native-navigation has been successfully linked
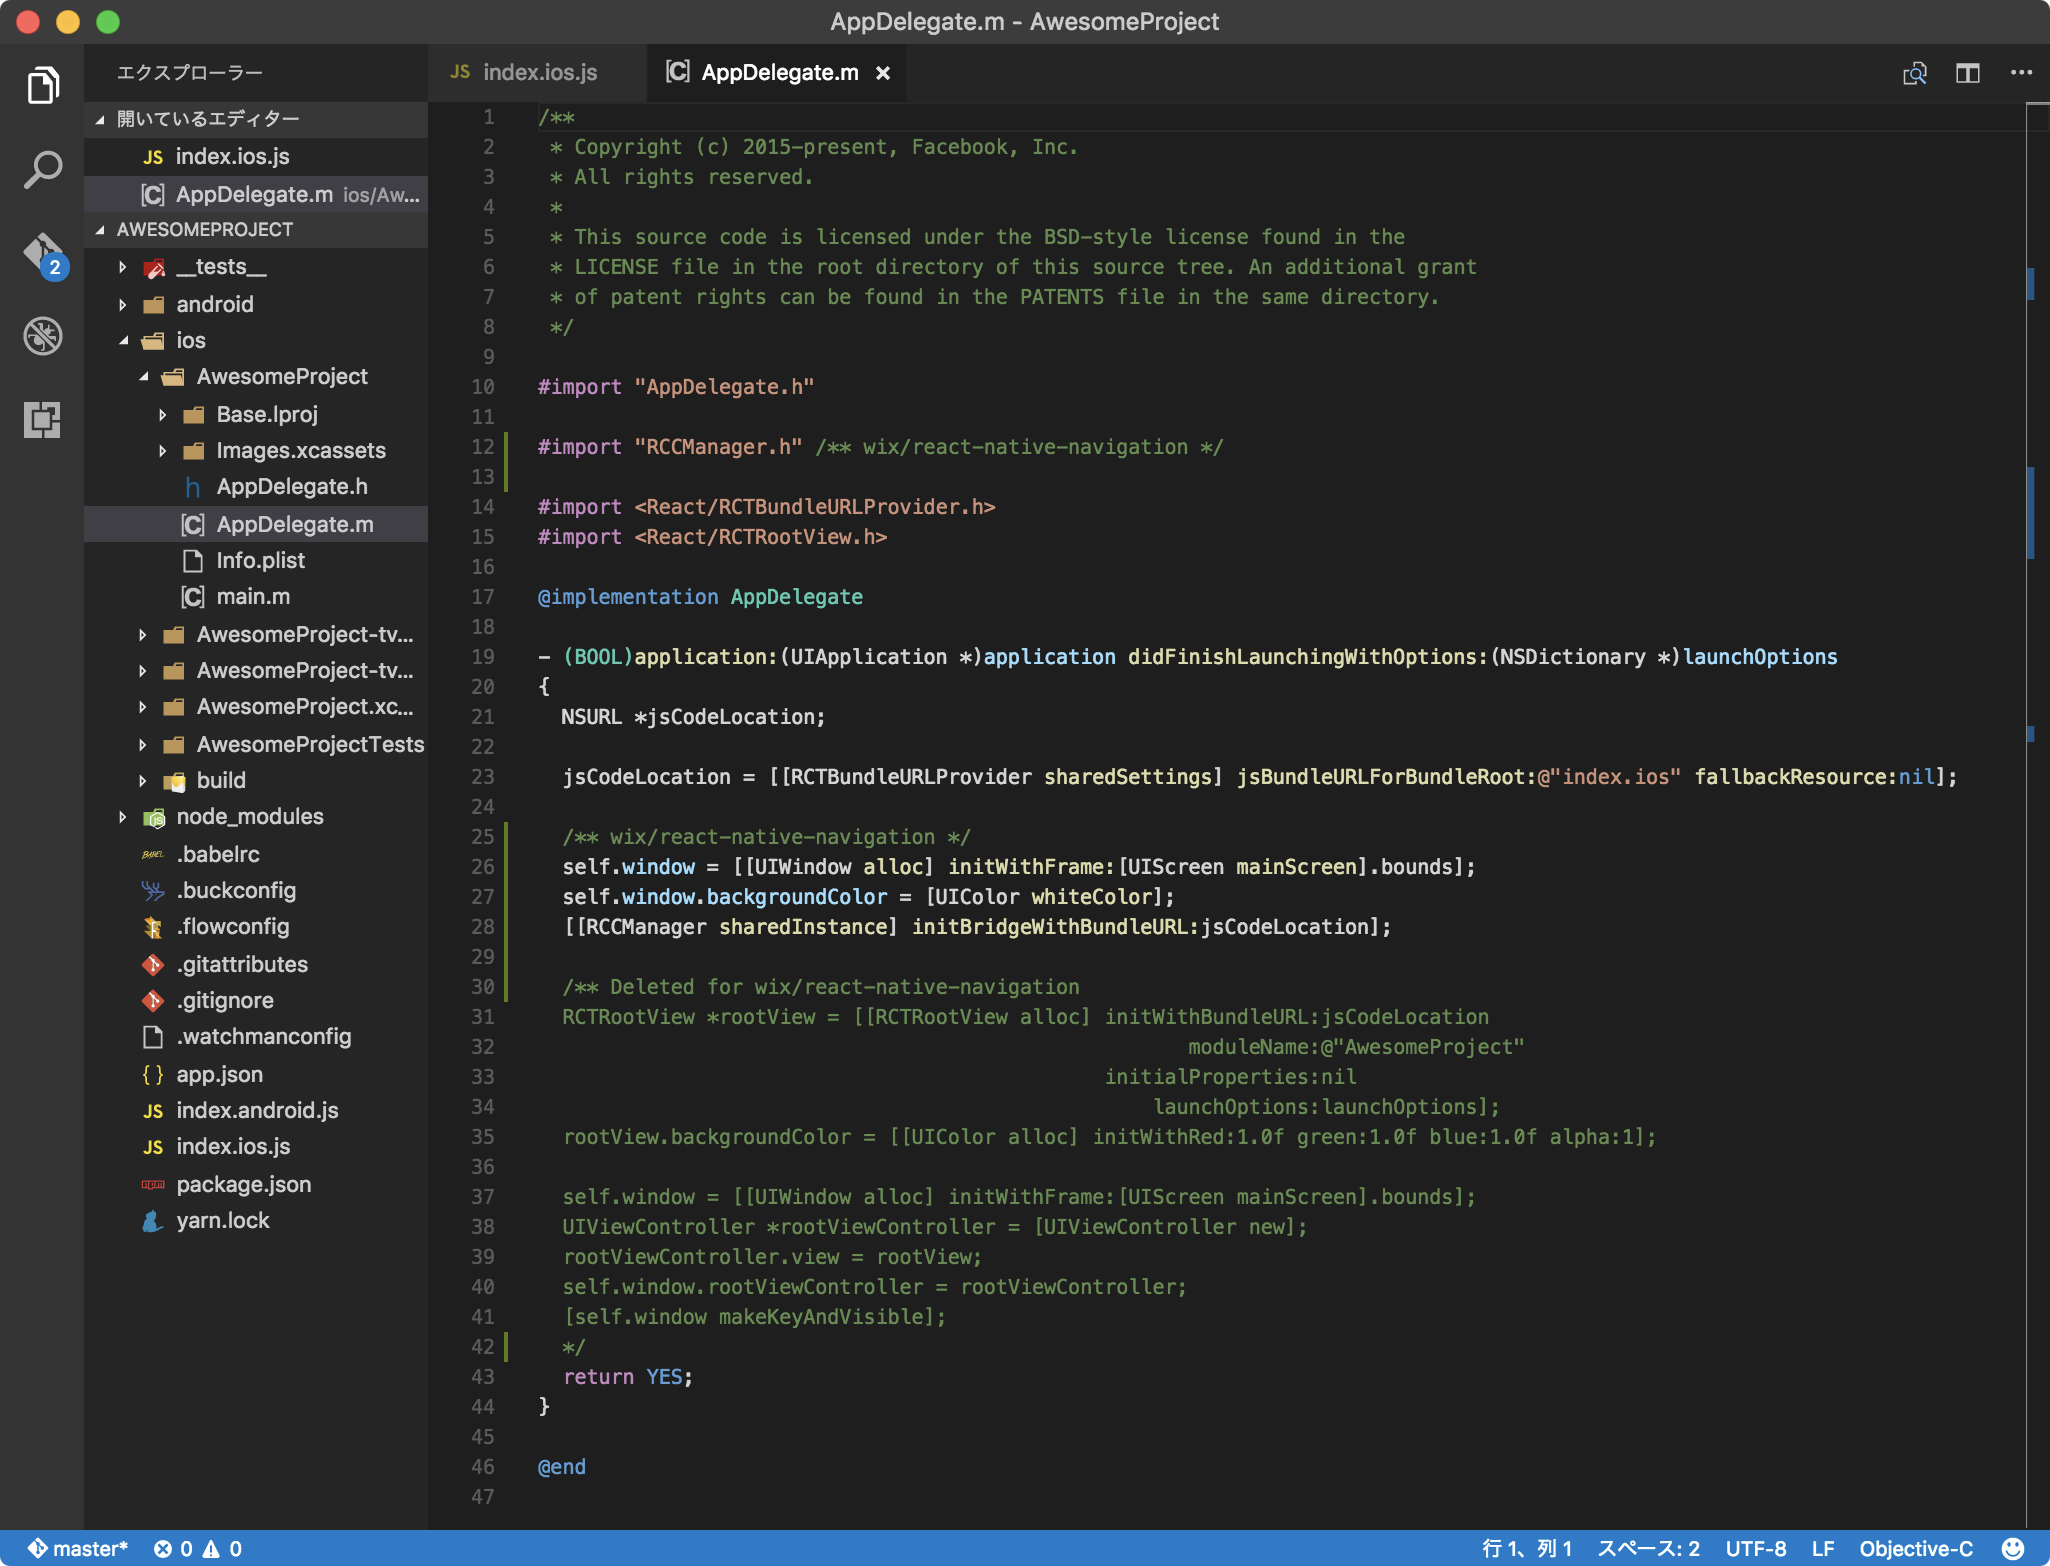
3. AppDelegate.mを編集する
ios/AwesomeProject/AppDelegate.m にて、下記のコードで既存の RCTRootView 関連のコードと置き換えます。詳細は サンプルアプリの実際のコード を参考にしてください。私は下記画像の通り編集しました。
self.window = [[UIWindow alloc] initWithFrame:[UIScreen mainScreen].bounds];
self.window.backgroundColor = [UIColor whiteColor];
[[RCCManager sharedInstance] initBridgeWithBundleURL:jsCodeLocation];
4. index.ios.jsを編集する
上記との差分を見れば、何をどうしたかは明らかでしょう。ここではタブ1つでアイコンもなしという寂しい状況ですが、まずは動かなくては話になりません。ポイントとしては AppRegistry まわりのことはこのパッケージがやってくれること、Navigation.registerComponentの第一引数であるスクリーンIDは特にアプリの名称と一致していなくても動作する、といったところでしょうか。
import React, { Component } from 'react';
import { Text, View } from 'react-native';
import { Navigation } from 'react-native-navigation';

class Welcome extends Component {
  render() {
    return (
      <View style={{ flex: 1, justifyContent: 'center', alignItems: 'center' }}>
        <Text>
          Welcome to React Native!
        </Text>
      </View>
    )
  }
}

function registerScreens() {
  Navigation.registerComponent('example.WelcomeTabScreen', () => Welcome);
}
registerScreens();

Navigation.startTabBasedApp({
  tabs: [
    {
      label: 'Welcome',
      screen: 'example.WelcomeTabScreen',
      title: 'Welcome'
    },
  ]
});
Done!

see also:
-
react-native-navigation/example at master
本パッケージのサンプルアプリ
TIPS
ステータスバーを制御するには
Xcode にてコードから制御することを許可する
-
Styling the StatusBar
Xcode > TARGETS > Info > View controller-based status bar appearance >YES