はじめに
2日目のエントリです。
今日は gif ライクなローディングアニメーションを作成する方法を紹介します。
素材を用意する
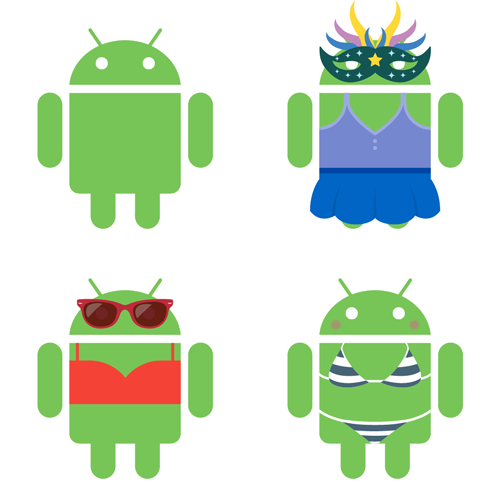
ローディングに使用する素材を用意します。今回は Androidify を使って、↓のようなものを用意してみました。
https://www.androidify.com/ja/#/
animation-list を用意する
用意した素材を表示する順序、表示間隔を指定します。
custom_progress.xml
<animation-list xmlns:android="http://schemas.android.com/apk/res/android">
    <item android:drawable="@drawable/droid_normal" android:duration="400" />
    <item android:drawable="@drawable/droid_lovely" android:duration="400" />
    <item android:drawable="@drawable/droid_sexy" android:duration="400" />
    <item android:drawable="@drawable/droid_hot" android:duration="400" />
</animation-list>
アニメーションを開始する
作成した animation-list を、アニメーションを表示する View の background に指定します。
fragment_sample.xml
<View
   android:id="@+id/progress"
   android:layout_width="48dp"
   android:layout_height="48dp"
   android:background="@drawable/custom_progress" />
getBackground で取得した Drawable を AnimationDrawable にキャストし、start メソッドを読んであげれば終了です!
SampleFragment.jva
View view = rootView.findViewById(R.id.progress);
AnimationDrawable anim = (AnimationDrawable) view.getBackground();
anim.start();
カスタム View を作る
どうせなら毎度アニメーション用のコードを書かずに、こんな感じで使いたいですよね。
fragment_sample.xml
<com.example.myapp.CustomProgress
   android:layout_width="48dp"
   android:layout_height="48dp" />
というわけでカスタム View も作ってみます。
CustomProgress.java
public class CustomProgress extends View {

    public CustomProgress(Context context, AttributeSet attrs) {
        super(context, attrs);
        init();
    }

    private void init() {
        Drawable drawable = getResources().getDrawable(R.drawable.custom_progress);
        setBackground(drawable);
        AnimationDrawable anim = (AnimationDrawable) getBackground();
        anim.start();
        invalidate();
    }
}
完成
こんな感じに仕上がりました!
参考

