この記事の目的
- Go言語でライブラリを作る
- 作ったライブラリをリモートリポジトリパッケージとしてGitHubで公開する
- drone.ioで継続的インテグレーション(continuous integration 以下 CI)する
Go言語のパッケージ管理
Go言語はパッケージ管理ツールが標準化されていて、依存するパッケージをGitHub上などから簡単にダウンロードすることができる。
go get github.com/r7kamura/gospel
ライブラリを作る
今回サンプルとして作るライブラリは、Hello Worldを返すというもの。パッケージ名は gohelloworld とする。
まずは、gohelloworld パッケージ用のディレクトリを好きな場所に作る:
mkdir ~/Desktop/gohelloworld
cd ~/Desktop/gohelloworld/
ライブラリの実装を書くファイル helloworld.go を作る:
touch helloworld.go
ちなみに、ファイルの名前はパッケージ名と同一でなくても良い。
HelloWorld 関数を実装する:
package gohelloworld

func HelloWorld() string {
	return "Hello World"
}
パッケージ名はディレクトリ名と同じ gohelloworld にする。ここで作った HelloWorld 関数は依存するコードからは gohelloworld.HelloWorld() のようにパッケージ名を前につけて呼び出すようになる。
次に、HelloWorld 関数の単体テストを書くファイルを作る:
touch helloworld_test.go
ファイル名は _test.go で終わるものであれば何でも構わない。
今回はBDD風にテストコードを書きたいので、gospelというライブラリを使う。使うためにはリモートリポジトリからライブラリを取ってきておく必要がある:
go get github.com/r7kamura/gospel
テストコードを記述する:
package gohelloworld

import (
	. "github.com/r7kamura/gospel"
	"testing"
)

func TestDescribe(t *testing.T) {
	Describe(t, "HelloWorld", func() {
		Context("call HelloWorld", func() {
			It("should be 'Hello World'", func() {
				Expect(HelloWorld()).To(Equal, "Hello World")
			})
		})
	})
}
テストを実行してみる:
go test
テスト実行結果:
.PASS
ok      _/Users/suin/Desktop/gohelloworld       0.014s
GitHub上でリポジトリを作る
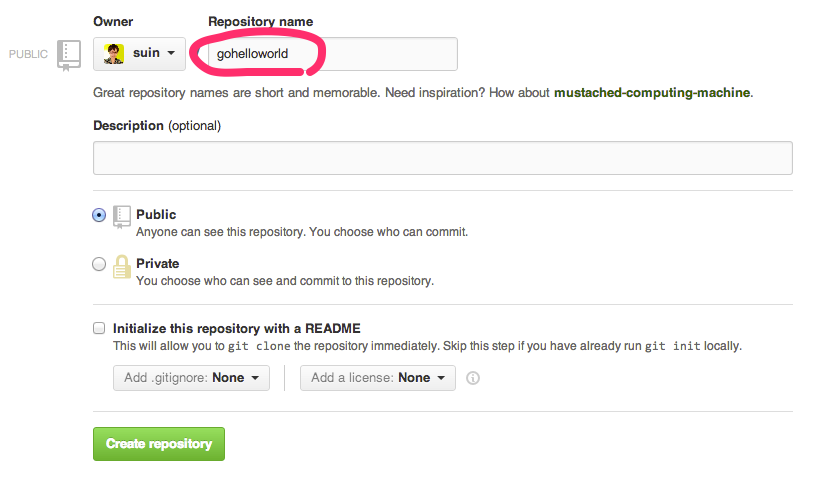
上で作った gohelloworld ライブラリを公開するためのリポジトリをGitHubに作る。
GitHubの新規リポジトリ作成ページに行き、パッケージ名と同じ名前でリポジトリを作成する:
リポジトリが作成されると、初期化のためのコマンドが表示されるので、それらを実行する:
最後に、helloworld.go と helloworld_test.go をコミットしてリモートリポジトリにpushしておく:
git add -A
git commit -m "add source code"
git push
これで gohelloworld パッケージがリモートパッケージとして利用できるようになる。
試しにリモートパッケージに依存するプロジェクトを作ってみる:
mkdir ~/Desktop/other_go_project
cd ~/Desktop/other_go_project/
touch main.go
package main

import "github.com/suin/gohelloworld"

func main() {
	println(gohelloworld.HelloWorld())
}
※ suin のところはご自分のアカウント名に書き換えてください
リモートパッケージをダウンロードする:
go get github.com/suin/gohelloworld
※ suin のところはご自分のアカウント名に書き換えてください
実行してみる:
go run main.go
画面に Hello World と表示されていれば成功。
drone.ioでCIする
drone.ioはCIをウェブサービスとして提供しており、簡単にGoのCI環境を利用することができる。
今回はdrone.ioを使ってGitHubにpushがあるたびに、単体テストが自動で実行されるようにする。
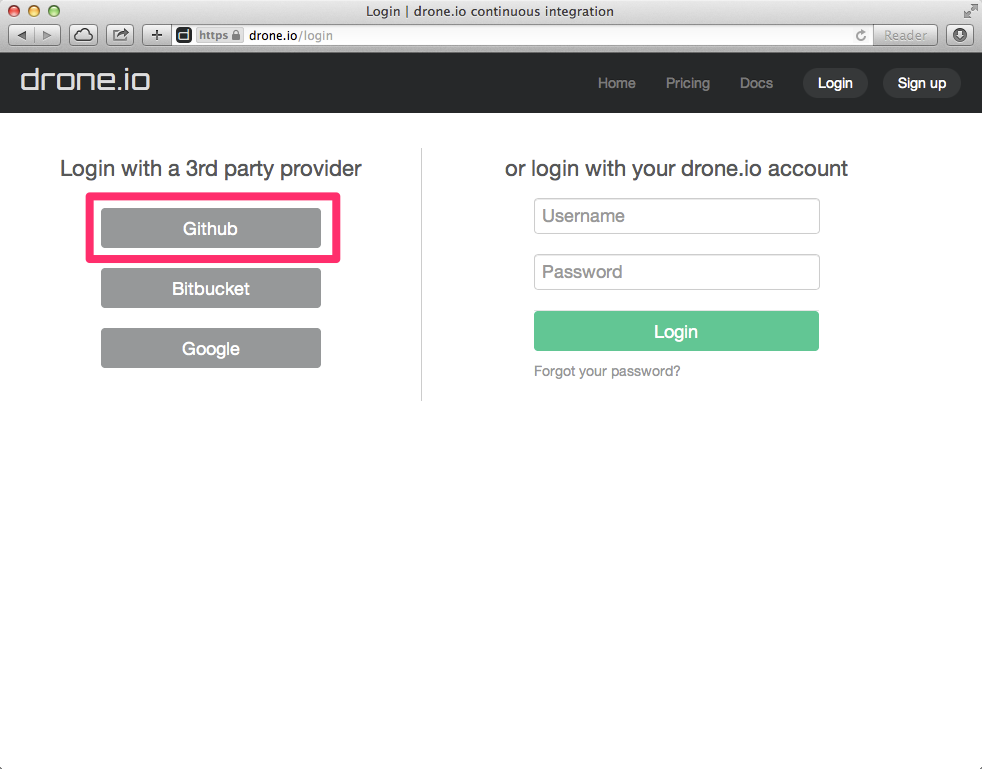
まずは、drone.ioにGitHubアカウントでログインする:
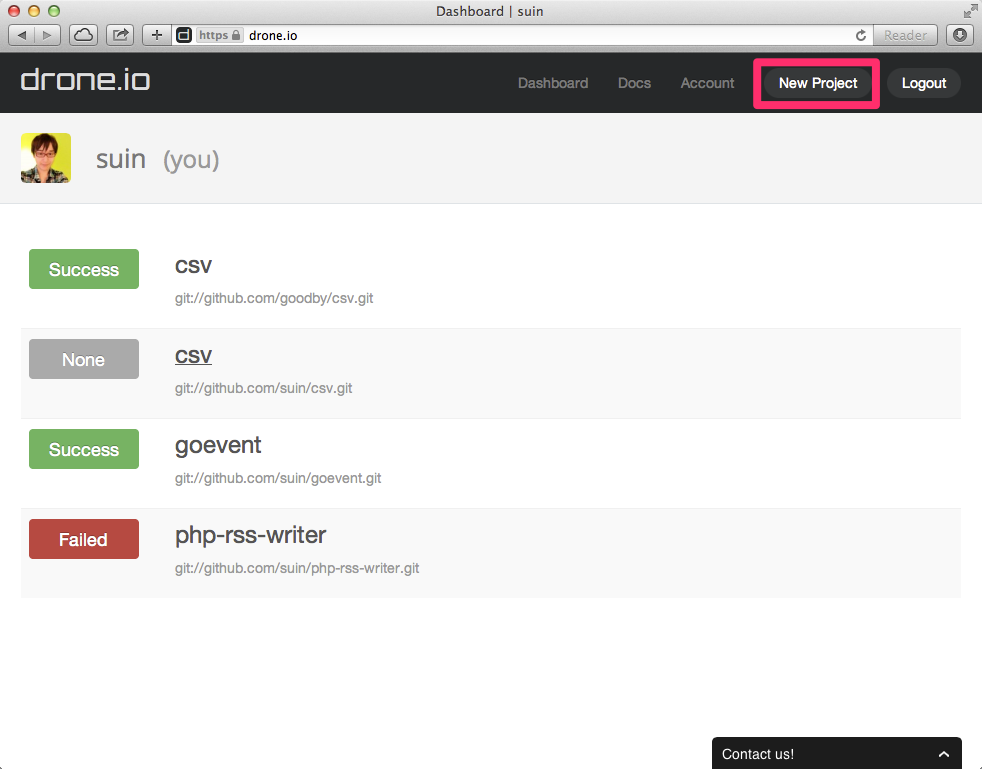
「New Project」を開き、
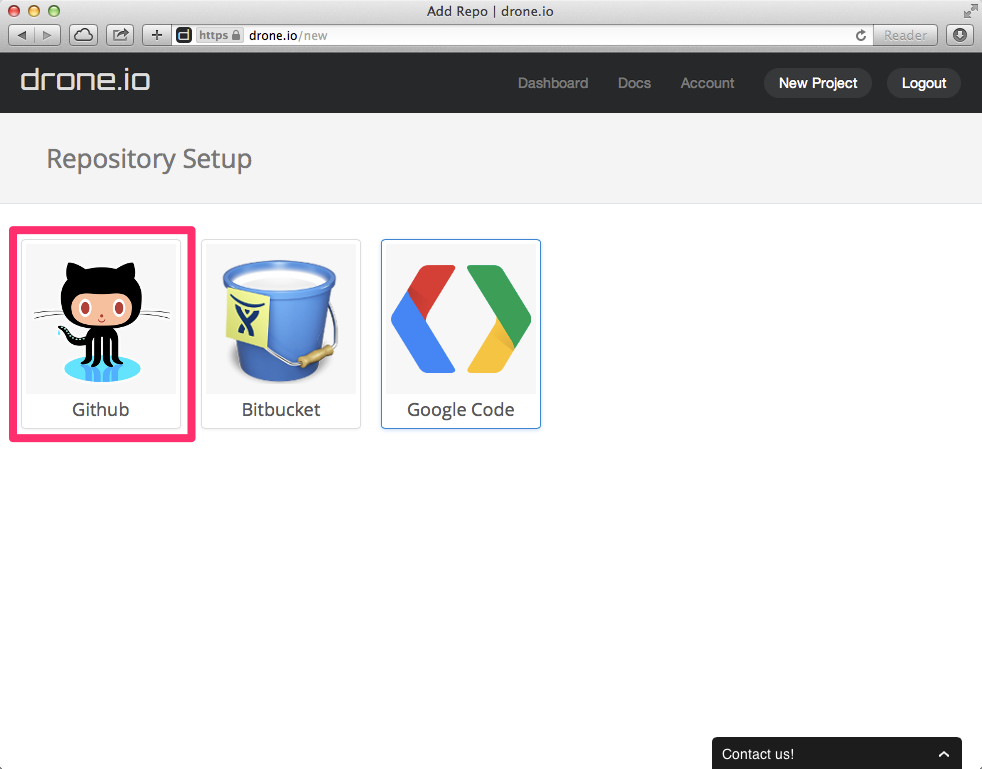
リポジトリの中から「GitHub」を選ぶ:
GitHubのリポジトリの一覧が表示されるので、その中から gohelloworld の「Select」を押す:
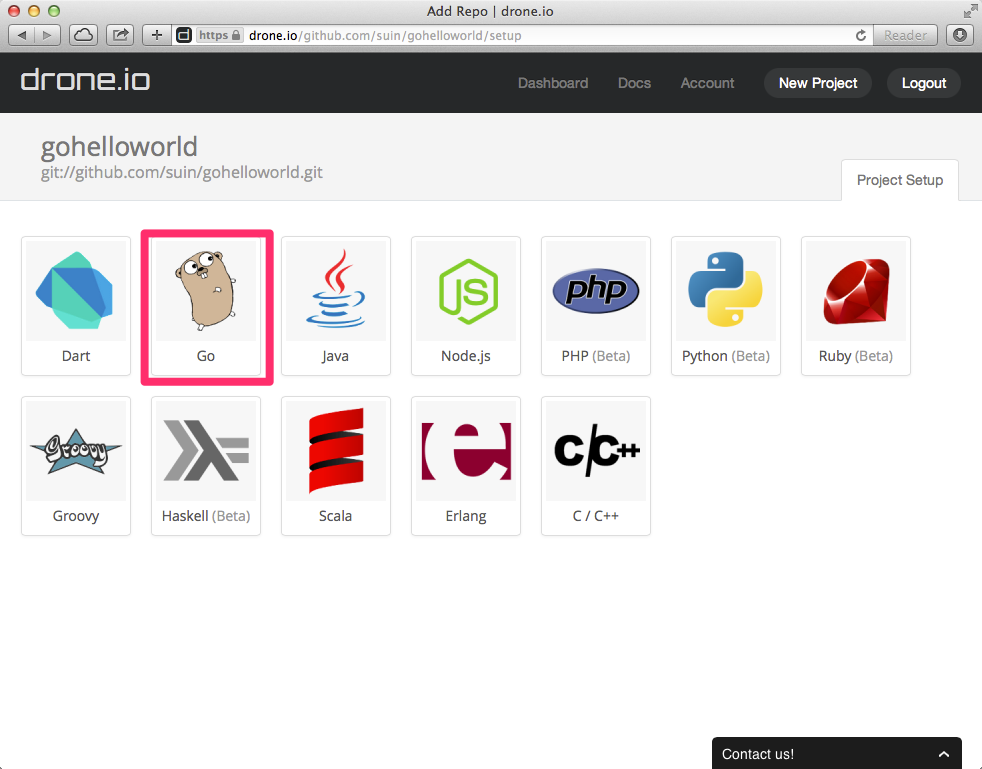
言語を選択する画面が出るので、「Go」を選ぶ:
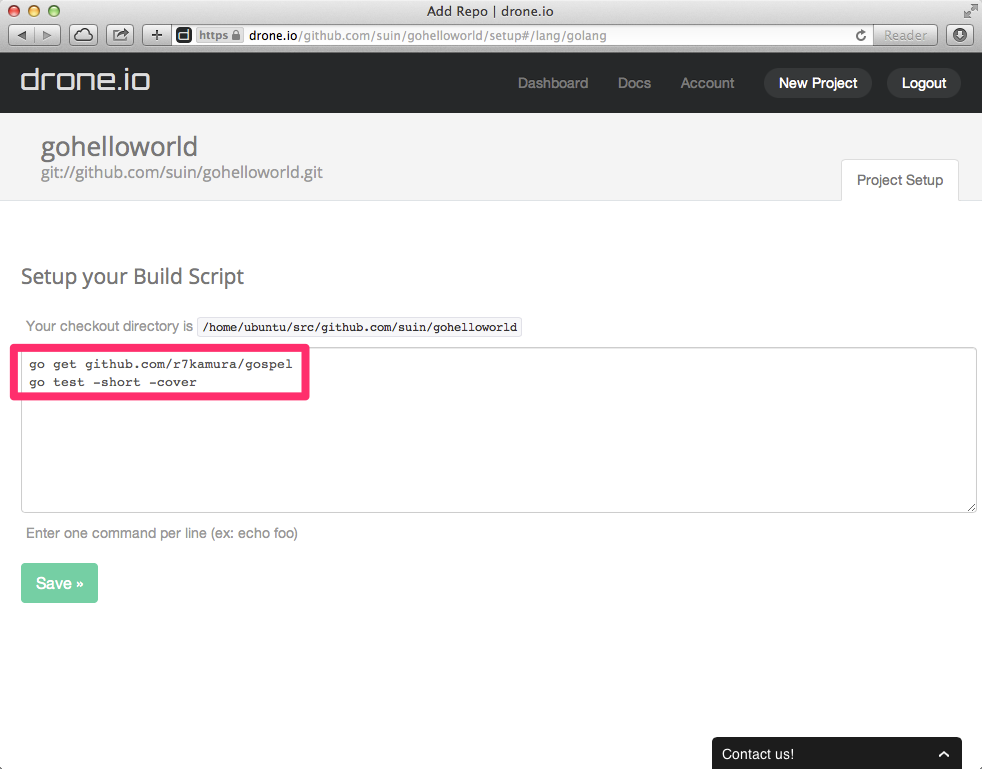
ビルドスクリプトの設定画面になるので、下記のスクリプトをフォームに入力し、「Save」を押すとプロジェクトのセットアップが完了となる:
go get github.com/r7kamura/gospel
go test -short -cover
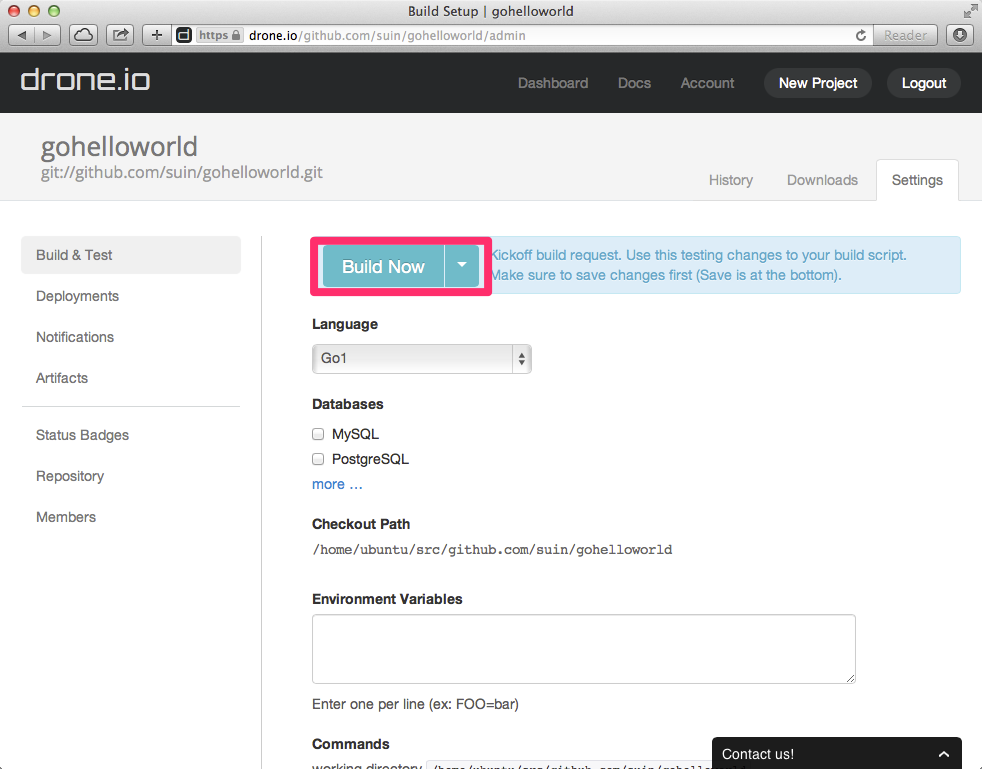
初回のビルドは「Build Now」を押すとすぐに実行できる:
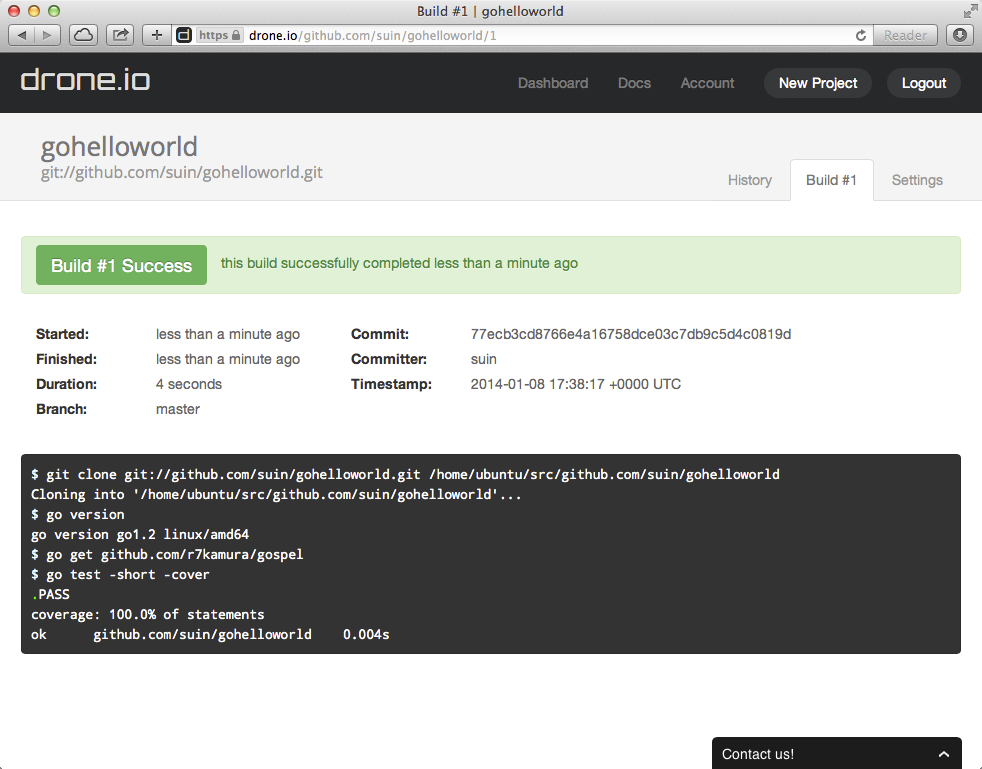
しばらく待つと結果が表示される:
ビルドステータスバッジをGitHubに載せる
ビルドがうまく行っているかどうかをGitHubで確認できるように、drone.ioのステータスバッジをREADMEに貼り付ける。
ステータスバッジのタグは「Setting」→「Status Budges」から得ることができる:
README.mdにタグを貼り付ける:
# GoHelloWorld
[](https://drone.io/github.com/suin/gohelloworld/latest)
GitHubにpushする:
git add README.md
git commit -m "add drone.io status badge"
git push
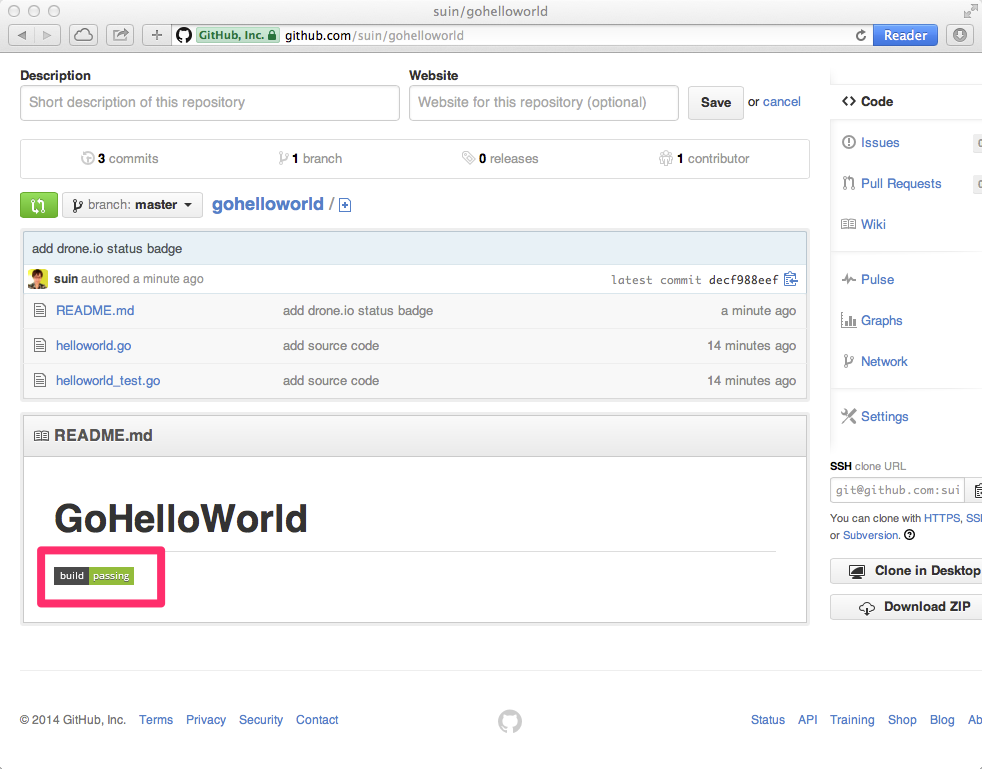
GitHubを開いてみると、ステータスバッジが表示されている:
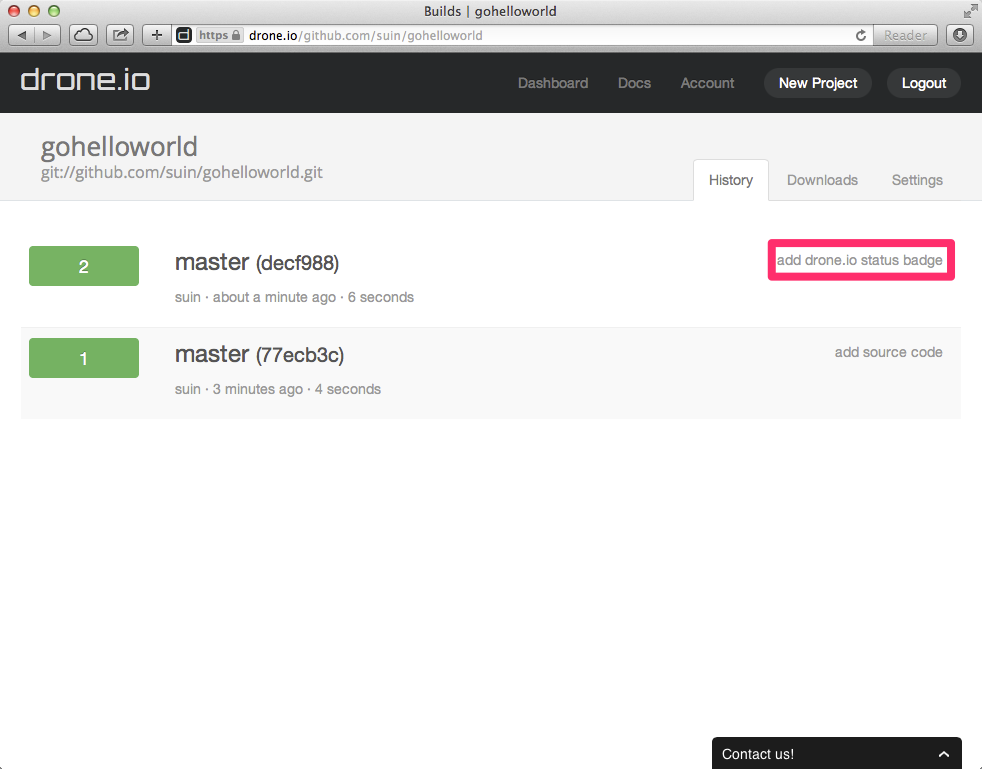
ちなみに、今のコミットでdrone.io上ではビルドが自動で一度行われる:
