アイコン画像の色、変えたいことありますよね。
色ごとにアイコン画像を作るのは面倒なので、TintColor設定でいつでもどこでも変えられるようにしてみます。
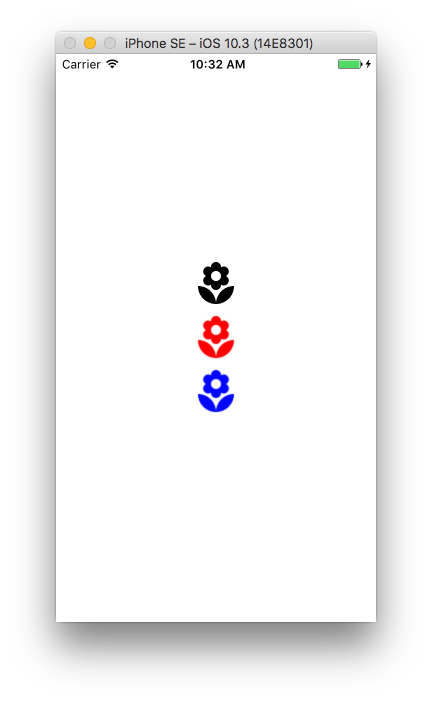
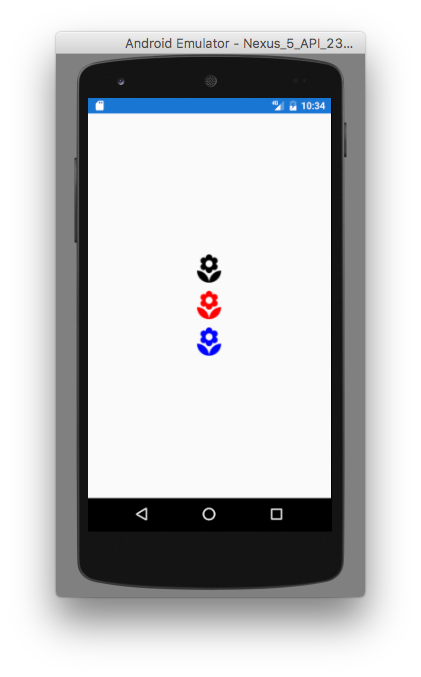
この花の形をした画像の色を変えてみたいと思います。
カスタムレンダラーを使いたくないという方はこちらをどうぞ。
実装
PCL
Image コントロールを継承したカスタムコントロールを作成します。
TintColorをXAMLから設定できるようにバインド可能プロパティを追加しておきます。
TintImage.cs
using Xamarin.Forms;

namespace MyApp
{
    public class TintImage : Image
    {
        public static readonly BindableProperty TintColorProperty = BindableProperty.Create(
            "TintColor", typeof(Color), typeof(TintImage), Color.Default
        );

        public Color TintColor {
            get { return (Color)GetValue(TintColorProperty); }
            set { SetValue(TintColorProperty, value); }
        }
    }
}
XAML
<?xml version="1.0" encoding="utf-8"?>
<ContentPage
    xmlns="http://xamarin.com/schemas/2014/forms"
    xmlns:x="http://schemas.microsoft.com/winfx/2009/xaml"
    xmlns:local="clr-namespace:MyApp"
    x:Class="MyApp.MyAppPage">

    <StackLayout VerticalOptions="Center" HorizontalOptions="Center">

        <local:TintImage Source="sample.png" />
        <local:TintImage Source="sample.png" TintColor="Red"/>
        <local:TintImage Source="sample.png" TintColor="Blue" />

    </StackLayout>

</ContentPage>
あとは各プラットフォームごとにカスタムレンダラーを作成します。
iOS
TintImageRenderer.cs
using System;
using System.ComponentModel;

using Xamarin.Forms;
using Xamarin.Forms.Platform.iOS;

using UIKit;

using MyApp;
using MyApp.iOS;

[assembly: ExportRenderer(typeof(TintImage), typeof(TintImageRenderer))]

namespace MyApp.iOS
{
    public class TintImageRenderer : ImageRenderer
    {
        protected override void OnElementChanged(ElementChangedEventArgs<Image> e)
        {
            base.OnElementChanged(e);

            if (e.NewElement != null) {
                SetTint();
            }
        }

        protected override void OnElementPropertyChanged(object sender, PropertyChangedEventArgs e)
        {
            base.OnElementPropertyChanged(sender, e);

            if (e.PropertyName == nameof(TintImage.TintColor)) {
                SetTint();
            }
        }

        protected void SetTint()
        {
            var element = (TintImage)Element;

            if (element.TintColor == Color.Default) {
                if (Control.Image != null) {
                    Control.Image = Control.Image.ImageWithRenderingMode(UIImageRenderingMode.AlwaysOriginal);
                }
                Control.TintColor = null;
            } else {
                if (Control.Image != null) {
                    Control.Image = Control.Image.ImageWithRenderingMode(UIImageRenderingMode.AlwaysTemplate);
                }
                Control.TintColor = element.TintColor.ToUIColor();
            }
        }
    }
}
Android
TintImageRenderer.cs
using System;
using System.ComponentModel;

using Xamarin.Forms;
using Xamarin.Forms.Platform.Android;

using Android.Graphics;

using MyApp;
using MyApp.Droid;

[assembly: ExportRenderer(typeof(TintImage), typeof(TintImageRenderer))]

namespace MyApp.Droid
{
    public class TintImageRenderer : ImageRenderer
    {
        /**
         * Xamarin.Forms 2.5 以降では引数なしのコンストラクタが obsolete になっているので、
         * 引数に Context をとるコンストラクタを定義します。
         */
        public TintImageRenderer(Android.Content.Context context) : base(context)
        {
        }

        protected override void OnElementChanged(ElementChangedEventArgs<Image> e)
        {
            base.OnElementChanged(e);

            if (e.NewElement != null) {
                SetTint();
            }
        }

        protected override void OnElementPropertyChanged(object sender, PropertyChangedEventArgs e)
        {
            base.OnElementPropertyChanged(sender, e);

            if (e.PropertyName == nameof(TintImage.TintColor)) {
                SetTint();
            }
        }

        protected void SetTint()
        {
            var element = (TintImage)Element;

            if (element.TintColor == Xamarin.Forms.Color.Default) {
                Control.ClearColorFilter();
            } else {
                Control.SetColorFilter(element.TintColor.ToAndroid(), PorterDuff.Mode.SrcIn);
            }
        }
    }
}
結果
各プラットフォームの Resources に画像ファイルをコピーして実行すると...
iOS
Android
黒の単色だった画像に色がつきました。
とりあえずは以上です。
こちらを参考にしパクリました


