iPadProを購入してApplePencilも購入した。
使いごこちはなかなかの物。
ApplePencilを使ったアプリってどうやって作るのかと思い
チュートリアル的なものは何かないかと探したところ下記サイトを見つけた。
⬇︎
https://www.raywenderlich.com/121834/apple-pencil-tutorial
※英語ダメダメなので間違っている可能性大かもしれません。
Download and explore Scribble.をクリックするとチュートリアルで使うプロジェクトを落としてこれる。
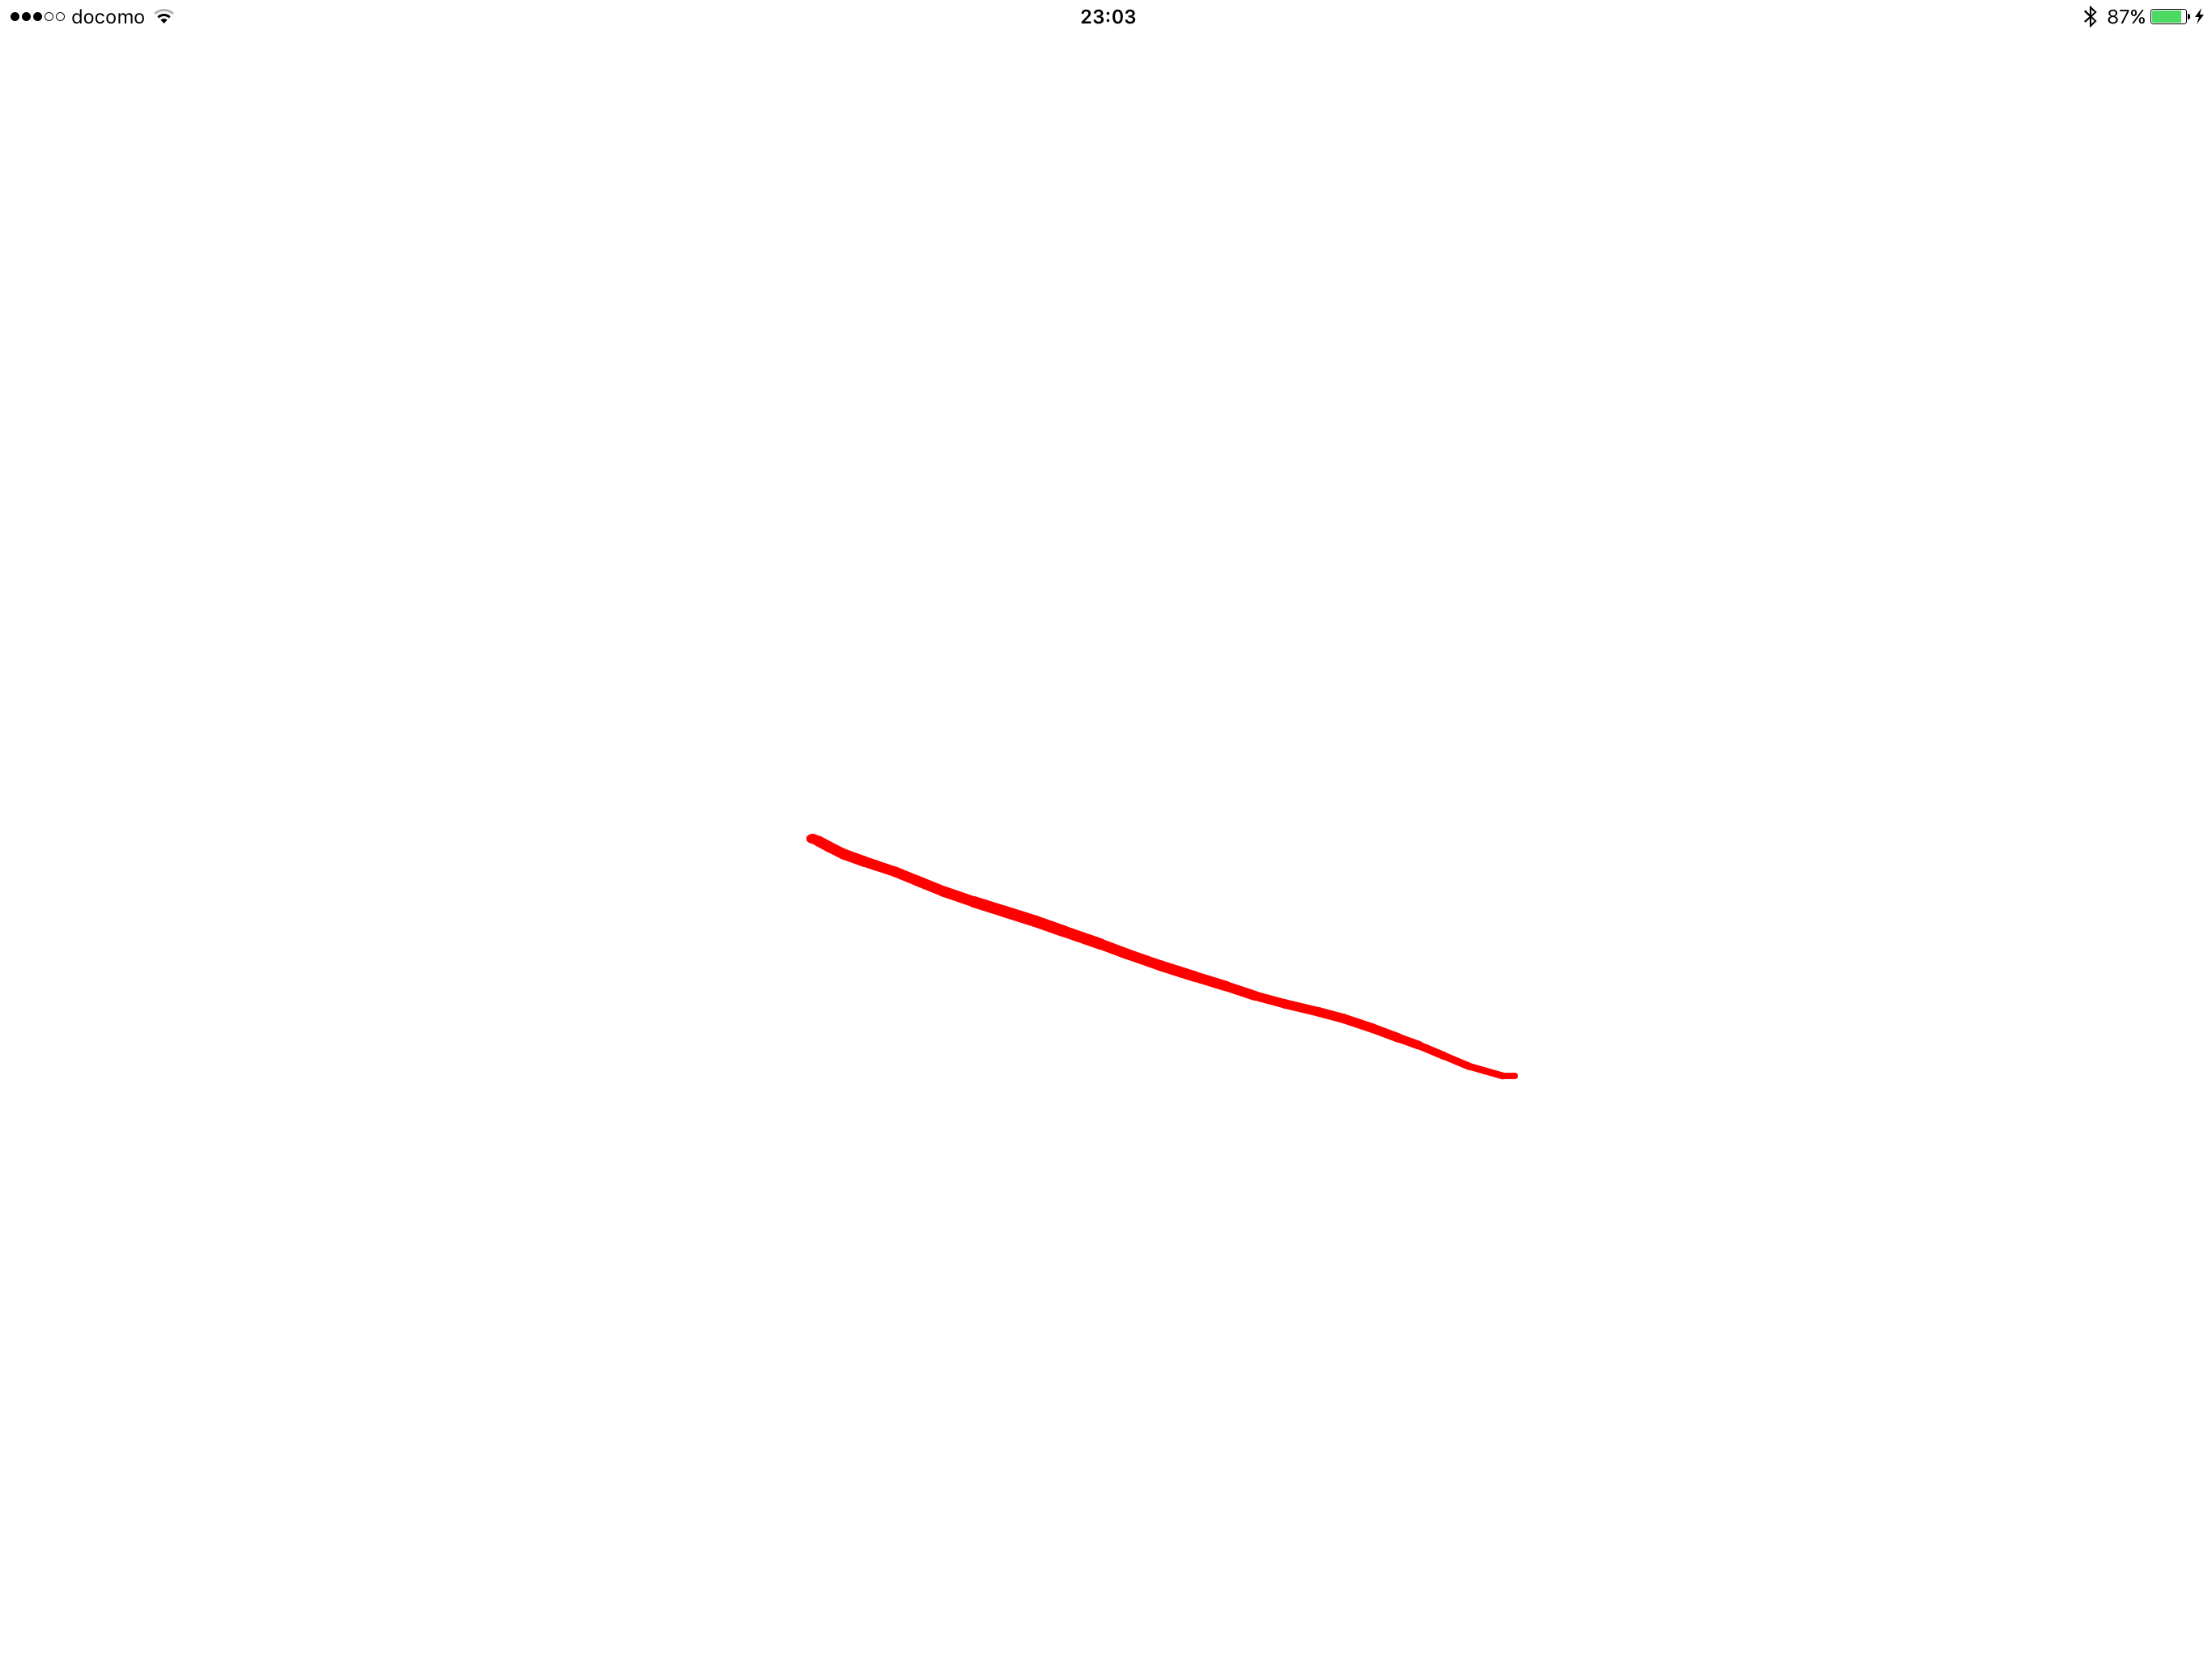
このプロジェクトを実行してみると何の変哲もない線が描けるらしい。
最初の項目: 筆圧によって線の太さを変える
private func lineWidthForDrawing(context: CGContext?, touch: UITouch) -> CGFloat {

    var lineWidth = defaultLineWidth

    if touch.force > 0 {
        lineWidth = touch.force * forceSensitivity
    }

    return lineWidth
  }
上記のメソッドに下記のように追加してやると筆圧によって線の太さが変わる
if touch.force > 0 {
  lineWidth = touch.force * Forcefulness
}
次の項目:よりスームズに描画する
iPadProがタッチイベントをスキャンする時間は120秒だそうだ。
しかしiPadProはリフレッシュレートが60であることからそれを全部拾いきれないが為に
円などを書くと角質のある円になってしまう。
そこでPG側で送らてくる信号を整理しスムーズに書けるようにするというものらしい。(翻訳に自信なし)
drawStroke(context, touch: touch)
の部分を
var touches = [UITouch]()

    // 2
    if let coalescedTouches = event?.coalescedTouchesForTouch(touch) {
        touches = coalescedTouches
    } else {
        touches.append(touch)
    }

    // 3
    print(touches.count)

    // 4
    for touch in touches {
        drawStroke(context, touch: touch)
    }
というふうに置き換える。
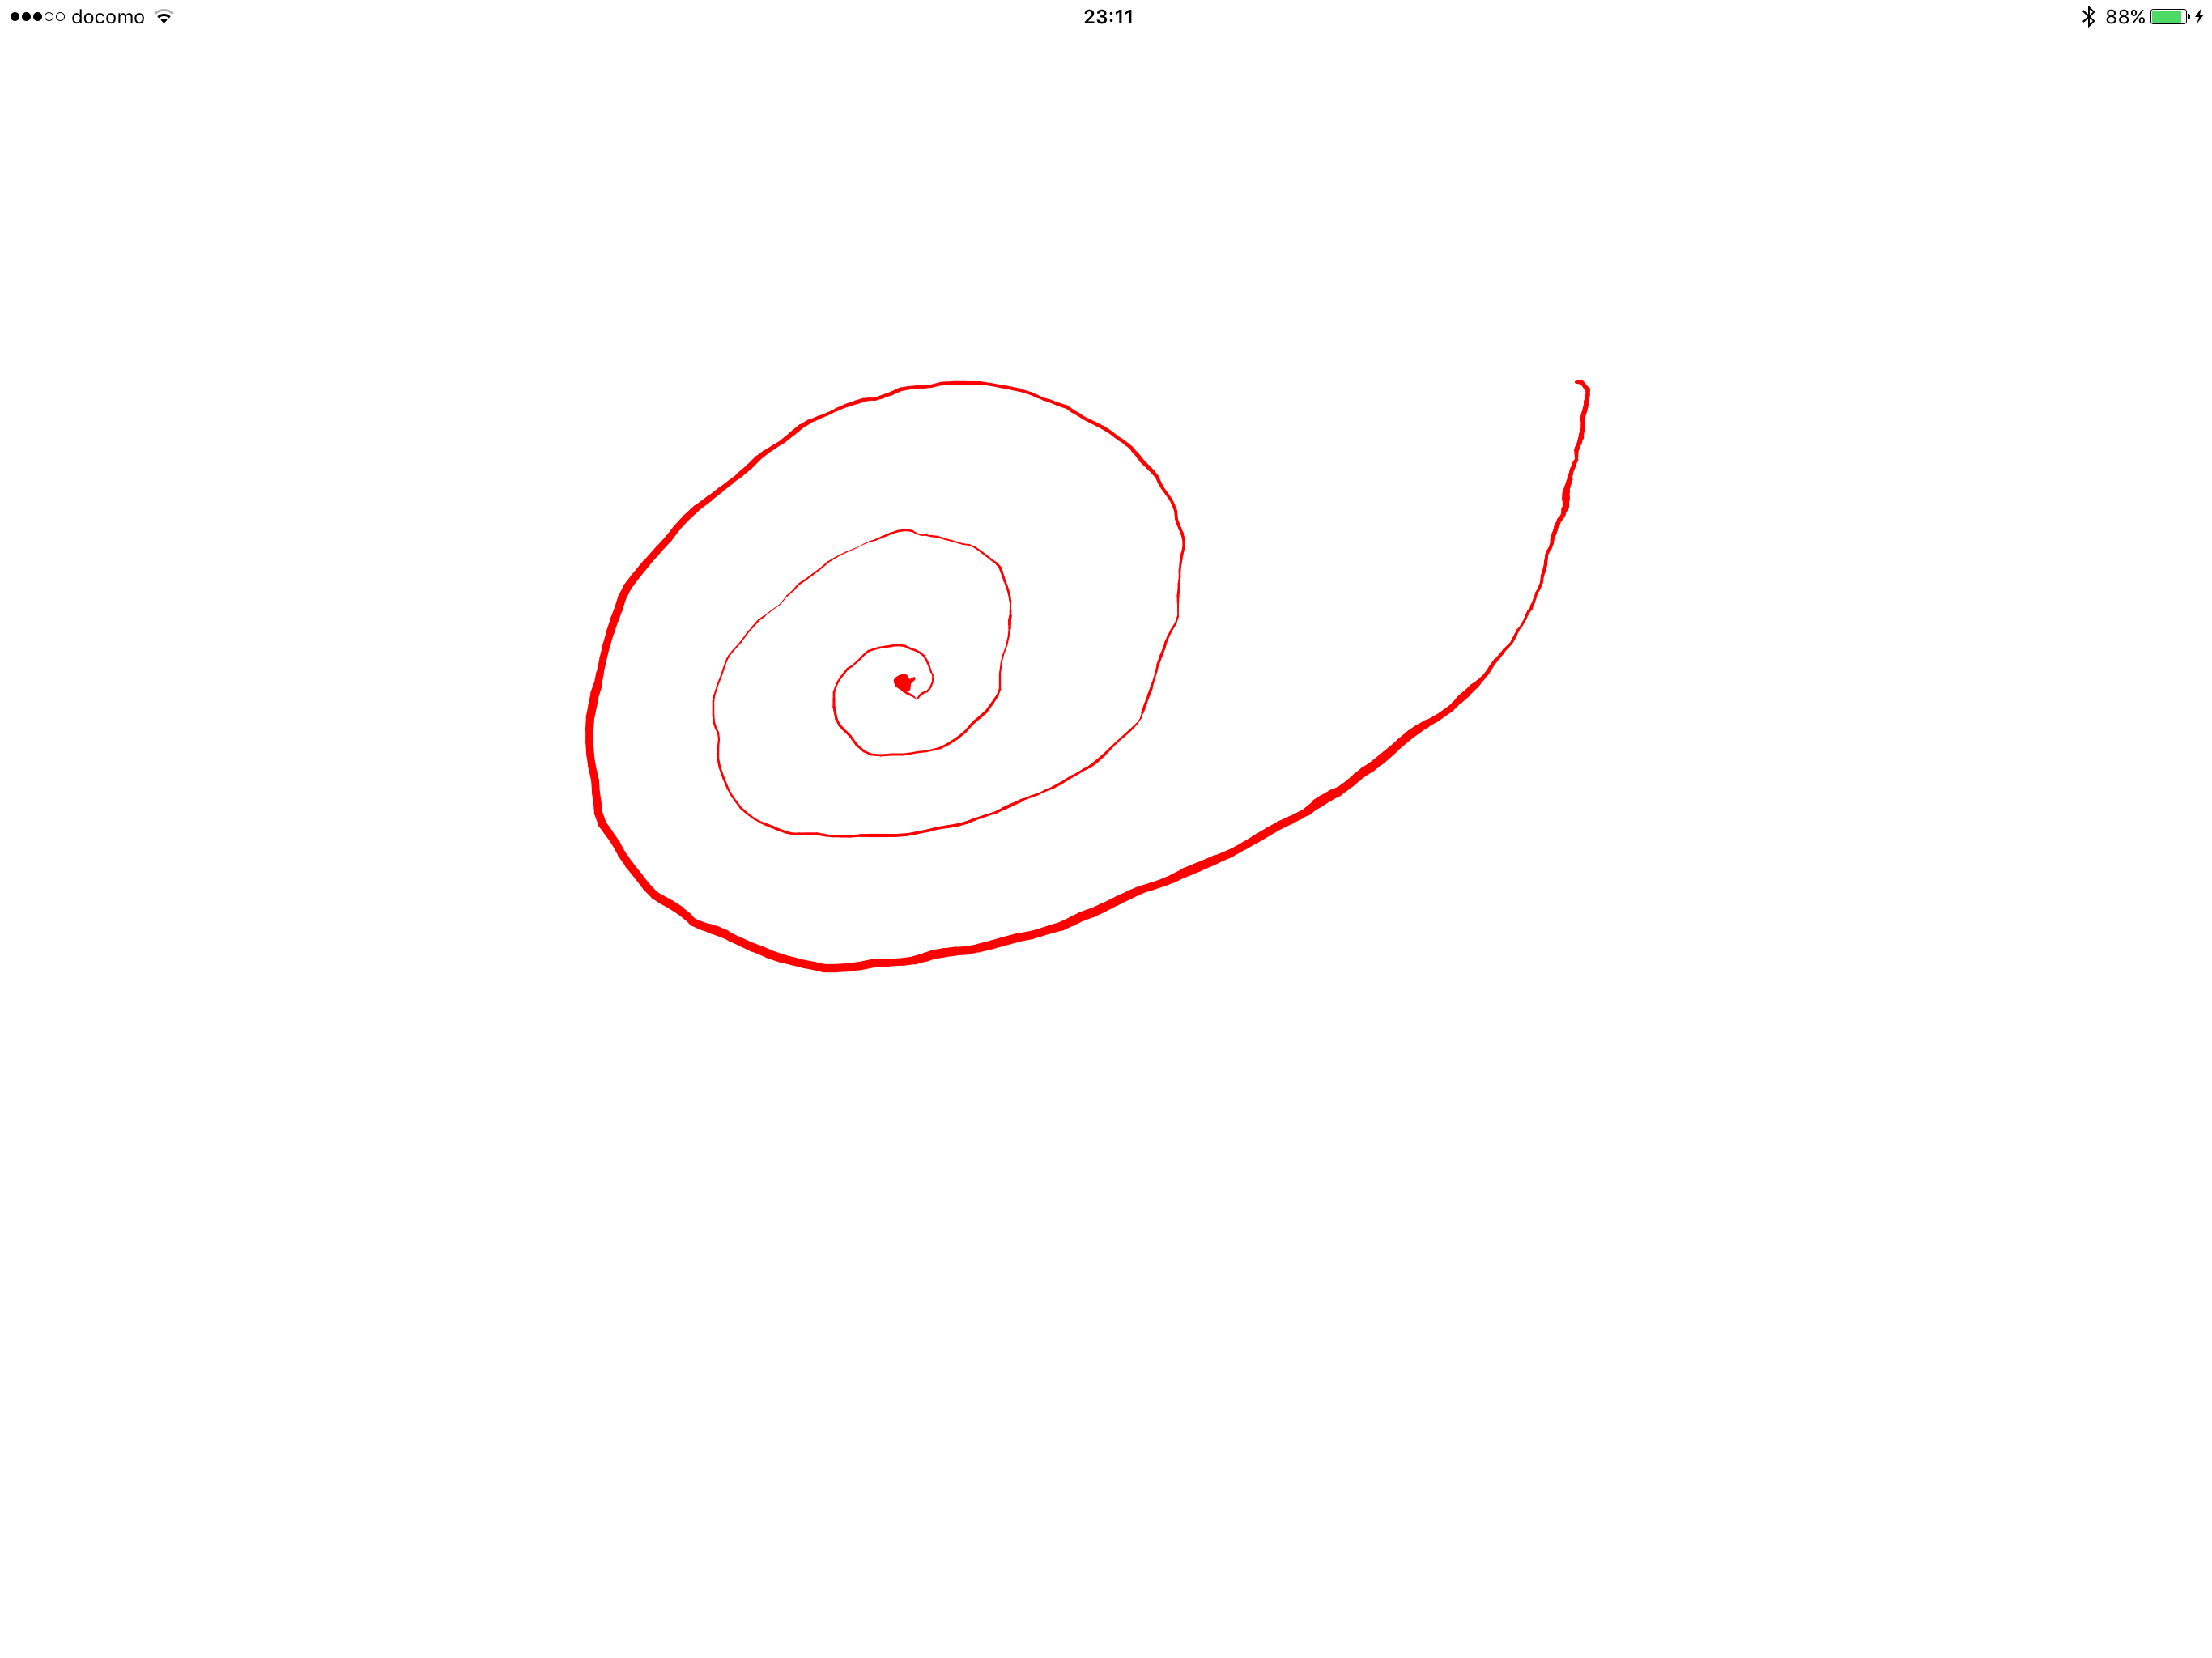
変更する前の円

変更後の円
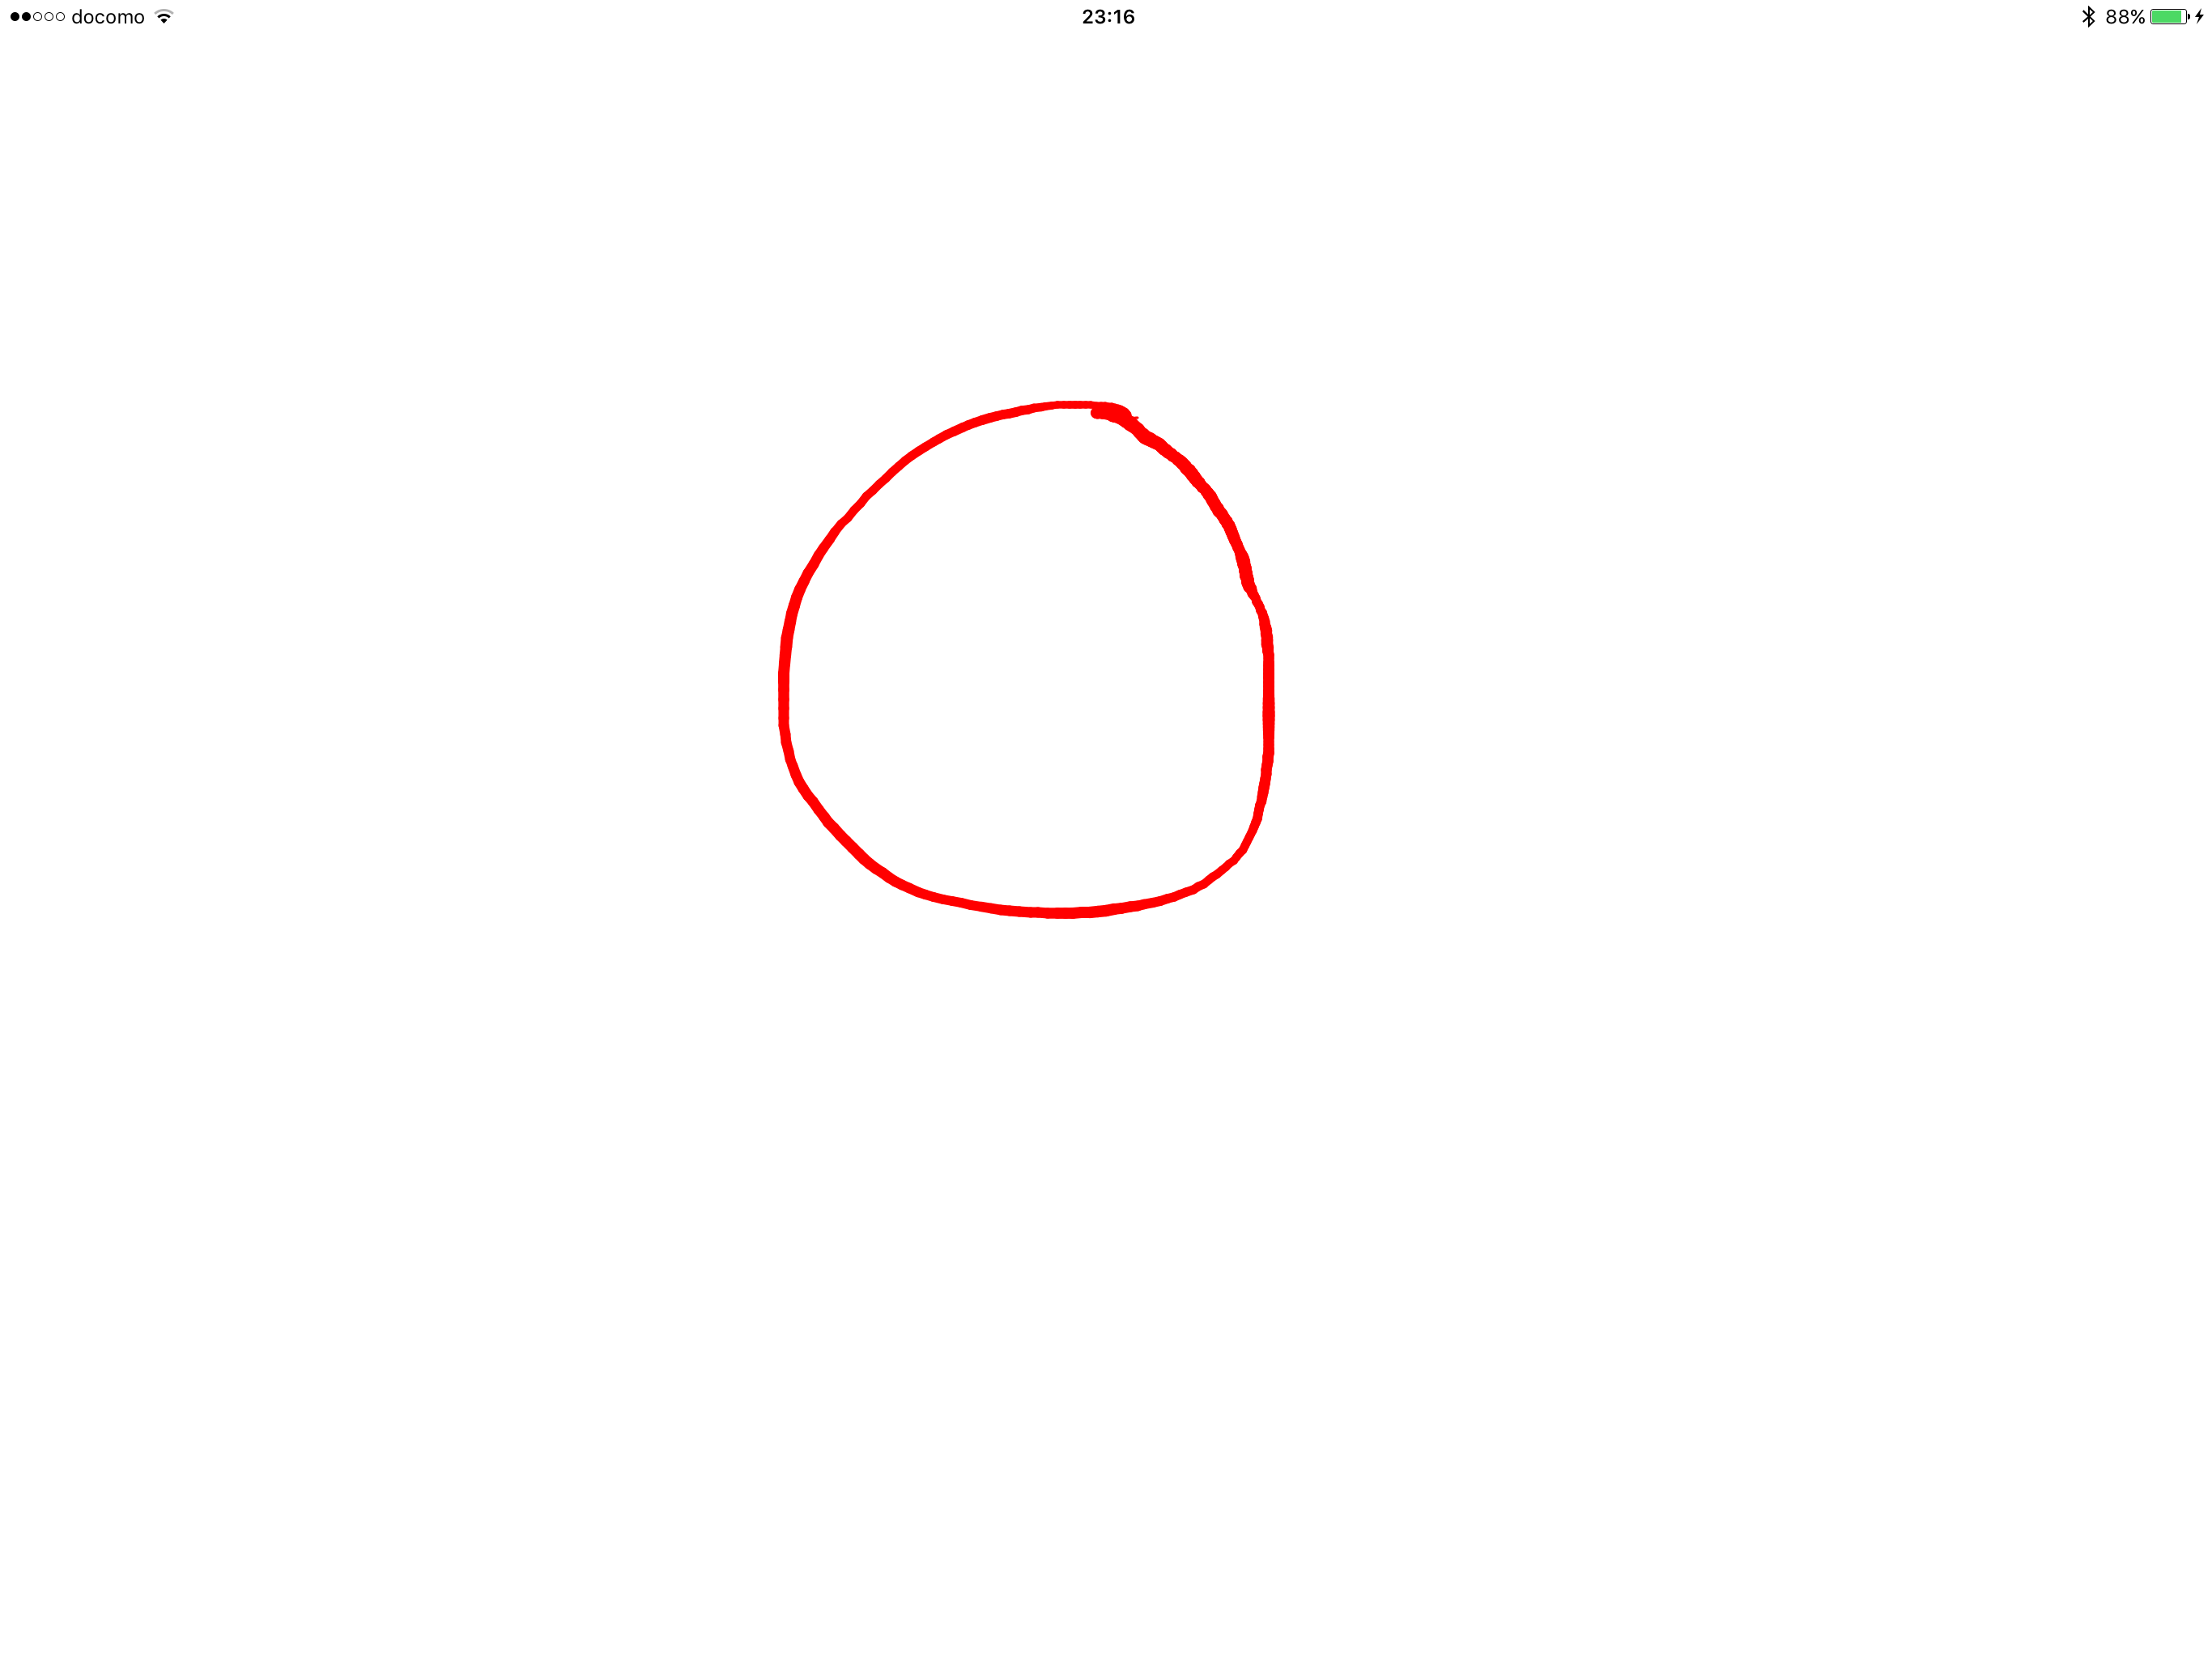
遠目からではわかりにくいが目の錯覚でなければちゃんと変わっていると思う。(描くのが下手なだけでは・・・)
ちょっと頭がヒートしてきたので次で最後
最後は、ApplePencilの傾きを検知し角度によって描画方法を変える。
途中に pencilTexture.setStroke() とあります。
drawColor.setStroke() を上記のように変えると
アセットで登録してある画像で線などが描けるようです。
private var pencilTexture = UIColor(patternImage: UIImage(named: "PencilTexture")!)
上記のように使う画像をセットしておきましょう。
そして本題
drawStroke(){
の中に下記のように追加
var lineWidth:CGFloat
    if touch.altitudeAngle < tiltThreshold {
        lineWidth = lineWidthForShading(context, touch: touch)
    } else {
        lineWidth = lineWidthForDrawing(context, touch: touch)
    }
新たに傾きを計算するメソッドを追加
 private func lineWidthForShading(context: CGContext?, touch: UITouch) -> CGFloat {

        // 1
        let previousLocation = touch.previousLocationInView(self)
        let location = touch.locationInView(self)

        // 2 - vector1 is the pencil direction
        let vector1 = touch.azimuthUnitVectorInView(self)

        // 3 - vector2 is the stroke direction
        let vector2 = CGPoint(x: location.x - previousLocation.x, y: location.y - previousLocation.y)

        // 4 - Angle difference between the two vectors
        var angle = abs(atan2(vector2.y, vector2.x) - atan2(vector1.dy, vector1.dx))

        // 5
        if angle > π {
            angle = 2 * π - angle
        }
        if angle > π / 2 {
            angle = π - angle
        }

        // 6
        let minAngle: CGFloat = 0
        let maxAngle = π / 2
        let normalizedAngle = (angle - minAngle) / (maxAngle - minAngle)

        // 7
        let maxLineWidth: CGFloat = 60
        var lineWidth = maxLineWidth * normalizedAngle

        return lineWidth
    }
実行結果を確認すると・・・
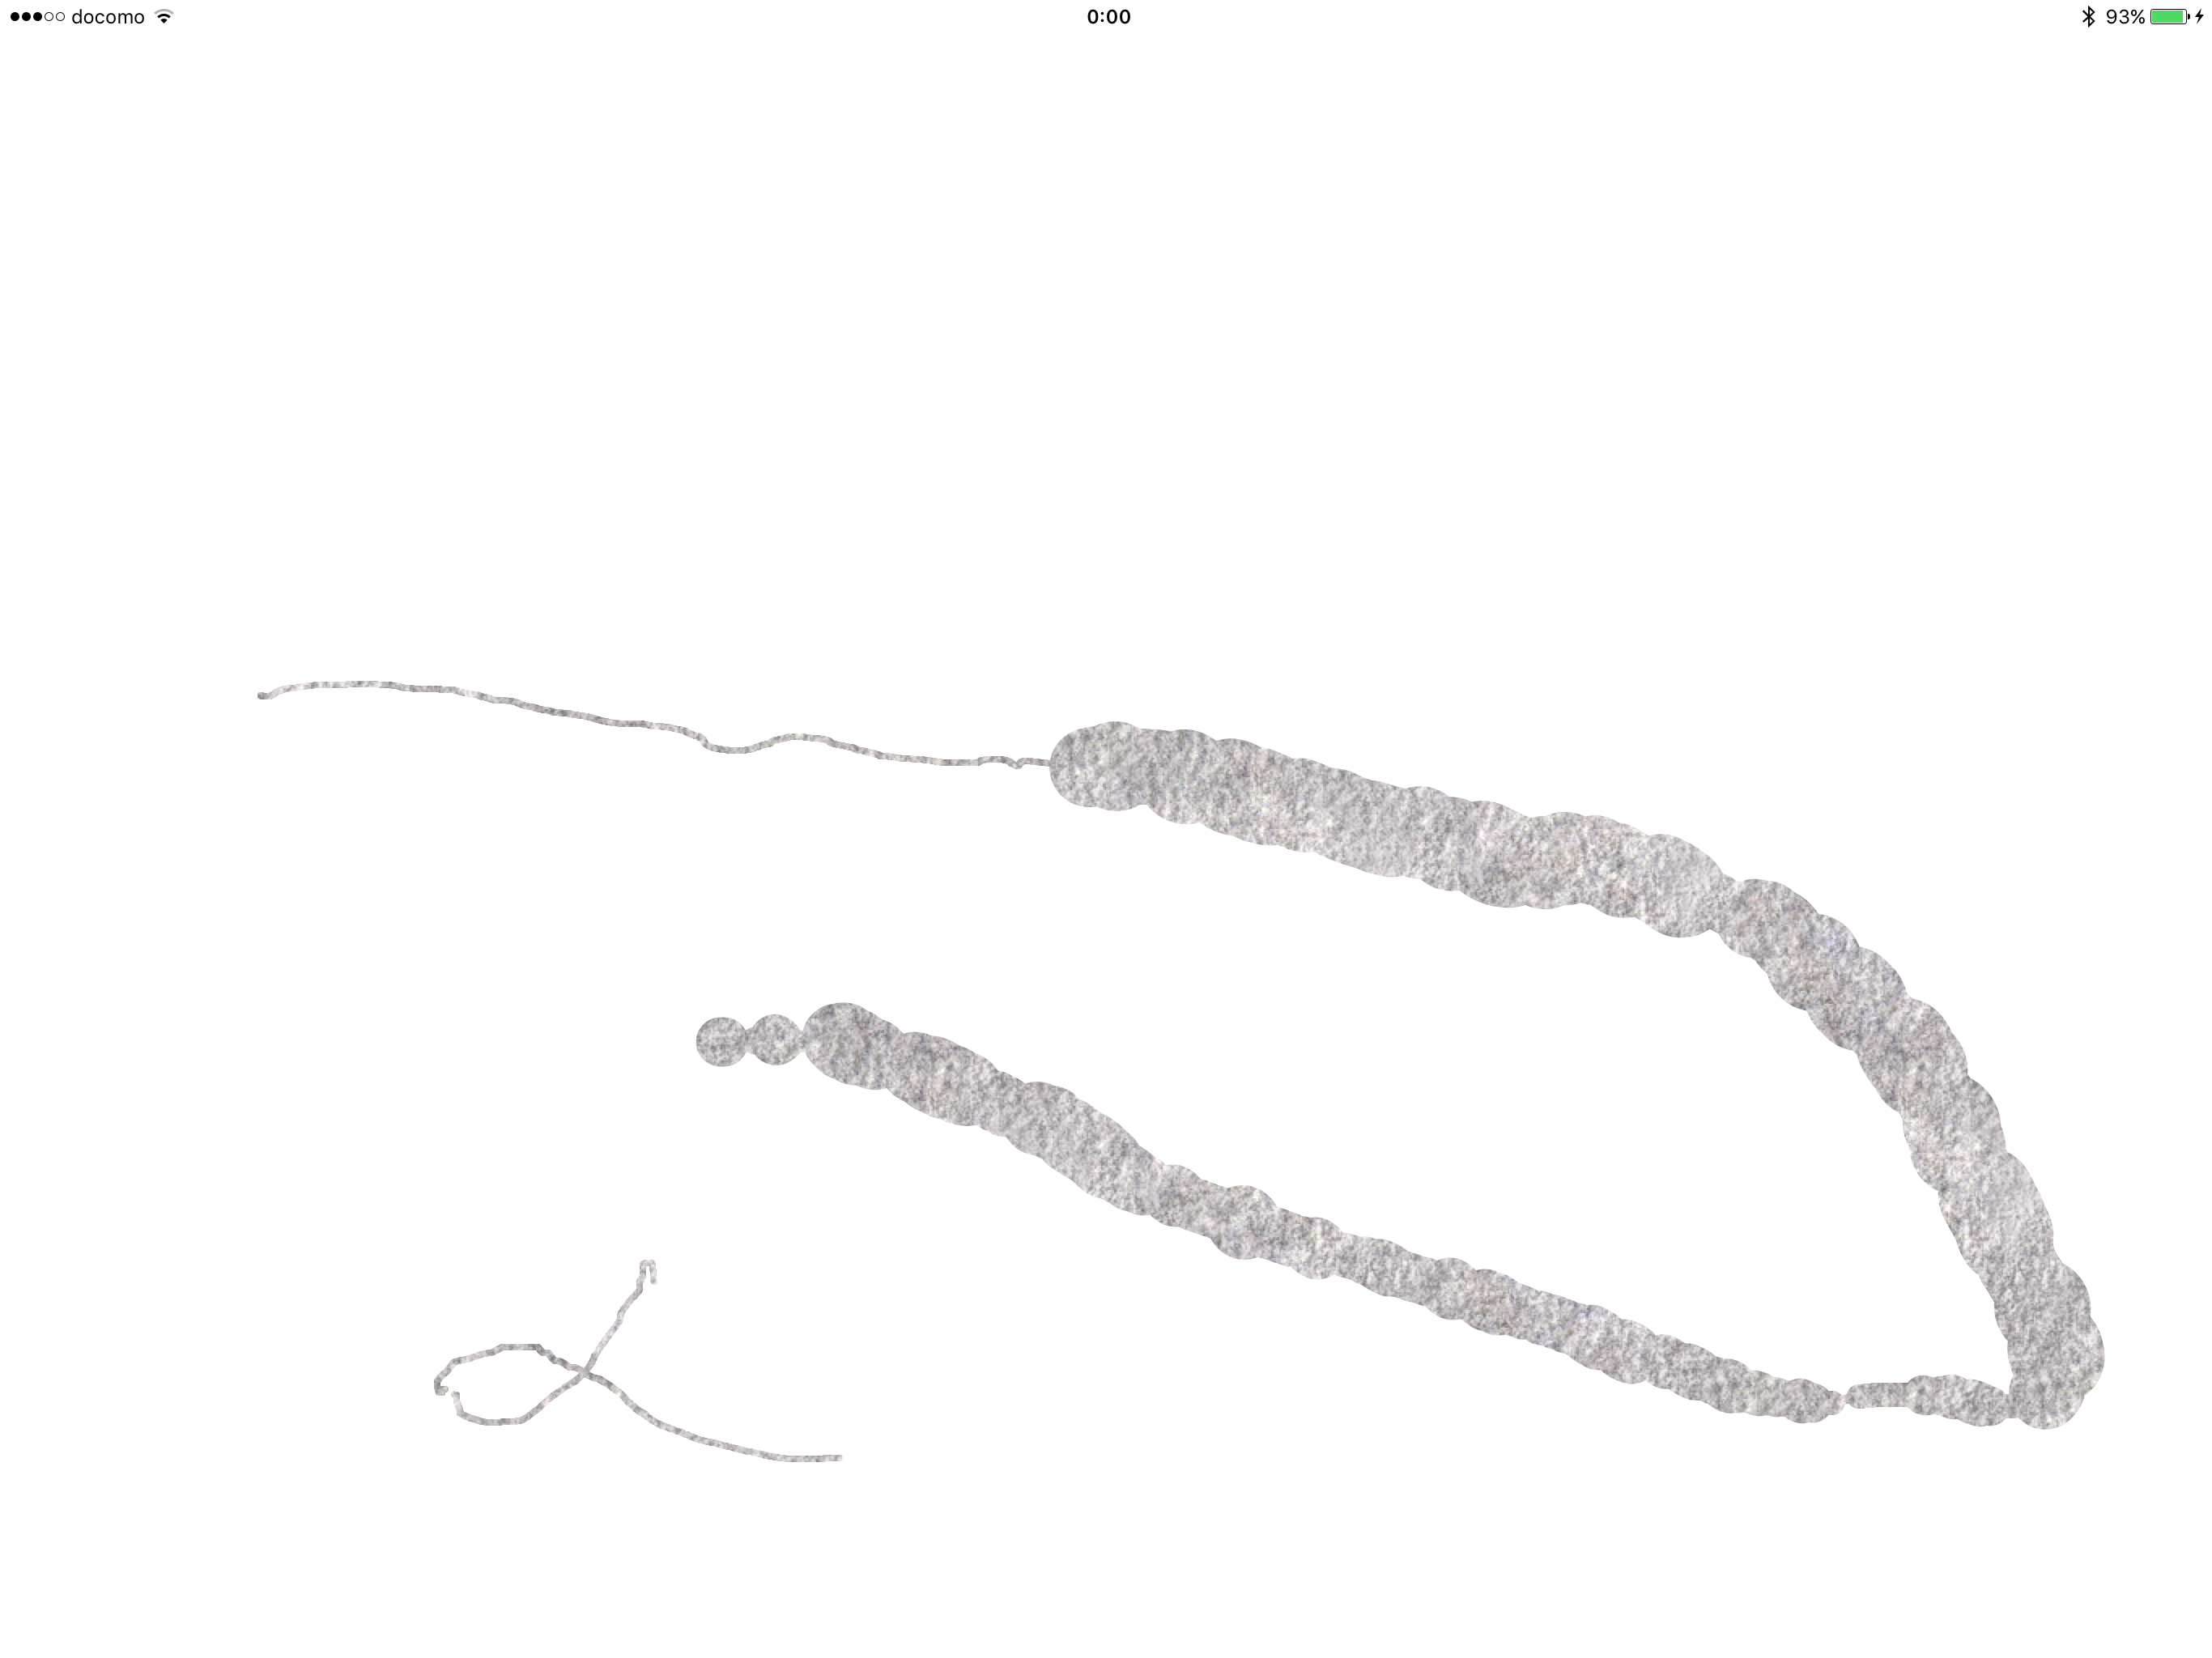
確かに傾けた部分に変化が!
なんかペンの傾きを使ったゲームかなんか作れたら面白そうだ。
頭が限界なのでこれにてお触り終了。