概要
OpenShiftの環境をlocalに構築します。
こちらによると、OpenShiftは以下の3種類に分けられます。
- OpenShift Enterprise:オンプレミス環境向けにサポートとともに提供
- OpenShift Online:ネット上のでサービスとして展開
- Openshift Origin:オープンソースのコミュニティによって運営
さらに、Openshift Originの環境構築方法は、下記があります。
- Docker
- Vagrant
- Binary
他の方のblogをみると、Dockerでハマる例もあるようなので、Vagrantを使うことにします。
Openshift Origin All-In-One Vagrant
こちらに下記の記載があります。今回は動作確認のため、確実に1.2を使おうと思ったのですが、
If you are looking for an image that matches the current version of OpenShift Online please go to the instructions for the 1.2 origin image.
こちらに下記記載があったので、1.2ではなく、1.3を使うことにします。
This is 1.2 final release. This will also be the last release in this namespace. For the 1.3 series we will be moving to

openshift/openshift-origin

as always, the client and notes for this release can be found at

https://www.openshift.org/vm
Vagrant boxのopenshift/openshift-originをみると、v1.3.0がThis is the currently released version.とあるので、1.3.0を使うことにします。
ちなみに、OpenShift Origin1.3は、 OpenShift3.3に相当するようです。
https://blog.openshift.com/early-look-openshift-3-3/
参考:v1.4
こちらはThis repository let’s you test using Vagrant a latest branch of an OpenShift Origin installってあるので、1.4.xの最新かな。vagrant-origin/scripts/install.shをみると、master branchを使っているよう。あとで、試す。
今回使用した環境
MacOS: 10.10.5
vagrant: 1.8.4
VirtualBox:5.0.28
vagrantの最新版1.8.7だと、vagrant up時にエラーになったので、1.8.4を使いました。
構築手順
vagrant up
こちらを参考に、下記コマンドでvagrant upします。
$ vagrant init openshift/origin-all-in-one
$ vagrant up --provider virtualbox
$ vagrant ssh
version確認
vagarntで作成したVMにvagrant ssh後、下記で確認します。
[vagrant@localhost ~]$ oc version
oc v1.3.0
kubernetes v1.3.0+52492b4
features: Basic-Auth

Server https://localhost:8443
openshift v1.3.0
kubernetes v1.3.0+52492b4
ブラウザアプリを作成
login
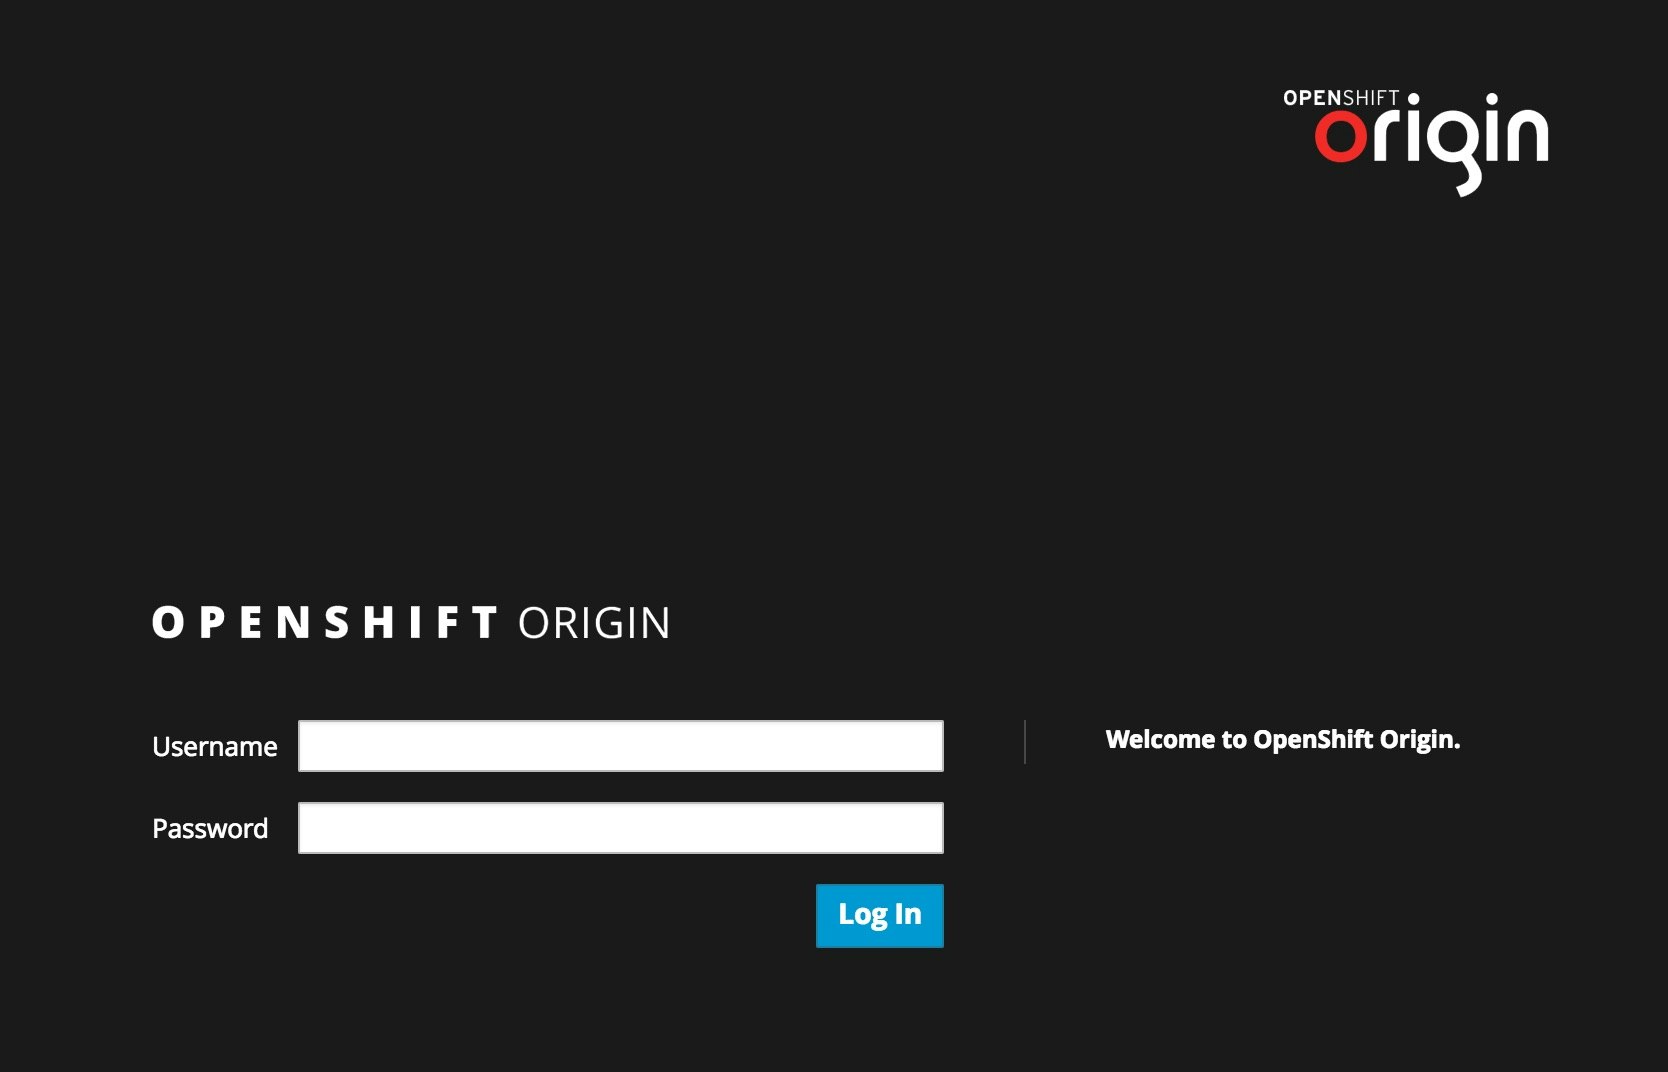
ブラウザでhttps://localhost:8443にアクセスして、下記でloginします。
Username: test
Password: test
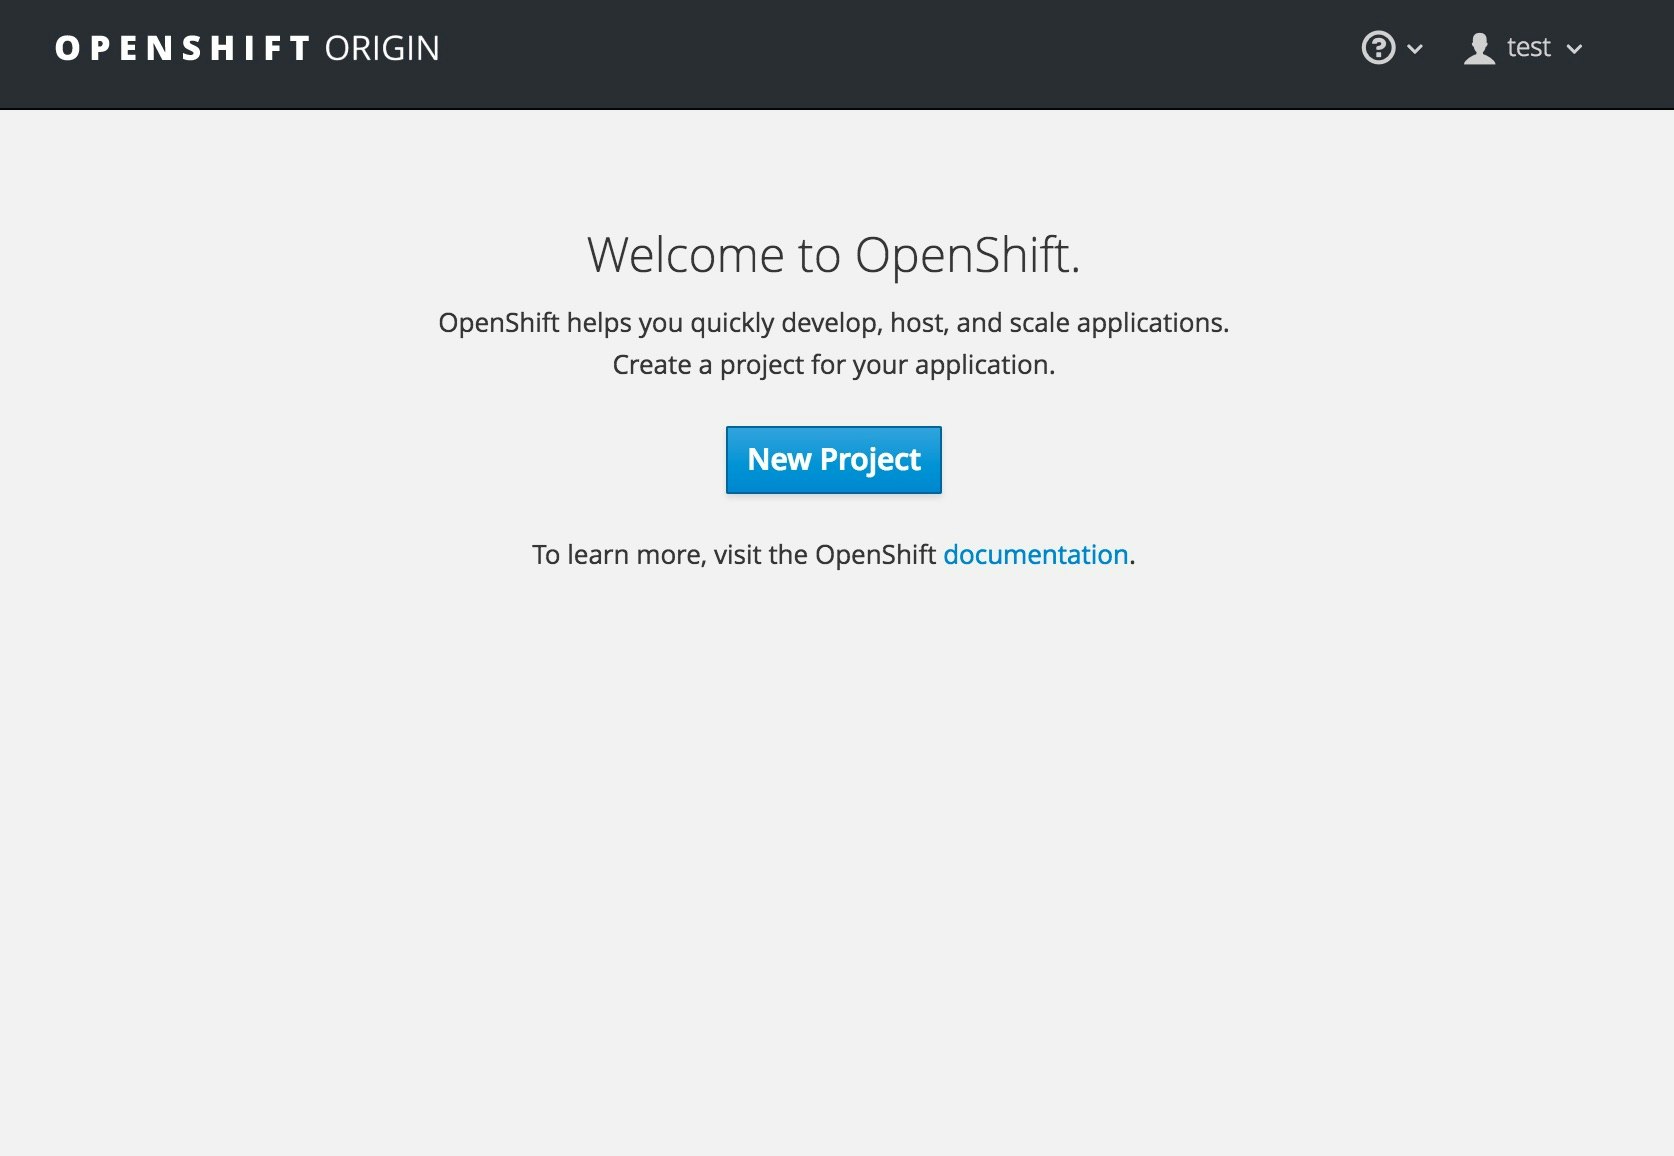
プロジェクト作成
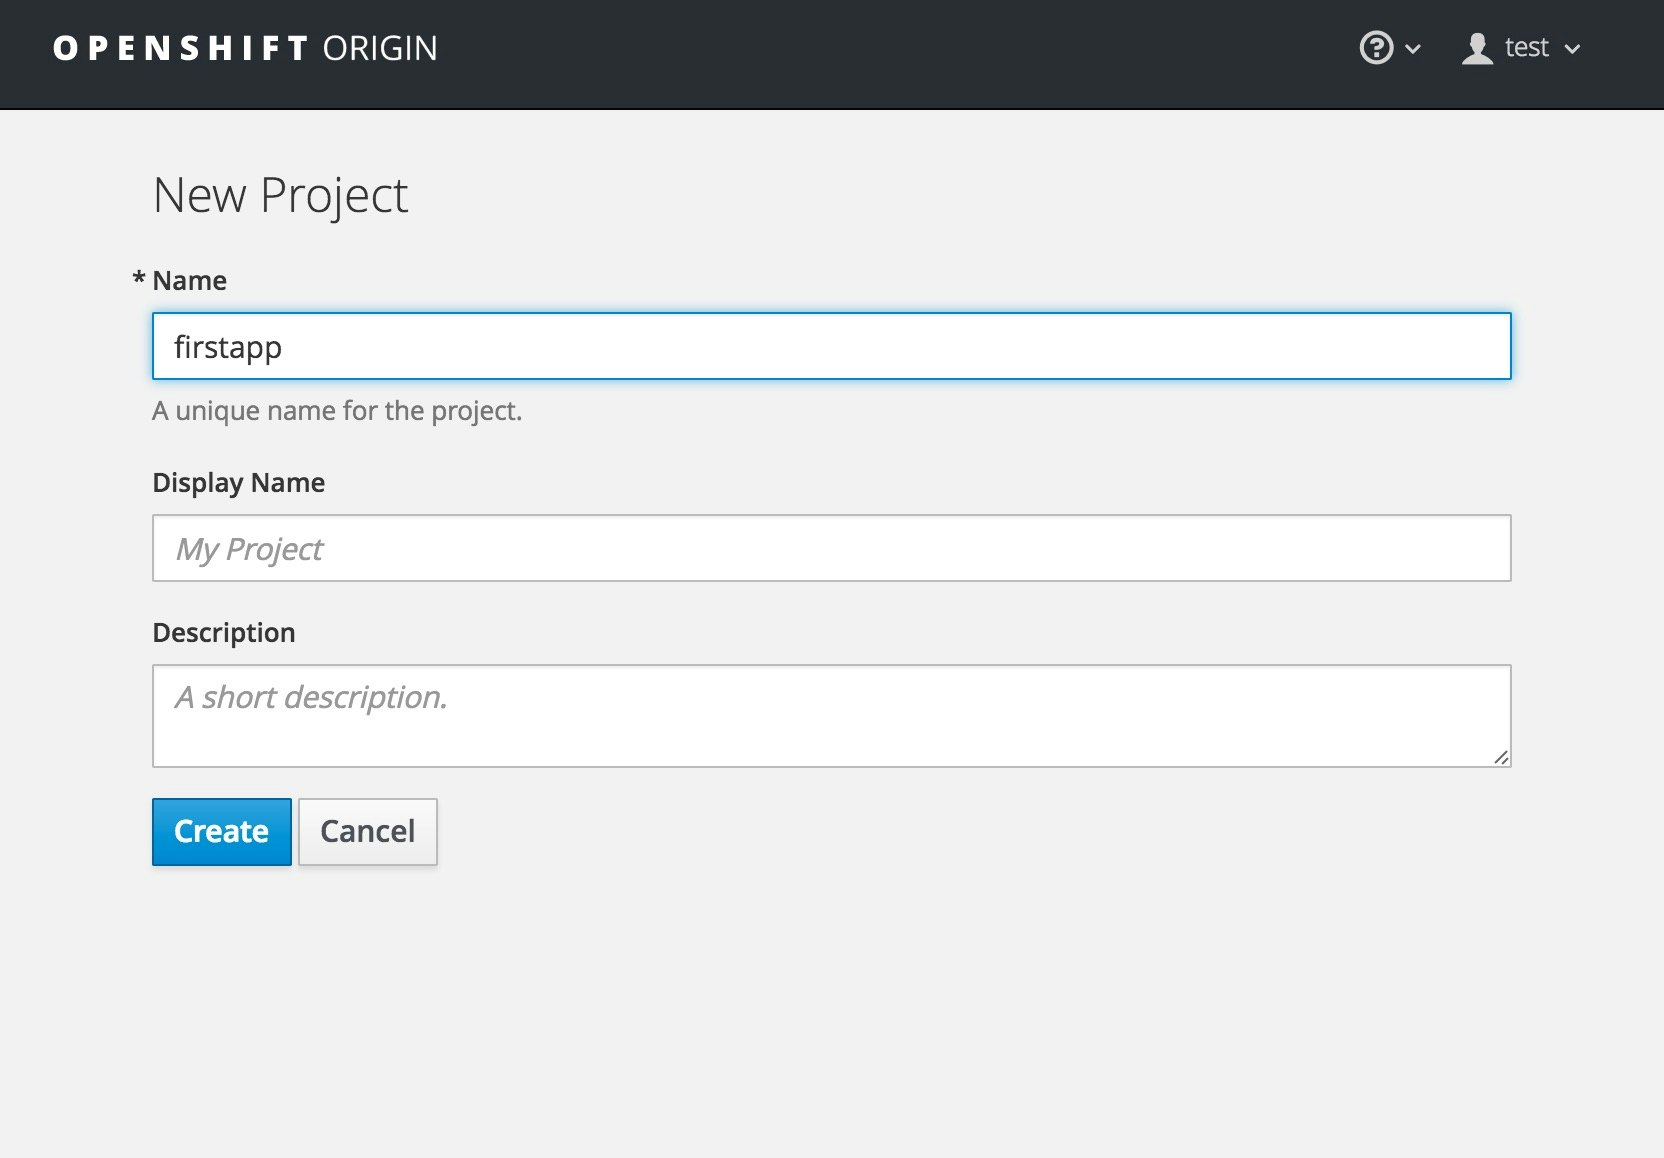
Nameにfirstappと入力して、Createをクリックします。
アプリ作成
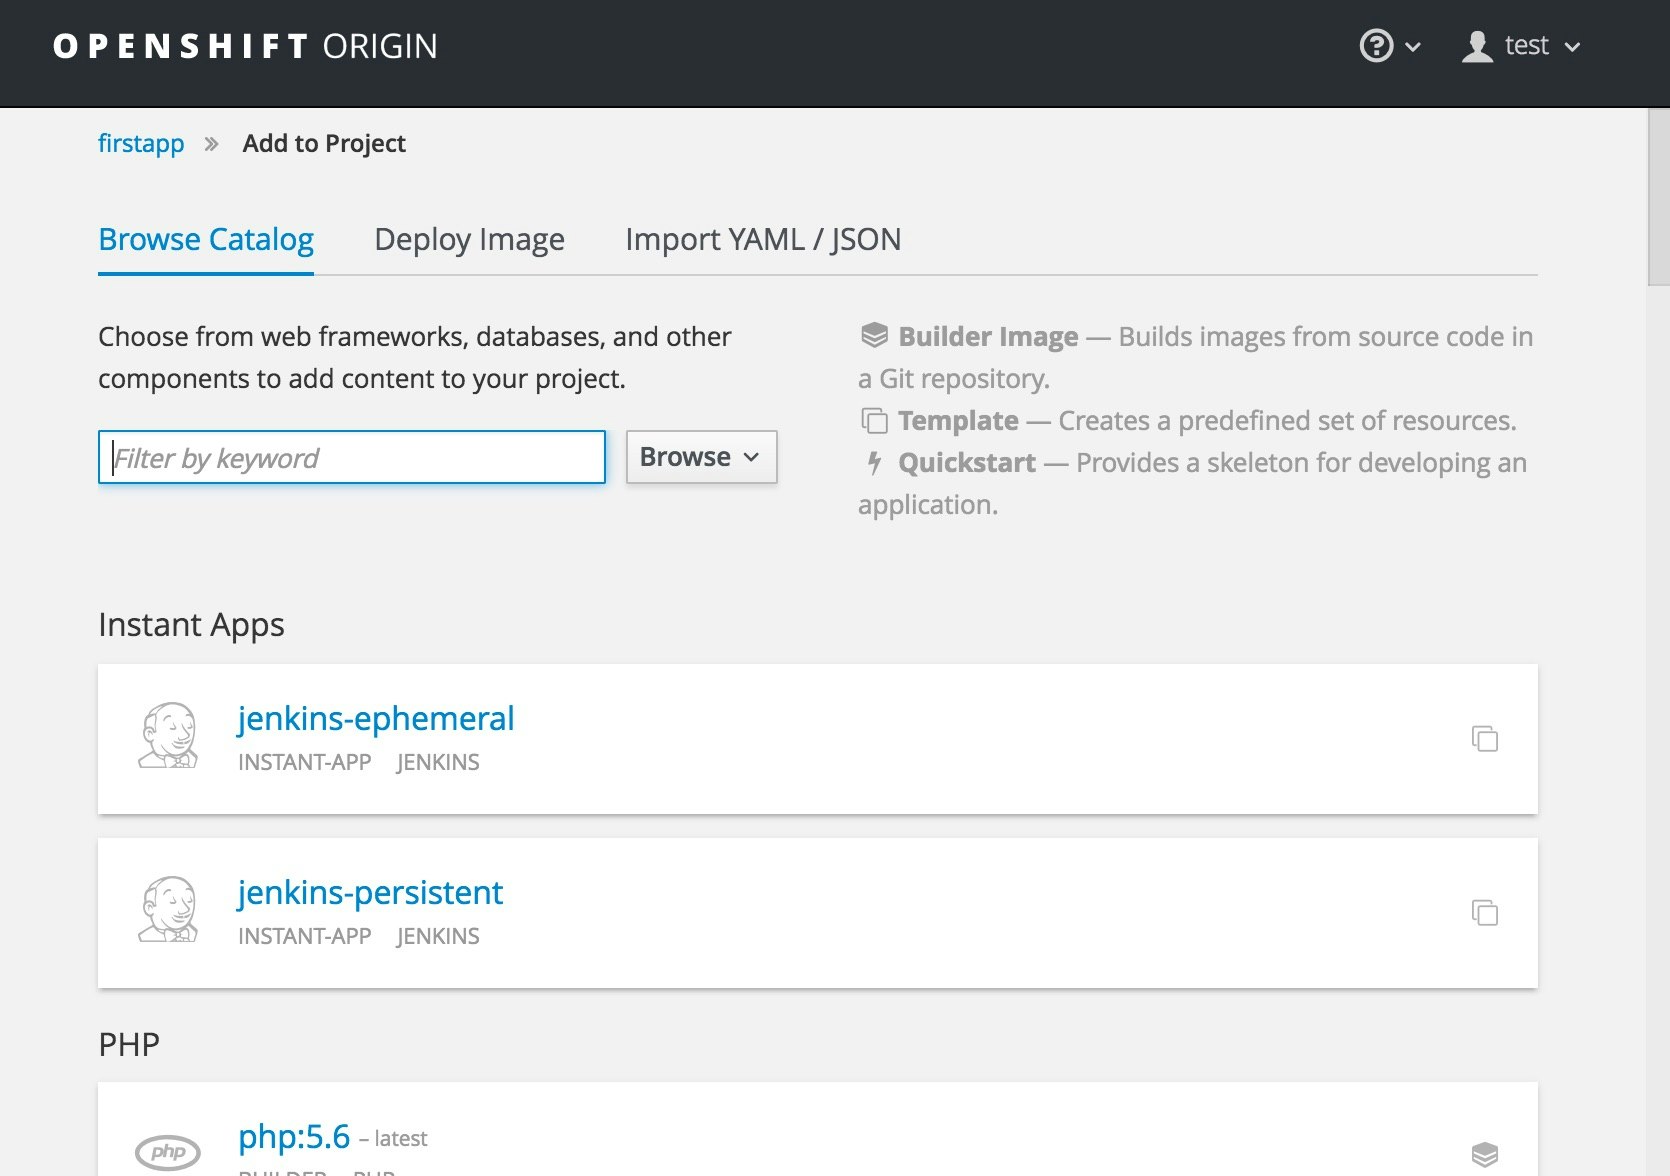
いろいろな言語、middlewareが選択できます。
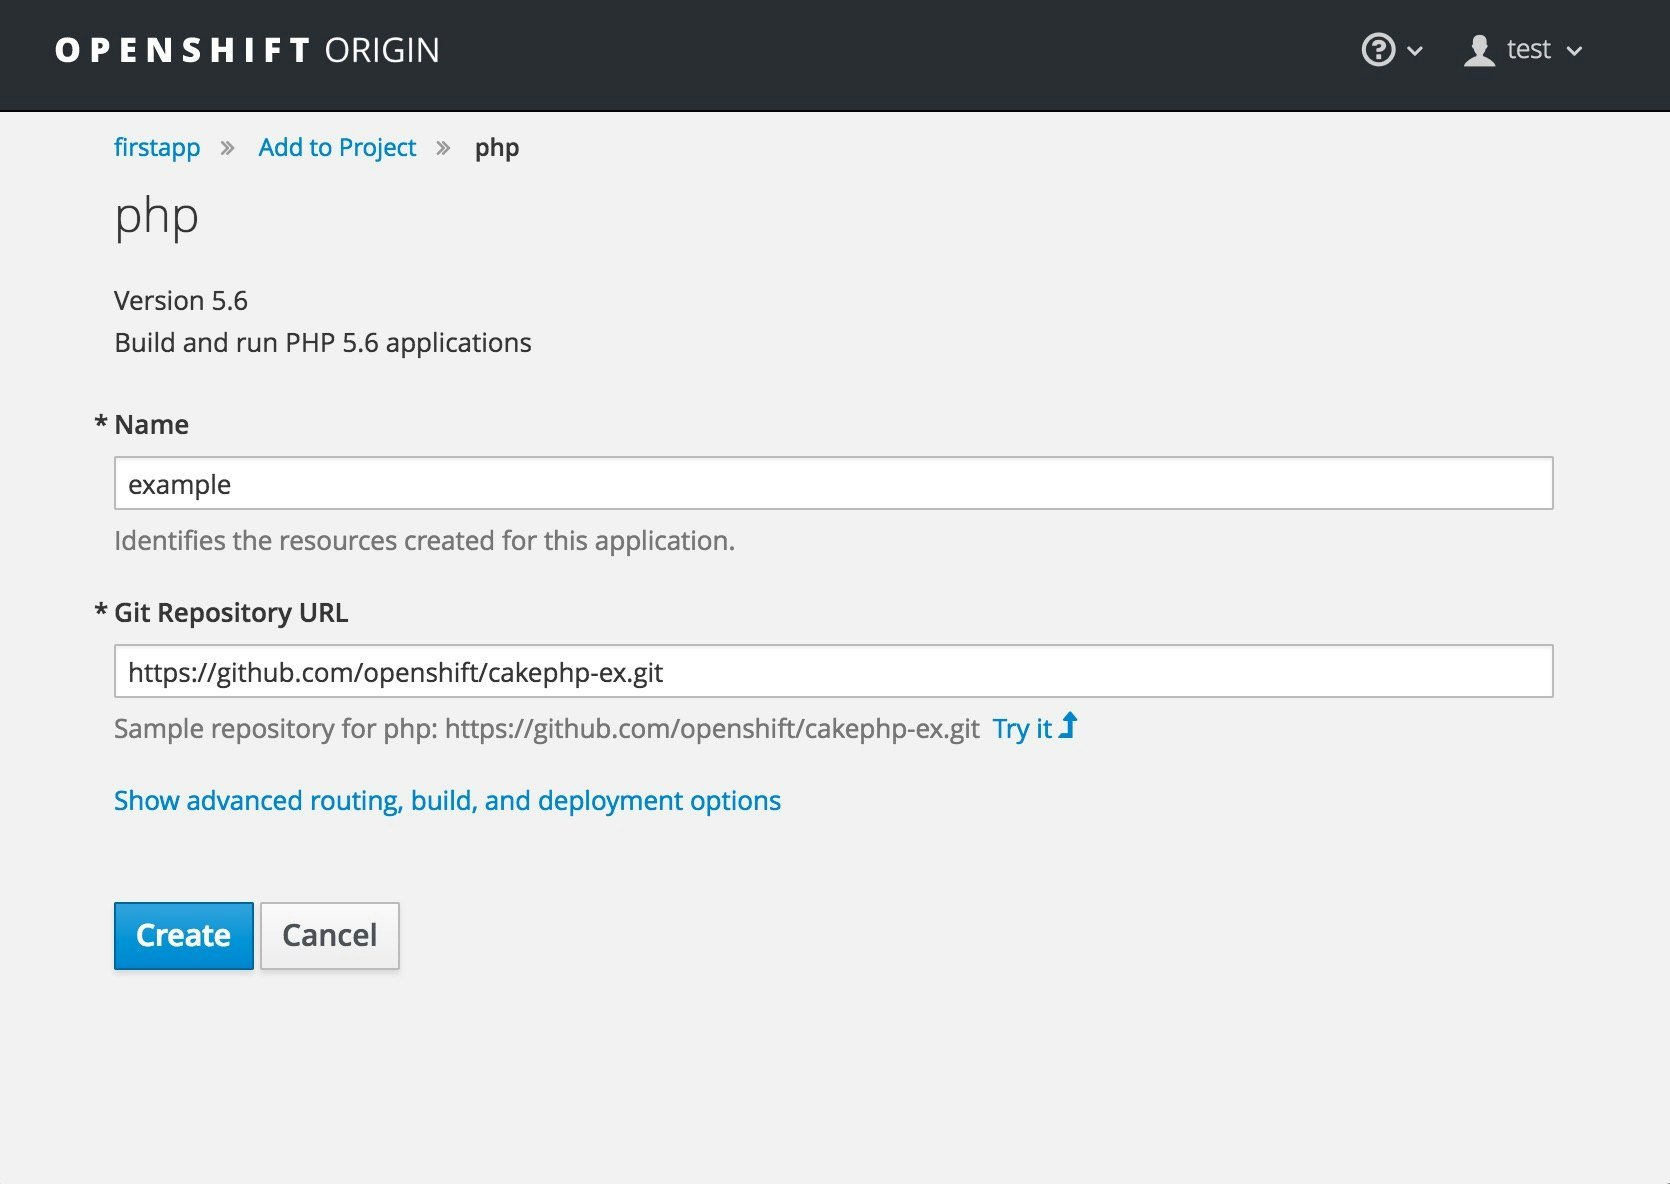
今回は、php5.6を選択します。
phpの画面内、Nameにhelloを入力して、Git Repository URLは'Try it'をクリックします。最後に、Createをクリックします。
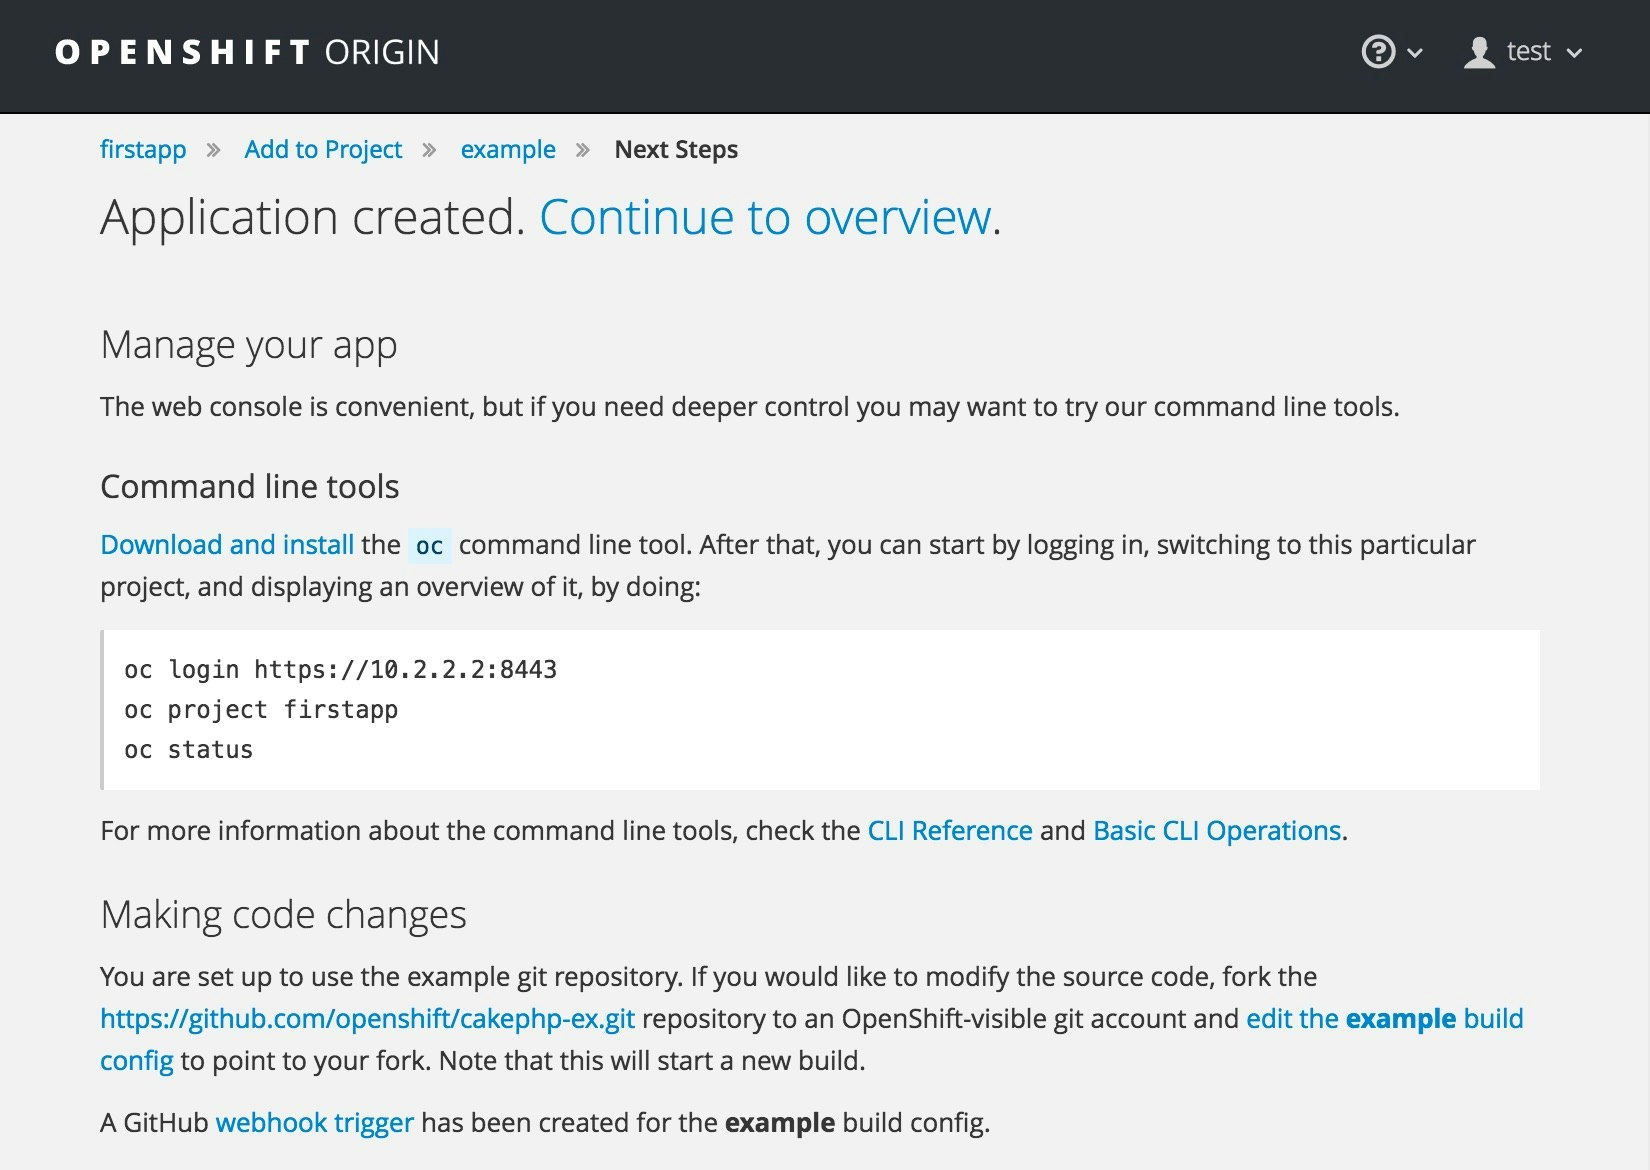
アプリ作成完了すると、下記画面が表示されます。
動作確認
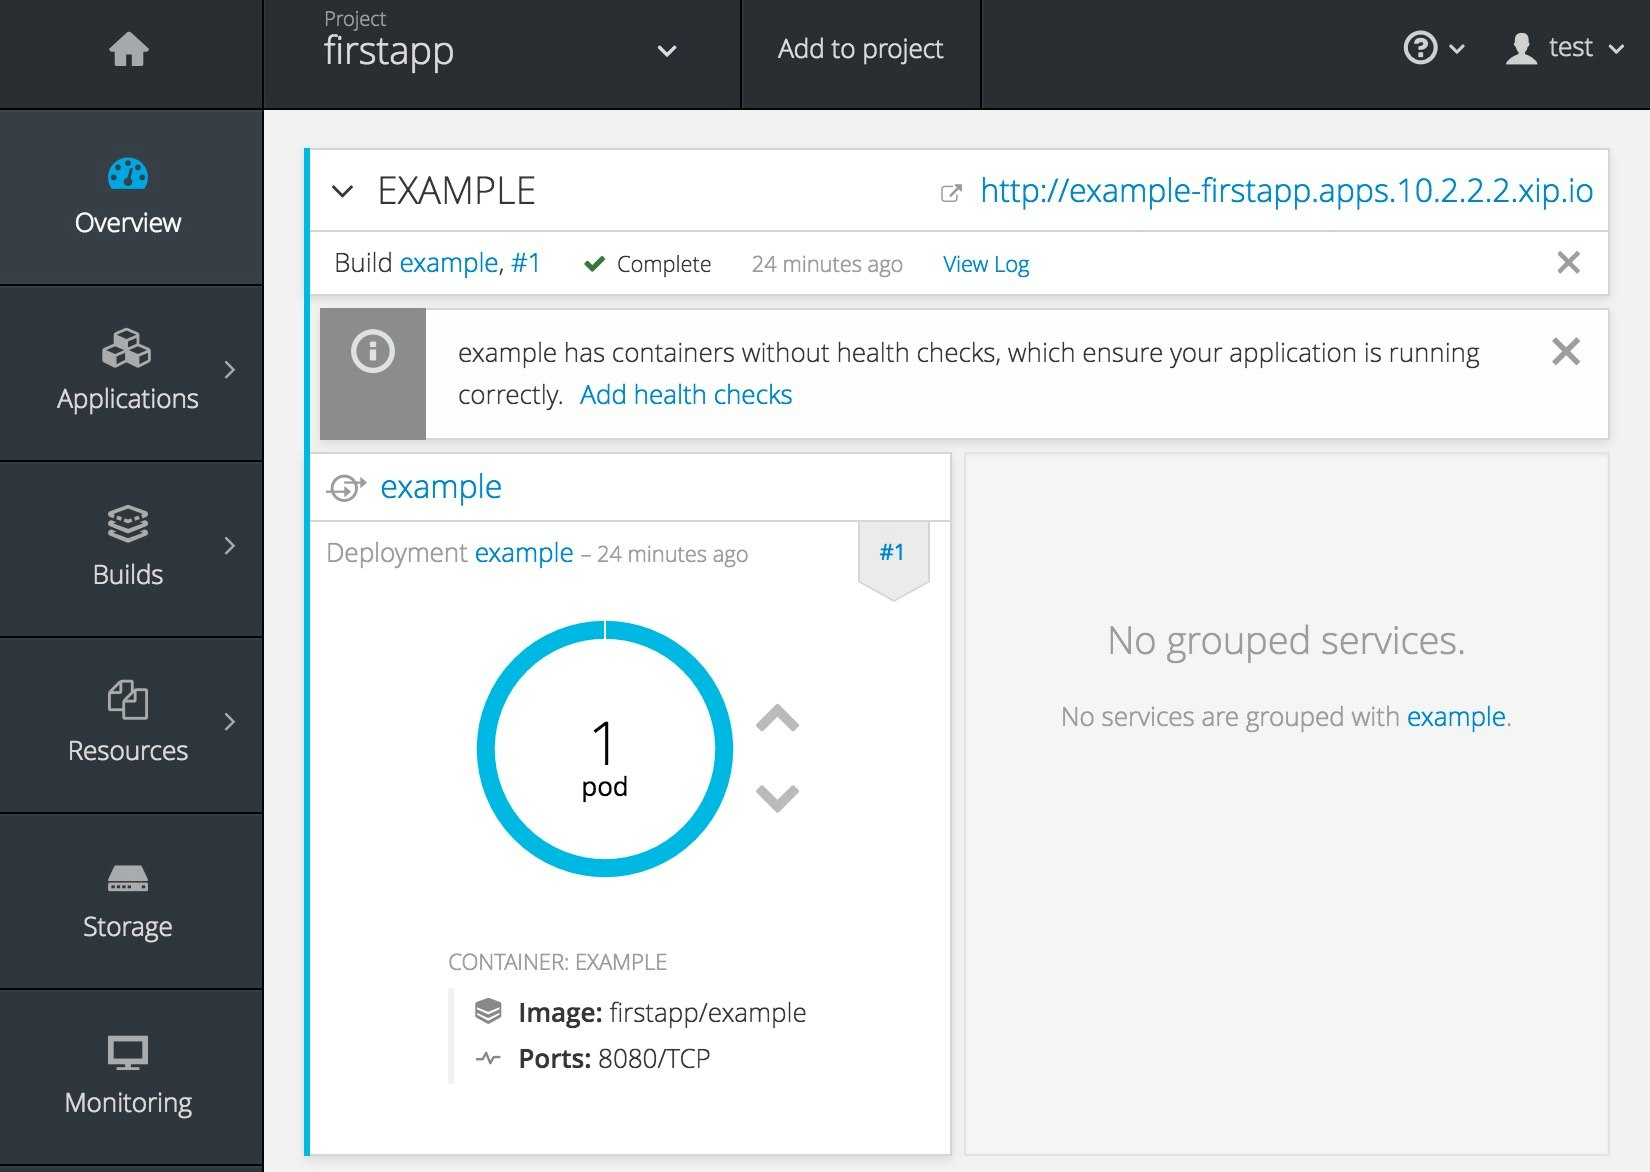
上記の「Go to overview」をクリックすると、このアプリのoverview画面に遷移します。
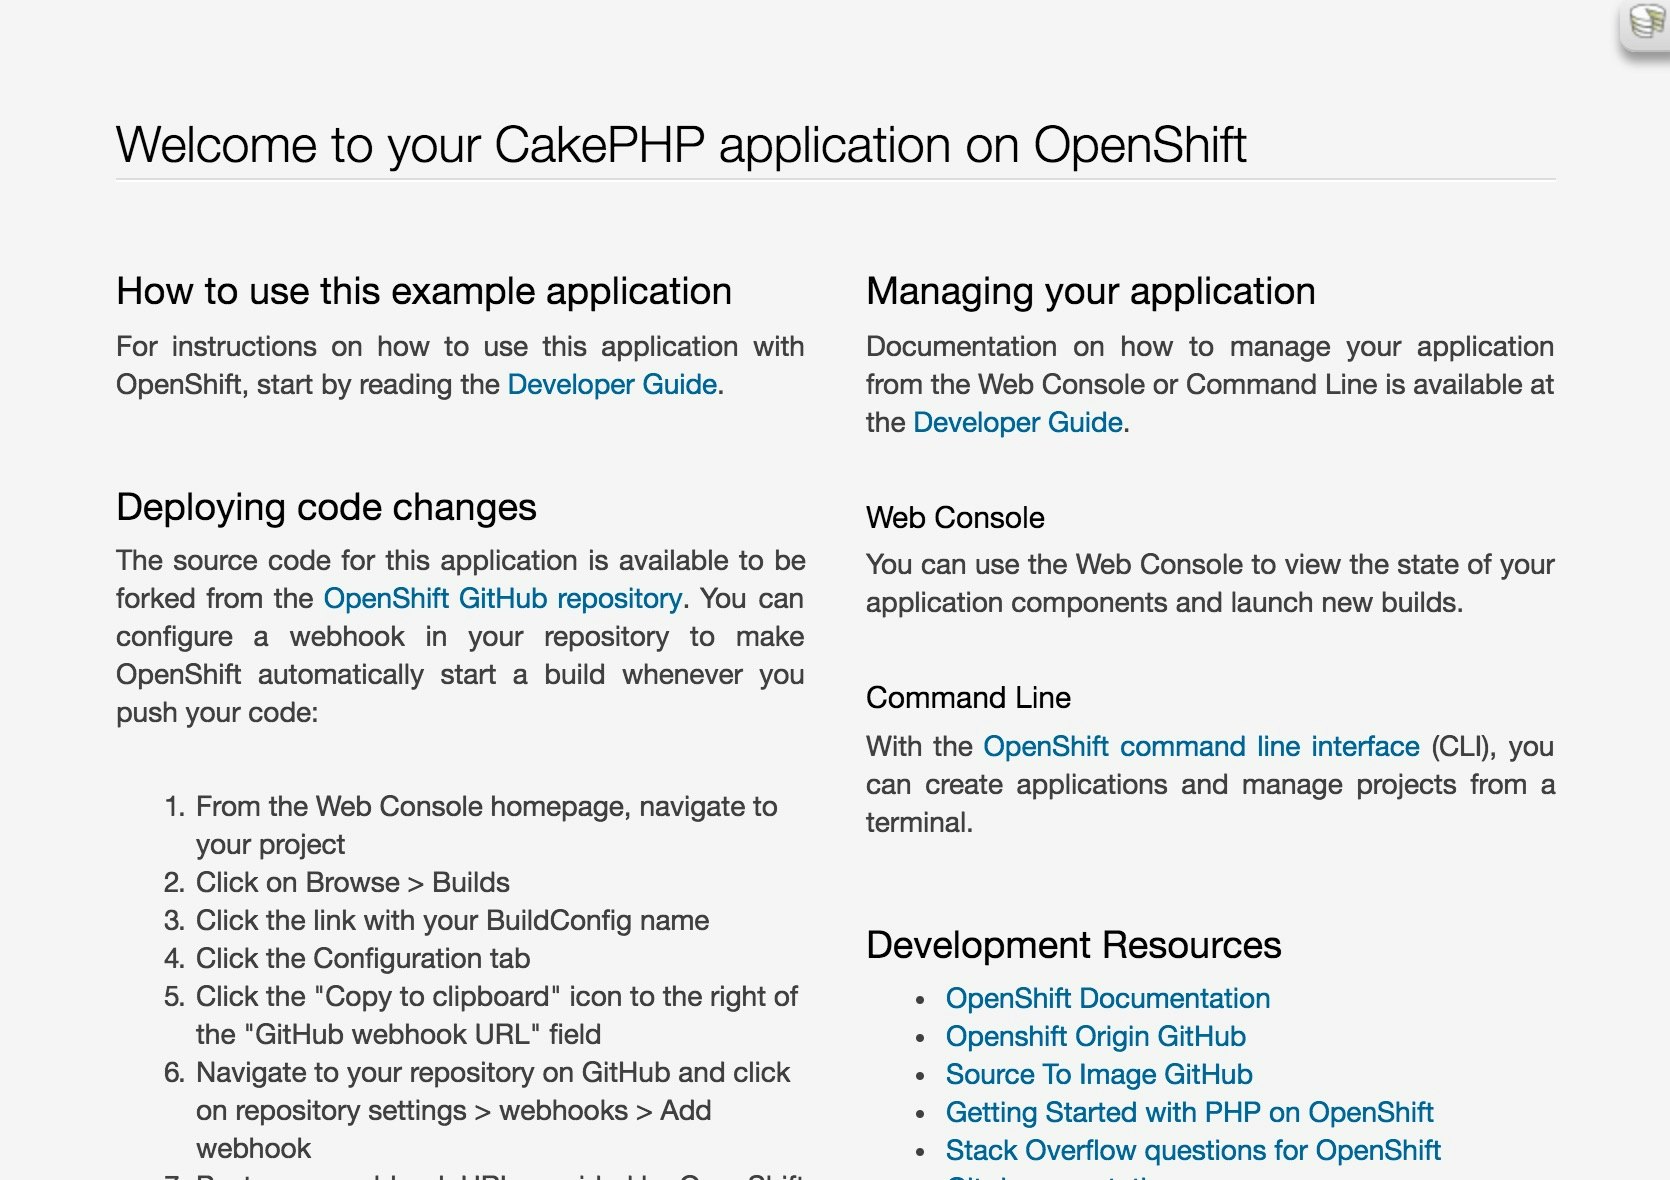
上記画面の右上のlink(今回の例だと、http://example-firstapp.apps.10.2.2.2.xip.io)をクリックすると、作成されたアプリが表示されます。
まとめ
- 今回は、OpenShift Origin All-In-Oneのvagrnat環境を使って構築方法を確認しました。
- OpenShift Originのドキュメントは下記をご参照ください。
