パッケージのインストール(ゲストOS)
ゲストOS下で以下のコマンドを叩いて必要なパッケージをインストール
$ sudo yum groupinstall "Desktop" "Desktop Platform" "X Window System" "Fonts"
$ sudo yum install vnc-server
ポートフォワーディングの設定追加(ホストOS)
インストールが完了したら、ゲストOSからホストOSへのポートフォワーディングの設定を行う。
該当環境の Vagrantfile を開いて、以下のような設定を追加する。
config.vm.network :forwarded_port, guest: 5901, host: 15901
これで、ゲストOSの ディスプレイ:1 に対するポート 5901 が ホストOSのポート 15901 にフォワーディングされる。
上記設定が完了したら、vagrant reload でVMを再起動する。
vnc server の起動(ゲストOS)
ゲストvnc-server に接続するためのパスワードを設定する
$ vncpasswd
パスワードの設定が完了したら、以下のコマンドでサーバを起動する
$ vncserver
vnc server への接続(ホストOS)
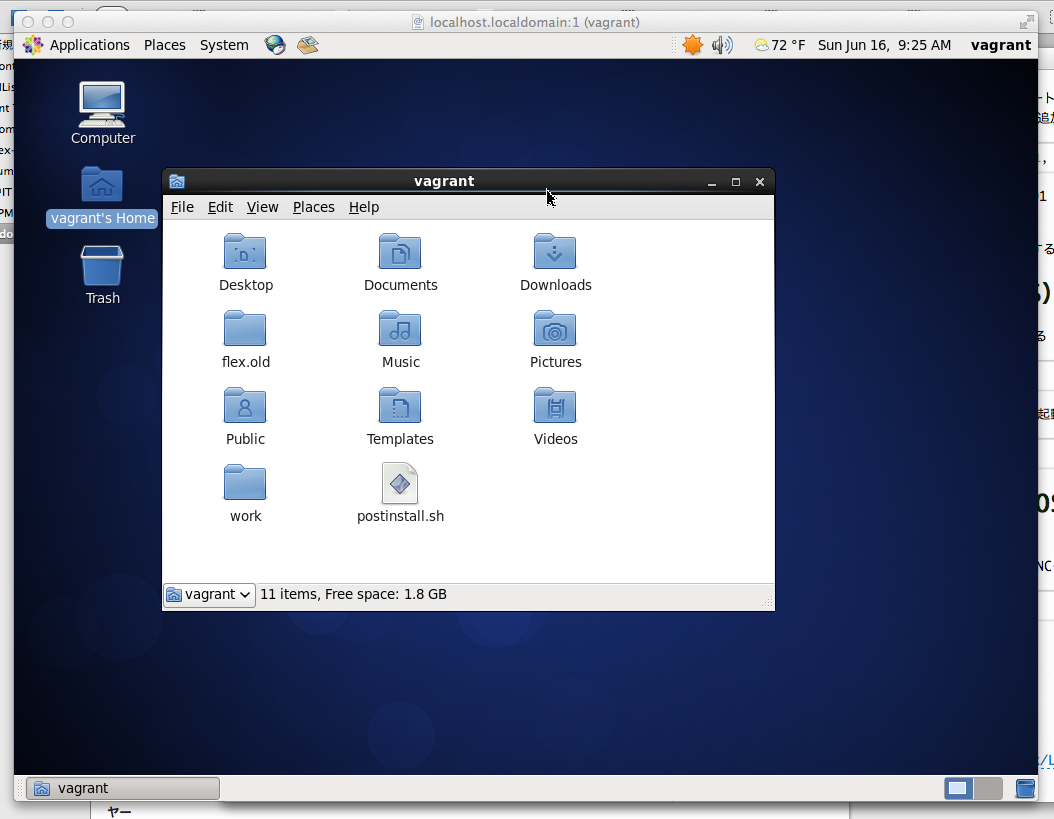
ホストOS側からゲストOSのVNCサーバに接続してみる。
Mac OS X Lion の場合はOS標準の「画面共有.app」がVNCクライアントなので、ターミナルなどから、
$ open vnc://localhost:15901
などと叩くとゲストOSの画面を開くことができる。
参考
