laravel5.4がリリースされましたが5.3の記事です
こんな感じ

Pusherとは
Pusherとは、webサーバからRESTfulなAPIを送信することによって、
クライアントとwebsocket通信を行ってくれる素敵なサービスです。
Pusher登録
まず,こちらでログインをします
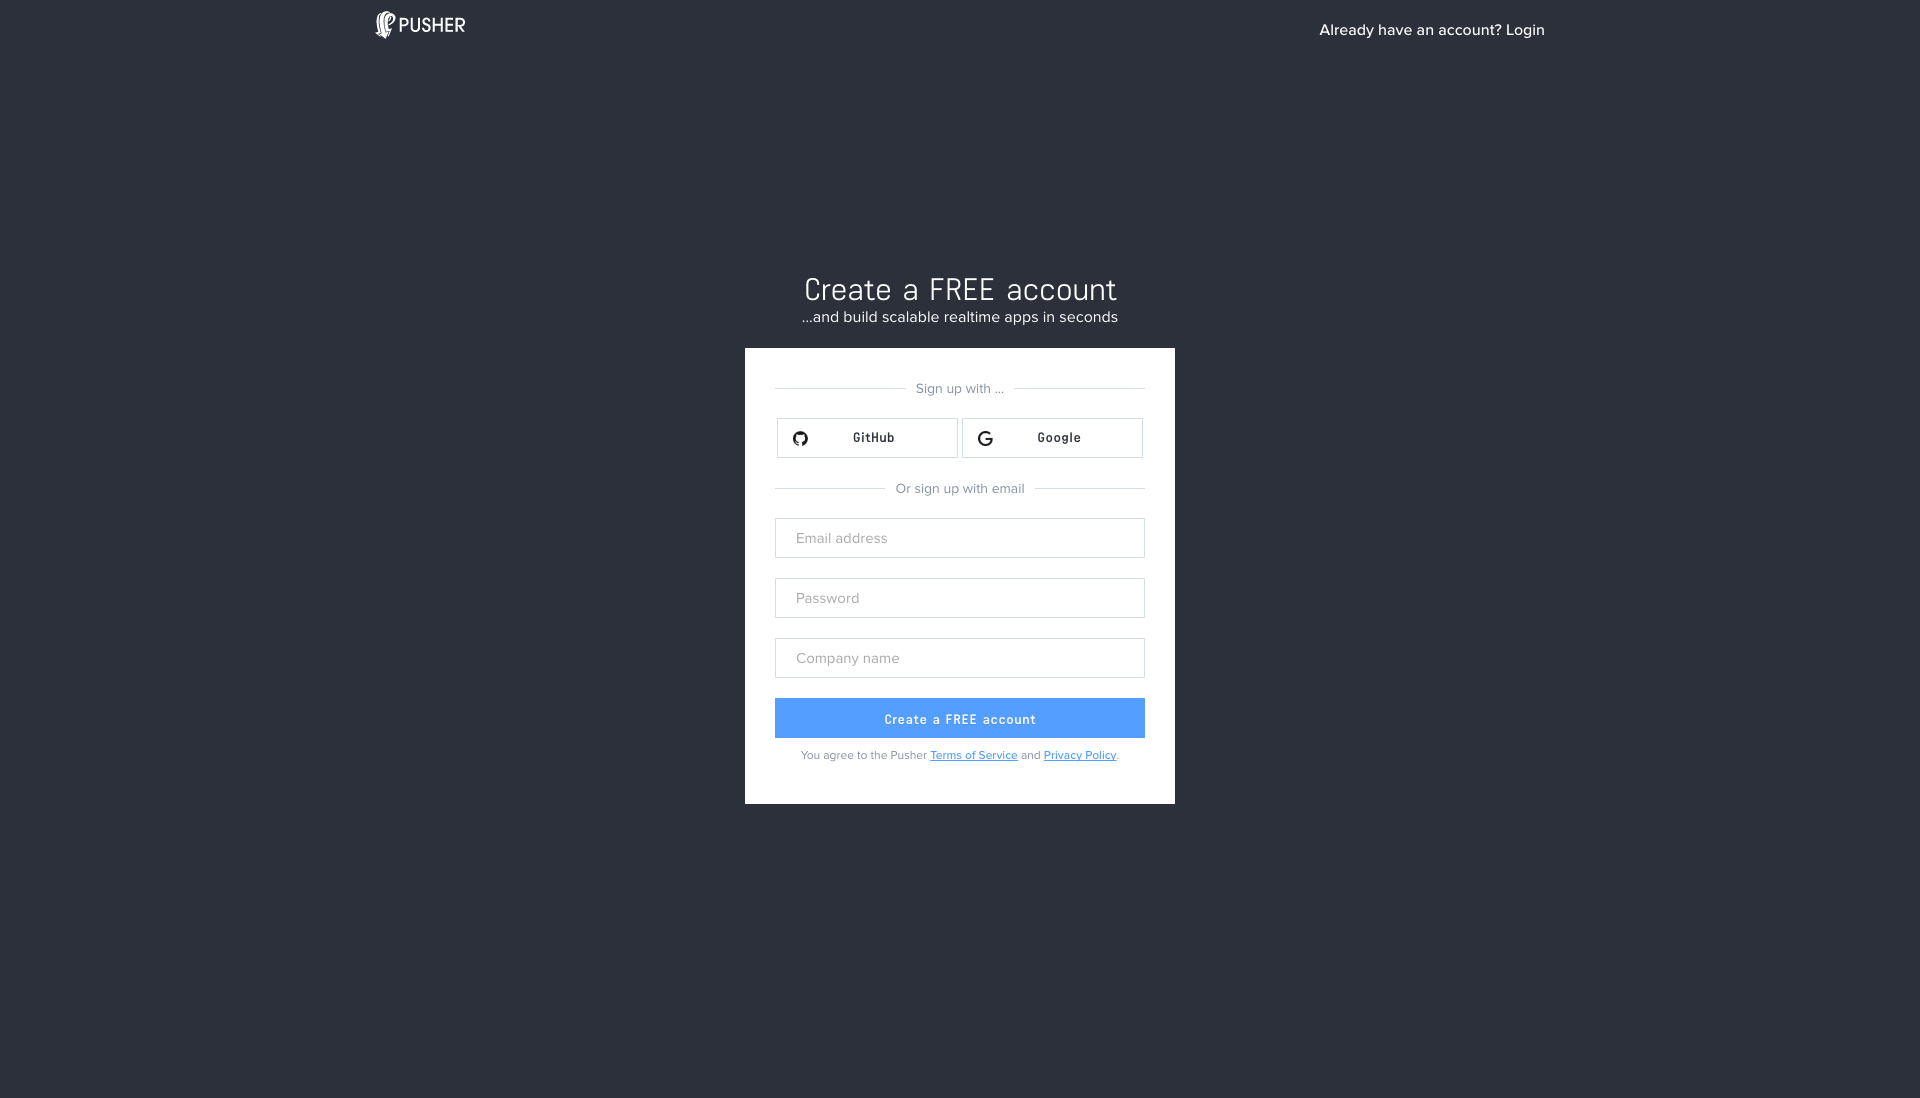
GitHubアカウントでログインできます。
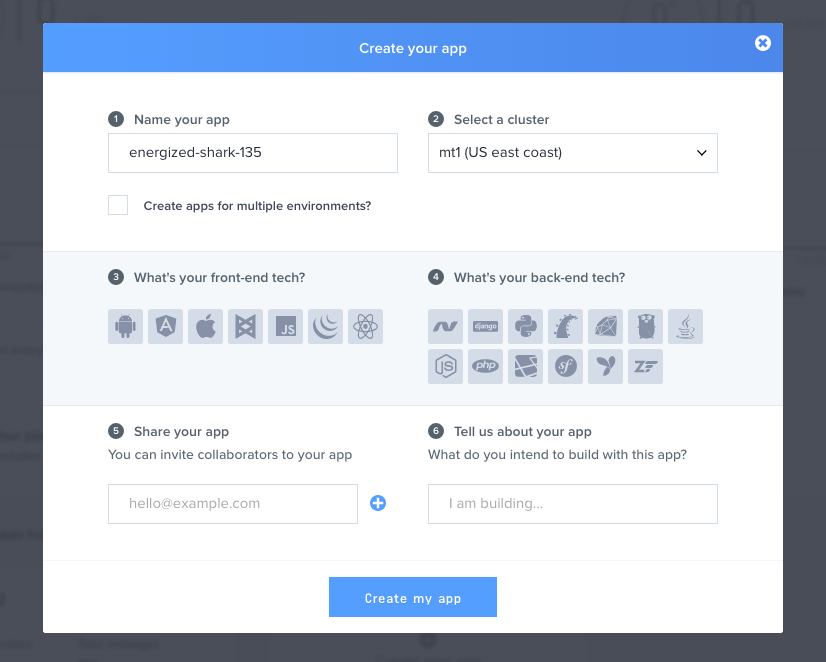
アプリ名はご自由にどうぞ
3はJS,4は今回はLaravelを選択します
作成したらapp keysをメモしておきます
Laravel側
config
まず、config/app.phpの175行目付近にある
App\Providers\BroadcastServiceProvider::class,
のコメントを外します
.env
.envを変更します
BROADCAST_DRIVERをpusherに
ここからpusherのapp keysの値を書いていきます
PUSHER_KEY に key
PUSHER_SECRET に secret
PUSHER_APP_ID に app_id
をそれぞれ記入します
Pusherの使用
pusherを使用するために
composer require pusher/pusher-php-server
を実行します
またブロードキャストイベントのために、イベントクラスを作成します
php artisan make:event PusherEvent
app/Events/下に作成されます
<?php

namespace App\Events;

use Illuminate\Broadcasting\Channel;
use Illuminate\Queue\SerializesModels;
use Illuminate\Broadcasting\PrivateChannel;
use Illuminate\Broadcasting\PresenceChannel;
use Illuminate\Broadcasting\InteractsWithSockets;
use Illuminate\Contracts\Broadcasting\ShouldBroadcast;

class PusherEvent
{
    use InteractsWithSockets, SerializesModels;

    /**
     * Create a new event instance.
     *
     * @return void
     */
    public function __construct()
    {
        //
    }

    /**
     * Get the channels the event should broadcast on.
     *
     * @return Channel|array
     */
    public function broadcastOn()
    {
        return new PrivateChannel('channel-name');
    }
}
これを
<?php

namespace App\Events;

use Illuminate\Broadcasting\Channel;
use Illuminate\Queue\SerializesModels;
use Illuminate\Broadcasting\PrivateChannel;
use Illuminate\Broadcasting\PresenceChannel;
use Illuminate\Broadcasting\InteractsWithSockets;
use Illuminate\Contracts\Broadcasting\ShouldBroadcast;

use Illuminate\Console\Scheduling\Event;

class PusherEvent extends Event implements ShouldBroadcast
{
    use InteractsWithSockets, SerializesModels;

    public $message;

    /**
     * Create a new event instance.
     *
     * @return void
     */
    public function __construct($message)
    {
        $this->message = $message;
    }

    /**
     * Get the channels the event should broadcast on.
     *
     * @return Channel|array
     */
    public function broadcastOn()
    {
        return ['my-channel'];
    }
}
に変更します
js側に送信したい情報をpublic 変数に渡してあげることでブロードキャストされます
route.phpを
Route::get('/', function() {
    return view('pusher');
});

Route::get('/pusher', function() {
    event(new App\Events\PusherEvent('こんにちわ!'));
});
に変更
JS側
pusher.blade.phpを作成
<!DOCTYPE html>
<html>
<head>
    <title>Pusher</title>
</head>
<body>
<input type="button" value="push" onclick='push()'>
<ul id="messages"></ul>
<script src="https://cdnjs.cloudflare.com/ajax/libs/jquery/2.1.4/jquery.min.js"></script>
<script src="https://js.pusher.com/3.1/pusher.min.js"></script>
<script>
    //Pusherキー
    var pusher = new Pusher( '{{ env('PUSHER_KEY') }}' , {
        encrypted: true
    });

    //LaravelのEventクラスで設定したチャンネル名
    var channel = pusher.subscribe('my-channel');

    //Laravelのクラス
    channel.bind('App\\Events\\PusherEvent', addMessage);

    function addMessage(data) {
        $('#messages').prepend(data.message);
    }

    function push(){
        $.get('/pusher');
    }
</script>
</body>
</html>
pushボタンを押せば'こんにちわ!'が追加されていきます!
質問等あればどうぞ!