Cloudera Search を使うことで、 HBase 上のデータに対し簡単に Solr インデックスを貼ることができる。
この記事では HBaseバッチインデックスのドキュメント に従い、HBase 上のデータを Solr で検索可能にするまでの手順を紹介する。
環境
- CDH 5.4.2 HBase (1.0 ベース)
- CDH 5.4.2 MapReduce (2.6 ベース)
- CDH 5.4.2 Cloudera Search (1.0.0)
- CDH 5.4.2 Solr (4.10.3 ベース)
- Cloudera Manager を使ってクラスタを準備するか、クイックスタートVMを準備すること。VMの準備方法についてはこちらを参考。
準備
HBase上にデータのあるテーブルが必要。この記事では、以下の記事を元に作成したデータを例に用いる。
Solr コレクションの作成
テンプレートの作成
以下のコマンドを実行し、Solr コレクションのためのテンプレートを作成する。
$ solrctl instancedir --generate earthquake-collection
earthquake-collection/conf/schema.xml を編集する。デフォルトの <field> タグ及び <copyField> タグを削除あるいはコメントアウトし、以下のフィールドを追加する。
   <field name="_version_" type="string" indexed="true" stored="true" multiValued="false"/>
   <field name="dmin" type="string" indexed="true" stored="true"/>
   <field name="gap" type="string" indexed="true" stored="true"/>
   <field name="nst" type="string" indexed="true" stored="true"/>
   <field name="id" type="string" indexed="true" stored="true"/>
   <field name="type" type="string" indexed="true" stored="true"/>
   <field name="mag" type="string" indexed="true" stored="true"/>
   <field name="place" type="string" indexed="true" stored="true"/>
   <field name="rms" type="string" indexed="true" stored="true"/>
   <field name="magType" type="string" indexed="true" stored="true"/>
   <field name="longtitude" type="string" indexed="true" stored="true"/>
   <field name="depth" type="string" indexed="true" stored="true"/>
   <field name="updated" type="string" indexed="true" stored="true"/>
   <field name="latitude" type="string" indexed="true" stored="true"/>
   <field name="net" type="string" indexed="true" stored="true"/>
以下のコマンドを実行し、ZooKeeper に作成したディレクトリをアップロードする。
$ solrctl instancedir --create earthquake-collection earthquake-collection
最後に、以下のコマンドでSolrコレクションを作成する。
$ solrctl collection --create earthquake-collection
HBase から Solr へのデータの投入
Lily HBase Indexer と Morphline を使い、HBase 上のデータに対し Solr でインデックスを貼る。
HBase Indexer ジョブ用設定ファイルの作成
ドキュメントに従い、HBase バッチインデックスジョブ用設定ファイルを以下のように作成する。
<?xml version="1.0"?>
<indexer table="earthquake"
mapper="com.ngdata.hbaseindexer.morphline.MorphlineResultToSolrMapper">

   <!-- The relative or absolute path on the local file system to the
   morphline configuration file. -->
   <!-- Use relative path "morphlines.conf" for morphlines managed by
   Cloudera Manager -->
   <param name="morphlineFile" value="/etc/hbase-solr/conf/morphlines.conf"/>

   <!-- The optional morphlineId identifies a morphline if there are multiple
   morphlines in morphlines.conf -->
   <!-- <param name="morphlineId" value="morphline1"/> -->

</indexer>
indexer table を HBase のテーブル名 earthquake に設定する。
データ変換ツール Morphline 用設定ファイルの作成
Morphline はデータを変換するためのツール。これを使い、HBase から Solr にどのようにデータを変換するかを設定する。
ドキュメントに従い、 morphlines.conf を以下のように作成する。
morphlines : [
  {
    id : morphline1
    importCommands : ["org.kitesdk.morphline.**", "com.ngdata.**"]

    commands : [
      {
        extractHBaseCells {
          mappings : [
            {
              inputColumn : "cf:dmin"
              outputField : "dmin"
              type : string
              source : value
            }
            {
              inputColumn : "cf:gap"
              outputField : "gap"
              type : string
              source : value
            }
            {
              inputColumn : "cf:nst"
              outputField : "nst"
              type : string
              source : value
            }
            {
              inputColumn : "cf:id"
              outputField : "id"
              type : string
              source : value
            }
            {
              inputColumn : "cf:type"
              outputField : "type"
              type : string
              source : value
            }
            {
              inputColumn : "cf:mag"
              outputField : "mag"
              type : string
              source : value
            }
            {
              inputColumn : "cf:place"
              outputField : "place"
              type : string
              source : value
            }
            {
              inputColumn : "cf:rms"
              outputField : "rms"
              type : string
              source : value
            }
            {
              inputColumn : "cf:magType"
              outputField : "magType"
              type : string
              source : value
            }
            {
              inputColumn : "cf:longtitude"
              outputField : "longtitude"
              type : string
              source : value
            }
            {
              inputColumn : "cf:depth"
              outputField : "depth"
              type : string
              source : value
            }
            {
              inputColumn : "cf:updated"
              outputField : "updated"
              type : string
              source : value
            }
            {
              inputColumn : "cf:latitude"
              outputField : "latitude"
              type : string
              source : value
            }
            {
              inputColumn : "cf:net"
              outputField : "net"
              type : string
              source : value
            }
          ]
        }
      }


      { logTrace { format : "output record: {}", args : ["@{}"] } }
    ]
  }
]
長いファイルに見えるが、内容は単純。 inputColumn に、データソースの HBase の列識別子を、 outputField に Solr コレクションのフィールド名を指定すればよい。
morphlines.conf の作成が完了したら、 morphline-hbase-mapper.xml で指定した場所に配置するのを忘れずに。
インデクシングジョブの実行
ようやくこれで準備が整ったので、バッチインデクシングジョブを実行する。
hadoop jar /opt/cloudera/parcels/CDH/lib/hbase-solr/tools/hbase-indexer-mr-*-job.jar \
--hbase-indexer-file path/to/morphline-hbase-mapper.xml  \
--zk-host <ZKのホスト名>/solr \
--collection earthquake-collection \
--go-live
MapReduce が完了すると、Solr 上で HBase のデータに対するインデックスが見えるようになる。
Hue による確認
http://<hueサーバのノード>:8888/indexer にアクセスし、作成したインデックスが登録されているかどうかを確認する。
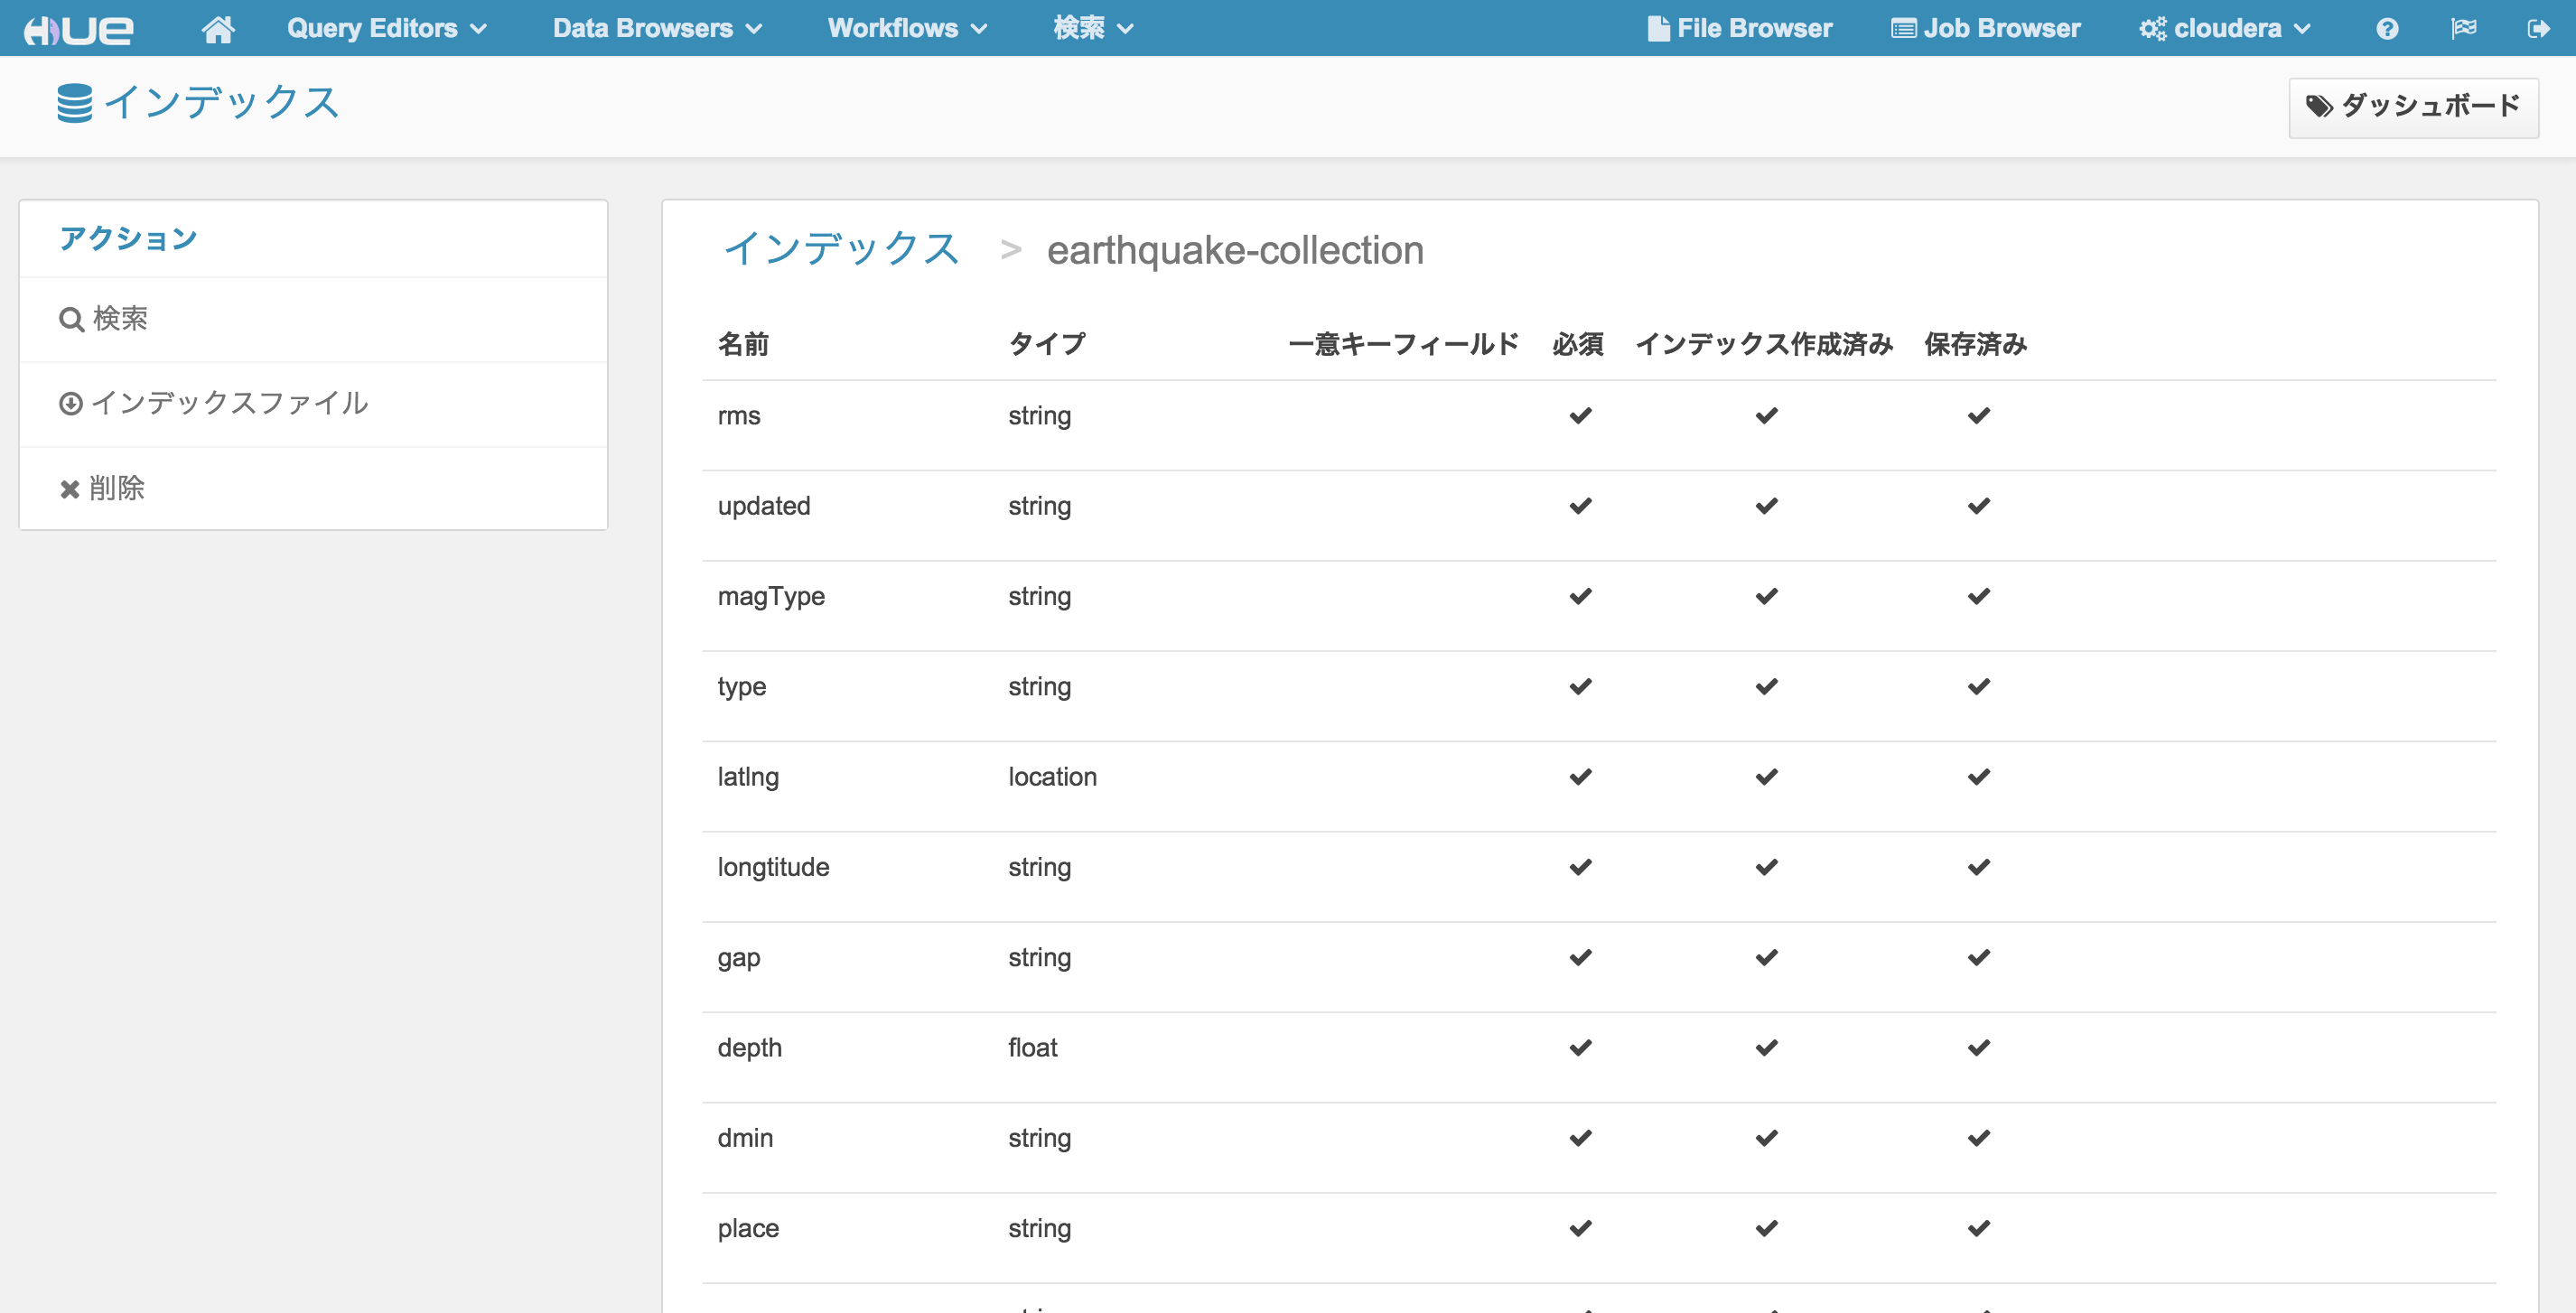
左サイドバーの 検索 をクリックし、HBase テーブルのデータに対して正しくインデックスが貼られていることを確認する。
