概要
Googleのビーコン規格EddystoneをRaspberry Pi2で使えるようにする方法
環境
Raspberry Pi2 Raspbian
LBT-UAN04C1(Bluetooth4.0 USB アダプタ)
Android Nexus9
bluezをインストール
必要なライブラリをインストール
$sudo aptitude install libglib2.0-dev libdbus-1-dev libudev-dev libicaldev libreadline6-dev
$sudo apt-get install libreadline-dev
$sudo apt-get install libical-dev
bluezをインストール
$wget http://www.kernel.org/pub/linux/bluetooth/bluez-5.15.tar.gz
$tar xvf bluez-5.11.tar.gz`
$cd bluez-5.15
$./configure --disable-systemd --enable-library
$make
$sudo make install
$sudo reboot
Bluetoothドングル
$hciconfig
で認識されているBluetoothアダプタを確認

UP RUNNINGと書かれていればok。
DOWNと成っている場合は
$sudo hciconfig hci0 up
とすることでUP RUNNINGの状態にすることができる。
node.jsをインストール
http://qiita.com/shishamo_dev/items/04d425e5d4e6accb63b8 にまとめてあるのでこちらを参考に。
必要なnodeのライブラリをnpmでインストール
$npm install bleacon
$npm install eddystone-beacon
$npm install bleno
「Running without root/sudo」で実行するためのコマンドを実行
これ実行しとかないとエラーが出るっぽいので実行
$sudo setcap cap_net_raw+eip $(eval readlink -f `which node`)
Eddystoneのサンプルプログラムを実行
githubでnodejsで実行できるeddystoneのコードが公開されているので
$git clone https://github.com/don/node-eddystone-beacon
でダウンロードする。
今回urlフレームを載せたビーコンを配信するとする。
以下のコマンドを実行
$cd node-eddystone-beacon/examples
$node simple.js
コード内の
eddystoneBeacon.advertiseUrl('http://www.google.com');
のURLを変えれば好きなURLを送信できる
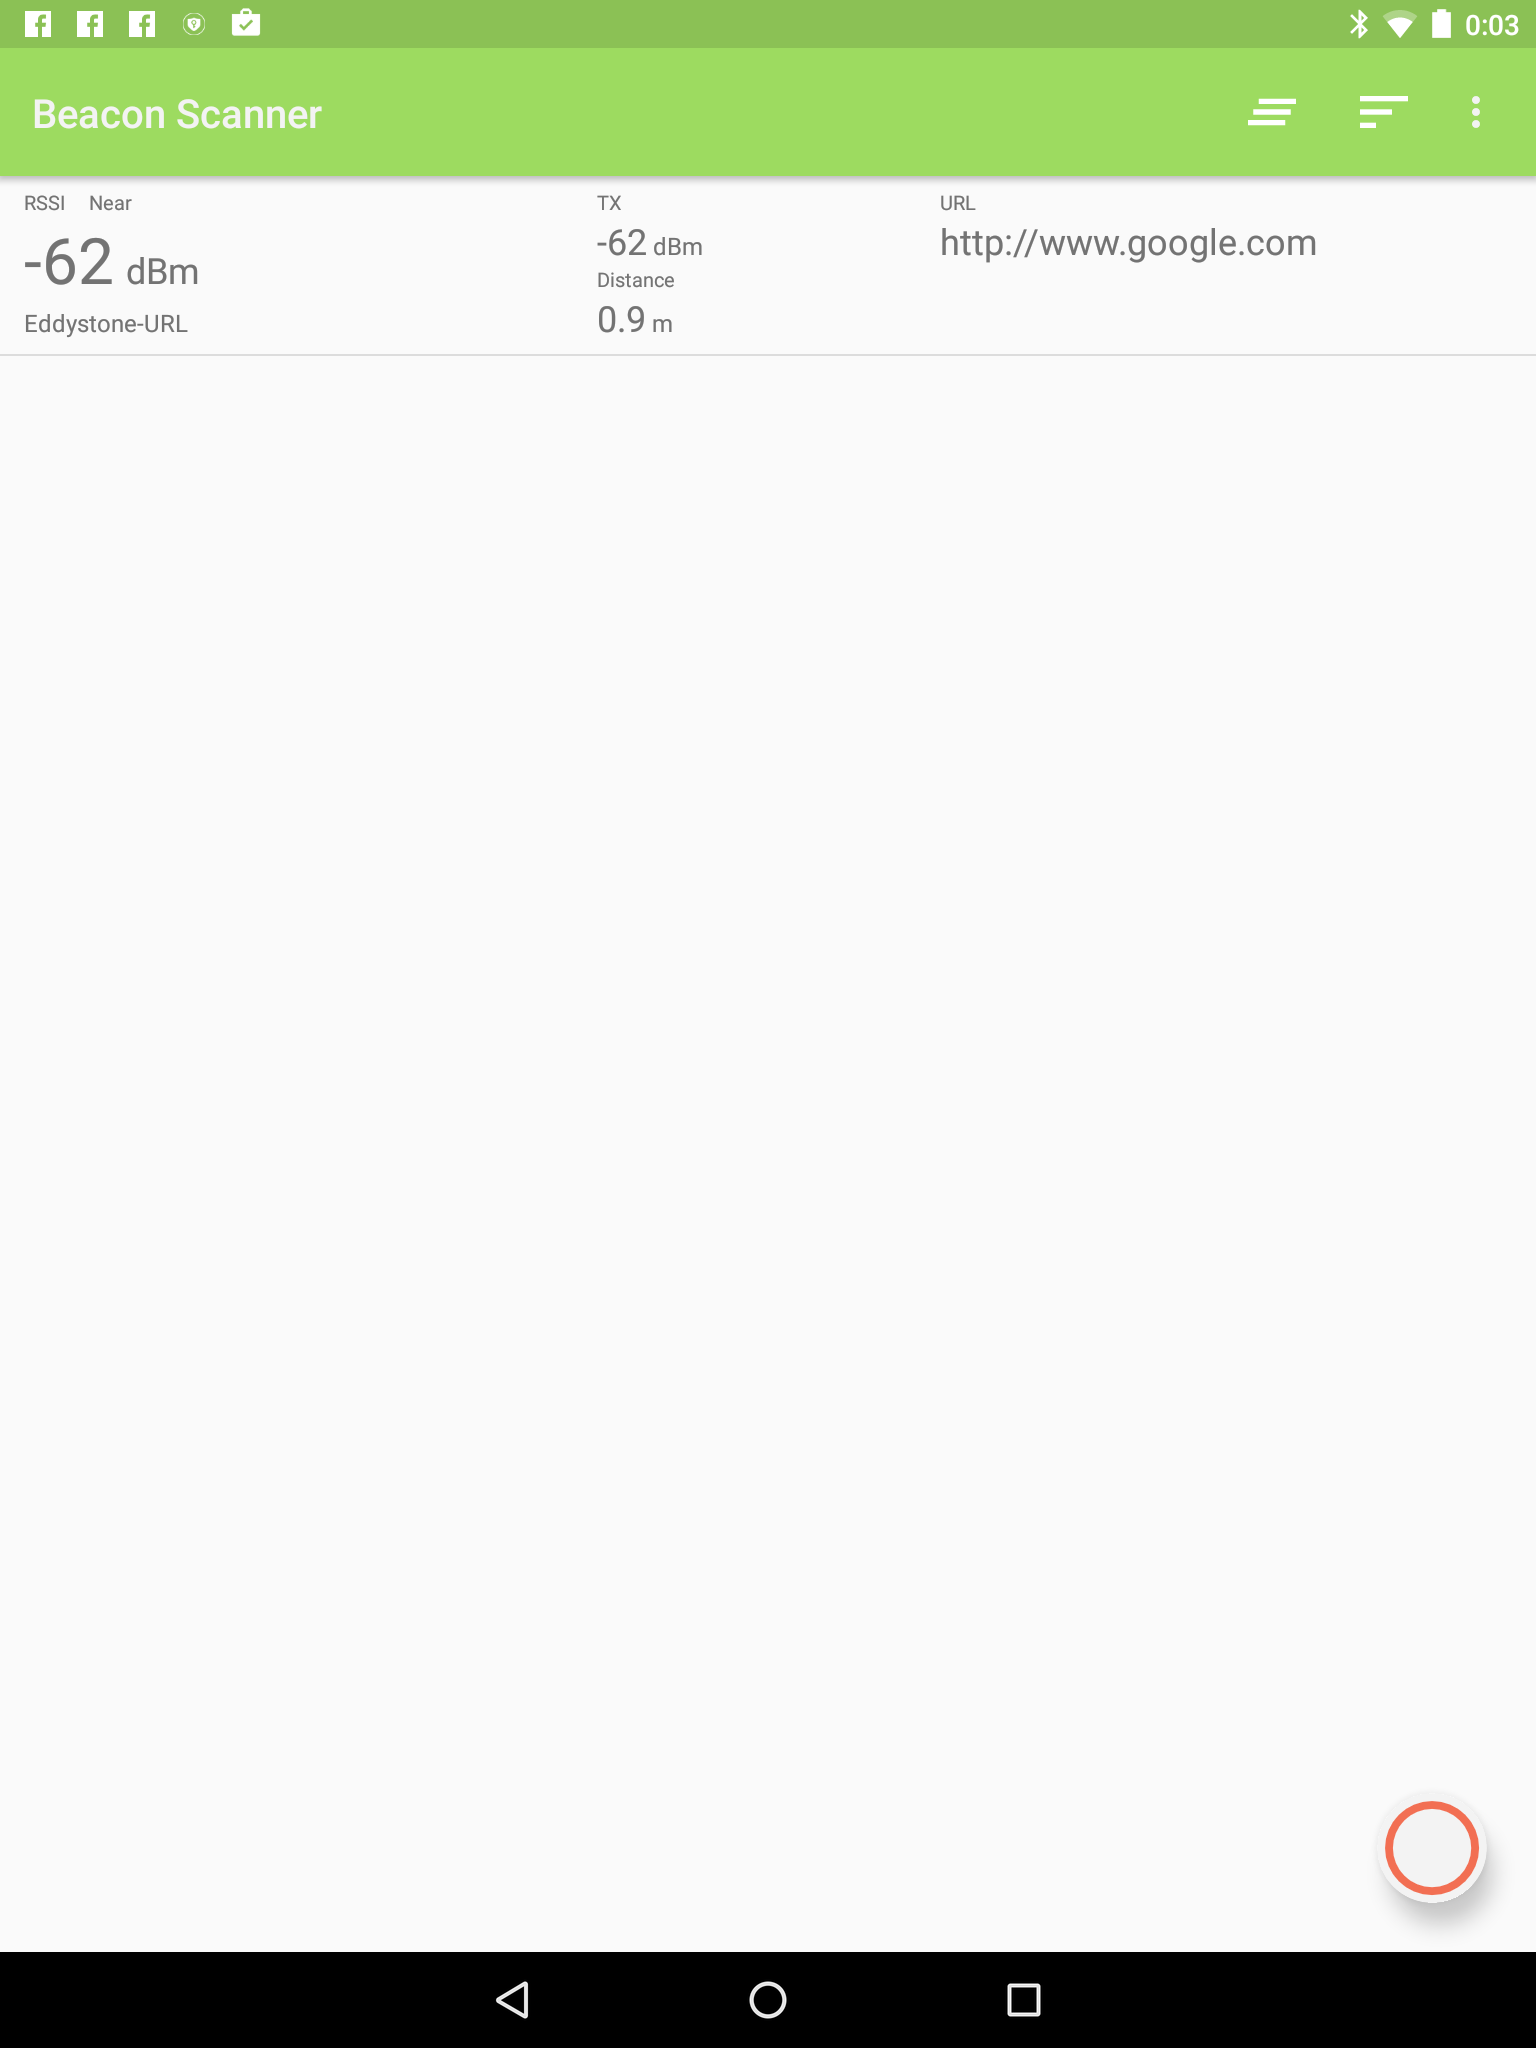
Eddystoneの受信確認
Androidアプリの「iBeacon & Eddystone Scanner」で受信してみた
https://play.google.com/store/apps/details?id=de.flurp.beaconscanner.app&hl=ja