Play2の初期開発環境構築してみたのでメモ
OS: Mac OSX Yosemite
Play2のインストール
https://www.playframework.com/download
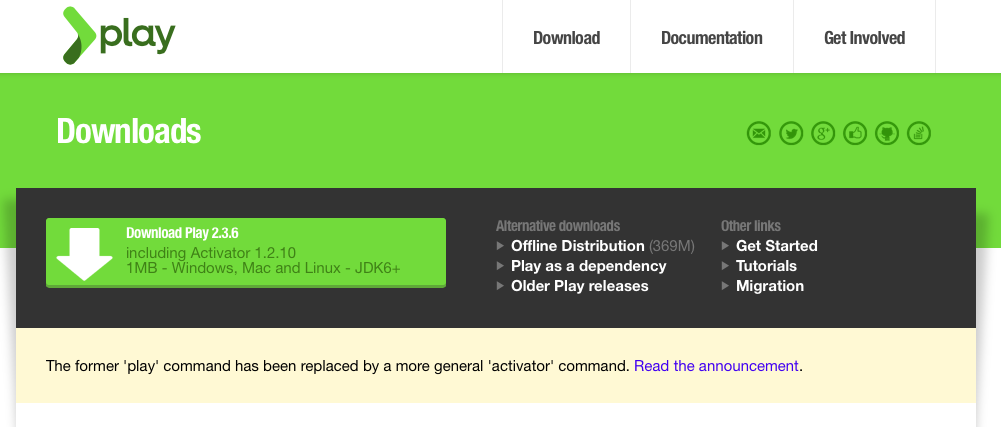
Download Play 2.3.6 からファイルをダウンロード
(playからactivatorにコマンド変わったらしい)
Java必要なので、最新のJDKをインストールしておくといいと思う
http://www.oracle.com/technetwork/jp/java/javase/downloads/index.html
新規プロジェクトの作成
ターミナルで解凍した activator-1.2.10 に移動して次のコマンドを打つ
$ ./activator new
対話型でテンプレートとアプリ名などを入力
Fetching the latest list of templates...

Browse the list of templates: http://typesafe.com/activator/templates
Choose from these featured templates or enter a template name:
  1) minimal-akka-java-seed
  2) minimal-akka-scala-seed
  3) minimal-java
  4) minimal-scala
  5) play-java
  6) play-scala
(hit tab to see a list of all templates)
> 5
Enter a name for your application (just press enter for 'play-java')
> uratan-server
OK, application "uratan-server" is being created using the "play-java" template.

To run "uratan-server" from the command line, "cd uratan-server" then:
/Users/shiva/Tools/activator-1.2.10/uratan-server/activator run

To run the test for "uratan-server" from the command line, "cd uratan-server" then:
/Users/shiva/Tools/activator-1.2.10/uratan-server/activator test

To run the Activator UI for "uratan-server" from the command line, "cd uratan-server" then:
/Users/shiva/Tools/activator-1.2.10/uratan-server/activator ui
プロクシが必要な場合は以下を参照
Behind a proxy
When running activator behind a proxy, some additional configuration is needed. First, we need to open the activator configuration file, found in your user home directory under ~/.activator/activatorconfig.txt. Note that this file may not exist. Once you have the file open and ready to configure, we need to make sure it has the following lines:
# This are the proxy settings we use for activator
-Dhttp.proxyHost=PUT YOUR PROXY HOST HERE
-Dhttp.proxyPort=PUT YOUR PROXY PORT HERE
# Here we configure the hosts which should not go through the proxy. You should include your private network, if applicable.
-Dhttp.nonProxyHosts="localhost|127.0.0.1"
# These are commented out, but if you need to use authentication for your proxy, please fill these out.
-Dhttp.proxyUser=PUT YOUR PROXY USER HERE
-Dhttp.proxyPassword=PUT YOUR PROXY PASSWORD HERE
サーバーの起動
./activator ~run
(~をつけて起動すると編集時にホットリロードする...未確認)
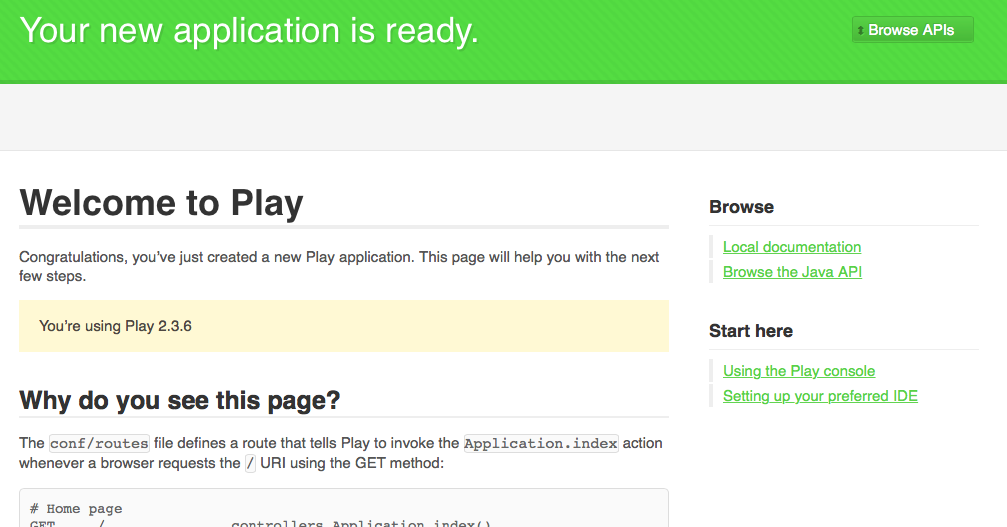
ブラウザで localhost:9000 を開く
IDE用にプロジェクトを設定
作成したアプリのフォルダに移動
$ cd uratan-server
Activator UIを起動
$ ./activator ui
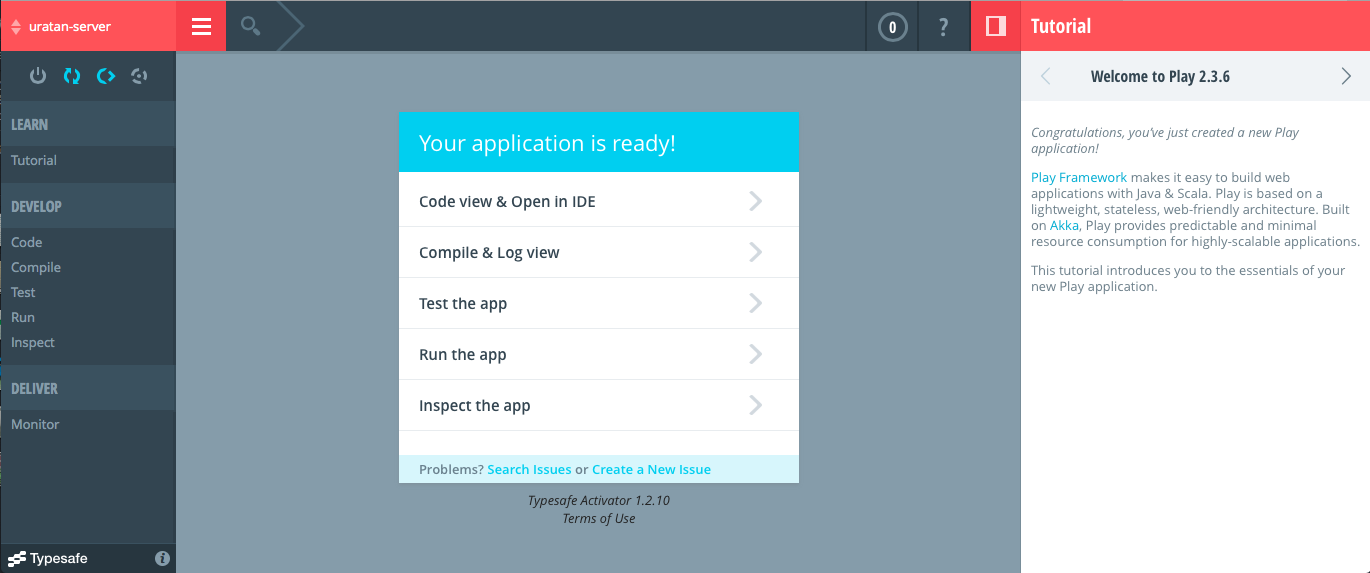
Code View & Open in IDEを選択
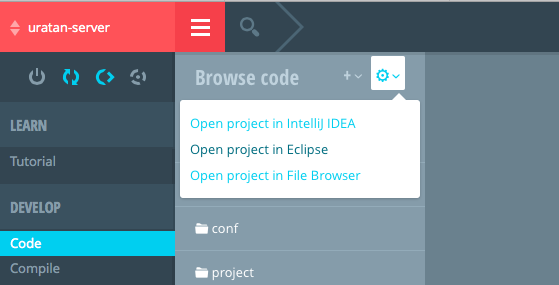
Open Project in Eclipse → Generate them now

正常に終わったらIDEでインポート
Scala IDE (Eclipseベース) のインストール

Download IDEからダウンロード
解凍して適当な場所に移動
起動して適当にワークスペース作る
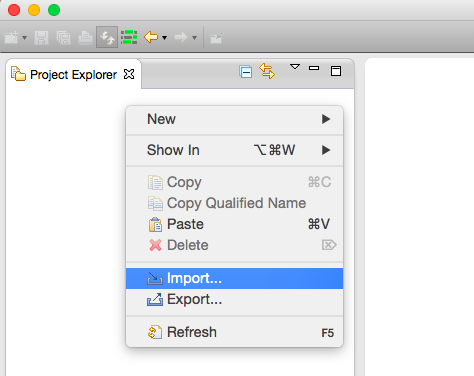
Project Explorerで右クリックからImport
Existing Projects into Workspace

フォルダを選択
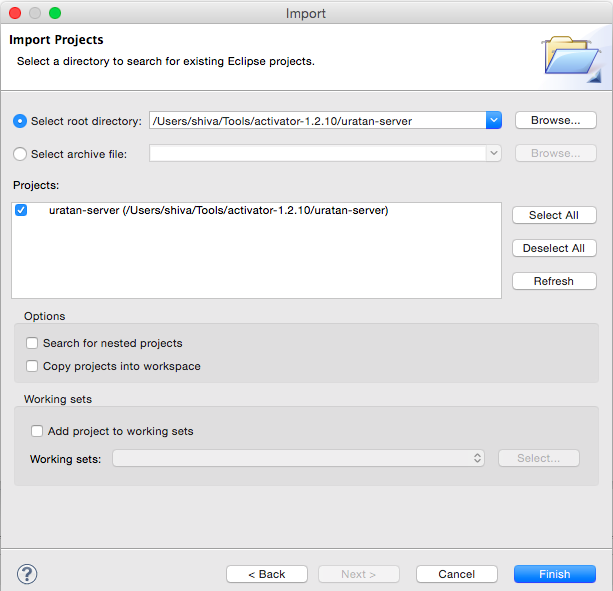
Finishでインポート完了
Playのプラグインを導入
Eclipseで Help→Install New Software... からPlay2のプラグインをインストール
Update Site for Play2:
http://scala-ide.dreamhosters.com/play2/nightly-scala-ide-nightly-e38/site/
全部選択してインストール