はじめに
ゲーム制作の際に使われるSpriteKitですが、実は非ゲームアプリに組み込む事も可能です。
今回はSpriteKitを使ってUITabBarに炎をセットしてみます。

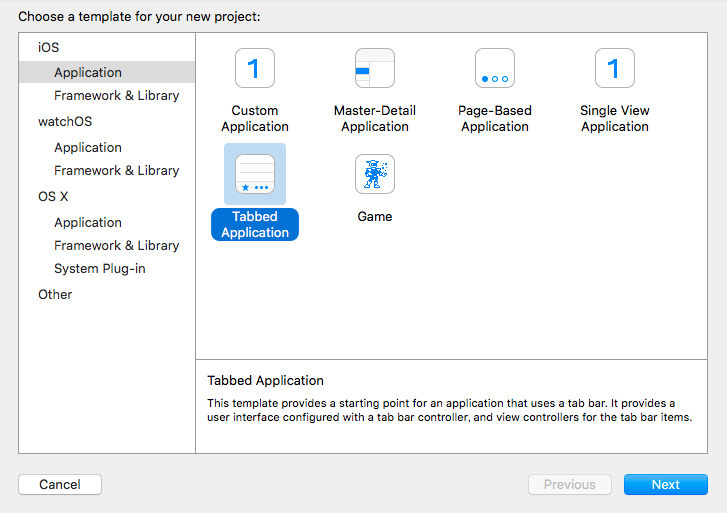
プロジェクト作成
まずはXcodeでTabbed Applicationを作成します。
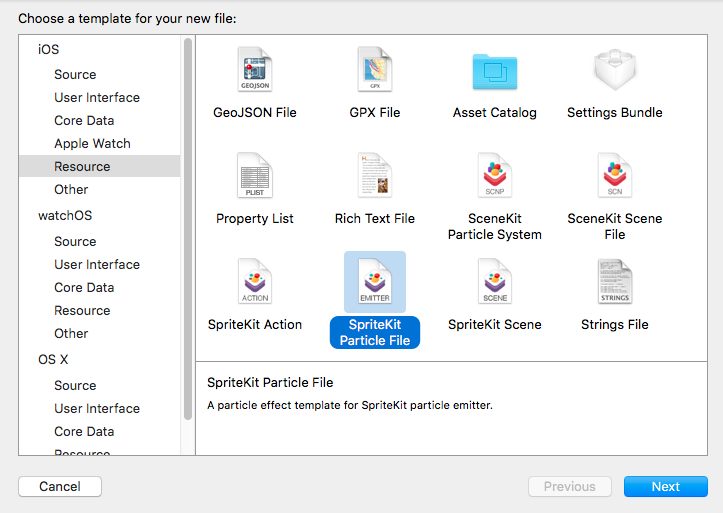
炎を作る
次にタブバーにセットする炎を作ります。
New file > Sprite KitParticle Fileを選びます。
テンプレートはFireを選択します。
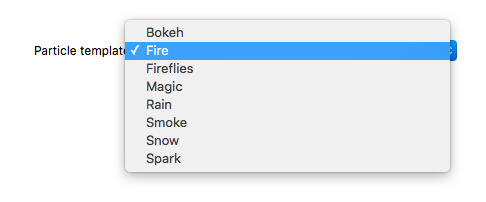
これでMyParticleという名前の炎パーティクルを作る事ができました。
UITabBarにパーティクルをセットする
UITabBarへ今作った炎パーティクルをセットします。
SKViewの追加
最初にSKViewをUITabBarにセットします。
SKViewとはUIViewのサブビューで、SpriteKitとUIKitの橋渡しをしてくれるクラスになります。
AppDelegate.swiftを下のように書き換えます。
import UIKit
import SpriteKit

@UIApplicationMain
class AppDelegate: UIResponder, UIApplicationDelegate {
    var window: UIWindow?

    func application(application: UIApplication, didFinishLaunchingWithOptions launchOptions: [NSObject: AnyObject]?) -> Bool {

        if let tabBarController = window?.rootViewController as? UITabBarController {
            let tabBar = tabBarController.tabBar
            let v = SKView(frame: tabBar.bounds)
            v.userInteractionEnabled = false
            v.autoresizingMask = [.FlexibleWidth]
            v.backgroundColor = UIColor.clearColor()
            tabBarController.tabBar.addSubview(v)
        }

        return true
    }
}
起動すると下のようになります。
TabBarが灰色になっていますが、SKViewにSKSceneをセットする事で解消します。

SKSceneの追加
次はSKViewにSKSceneを追加します。
SKSceneは1つの画面を構成するクラスです。
実際のゲームですとオープニング画面やゲームオーバー画面など1つ1つに対してSKSceneを割り当てる事が多いです。
AppDelegateのapplication:didFinishLaunchingWithOptionsの末尾に下の処理を記述します。
let scene = SKScene(size: v.frame.size)
scene.backgroundColor = UIColor.clearColor()
v.presentScene(scene)
SKNodeの追加
最後に先ほど作成した炎のParticleをUIabBar追加していきます。
AppDelegateのapplication:didFinishLaunchingWithOptionsの末尾に下の処理を記述します。
if let node = SKEmitterNode(fileNamed: "MyParticle") {
    node.position = CGPoint(x: scene.frame.width / 2, y: 0)
    scene.addChild(node)
}
SKEmitterNodeとはSKNodeのサブクラスでパーティクルを画面に表示する時に使えます。
SKNodeとはゲームでの要素を使う時に使うクラスで、ゲーム中の敵・味方・背景などほとんどの要素はSKNodeを使って画面に表示します。
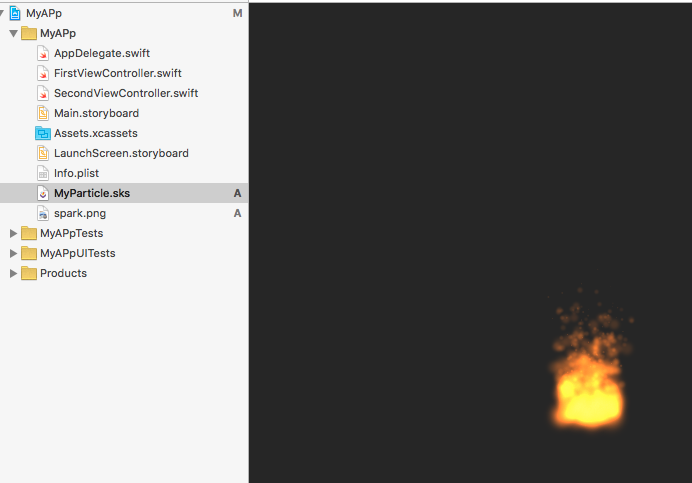
これで燃えさかるUITabBarが完成しました。
SpriteKitでは、他にも雪・火花・ホタルなどのパーティクルが用意されています。
これらを使えばタップ時に火花が散るUITableViewControllerや雪の降るUIImageViewを実現できます。
import UIKit
import SpriteKit

@UIApplicationMain
class AppDelegate: UIResponder, UIApplicationDelegate {
    var window: UIWindow?

    func application(application: UIApplication, didFinishLaunchingWithOptions launchOptions: [NSObject: AnyObject]?) -> Bool {

        if let tabBarController = window?.rootViewController as? UITabBarController {
            let tabBar = tabBarController.tabBar
            let v = SKView(frame: tabBar.bounds)
            v.userInteractionEnabled = false
            v.autoresizingMask = [.FlexibleWidth]
            v.backgroundColor = UIColor.clearColor()
            tabBarController.tabBar.addSubview(v)

            let scene = SKScene(size: v.frame.size)
            scene.backgroundColor = UIColor.clearColor()
            v.presentScene(scene)

            if let node = SKEmitterNode(fileNamed: "MyParticle") {
                node.position = CGPoint(x: scene.frame.width / 2, y: 0)
                scene.addChild(node)
            }
        }

        return true
    }
}