はじめに
今までWebMailといえば、SquirrelMailがメジャーで、新しい環境ではRoundCubeが有名でした。しかしGmailの登場と共に、Webインターフェースのリッチ化が進みユーザーからもGmailのようなインターフェースを望まれる機会が増えてきました。そのニーズにこたえるのが「rainloop」です。
現在の最新バージョンは、「1.10.4.183」です。
導入条件
rainloopは、PHP5.3以上が必要となります。
検証環境
| 製品 | バージョン |
|---|---|
| Apache | 2.4.23 |
| PHP | 8.1.2 |
インストール
ダウンロードして展開
cd /usr/local/src
mkdir rainloop
cd rainloop
wget http://repository.rainloop.net/v2/webmail/rainloop-community-latest.zip
unzip rainloop-community-latest.zip
mkdir /docs
mv rainloop /docs/

# 権限設定をする
cd /docs/rainloop
find . -type d -exec chmod 755 {} \;
find . -type f -exec chmod 644 {} \;
Apacheに設定する
vi /usr/local/apache2/conf/httpd.conf
DirectoryIndex index.php
Alias /rainloop /docs/rainloop
Apacheを再起動
/usr/local/apache2/bin/apachectl restart
これで、設定は完了です。
あとは、ブラウザーでサーバーのIPアドレスで開きます。
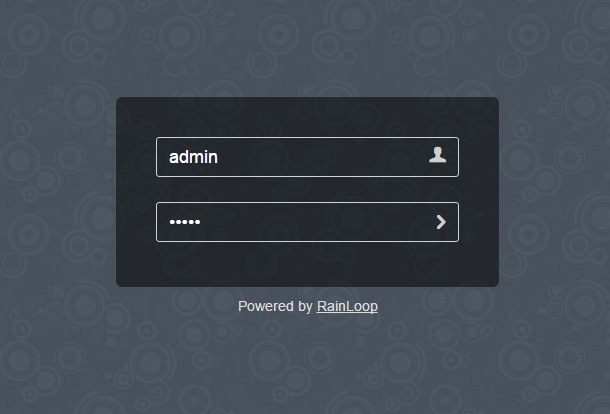
管理者用画面は、「/?/admin」をつけてアクセスします。
http://サーバーのIP/rainloop/?/admin
| 項目 | 値 |
|---|---|
| 初期管理者ユーザー | admin |
| 初期パスワード | 12345 |
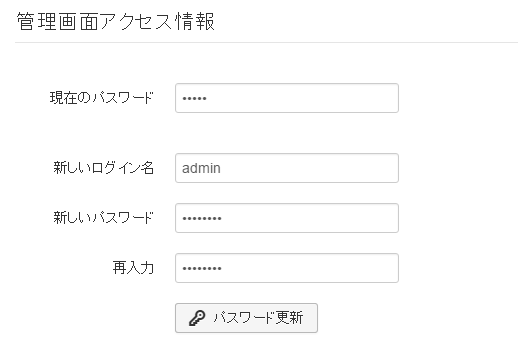
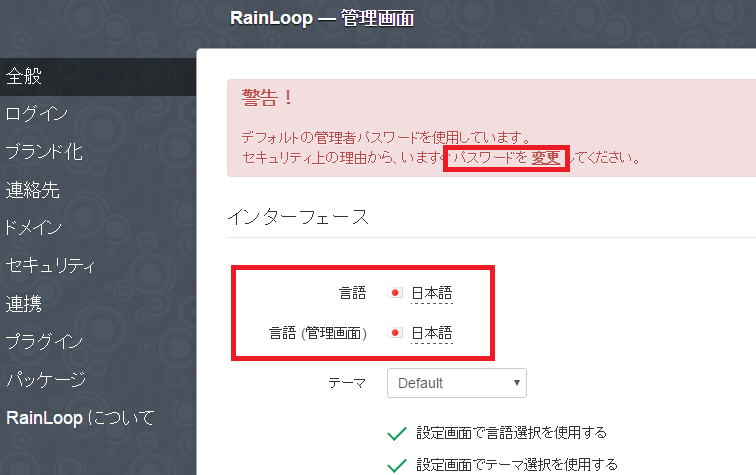
パスワードのデフォルトは「12345」ですので、それを任意のパスワードに変更します。

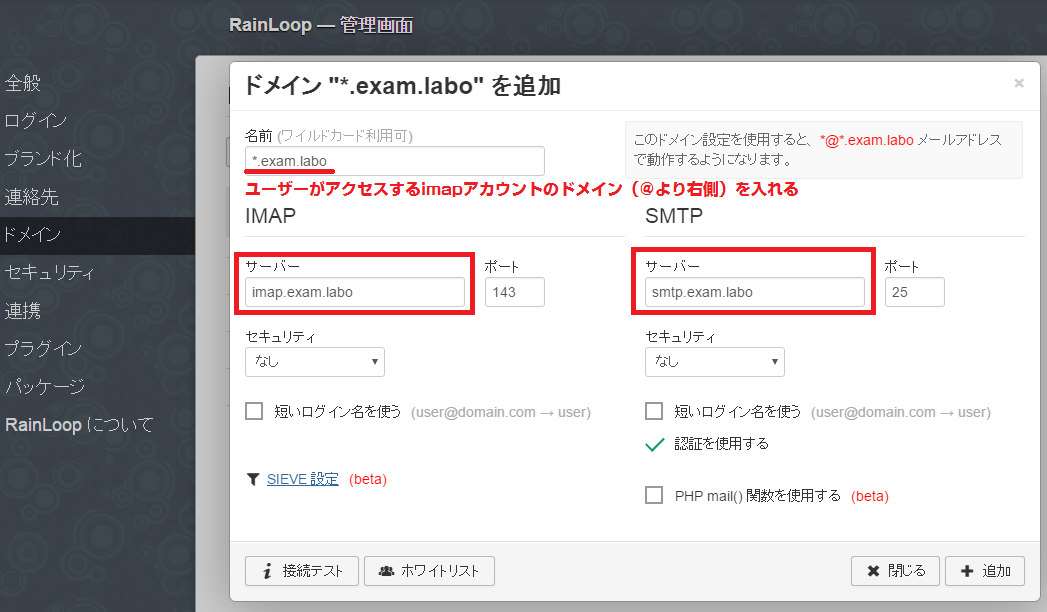
次にユーザーがIMAPでアクセスできるサーバーを設定します。

これで設定は終わりです。
ユーザー側のアクセスサイト「http://サーバーのIP/rainloop/」でログインし、
IMAPアカウントでログインすることで、通常のメールを読むことが可能となります。

