なにかと話題の Craft CMSを、Cloud 9の環境にインストールしてみました。
ワークスペースを作る
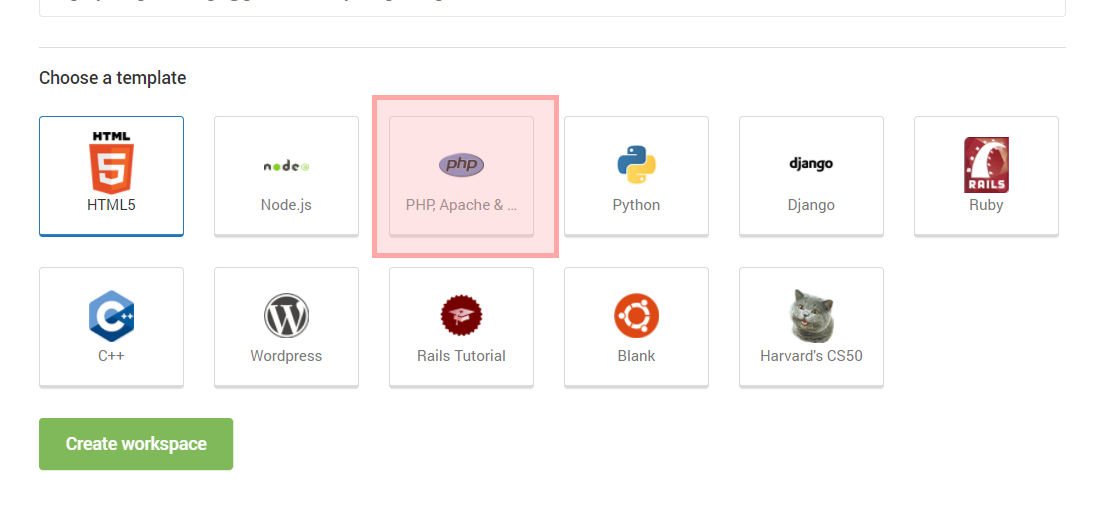
Craft CMSは、Version 2現在で PHP 5.3以降の環境が必要です。そこで、ワークスペースを、「PHP」で作成します。
ファイルをコピーする
以下のサイトからファイルをダウンロードして、Cloud 9にアップロードします。
ドキュメントルートを変更する
Craft CMSは、「public」フォルダーをドキュメントルートにする必要があるので、Cloud 9の bashに次のように打ち込んで、設定ファイルを編集します。
sudo vi /etc/apache2/sites-enabled/001-cloud9.conf
そして、「DocumentRoot」の設定を次のように変更します。
DocumentRoot /home/ubuntu/workspace/public
そして、Apacheを再起動します。
sudo service apache2 restart
データベースの設定
次に、データベースを設定します。craft/config/db.phpを編集して、次のように設定します。
<?php

/**
 * Database Configuration
 *
 * All of your system's database configuration settings go in here.
 * You can see a list of the default settings in craft/app/etc/config/defaults/db.php
 */

return array(

    // The database server name or IP address. Usually this is 'localhost' or '127.0.0.1'.
    'server' => '127.0.0.1',

    // The name of the database to select.
    'database' => 'c9',

    // The database username to connect with.
    'user' => 'root',

    // The database password to connect with.
    'password' => '',

    // The prefix to use when naming tables. This can be no more than 5 characters.
    'tablePrefix' => 'craft',

);
インストール画面を表示
そしたら、[Run Project] ボタンをクリックしてプレビュー用URLを発行し、次のようなURLにアクセスしましょう。
http://example.com/admin/
セットアッププログラムが起動して、各種設定を行なうことができます。