pybabelとJinja2で多言語対応のwebapp2アプリケーションを作ってGAEへデプロイする手順。
-
webapp2: Python製Webアプリフレームワーク。
-
Jinja2: Python製テンプレートエンジン。
-
pybabel(Babel): 翻訳箇所のロケール別カタログを管理するツール。紛らわしいが、JSコンパイラのBabelではない。
環境
- OS X 10.12.3
- python 2.7.12
- pip 9.0.1
- pybabel 2.3.4
- デプロイ環境: GAE
ディレクトリ構成
最終的にはこうなる。
$ tree
.
├── app.yaml
├── appengine_config.py
├── appengine_config.pyc
├── babel.cfg
├── lib
│   ├── Babel-2.3.4.dist-info
│   ├── babel
│   ├── pytz
│   └── pytz-2016.10.dist-info
├── locale
│   ├── ja_JP
│   │   └── LC_MESSAGES
│   │       ├── messages.mo
│   │       └── messages.po
│   └── message.pot
├── main.py
├── main.pyc
├── requirements.txt
└── templates
    └── index.html

33 directories, 1395 files
参考のためリポジトリを作成した。
アプリケーション作成
$ mkdir webapp2-example && cd webapp2-example
Babel設定
webapp2 i18n拡張が使うBabelのライブラリをプロジェクト内にインストールする
Babel==2.3.4
$ pip install -t lib -r requirements.txt
Collecting Babel==2.3.4 (from -r requirements.txt (line 1))
  Using cached Babel-2.3.4-py2.py3-none-any.whl
Collecting pytz>=0a (from Babel==2.3.4->-r requirements.txt (line 1))
  Using cached pytz-2016.10-py2.py3-none-any.whl
Installing collected packages: pytz, Babel
Successfully installed Babel-2.3.4 pytz-2016.10
from google.appengine.ext import vendor
vendor.add('lib')
GAE設定
application: webapp2-example
version: 1
runtime: python27
api_version: 1
threadsafe: yes

handlers:
- url: .*
  script: main.app

libraries:
- name: webapp2
  version: "2.5.2"
- name: jinja2
  version: latest
アプリケーション
ロケールの取得はどうやってもよいが、ここではリクエストパラメータから読むようにする
import webapp2

from webapp2_extras import i18n
import os

import jinja2
JINJA_ENVIRONMENT = jinja2.Environment(
    loader=jinja2.FileSystemLoader(os.path.dirname(__file__)),
    extensions=['jinja2.ext.i18n', 'jinja2.ext.autoescape'],
    autoescape=True)
JINJA_ENVIRONMENT.install_gettext_translations(i18n)

class HelloWorldHandler(webapp2.RequestHandler):
    def get(self):
        locale = self.request.GET.get('locale', 'en_US')
        i18n.get_i18n().set_locale(locale)
        print(locale)

        template_values = {}
        template = JINJA_ENVIRONMENT.get_template('templates/index.html')
        self.response.write(template.render(template_values))


app = webapp2.WSGIApplication([
    ('/', HelloWorldHandler),
], debug=True)

def main():
    app.run()

if __name__ == '__main__':
    main()
テンプレート
$ mkdir templates
プレースホルダーを使うケースを書いてみる。
- New style gettext
_はgettextのエイリアスになるのでどちらを使ってもよい。
- Jinja2 i18n
<html>
  <body>
    {{ _("Hello, %(username)s", username='satzz') }}
  </body>
</html>
ローカルでの動作確認
まだ多言語化していないが、いったんこの段階でGAE開発サーバーで動作確認する。
- Google Cloud SDK Documentation
- Using the Local Development Server
開発サーバー起動
$ dev_appserver.py .
INFO     2017-03-17 06:07:29,597 sdk_update_checker.py:229] Checking for updates to the SDK.
INFO     2017-03-17 06:07:30,185 api_server.py:204] Starting API server at: http://localhost:63035
INFO     2017-03-17 06:07:30,189 dispatcher.py:197] Starting module "default" running at: http://localhost:8080
INFO     2017-03-17 06:07:30,192 admin_server.py:118] Starting admin server at: http://localhost:8000
moduleが起動しているhttp://localhost:8080 へブラウザアクセス
GAEでの動作確認
i18nから少し逸れるがGAEでも動作確認しておく。
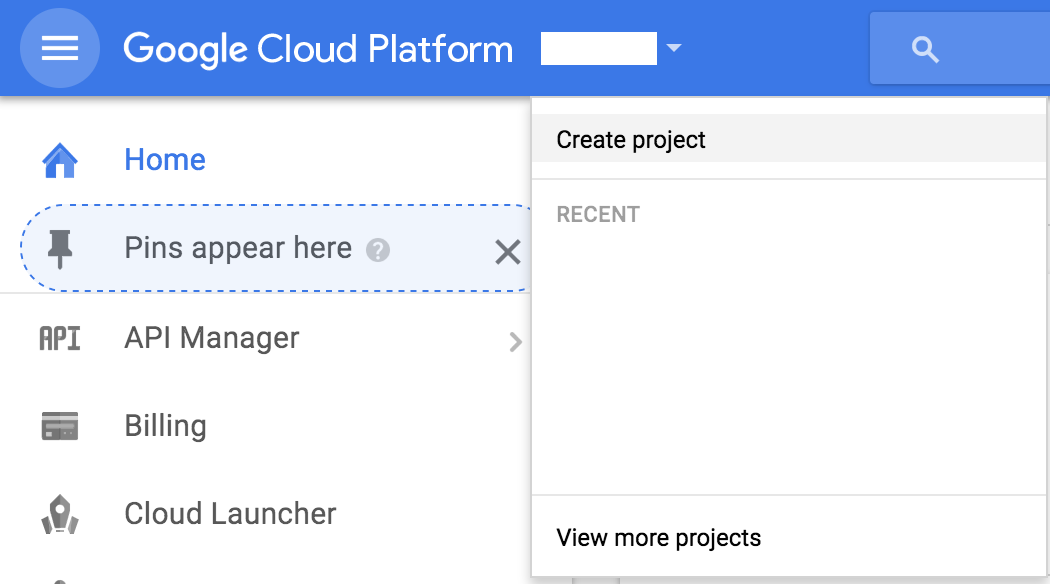
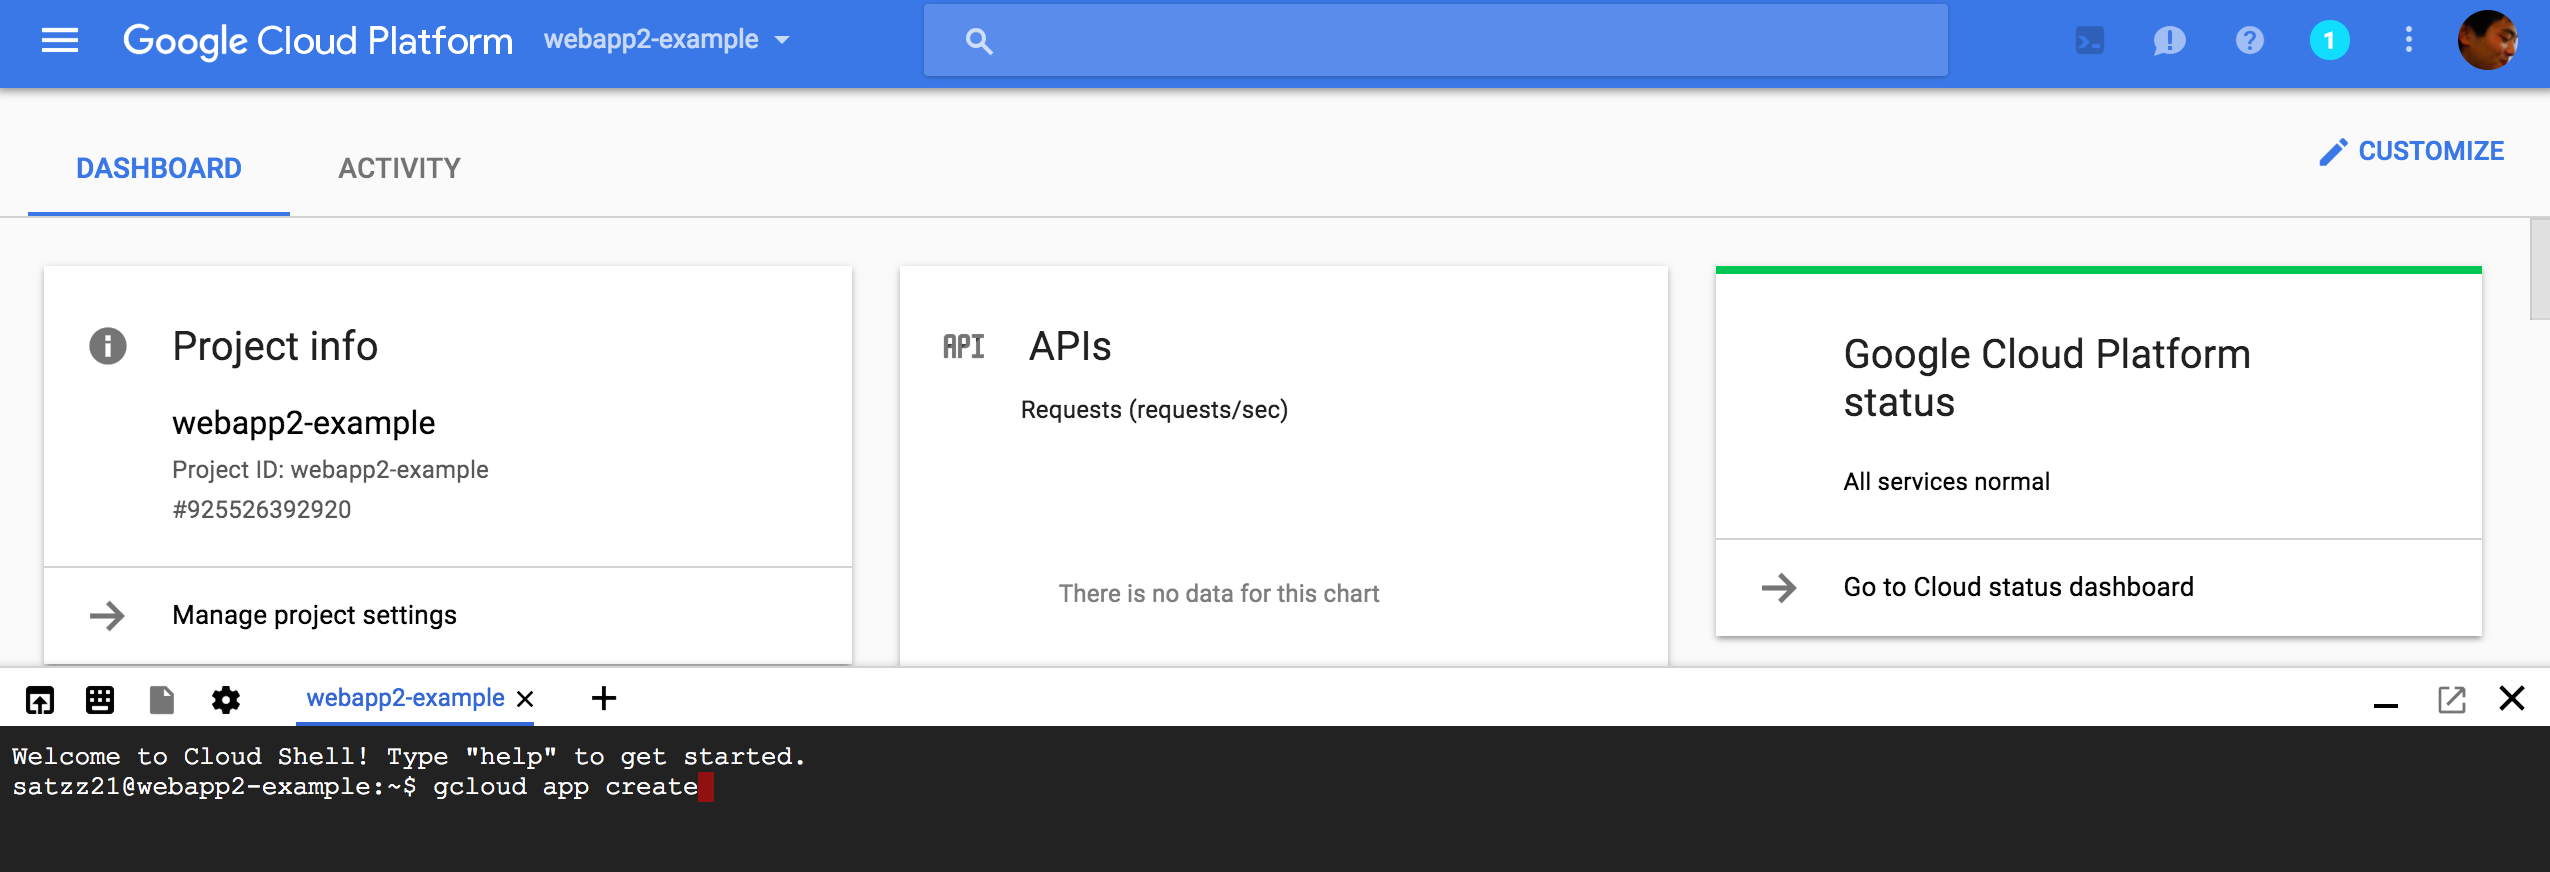
app.yamlに書いたのと同じ名前でプロジェクト作成する。
アプリケーション作成
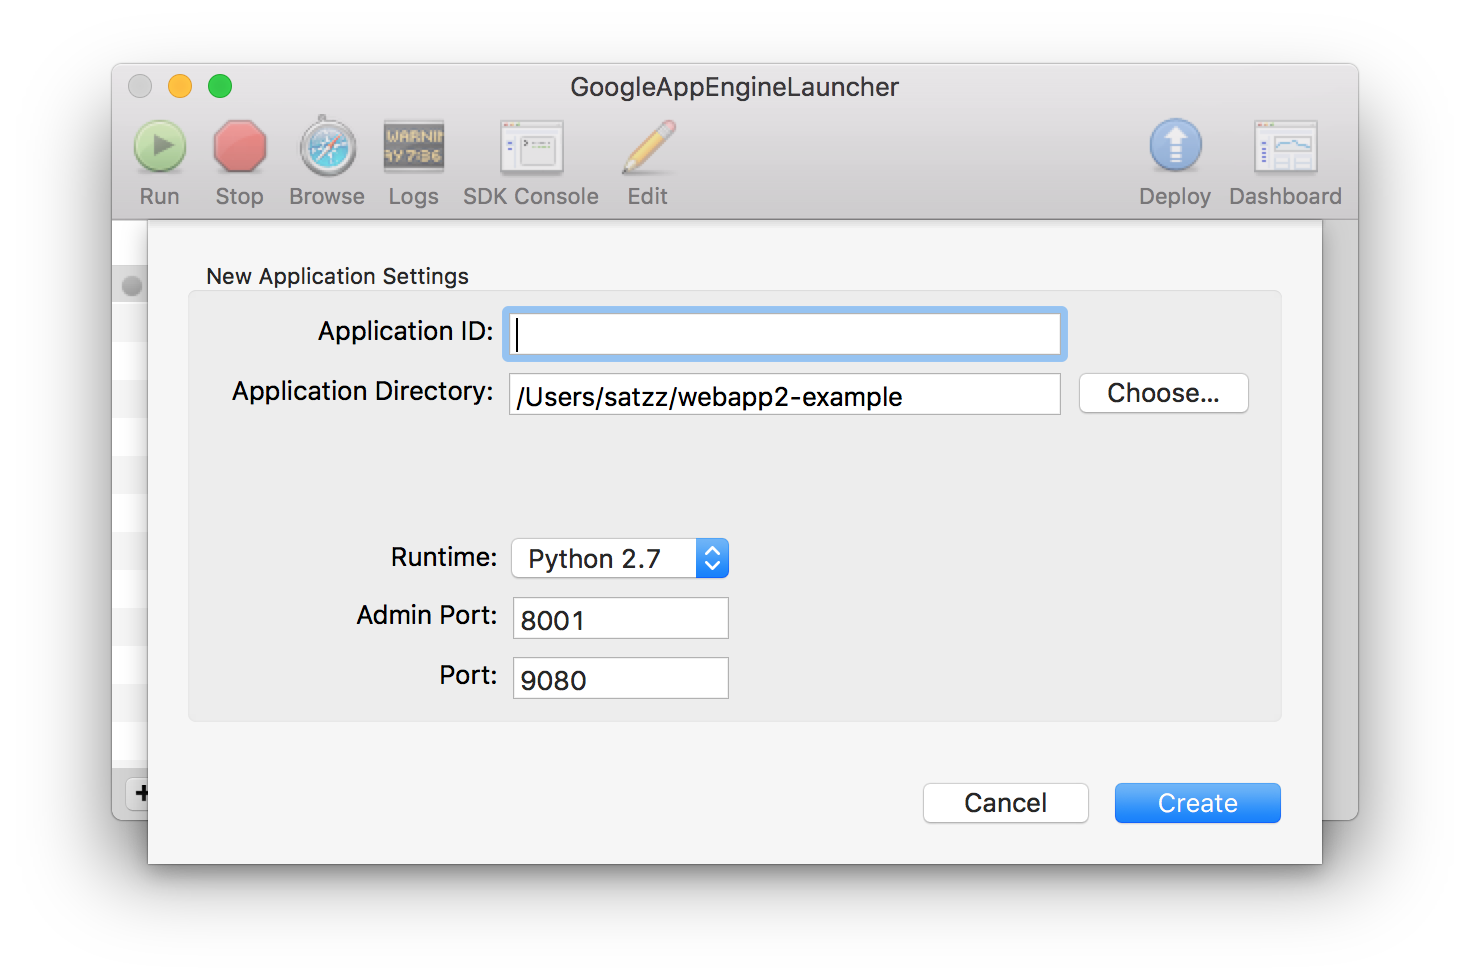
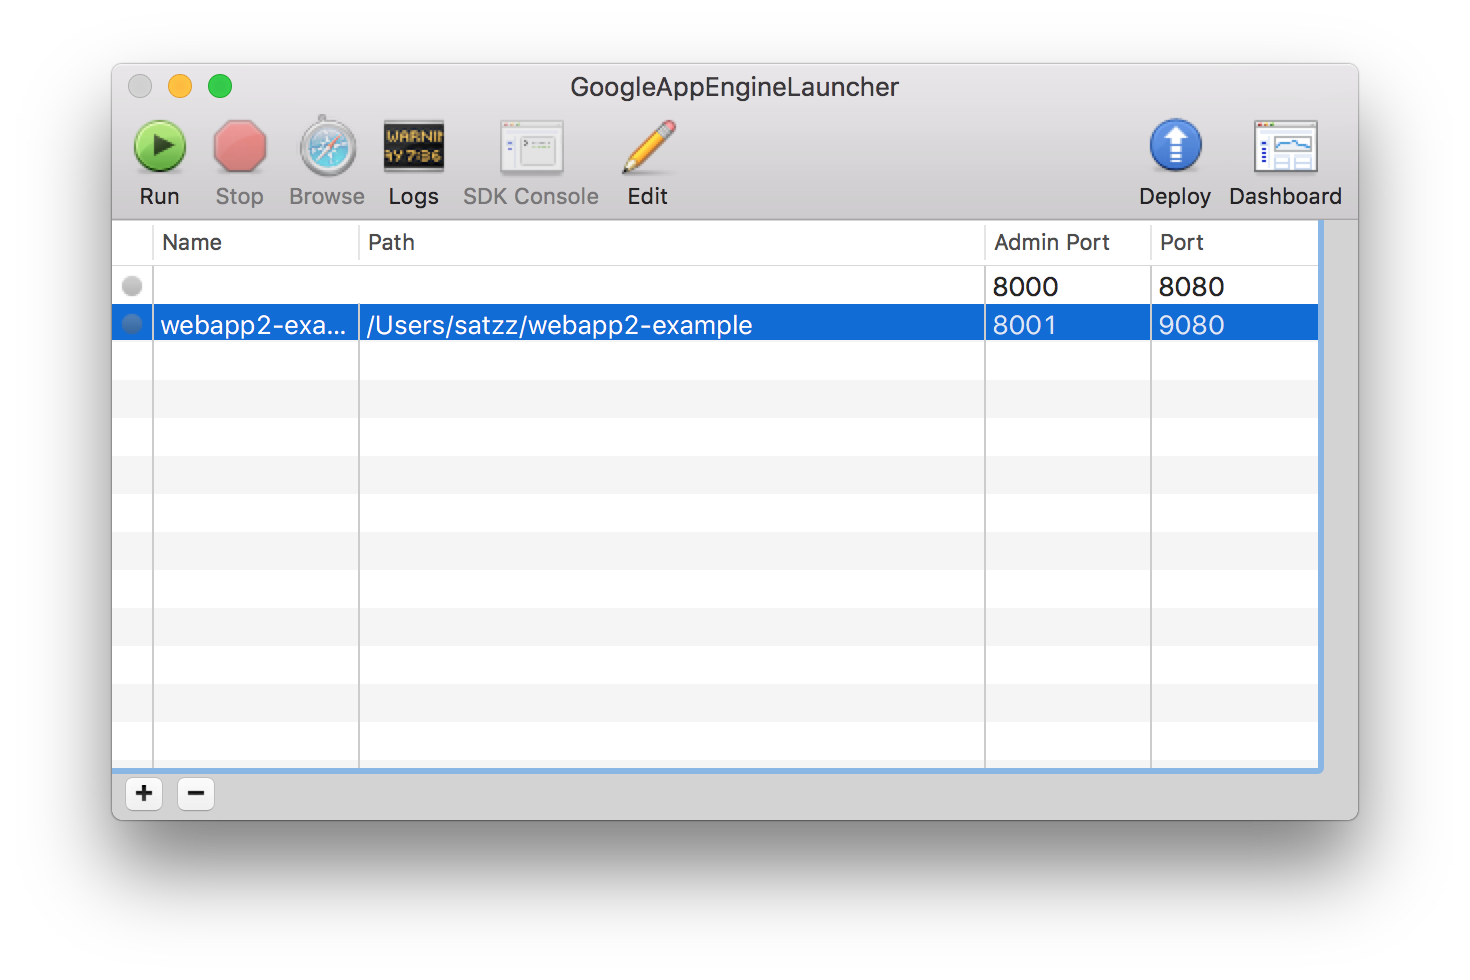
インストールしたGoogleAppEngineLauncherを開いてローカルで作ったアプリケーションを指定。Application IDは空でok
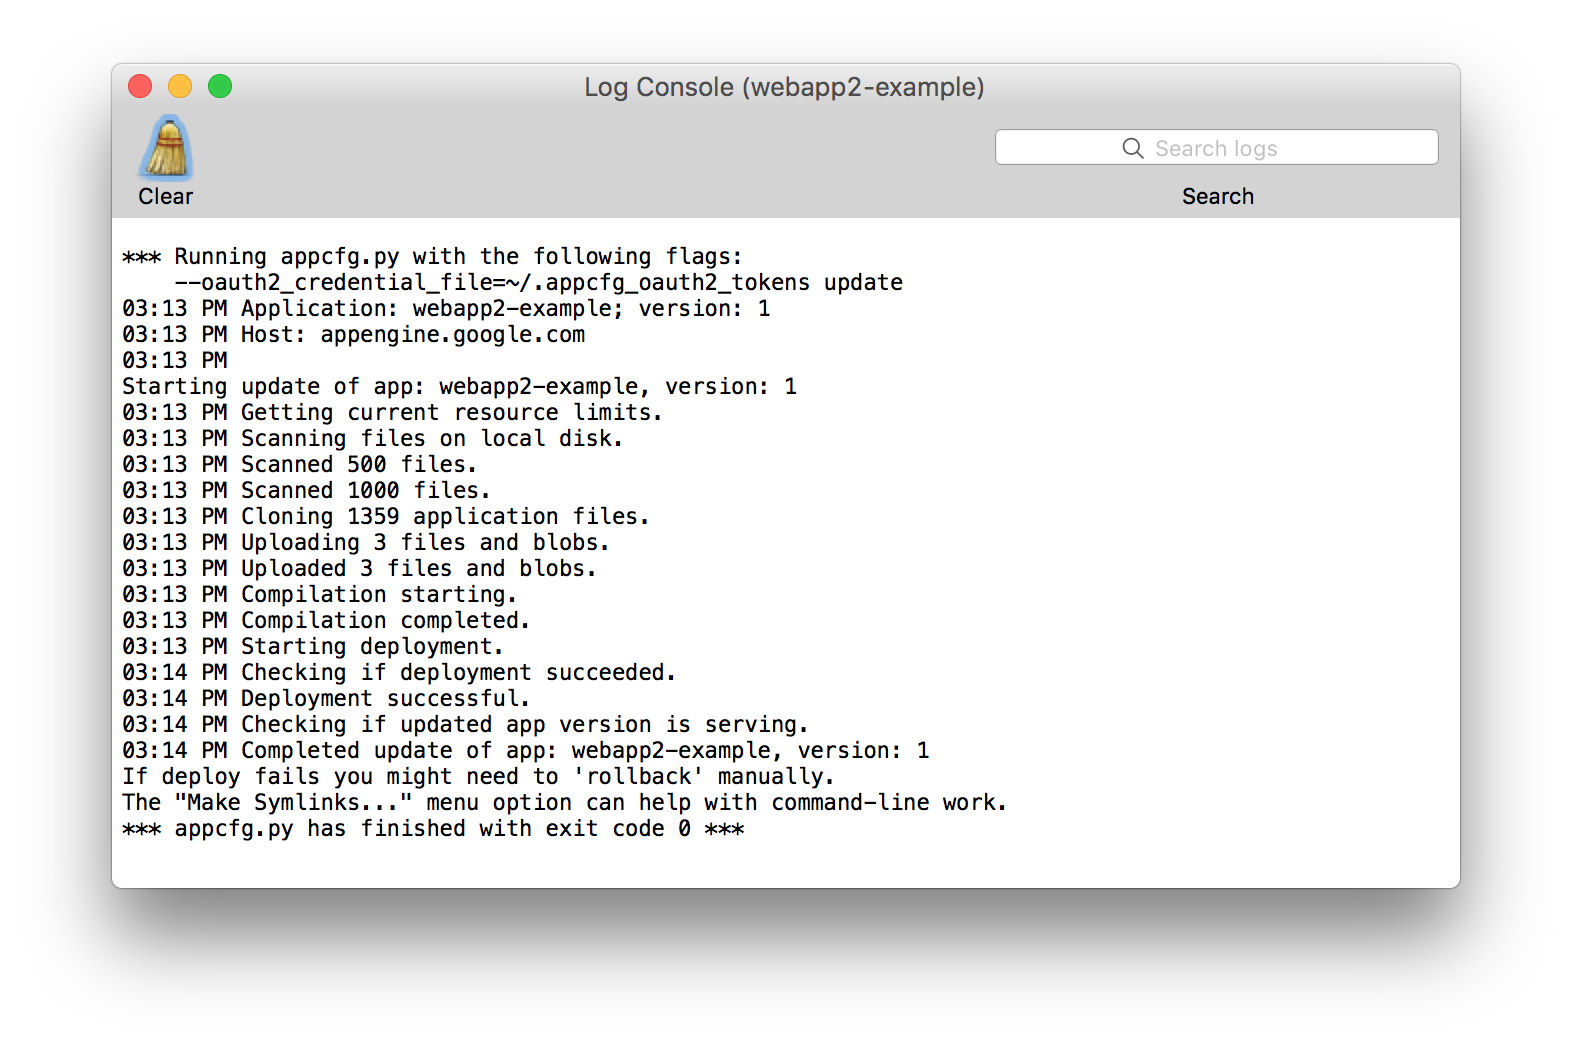
Cmd+DでデプロイしてログにDeployment successfulと出るのを待つ。
で動作確認できる。
ロケール追加
ここから本題のi18n。カタログを作成するためのpybabelコマンドをインストールする。
$ pip install babel
Collecting babel
  Using cached Babel-2.3.4-py2.py3-none-any.whl
Requirement already satisfied: pytz>=0a in /System/Library/Frameworks/Python.framework/Versions/2.7/Extras/lib/python (from babel)
Installing collected packages: babel
Successfully installed babel-2.3.4
多言語化対象などを設定
- Extraction Method Mapping and Configuration
[jinja2: templates/**.html]
encoding = utf-8
$ mkdir locale
カタログ作成の流れは
- Jinja2 template(html) -> POT(PO Template) -> PO(Portable Object) -> MO(Machine Object)
となる。
Jinja2テンプレートをもとにPOTを作成する。
$ pybabel extract -F ./babel.cfg -o ./locale/message.pot .

extracting messages from templates/index.html (encoding="utf-8")
writing PO template file to ./locale/message.pot
POTを開くと、msgidとそれがどこで使われているのかが自動でリストされている。このPOTはテンプレートなのでいじらなくてもよい。
#: templates/index.html:3
#, python-format
msgid "Hello, %(username)s"
msgstr ""
POTをもとにロケールPOを作成する。(PO作成済の場合はpybabel update)
$ pybabel init -l ja_JP -d ./locale -i ./locale/message.pot
creating catalog ./locale/ja_JP/LC_MESSAGES/messages.po based on ./locale/message.pot
ここでできたPOファイルを編集する。プレースホルダーを使う場合はこんな感じ。
msgid "Hello, %(username)s"
msgstr "%(username)sさん、こんにちは"
コンパイルする。作成されるMOファイルはバイナリファイルになる。
$ pybabel compile -f -d ./locale
compiling catalog ./locale/ja_JP/LC_MESSAGES/messages.po to ./locale/ja_JP/LC_MESSAGES/messages.mo
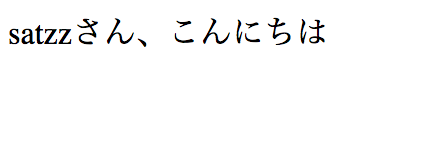
リクエストパラメータにロケールをつけてアクセスみる。
再度デプロイするとGAEでも挙動が確認できる。
この後は以下を繰り返してカタログを育てていく。
- 翻訳箇所やmsgidが更新 ->
pybabel extractでPOT更新 - POTが更新 ->
pybabel updateでPO更新 - ロケール追加 ->
pybabel initでPO作成 - POが作成・更新 ->
pybabel compileでMO作成・更新

