Swaggerとは
RESTful APIの記述標準化を目指して「Open API Initiative」 が作成した記述仕様のこと。
ドキュメント周辺が更新されないまま実装とずれていったりするのをしばしば見るので最近ちょくちょく触っている。
Swaggerで主に使用するツール
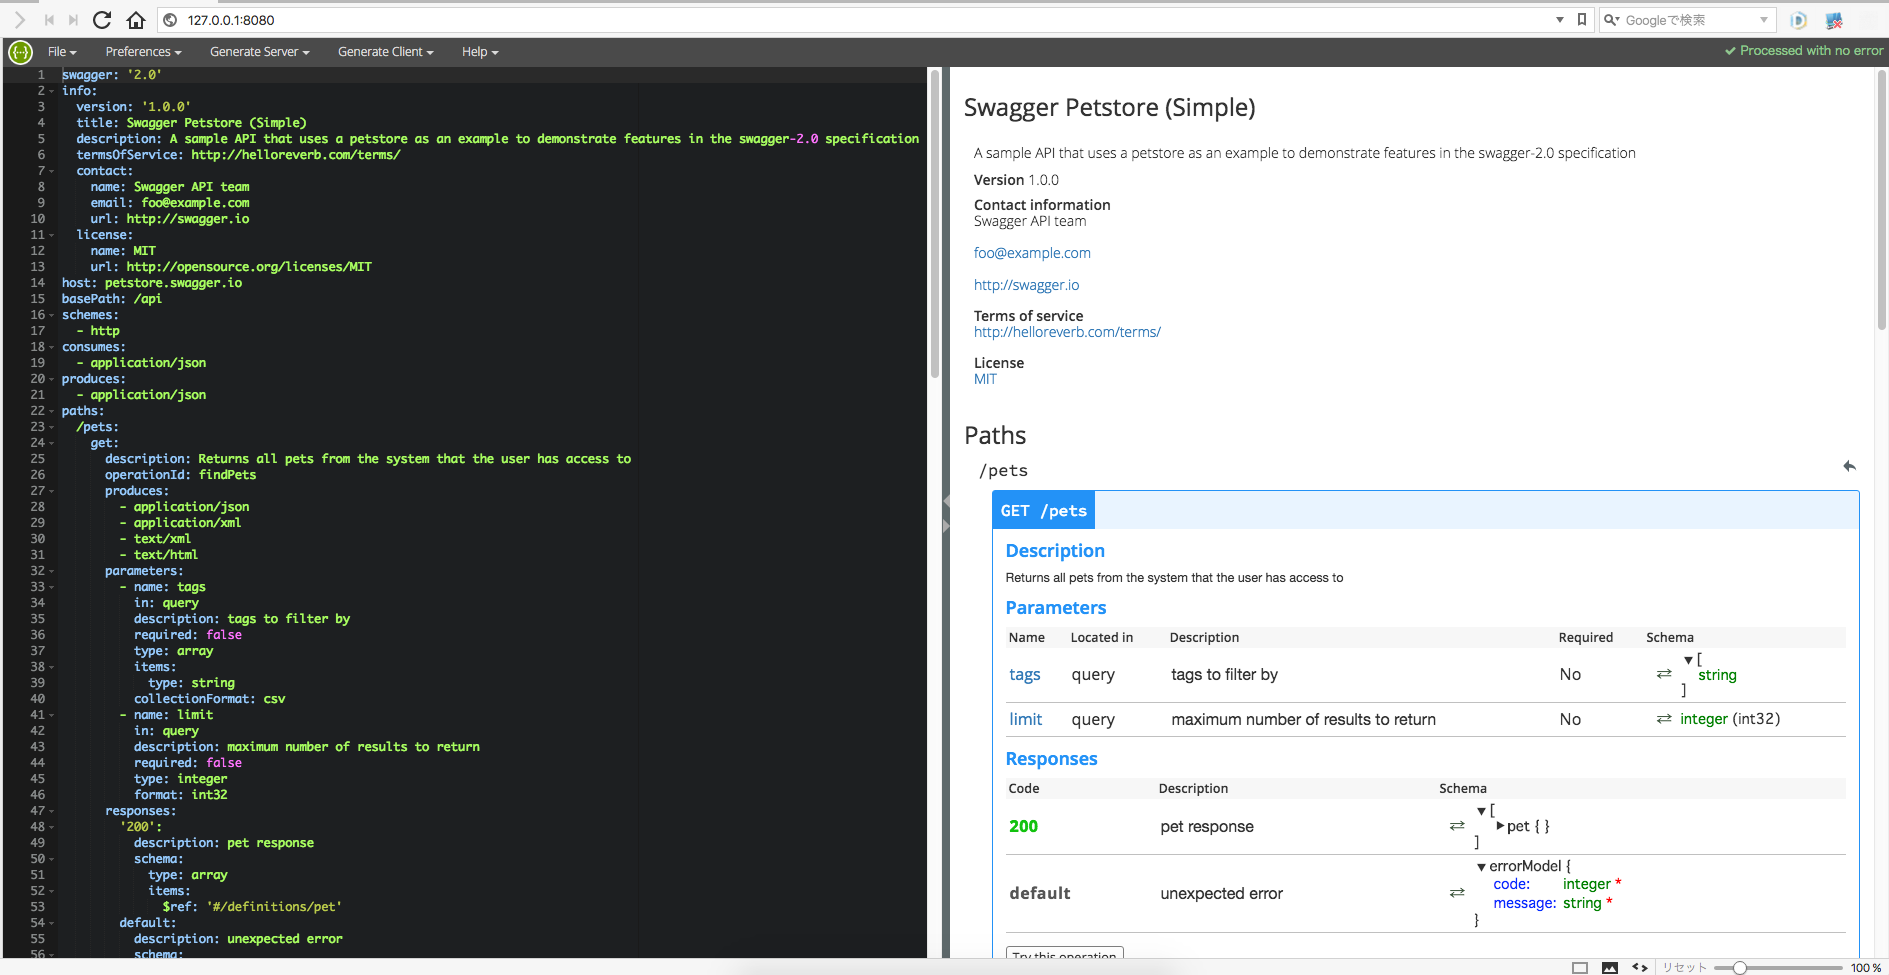
1.Swagger Editor
・Swaggerの仕様にしたがってYAML(JSON)ファイルを編集するツール
2.Swagger UI
・YAML(JSON)ファイルのビュワー
3.Swagger Core
・YAML(JSON)からソースコードを作成するツール
4.Swagger Codegen
・ソースコードからYAML(JSON)ファイルを作成するツール
今回はSwagger Editorで作成したYAML(JSON)ファイルをSwagger UIで見るところまでやる。
Swaggerのフォーマット
実際に書くにあたってSwaggerのフォーマットに関して学ぶ必要がある
OpenAPI Specificationに記載されているので参照
取り敢えずパラメータと型は覚えておく
パラメータのルール
| Name | Type | Description |
|---|---|---|
| name | string | (必須) パラメータ |
| in | string | (必須) パラメータの形式 'query','header','path','body'で記入する |
| description | string | パラメータの説明 |
| required | boolean | 必須 or 非必須 |
型のルール
| Common Name | Type |
|---|---|
| integer | integer |
| long | integer |
| float | number |
| double | number |
| string | string |
| byte | string |
| binary | string |
| boolean | boolean |
| date | string |
| dateTime | string |
| password | string |
Swagger Editorをインストール
git clone https://github.com/swagger-api/swagger-editor.git
cd swagger-editor
npm install
npm start
npm startすると自動でエディタの画面が立ち上がる
また、オンライン版もあるのでそちらを使っても良い。
記入例
取り敢えず簡単なのを書いてみた。パラメータとかGET・POSTを分けたかったので一貫性はない。
| Method | Description |
|---|---|
| hello | 良くあるHello World |
| name | フォームから入力された名称を出力する |
| twice | 入力された数値を2倍にして返却する |
| date | 入力された年月日を返却する |
swagger: '2.0'
info:
  version: 1.0.0
  title: Swagger-sample
  description: |
    #### サンプル
schemes:
  - http
host: localhost:8085
basePath: /swagger-sample/sample
paths:
  /hello:
    get:
      responses:
        200:
          description: 最初はHello World
  /name:
    post:
      produces:
        - application/x-www-form-urlencoded
      consumes:
        - application/text/plain
      responses:
        200:
          description: フォームから受け取った名称を出力する
      parameters:
        - name: name
          in: formData
          description: 名称
          type: string
          required: true
  /twice:
    get:
      responses:
        200:
          description: 倍返し
      parameters:
        - name: num
          in: query
          description: 指定する数値
          type: integer
          required: true
  /date/{year}/{month}/{date}:
    get:
      responses:
        200:
          description: 年月日を返却する
      parameters:
        - name: year
          in: path
          description: 年
          type: integer
          required: true
        - name: month
          in: path
          description: 月
          type: integer
          required: true
        - name: date
          in: path
          description: 日
          type: integer
          required: true
Swagger EditorからGenerate Serverをする
Swagger UIから作成したファイルを見るためにGenerate Serverをしてみる。今回はJAX-RSにした。
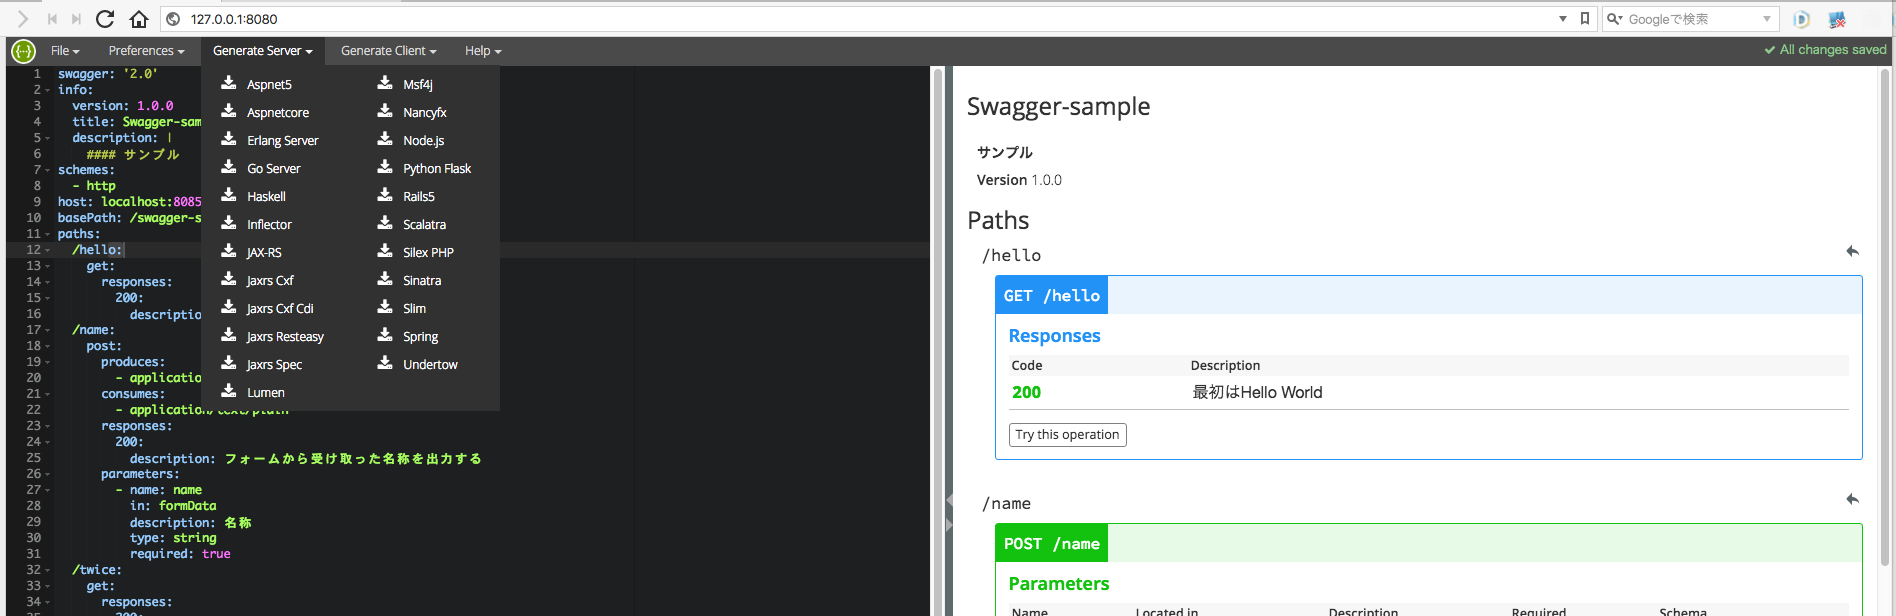
選択するとjava-client-generated.zipというファイルがダウンロードできるので任意の場所で展開する。
cd java-client-generated
mvn clean package jetty:run
Editorで作成したファイルがサーバーにあがっていることを確認する
http://localhost:8085/swagger-sample/sample/swagger.json

Swagger UIで作成したファイルを見てみる
ここにあるのでダウンロードしてきて任意の場所で展開する
cd swagger-ui-2.2.8
npm install
npm run build
ビルドが終わって./swagger-ui-2.2.8/dist/index.htmlをブラウザで見てみるとこんな感じ
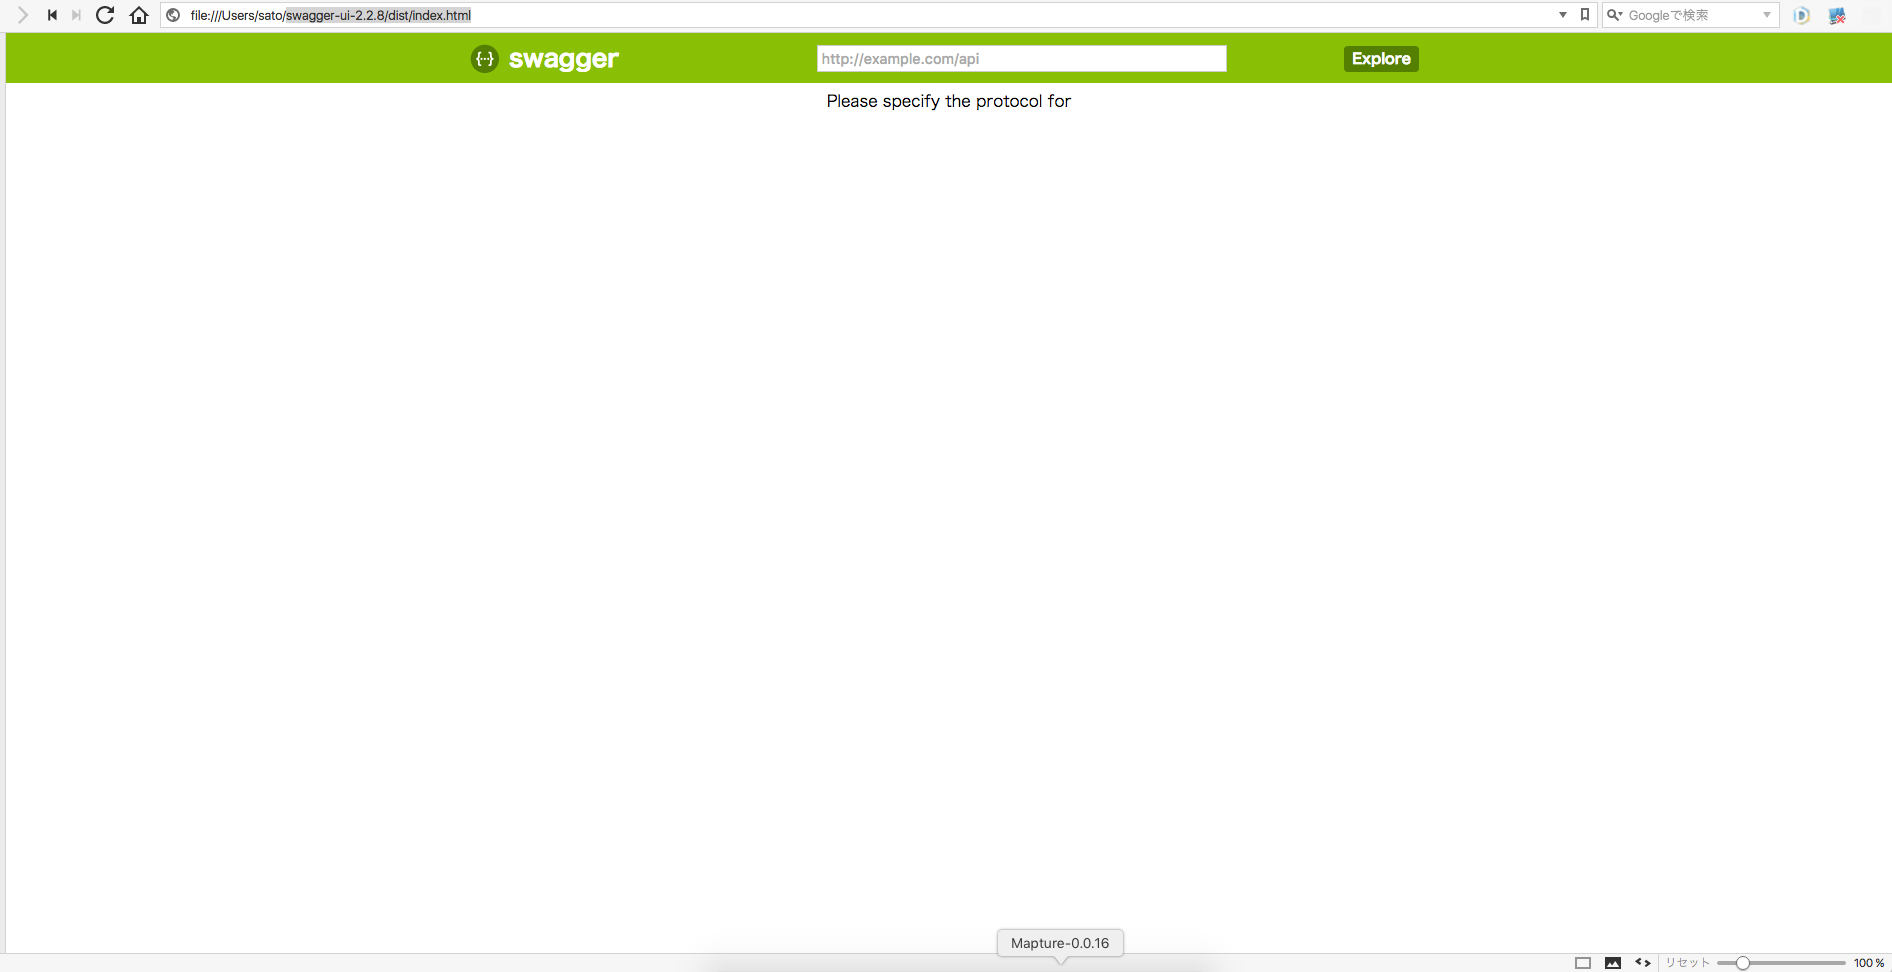
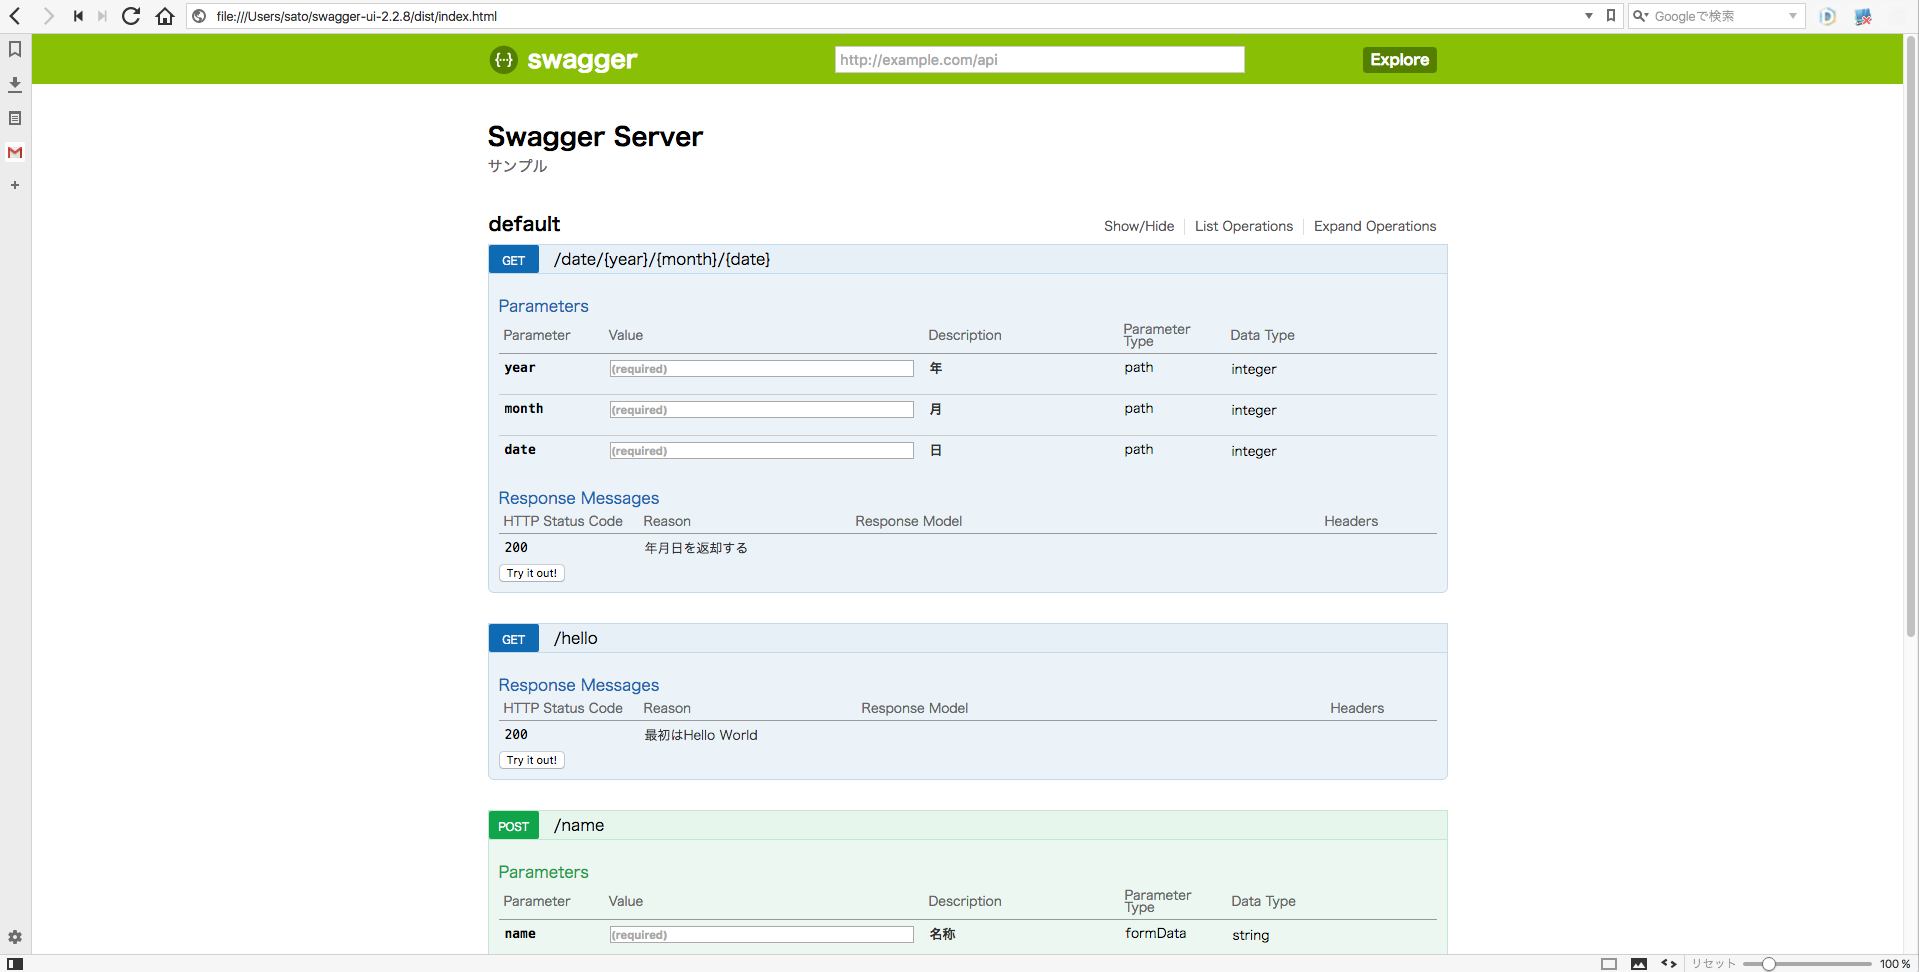
入力欄にhttp://localhost:8085/swagger-sample/sample/swagger.jsonを入力してみる
見れた
実際触って見た感想
1.Editorの方で構文チェックもしてくれるのでドキュメントのフォーマットの統一を行うのには良い気がする
2.node.jsがあれば動くので導入はそんなに難しくはなかった。
3.OpenAPI Specificationの日本語訳を探したが見つけられなかったので何となく訳したい感じはする。
4.Swagger UIから直接ローカルのファイルを参照しようとするとうまくいかないのが気になる
以上