PHPのテンプレートエンジンSmartyをインストールして、HelloWorldをブラウザ上に表示するまでの方法を記述します。
Smartyの基本的な使い方は以下の記事を参考にしてください。
[これだけは知っておきたい!Smartyでできること]
(http://qiita.com/sanotyan1202/items/1f49f407f310f2e493ff)
[環境]
Windows10
PHP 5.6.20
Smarty 3.1.30
1. Smartyのインストール
Smartyを公式サイトからダウンロードします。
ダウンロードしたファイルを解凍したら、php/includes/に配置します。
(includesが存在しなければ作成します。)
C:/php/includes/Smarty
次にphp.iniのinclude_pathのコメントを外して有効にします。
include_path = ".;c:¥php¥includes"
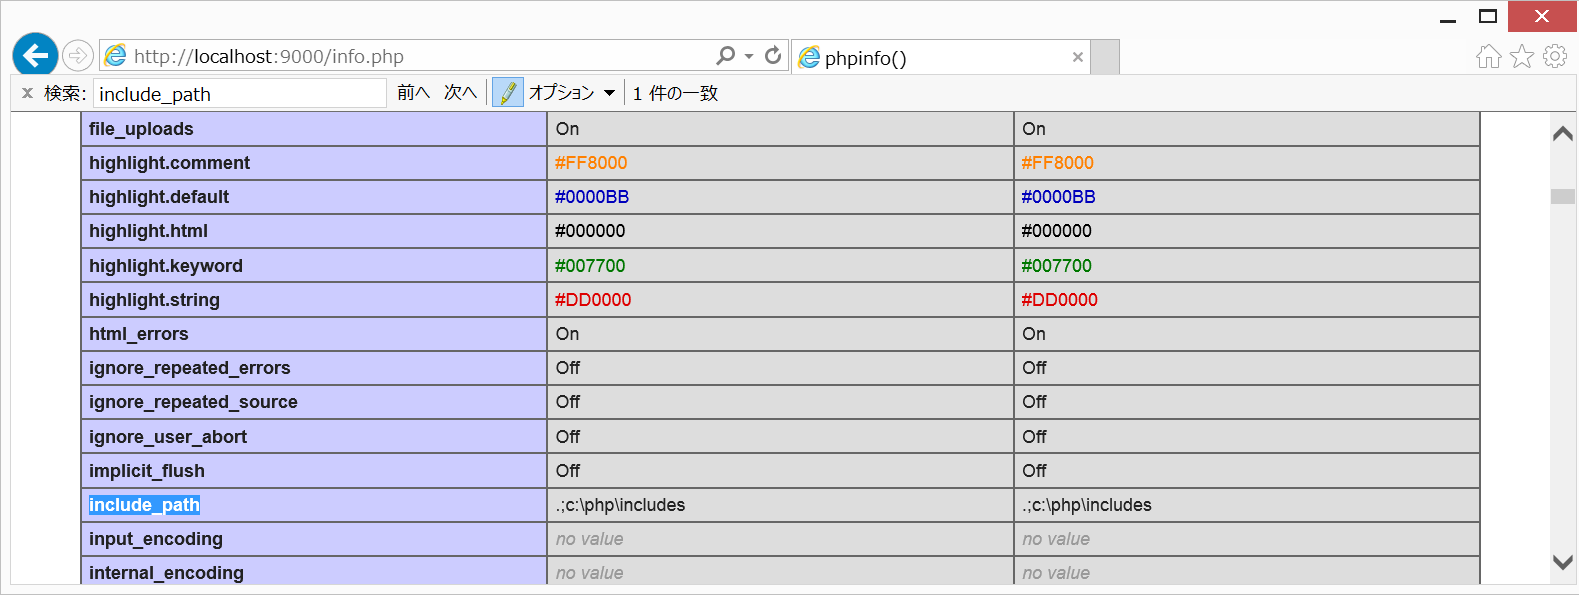
phpinfo関数で有効になったことを確認できます。
<?php
phpinfo();
ブラウザからアクセスして、include_pathがphp\includesとなっていればOKです。
2. ディレクトリを構成
実際にSmartyを利用するアプリのディレクトリを構成します。
必須となるのはSmartyのテンプレートを格納するディレクトリと、テンプレートのコンパイル結果を格納するディレクトリです。
ここではそれぞれtemplates、templates_cとします。
プロジェクト名/smarty/templates
プロジェクト名/smarty/templates_c
次にドキュメントルートとなるディレクトリを作成します。
ここではpublicとします。
プロジェクト名/public
3. テンプレートを作成する
templates/にhello.tplファイルを作成します。
<!DOCTYPE html>
<html>
  <head>
    <meta charset="utf-8">
    <title>Hello World!</title>
  </head>
  <body>
    Hello {$name}!
  </body>
</html>
{$name}にPHPファイルから渡されたデータが出力されます。
4. phpファイルからテンプレートを呼び出す
Smartyクラスを読み込んでテンプレートに渡したい値などを設定します。
<?php

// Smartyクラスを読み込む
require_once("Smarty/libs/Smarty.class.php");

// Smartyのインスタンスを生成
$smarty = new Smarty();

// テンプレートディレクトリとコンパイルディレクトリを読み込む
$smarty->template_dir = "../smarty/templates/";
$smarty->compile_dir = "../smarty/templates_c/";

// assignメソッドを使ってテンプレートに渡す値を設定
$smarty->assign("name", "World");

// テンプレートを表示する
$smarty->display("hello.tpl");
5. サーバーを起動する
publicディレクトリでビルトインサーバーを起動してブラウザからアクセスします。
$ php -S localhost:9000
サーバーが立ち上がったら、「localhost:9000/hello.php」にアクセスします。