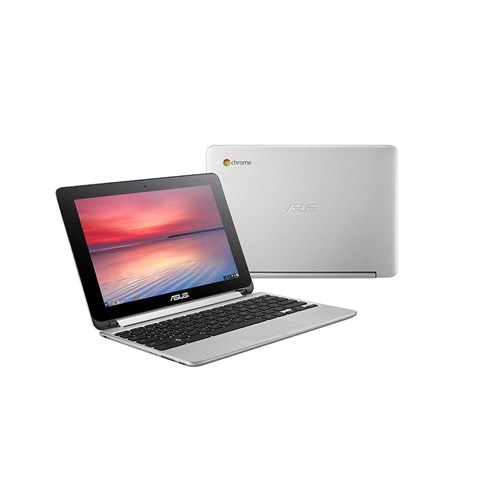
ASUS Chromebook Flip C100PAにcroutonをインストールし、Emacsを使えるようにする手順です。
前回「ChromebookでEmacs」ということで概要を紹介しましたが、今回はASUS C100PAでEmacsを使えるまでのインストール手順を紹介します。普段WindowsやMacを使っていてUbuntuに不慣れな人(私もです)向けに書きました。C100PAであればほぼ同じような手順でEmacsが使えるところまでできるのではと思います。Emacsを使わない人も途中までは参考になるかと思います。
前準備
Chrome上でCtrl+Alt+Tでcroshが起動しますので、必須というわけではないですが、以下の2つをいれておくと便利です。
参考URL
http://qiita.com/monamour555/items/5ed73c1d22a7d76cc9d1
croutonインストール
croutonをインストールします。
ここでは、
- ubuntu (Trusty)
- xfce
を使用します。
crosh上で
$ sudo sh ~/Downloads/crouton -r trusty -t xfce,keyboard,audio,extension,touch
とします。
暗号化はしないので-eはつけていません。
(USBメモリにインストールの場合は暗号化をつけたほうがよいかも)
動作確認
chrootするだけの場合は、croshで、
$ sudo enter-chroot
とします。この時点でCUIでUbuntuが使えます。
GUIを起動する場合は、croshで、
$ startxfce4
とします。Ubuntu+Xfceの画面が起動します。ここから先はChromeOSではなくUbuntuでの作業となります。
ChromeOSとUbuntuの画面を切り替えるには、Ctrl+Alt+Shift+←を押します。
←はカーソルキーではなく、escキーの右隣りにあるキーです(F1)。
キーの押し方に少しコツがあって、
- 先にCtrl+Alt+Shiftを押した状態を作る
- (Ctrl+Alt+Shiftを押したまま)←を押す
- (Ctrl+Alt+Shiftを押したまま)←を離す
- Ctrl+Alt+Shiftを離す
というようにしてください。
キーボードレイアウトを変更
Settings->keyboardー>Layoutで
Keyboard LayoutにJapaneseを追加し、Englishを削除します。
日本語フォントのインストール
任意の日本語フォントをダウンロードして、~/.fonts/にコピーします。
フォントが認識されない場合は、下記コマンドを実行します。
fc-cache -fv
検索キーをCtrlキーに
Aキーの左隣にある検索キーをCtrlキーにします。
参考URL
http://d.hatena.ne.jp/kenbeese/20120214/title
検索キーのキーコードを調べる
C100PAではAのとなりにあるのはCtrlキーではなく、検索キーです。
xevコマンドを実行して、表示されるウィンドウで調べたいキー(検索キー)を押します。
結果、「検索キー」キーコードが133であることがわかりました。
KeyPress event, serial 37, synthetic NO, window 0x2000001,
    root 0xe7, subw 0x0, time 89254763, (-290,235), root:(621,544),
    state 0x0, keycode 133 (keysym 0xfe78, Overlay1_Enable), same_screen YES,
    XLookupString gives 0 bytes:
    XmbLookupString gives 0 bytes:
    XFilterEvent returns: False

KeyRelease event, serial 37, synthetic NO, window 0x2000001,
    root 0xe7, subw 0x0, time 89254900, (-290,235), root:(621,544),
    state 0x0, keycode 133 (keysym 0xfe78, Overlay1_Enable), same_screen YES,
    XLookupString gives 0 bytes:
    XFilterEvent returns: False
xmodmapコマンドで現在の設定を表示します。
$ xmodmap -pke
表示された内容を元に、~/.Xmodmapファイルを作成します。
今回は以下の3行のファイルになります。
keycode 133 = Control_L NoSymbol Control_L
clear Lock
add Control = Control_L
fcitx-mozcをインストール
apt-getするだけです。
$ sudo apt-get install fcitx-mozc
Input Methodの設定
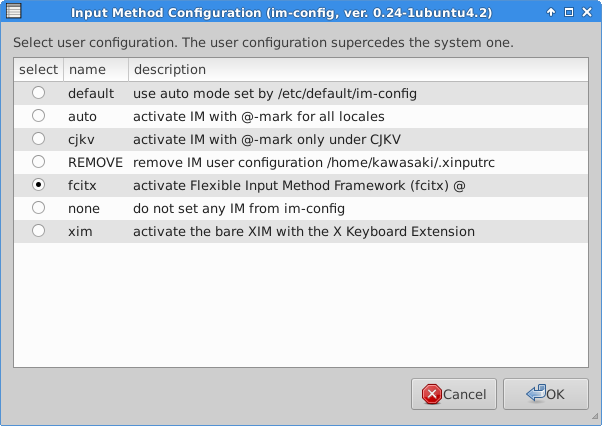
Settings->Input Methodでfcitxを選択します。
fcitxの設定
Settings->Fcitx Configuration->Input Method Configurationを開きます。Input MethodタブでMozcを追加します。
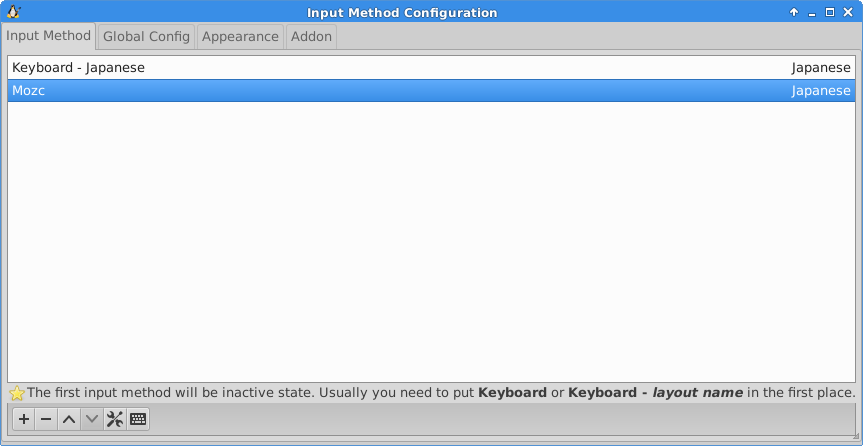
日本語入力の切り替え設定
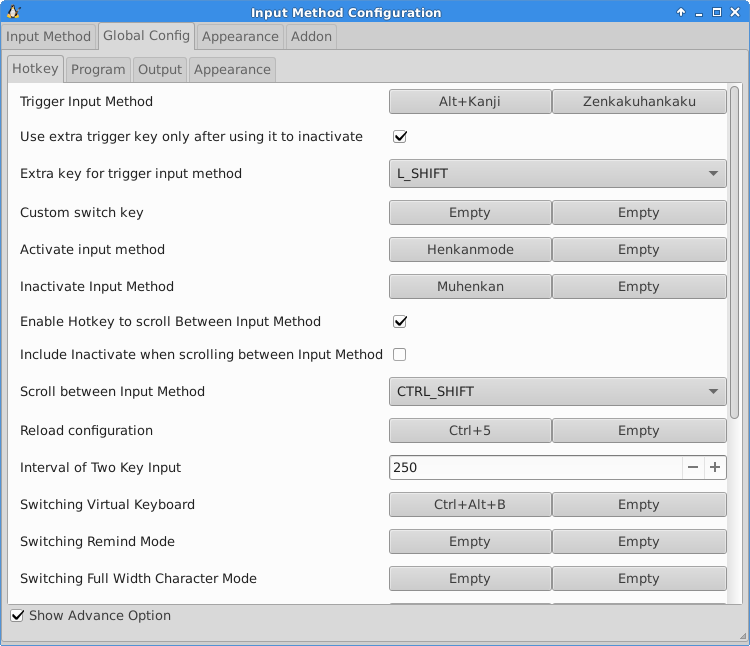
Global Configタブで変換キーの割り当てをします。
Show Advance Optionにチェックをして、以下のキー設定をします。
| キー | 割り当て |
|---|---|
かな↔英数(Alt+Kanji) |
日本語入力をON/OFF(Trigger Input Method) |
かな↔英数(Zenkakuhankaku) |
日本語入力をON/OFF(Trigger Input Method) |
英数(Muhenkan) |
日本語入力をOFF(Inactivate Input Medhot) |
かな(Henkanmode) |
日本語入力をON(Activate Input Method) |
Emacs
参考URL
http://nkenbou.hatenablog.com/entry/2015/06/30/051408
apt-getだと少し古いので、自分でビルドします。
configure,make,make installするだけです。
Emacsでmozcを使う
Emacsを自分でビルドしたので、mozc-emacsのインストールにはapt-getを使わないようにします。apt-get mozc-emacsすると、依存パッケージemacs24がインストールされ、Emacsが2つになってしまいます。
$ sudo apt-get mozc-emacs-bin
で、/usr/bin/mozc_emacs_helperがインストールされる(はず)。
https://github.com/google/mozc/blob/master/src/unix/emacs/mozc.el
を適当なload-path上にコピーします。
Emacsをaptでインストールした場合は、mozc-emacsもaptでインストールするのがいいと思います。
$ sudo apt-get mozc-emacs mozc-emacs-bin
cmigemo
apt-getするだけです。
$ sudo apt-get install cmigemo
おしまい
C100PAであれば、以上の手順でだいたいEmacsが実用的に使えるようになっていると思います。私の場合、だいたいこれくらいの手順で手持ちのinit.elがエラーなく動作するようになりました。
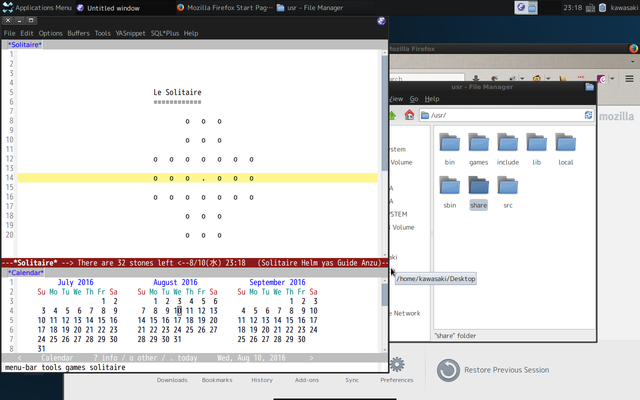
これで普段からEmacsを持ち運べるようになります!
