Datadog Integrationsについて
Datadog Integrationsとは
Datadogでは様々な情報を取得できます。
Linuxの細かな情報・ミドルウェアの情報などを取得する際にはdatadog-agentを用います。
OSの情報だけではなく、適応するyamlを設置することでミドルウェアの情報も拾えます。
今回は Memcached のIntegrationを行う前提で進めます。
Datadog Integrationsで目的の数値を取得するには
datadog-agentでどのような情報を拾うかは自ら選択する必要があります。
(OSに関するものなど、一定の既定値はあります)
取得したい情報を選び、Datadogへ送り込むところまでが今回の目的です。
datadog-agentの構成
設定ファイルの設置場所
/etc/dd-agent/conf.d/ を確認しましょう。
*.yaml というファイルはすでに適用されているものです。
*.yaml.example はリネーム(コピー)して内容を調整した上で使うことを前提として設置されているサンプルです。
今回はDataDog管理画面よりサンプルを取得する方法を採るため、 *.yaml.example は使いません。
Ingetration設定を作成する
導入したい監視項目を探す
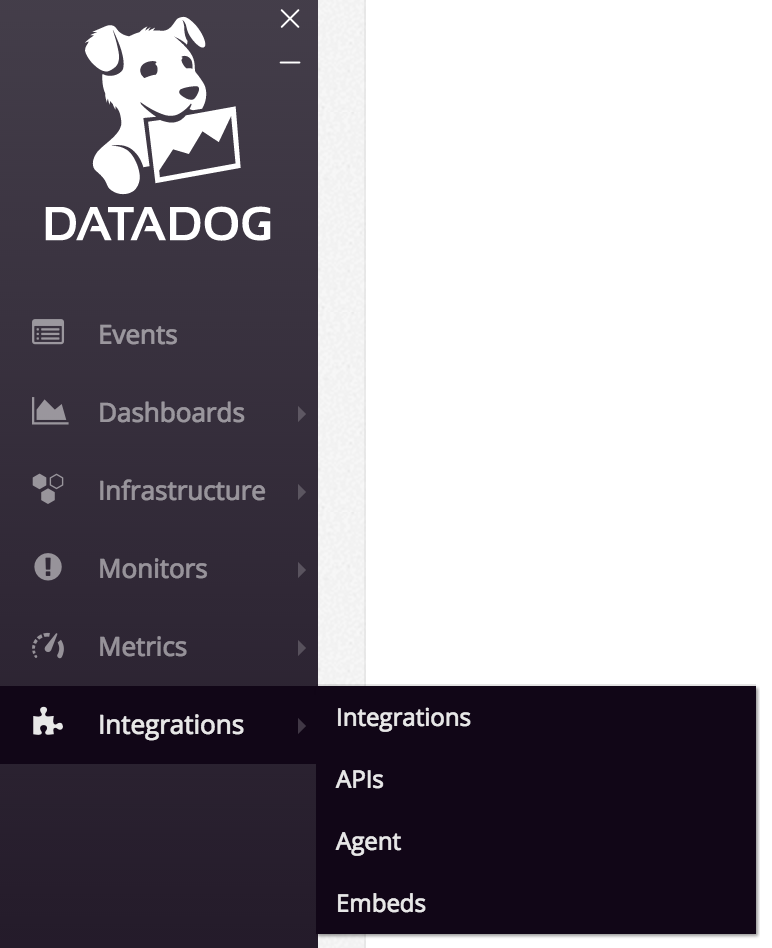
DataDog管理画面より Integrations -> Integrations を選択します。
利用できるIntegrations一覧が出てきますので、
この部分をクリックして次へ進みます。
サンプルの設定を入手する
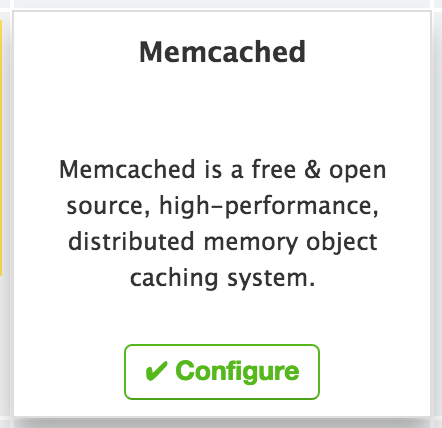
Memcache integrationの部分をクリックするとサンプル設定などが出てきます。
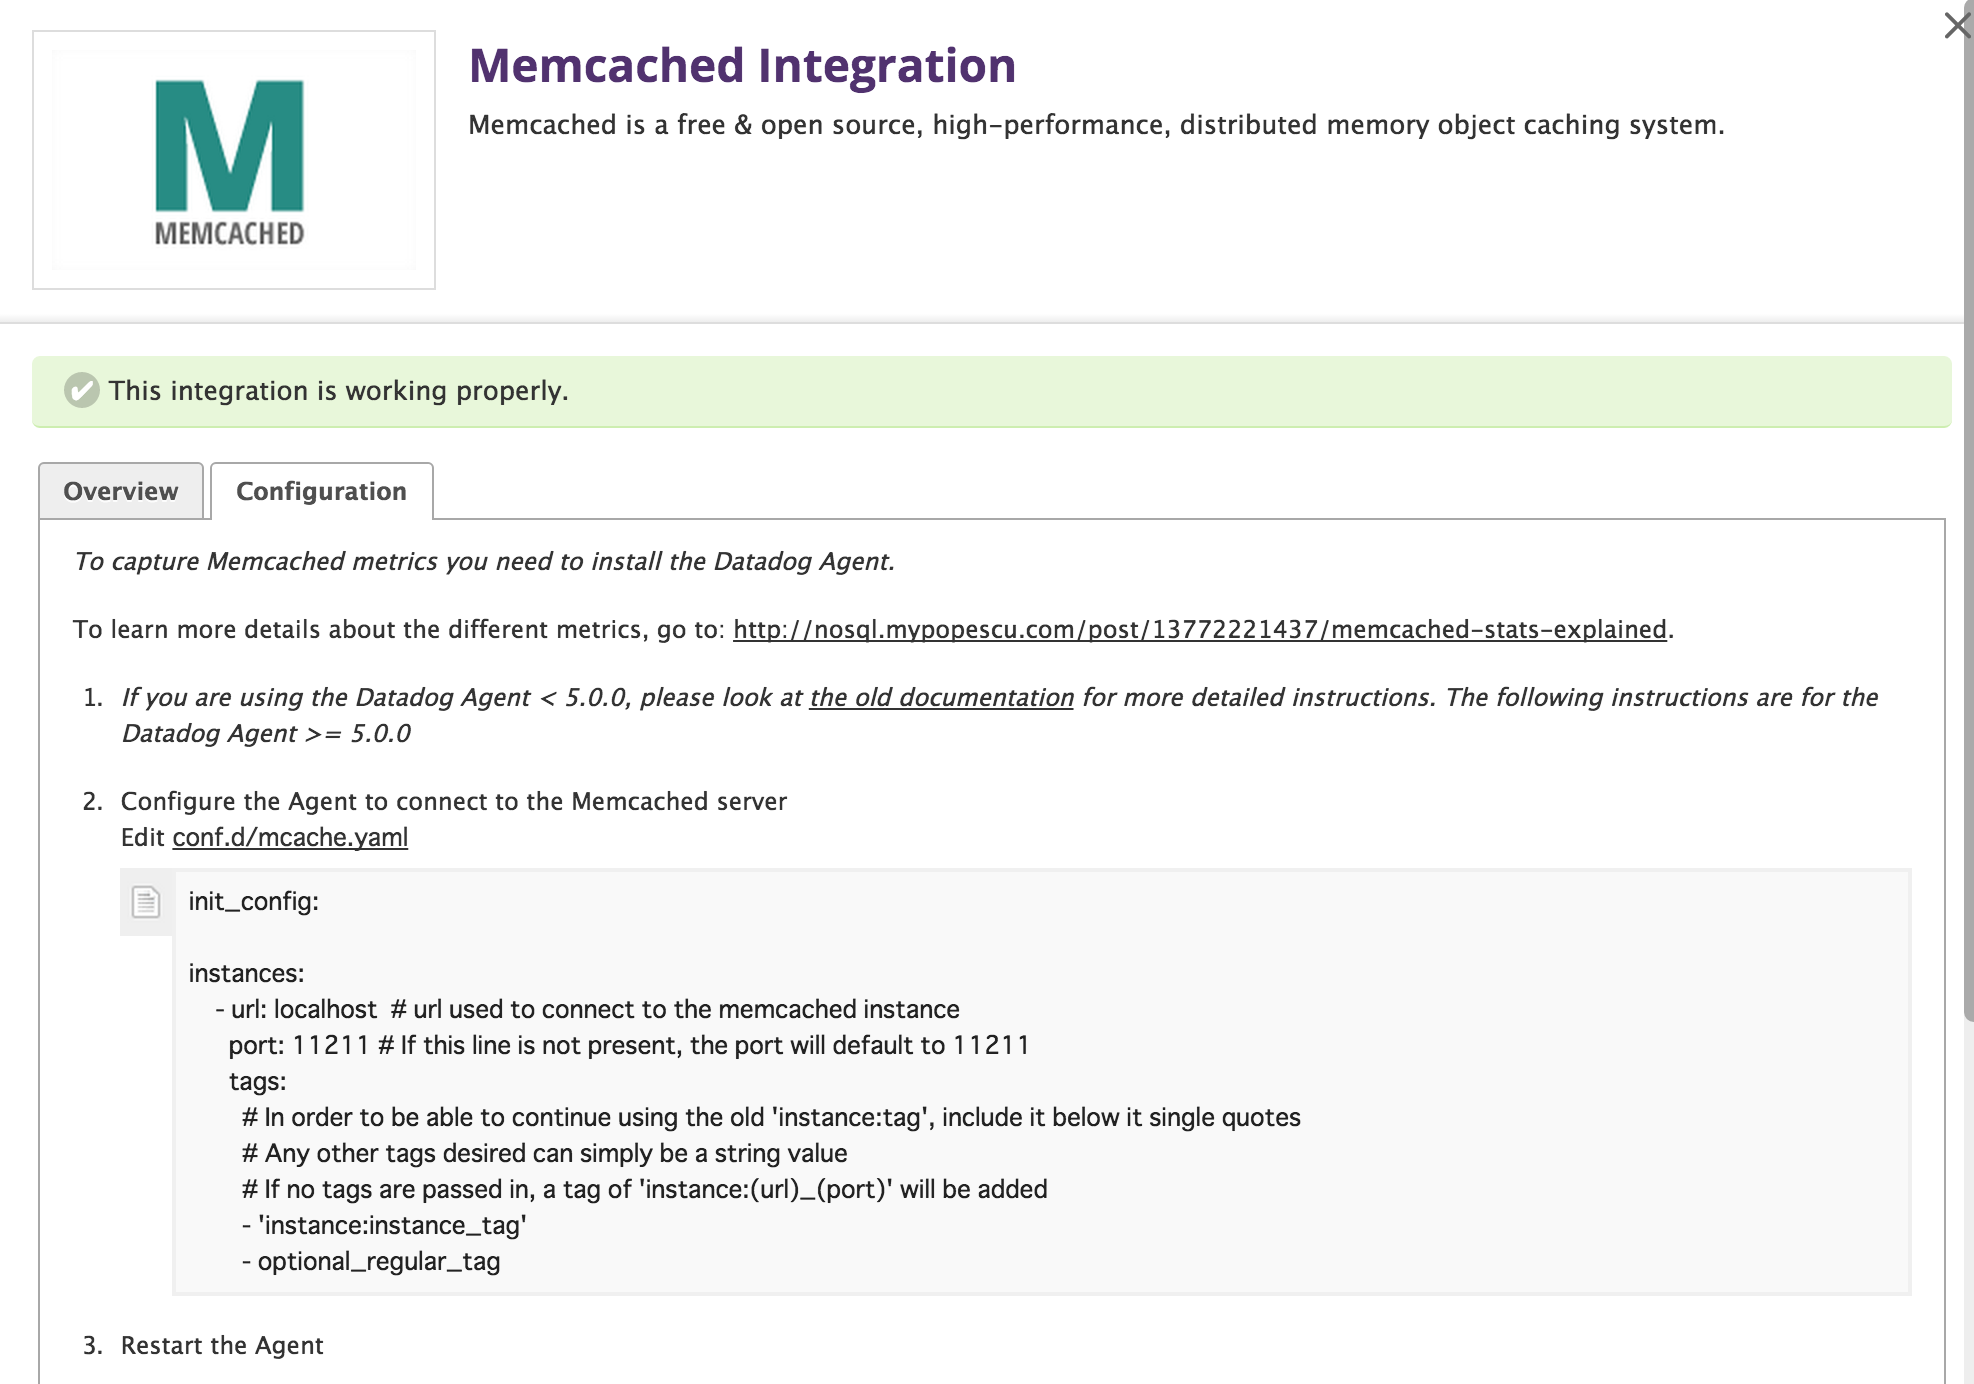
サンプル設定が出てきますので、Integrationを導入したいホストへ設定を追加します。
この際、ファイル名が違うと正しく認識されません。Memcachedの場合、 mcache.yaml という名前で登録する必要があります。

作成したファイルを使用してdatadog-agentをIntegrationに対応させる
conf.d/ 以下にファイルを設置する
Tagなどは既定値に任せる方向で以下の設定を導入します。
cat << EOT > /etc/dd-agent/conf.d/mcache.yaml
init_config:

instances:
    - url: localhost
      port: 11211
EOT
datadog-agentを再起動する
導入した設定を反映するため、datadog-agentを再起動します。
service datadog-agent restart
しばらくすると、取得した数字がDatdogで確認できるようになります。