可視化ツールを比較してみた。(AWS ES,kibana,grafana)
シチュエーション
DBに入っているデータを可視化しようと思ったとする。ただしBI系のツールは使わない(設定が直感的でなくて、面倒なので)。
選択肢としては、ElasticSearchとkibanaがまず頭に浮かんでくるが、AWSのElasticSearch Serviceを使うのか、EC2にElasticSearchとkibanaを立てるのか、はたまたGrafanaを使うのか悩んだので、ざっくり比較してみました。
各種メリット表
今ぱっと思いついたメリットは以下のとおりです。
-
AWS ES- 他のAWSサービスとの連携が容易
- サーバの運用、管理をしなくて良い
- バックアップが自動
- グラフやダッシュボードの設定がシンプルで直感的
- リソースモニターが付いている
- IAMによる権限管理が可能
-
EC2 grafana- 画像データが取得できるので定期レポーティング実装が容易
- golangなので、リソースが削減できそう
- グラフの作り込みができる
- PrometheusやCloudwatchなどの情報を取り込める
- 比較的細かな権限管理ができる
- 特定の時間だけ起動することによって、コスト削減可能
-
EC2 ELK- kibanaのバージョンアップがしやすい(v5リリース予定)
- kibanaUIプラグインが利用可能
- グラフやダッシュボードの設定がシンプルで直感的
- 特定の時間だけ起動することによって、コスト削減可能
比較
-
比較項目
- 認証機能がつけられるか
- グラフのカスタマイズのがしやすいか
- レポーティング機能がついているか
- 累積グラフが使えるか
- バックアップが容易にとれるか
- 構築や設定が容易か
- お金が安いか
-
前提条件
- サービスは停止しない
- データ容量は10G
- メモリはkibanaが2G必要で、Elasticsearchは4G必要とする。
- データ転送量は無視
| # | サービス | 認証 | グラフ作成 | 累積グラフ | レポーティング | バックアップ | 構築 | コスト |
|---|---|---|---|---|---|---|---|---|
| 1 | AWS ES | IAM | ◯ | × | × | 自動で月に1度 | ◯ | $196.02/月(※1) |
| 2 | EC2 ELK | SG | ◯ | Plugin | × | × | × | $116.4/月(※2) |
| 3 | EC2 Grafana | ◯ | △ | ◯ | △ | × | × | $116.4/月(※3) |
| 4 | ES and EC2 kibana | SG | ◯ | Plugin | × | 自動で月に1度 | ◯ | $112.26/月(※4) |
※1 $196.02/月 = ES($0.270/1時間 * 24 * 30) + EBS($0.162/G * 10)
※2 $116.4/月 = EC2($0.16/1時間 * 24 * 30) + EBS($0.12/G * 10)
※3 $116.4/月 = EC2($0.16/1時間 * 24 * 30) + EBS($0.12/G * 10)
※4 $112.26/月 = ES($0.112/1時間 * 24 * 30) + EC2($0.04/1時間 * 24 * 30) + ES EBS($0.162/G * 10) + EC2 EBS($0.12/G * 10)
結論
結局、Elasticsearchを AWS ES でたてて、kibanaを EC2 で立てるのがいいと思った。
早く新バージョンにしたいとか、プラグインを使いたいという思いがなければ、 AWS ES だけで十分なんですが。。
作業ログ
Oracleのセットアップ
DBはEnterpriseっぽく、Oracleであるという想定で行う。
- Dockerを使ってOracleを起動する
$ docker run -d --shm-size=2g -p 1521:1521 -p 8080:8080 alexeiled/docker-oracle-xe-11g
※参考
https://hub.docker.com/r/alexeiled/docker-oracle-xe-11g/
- tableを作成して適当なデータを入れる。(今回は説明の便宜上ここで、
MATSUNO_TABLEというテーブルを作成したこととする)
logstashのセットアップ
* logstash用のディレクトリ作成&移動
$ mkdir logstash && cd logstash
- Oracleのドライバー(ojdbc6.jar)をダウンロードページからダウンロードしてlogstash用ディレクトリに配置する。
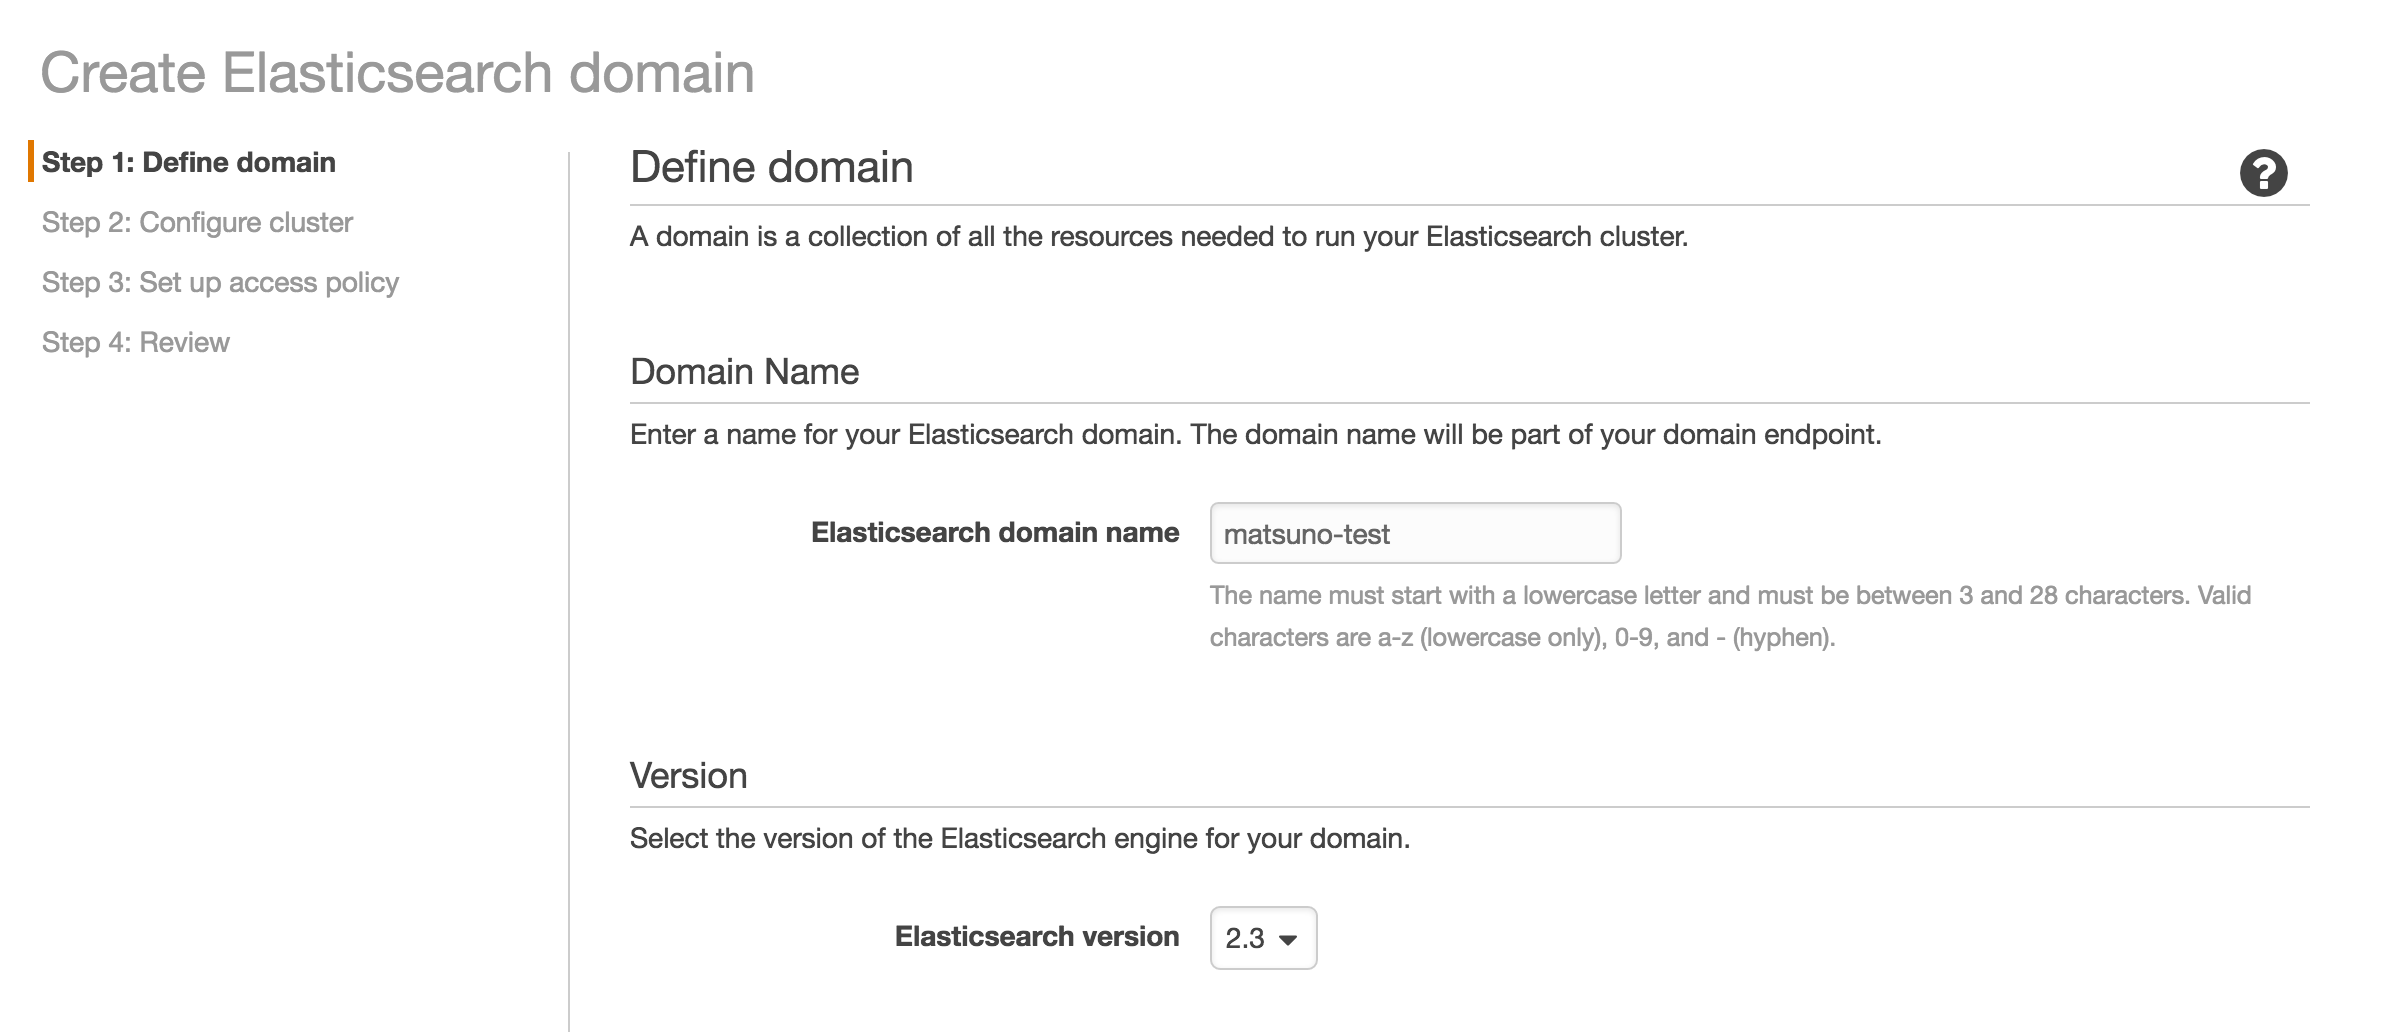
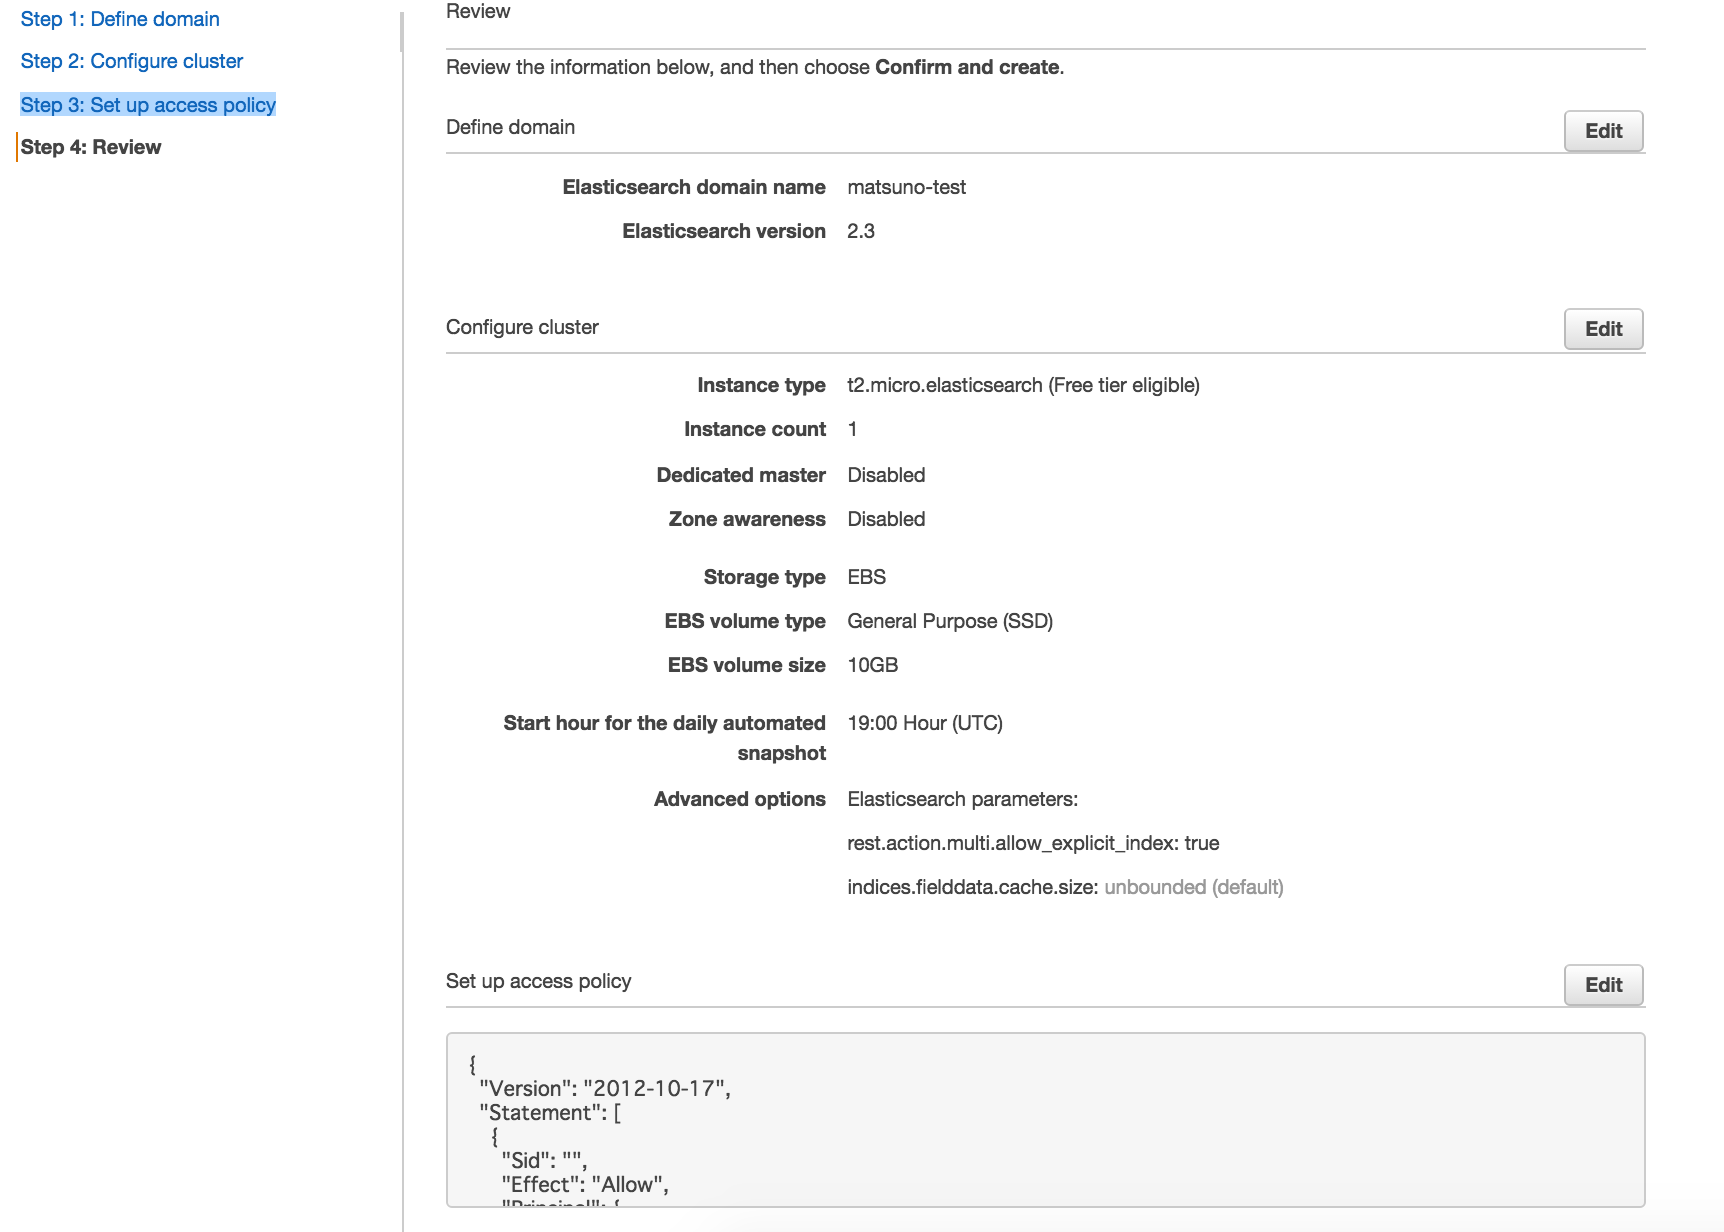
1. Amazon Elasticsearch Service
環境構築
※参考
https://aws.amazon.com/jp/elasticsearch-service/
{
  "Version": "2012-10-17",
  "Statement": [
    {
      "Sid": "",
      "Effect": "Allow",
      "Principal": {
        "AWS": "*"
      },
      "Action": "es:*",
      "Condition": {
        "IpAddress": {
          "aws:SourceIp": [
            "YOUR_IP"
          ]
        }
      },
      "Resource": "arn:aws:es:ap-northeast-1:YOUR_AWS_ACCOUNT:domain/matsuno-test/*"
    }
  ]
}
YOUR_IP のところに接続許可したいIPを記入する。
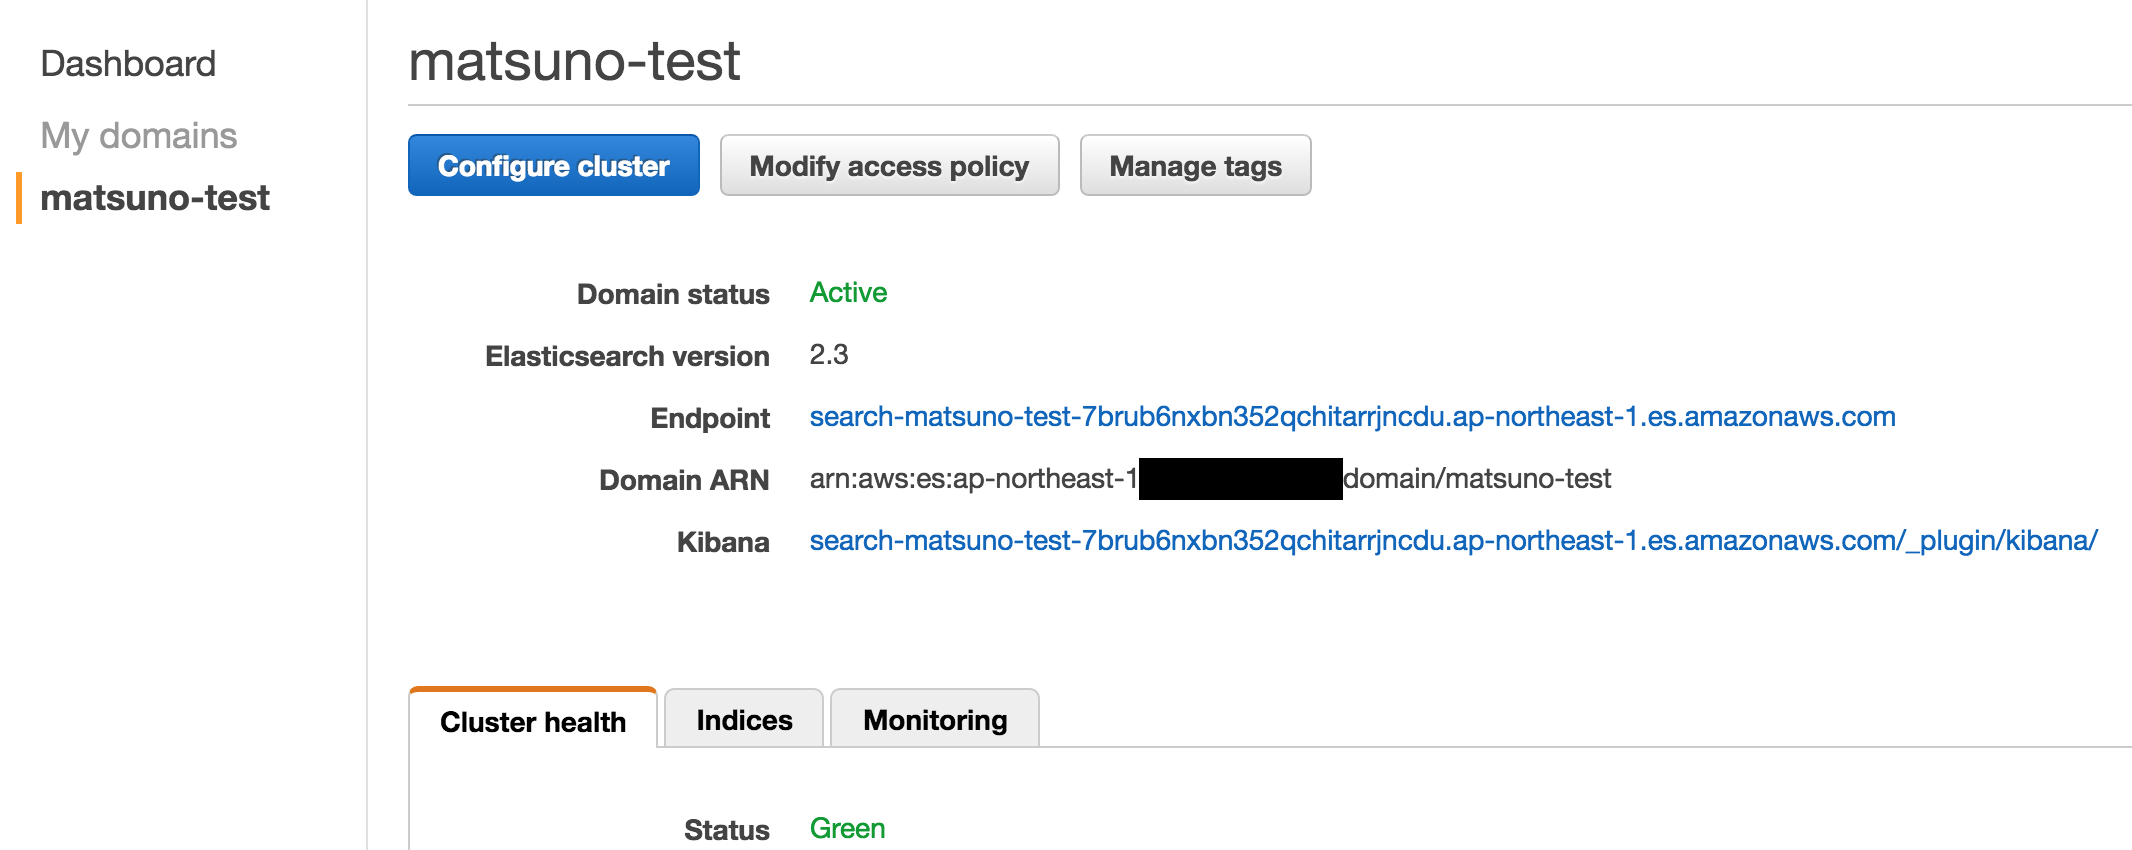
起動に10分くらいかかる。
Status: Green となっていればOK
データ投入(DBが入っているサーバにて)
- logstash.conf作成(logstashのディレクトリにて)
input {
    jdbc {
        jdbc_connection_string => "jdbc:oracle:thin:@oracle:1521/xe"
        jdbc_user => "system"
        jdbc_password => "oracle"
        jdbc_driver_library =>"/config-dir/ojdbc6.jar"
        jdbc_driver_class => "Java::oracle.jdbc.driver.OracleDriver"
        statement => "
SELECT
    *
FROM
    MATSUNO_TABLE
"
    }
}
output {
    elasticsearch {
        ssl => true
        hosts => ["search-matsuno-test-7brub6nxbn352qchitarrjncdu.ap-northeast-1.es.amazonaws.com:443"]
        index => "matsuno"
    }
}
※参考
https://www.elastic.co/guide/en/logstash/current/plugins-outputs-elasticsearch.html
AWSのESは、https(443)がエンドポイントとなっているので、その点に注意する。
$ docker run -it --rm --link 821c58da87eb:oracle -v "$PWD":/config-dir logstash -f /config-dir/logstash.conf

Settings: Default pipeline workers: 2
Pipeline main started
Pipeline main has been shutdown
stopping pipeline {:id=>"main"}
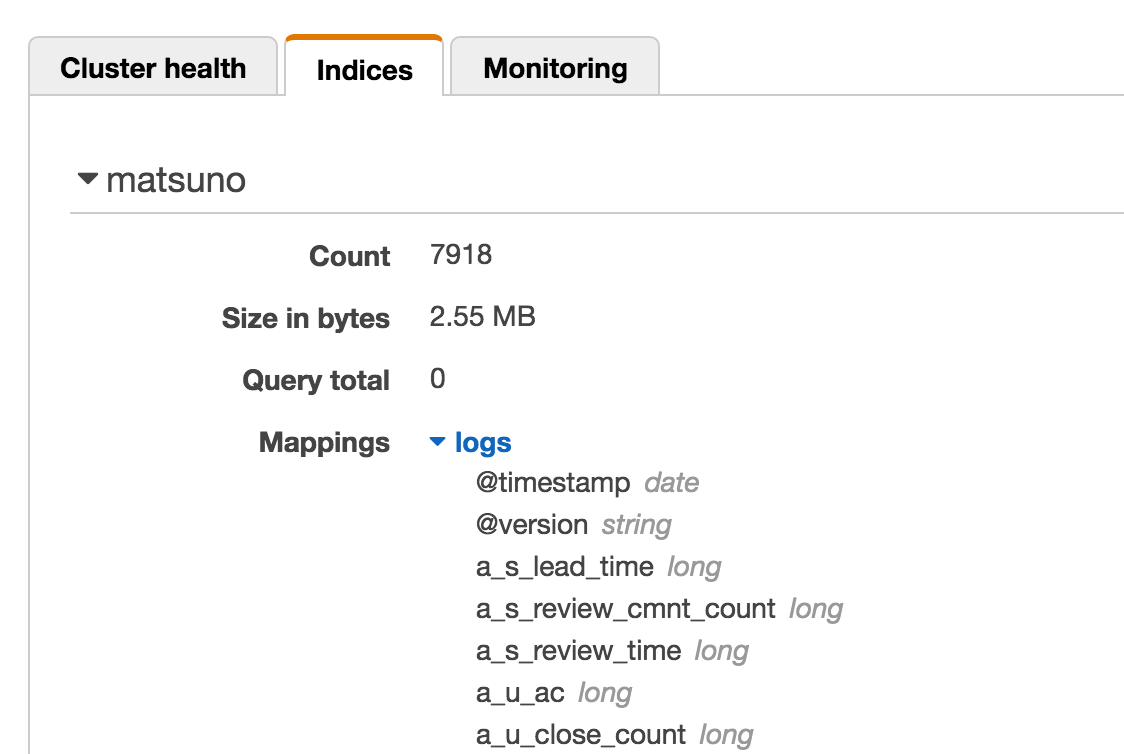
データが入っていることが確認できた。
プラグイン
Amazon ES supports the ICU Analysis Plugin and the Kuromoji plugin. You can configure these normally through the Elasticsearch Mapping API. Amazon ES does not currently support commercial plugins like Shield or Marvel. The AWS equivalents for these plugins are AWS Identity and Access Management (IAM) and CloudWatch.
AWSにプラグインは入れられない模様。
その代わり、IAMなどでエンドポイントの制御はできる。
※参考
https://aws.amazon.com/jp/blogs/aws/new-amazon-elasticsearch-service/
2. ElasticsearchとKibanav4 on EC2
環境構築
- EC2を作成(AmazonLinux)
- SecurityGroupで9200,5601を許可
- ElasticSearchインストール
$ sudo rpm --import https://packages.elastic.co/GPG-KEY-elasticsearch
[elasticsearch-2.x]
name=Elasticsearch repository for 2.x packages
baseurl=https://packages.elastic.co/elasticsearch/2.x/centos
gpgcheck=1
gpgkey=https://packages.elastic.co/GPG-KEY-elasticsearch
enabled=1
$ sudo yum update
$ sudo yum install elasticsearch
※参考
https://www.elastic.co/guide/en/elasticsearch/reference/current/setup-repositories.html
- elasticsearchの外部アクセス設定
# ---------------------------------- Network -----------------------------------
#
# Set the bind address to a specific IP (IPv4 or IPv6):
#
# network.host: 192.168.0.1
 network.host: 0.0.0.0
#
# Set a custom port for HTTP:
#
# http.port: 9200
#
# For more information, see the documentation at:
# <http://www.elastic.co/guide/en/elasticsearch/reference/current/modules-network.html>
#
# --------------------------------- Discovery ----------------------------------
#
- elasticsearch起動
$ sudo chkconfig --add elasticsearch
$ sudo /etc/init.d/elasticsearch start
- kibanaをダウンロード
$ wget https://download.elastic.co/kibana/kibana/kibana-4.5.4-linux-x64.tar.gz
$ tar xfvz kibana-4.5.4-linux-x64.tar.gz
- kibana設定(コメントアウトを外す)
# Kibana is served by a back end server. This controls which port to use.
 server.port: 5601

# The host to bind the server to.
 server.host: "0.0.0.0"

# If you are running kibana behind a proxy, and want to mount it at a path,
# specify that path here. The basePath can't end in a slash.
# server.basePath: ""

# The maximum payload size in bytes on incoming server requests.
 server.maxPayloadBytes: 1048576

# The Elasticsearch instance to use for all your queries.
 elasticsearch.url: "http://localhost:9200"

# preserve_elasticsearch_host true will send the hostname specified in `elasticsearch`. If you set it to false,
# then the host you use to connect to *this* Kibana instance will be sent.
# elasticsearch.preserveHost: true

..............
..............
..............


# Time in milliseconds for Elasticsearch to wait for responses from shards.
# Set to 0 to disable.
# elasticsearch.shardTimeout: 0

# Time in milliseconds to wait for Elasticsearch at Kibana startup before retrying
# elasticsearch.startupTimeout: 5000

# Set the path to where you would like the process id file to be created.
 pid.file: /var/run/kibana.pid

# If you would like to send the log output to a file you can set the path below.
# logging.dest: stdout
# !/bin/sh
#
#
# chkconfig:   2345 80 20
# description: Starts and stops a single kibana instance on this system

### BEGIN INIT INFO
# Provides:          kibana
# Required-Start:    $local_fs $remote_fs $network
# Should-Start:      $time
# Required-Stop:     $local_fs $remote_fs $network
# Default-Start:     3 5
# Default-Stop:      0 1 2 6
# Short-Description: Kibana 4
# Description:       Service controller for Kibana 4
### END INIT INFO"

INSTALLED_DIR=/home/ec2-user/kibana-4.5.4-linux-x64
EXEC_SCRIPT="$INSTALLED_DIR/bin/kibana"
LOG_DIR=/var/log/kibana
PID_DIR=/var/run
PID_FILE="$PID_DIR"/kibana.pid
LOG_FILE="$LOG_DIR"/kibana.log

test -d $LOG_DIR || mkdir $LOG_DIR

# Source function library.
. /etc/init.d/functions

RETVAL=0

case "$1" in
    start)
        if [ ! -f "$PID_FILE" ]; then
          echo -n "Starting Kibana"
          nohup $EXEC_SCRIPT 0<&- &> $LOG_FILE &
          echo $! > $PID_FILE
          success
        else
          echo -n "Kibana is already running"
          RETVAL=1
          failure
        fi
        echo
        ;;
    stop)
        if [ -f "$PID_FILE" ]; then
          echo -n "Stopping Kibana"
          test -f $PID_FILE && cat $PID_FILE | xargs kill -s SIGKILL && rm -f $PID_FILE
          success
        else
          echo -n "Kibana is not running"
          RETVAL=1
          failure
        fi
        echo
        ;;
    restart)
        $0 stop
        $0 start
        ;;
    reload)
        $0 restart
        ;;
    status)
        status kibana
        RETVAL=$?
        ;;
*)
echo "Usage: $0 {start|stop|status|restart|reload}"
exit 1
;;
esac
exit $RETVAL
- kibana起動
$ chmod +x /etc/init.d/kibana
$ chkconfig --add kibana
$ /etc/init.d/kibana start
- ブラウザでアクセス
YOUR_INSTANCE_IP:5601
データ投入(DBが入っているサーバにて)
- logstash.conf作成(logstashのディレクトリにて)
input {
    jdbc {
        jdbc_connection_string => "jdbc:oracle:thin:@oracle:1521/xe"
        jdbc_user => "system"
        jdbc_password => "oracle"
        jdbc_driver_library =>"/config-dir/ojdbc6.jar"
        jdbc_driver_class => "Java::oracle.jdbc.driver.OracleDriver"
        statement => "
SELECT
    *
FROM
    MATSUNO_TABLE
"
    }
}
output {
    elasticsearch {
        hosts => ["YOUR_ELASTICSEARCH_IP:9200"]
        index => "matsuno"
    }
}
$ docker run -it --rm --link 821c58da87eb:oracle -v "$PWD":/config-dir logstash -f /config-dir/logstash.conf

Settings: Default pipeline workers: 2
Pipeline main started
Pipeline main has been shutdown
stopping pipeline {:id=>"main"}
プラグイン
- git install
$ sudo yum install -y git
- install plugin
$ cd /home/ec2-user/kibana-4.5.4-linux-x64/installedPlugins
$ git clone https://github.com/sbeyn/kibana-plugin-line-sg.git
- 確認
http://54.199.223.185:5601/statusにアクセスしてプラグンがreadyになっていること
3. ElasticsearchとGrafana on EC2
環境構築
- EC2を作成(AmazonLinux)
- SecurityGroupで9200,3000を許可
- ElasticSearchインストール
※DBはElasticSearchでなくてもOK。
今回は先ほどのlogstashの設定を使いまわすので、ElasticSearchとする。
$ sudo rpm --import https://packages.elastic.co/GPG-KEY-elasticsearch
[elasticsearch-2.x]
name=Elasticsearch repository for 2.x packages
baseurl=https://packages.elastic.co/elasticsearch/2.x/centos
gpgcheck=1
gpgkey=https://packages.elastic.co/GPG-KEY-elasticsearch
enabled=1
$ sudo yum update
$ sudo yum install elasticsearch
- grafanaインストール
$ sudo yum install https://grafanarel.s3.amazonaws.com/builds/grafana-3.1.1-1470047149.x86_64.rpm
※参考
http://docs.grafana.org/installation/rpm/
- 起動
$ /etc/init.d/grafana-server start
- 確認
http://YOUR_IP:3000 admin/admin でアクセス


