railsアプリのログの集計
今回は前回の応用としてrailsアプリのログの集計をしてみます。
とはいっても、こちらを参考にすれば余裕でできます。
事前準備
1.Gemfileに以下の二つを追加します。
Gemfile
gem 'act-fluent-logger-rails'
gem 'lograge'
そしてbundle installします。
2.次にfluentdの設定です。
fluentdのconfファイルを以下のように作成します。
fluent.conf
<source>
  type forward
  port 24224
  tag rails.log
</source>

<match rails.log>
  type file
  path /****/***/log/out.log
</match>
今回は収取した結果をファイル出力させちゃいます。
3.railsアプリ側の設定
まずはログの設定をします。config/application.rbに以下の行の追加をします。
config/applicatin.rb
   # fluentD
   config.log_level = :info
   config.logger = ActFluentLoggerRails::Logger.new
   config.lograge.enabled = true
   config.lograge.formatter = Lograge::Formatters::Json.new
json形式で出力するように設定します。
次にconfig/fluent-logger.ymlを作成します。
fluent-logger.yml
development:
  fluent_host:   '127.0.0.1'
  fluent_port:   24224
  tag:           'rails.log'
  messages_type: 'string'

test:
  fluent_host:   '127.0.0.1'
  fluent_port:   24224
  tag:           'rails.log'
  messages_type: 'string'

production:
  fluent_host:   '127.0.0.1'
  fluent_port:   24224
  tag:           'rails.log'
  messages_type: 'string'
以上で設定は終わりです。
確認
ではfluentdをrailsアプリを起動して確認してみましょう
$ fluentd -c fluent/fluent.conf -vv &
$ rails s
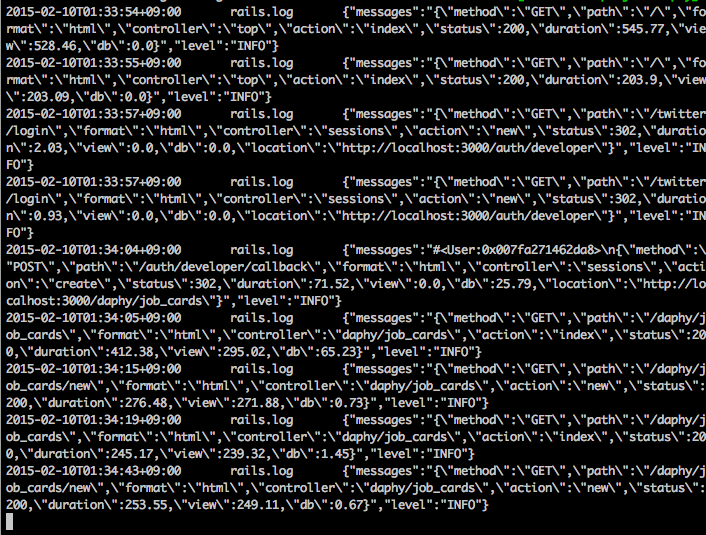
例えばこんな感じでログが出力されると思います。
では次のステップとしてこのログをelasticsearchにいれますが、それは次回!!