UbuntuのUIフォントを変更する方法
例では、フォントファミリー「sans, sans-serif, monospace」を、
プログラミング用フォント「Ricty」に変更してみます。
Ubuntu13.10上でRictyがインストールされている環境で行いました。
$ cd ~/.config/fontconfig
$ vim fonts.conf
「fontconfig」ディレクトリがない場合は「mkdir」コマンドで作成してください。
「fonts.conf」を以下の内容にします。
<?xml version="1.0"?>
<!DOCTYPE fontconfig SYSTEM "fonts.dtd">
<fontconfig>
    <match target="pattern">
        <test qual="any" name="family">
            <string>serif</string>
        </test>
        <edit name="family" mode="assign" binding="same">
            <string>Ricty Regular</string>
        </edit>
    </match>
    <match target="pattern">
        <test qual="any" name="family">
            <string>sans-serif</string>
        </test>
        <edit name="family" mode="assign" binding="same">
            <string>Ricty Regular</string>
        </edit>
    </match>
    <match target="pattern">
        <test qual="any" name="family">
            <string>monospace</string>
        </test>
        <edit name="family" mode="assign" binding="same">
            <string>Ricty Regular</string>
        </edit>
    </match>
</fontconfig>
その後、再起動または以下のコマンドを実行するとフォントの変更が反映されます。
$ fc-cache
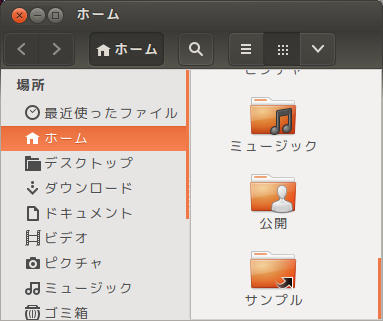
フォント変更前スクリーンショット
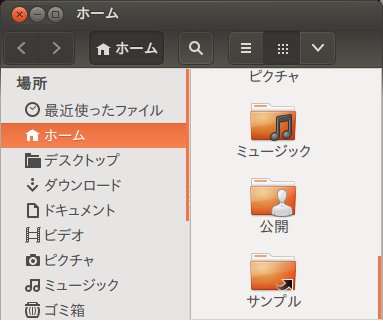
フォント変更後スクリーンショット