先日私事でelectron-vueとNeDBでデスクトップアプリを作成したので、忘れないうちにメモ。
途中はまった箇所も何箇所か・・
- vue-routerの設定
- bootstrap4のscss設定
- jQueryの設定
- NeDBのlike検索
- NeDBのdb配置場所
electronもvue.jsも初めてなので、何か間違いとかこうやったほうが良いとかご指摘ありましたらお願いします。
作成するもの
簡易データベース検索アプリ
使用するフレームワーク
作業環境構築
electron-vueのインストール
// グローバルにvue-cliをインストール
$ npm i -g vue-cli

// electron-vueの設定
$ vue init simulatedgreg/electron-vue my-project
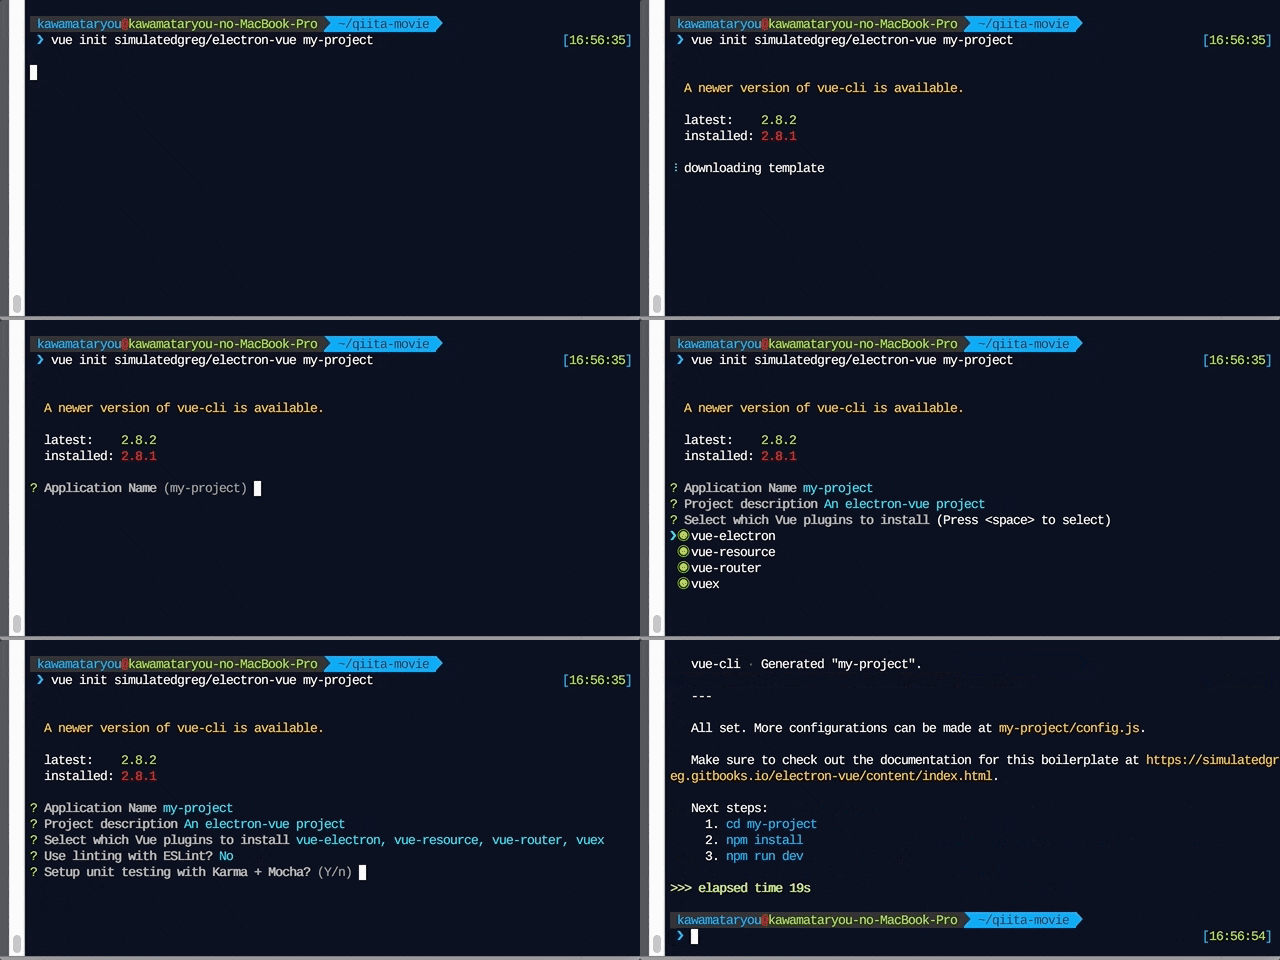
色々設定が出てきますが、今回はEslintのみNoでその他はEnterで行きます。
その後パッケージをインストールし、デモを起動
$ npm i
$ npm run dev
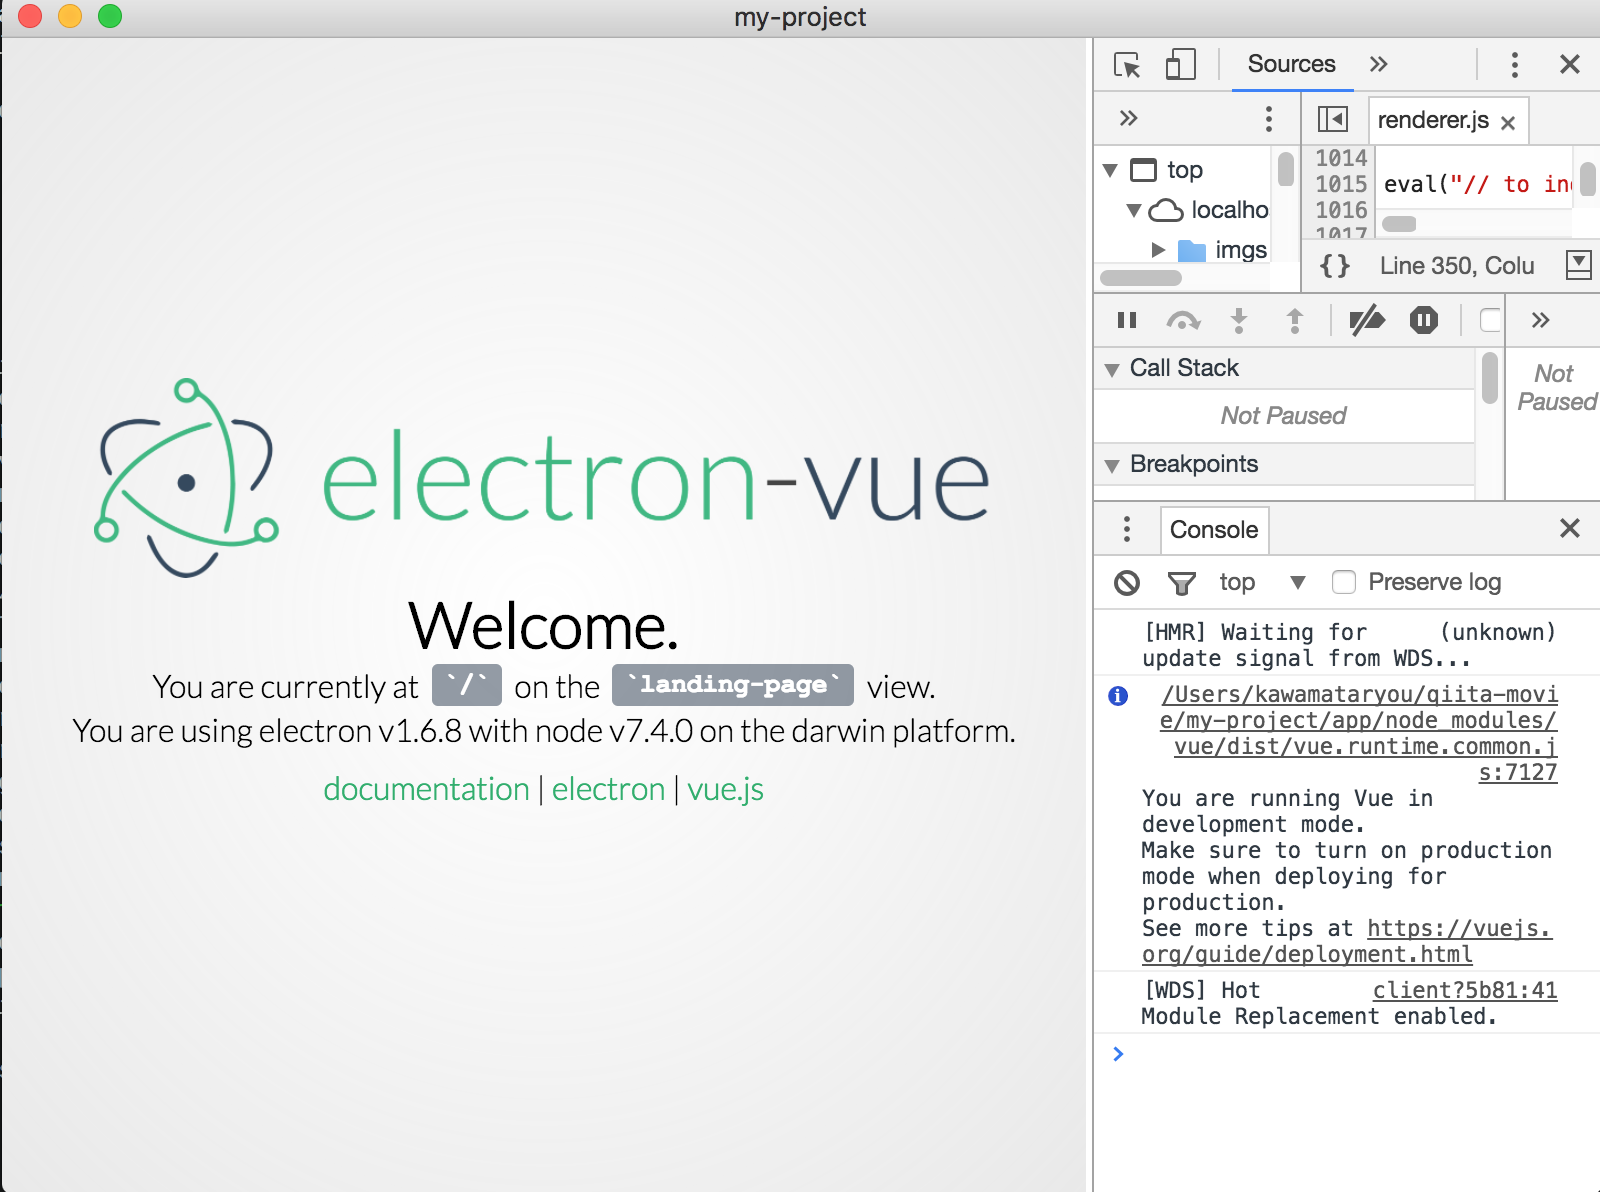
この無事画面が出たらインストールOKです。
topページの追加とルーティング
トップがデモ画面のままだと何かとやりにくいので、トップページを新たに追加します。
app/src/renderer/componentsにファイルindex.vueを作成して以下を記述
<template>
    <div>
        <div class="main">
            <h1>Hello electron-vue. My name is {{ name }}</h1>
        </div>
    </div>
</template>

<script>
    export default {
        data () {
            return {
                name: 'hoge'
            }
        },
        name: 'index'
    }
</script>

<style>
html, body, main {
    height: 100%;
}
main {
    display: flex;
    justify-content: center;
    align-items: center;
}
</style>
そしてそれをレンダリングできるようにrouterの設定を行います。
編集するファイルはapp/src/renderer/routes.jsです。
[追記]
routingを行うファイルのpathが変更になったようです。詳細はコメントをみてください。
一旦すべて削除し、以下を記述します。
ここでかなりつまづいたのですが、こちらの投稿のおかげで解決できました。
ポイントは,path: '*',の後にルートを追加しても反映されないので、必ずリンクはその前に記述するということです。
export default [
  {
    path: '/',
    name: 'index',
    component: require('components/index')
  },
  {
    path: '*',
    redirect: '/'
  }
]
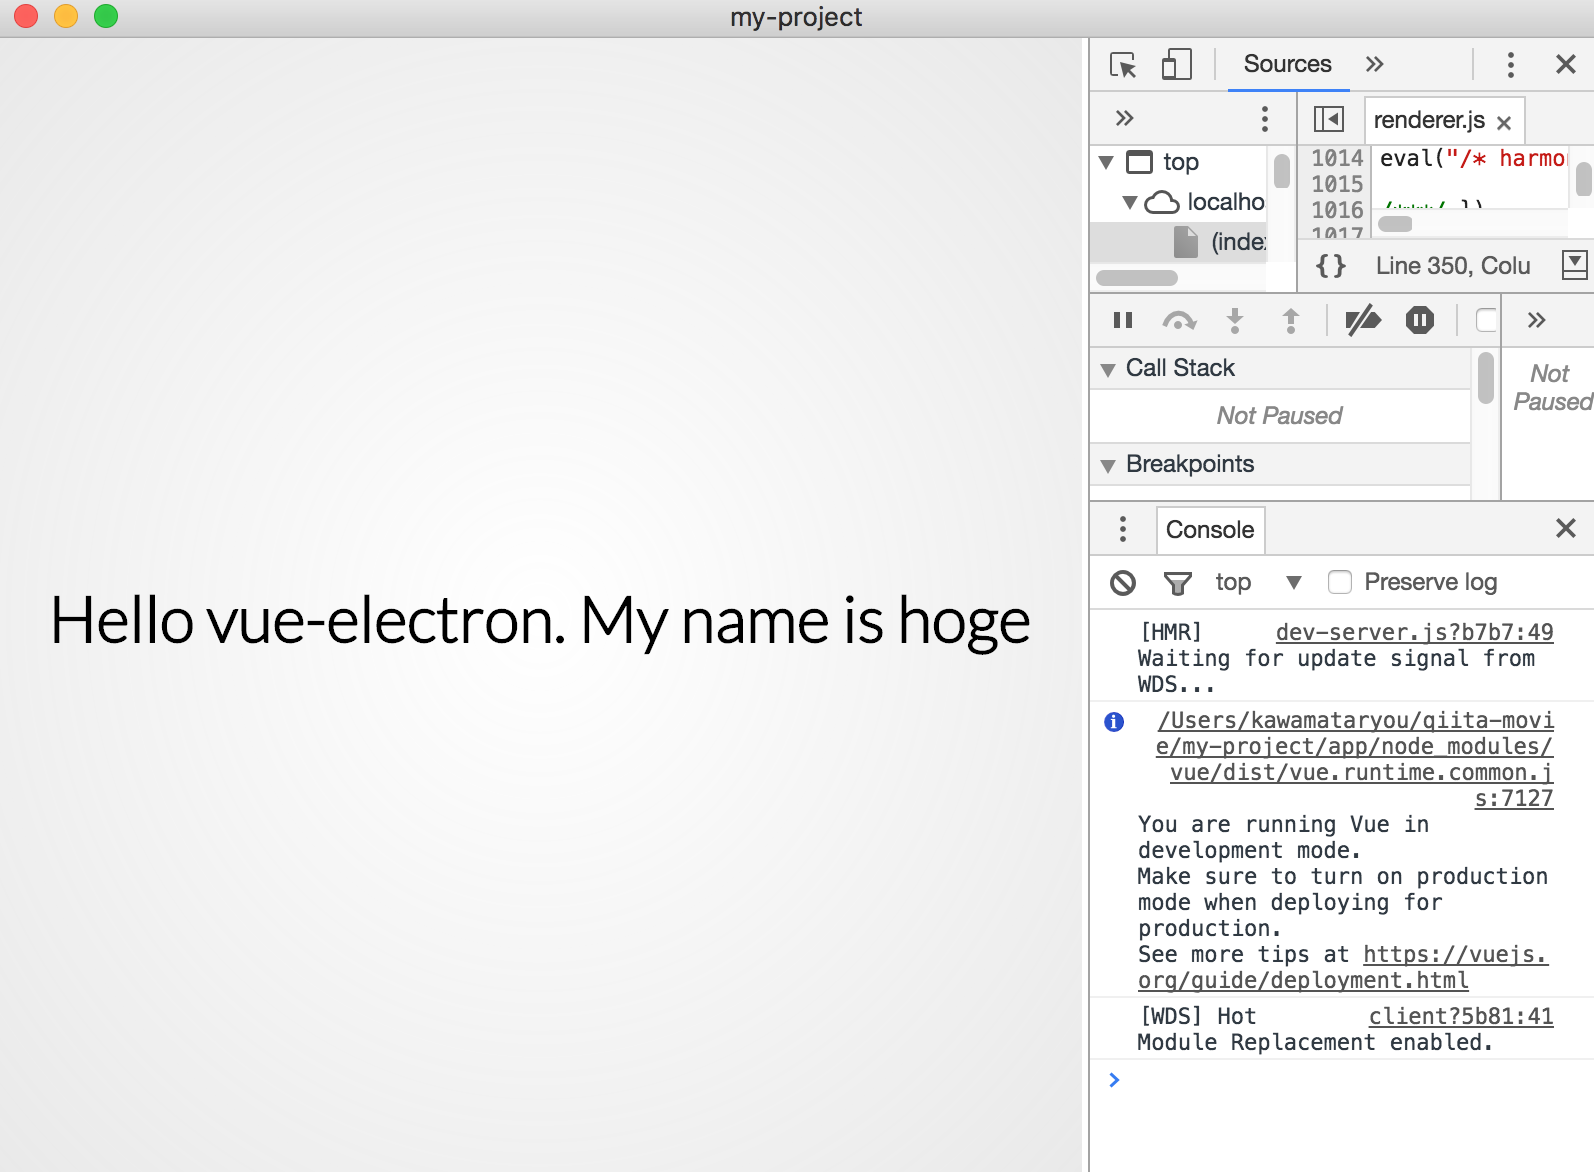
こんな画面が出れば成功です。
bootstrapのインストール
次にbootstrapのインストールとjqueryの設定、scssの設定を行います。
bootstrap.jsのimport、jqueryの設定
今回はscssを使いたいのでbootstrap4をインストールします。
bootstrap等のプラグインは/app内でインストールするので注意!
// appに移動
$ cd app
// bootstrap4の追加
$ npm install bootstrap@4.0.0-alpha.6
これをmain.jsで読み込みます。
app/src/renderer/main.jsに以下を追加
.
.
// bootstrapの読み込み
require('bootstrap')
でOKかと思いきや、以下エラーが発生して画面が真っ白に。
Uncaught Error: Bootstrap's JavaScript requires jQuery. jQuery must be included before Bootstrap's JavaScript.
bootstrapにはjqueryが必要でしたね。これを設定します。
jquery自体はbootstrapをnpmでinstallした際に追加されてるはずなので、webpackにjqueryを読み込む記述を追加します。
ルートディレクトリのwebpack.renderer.config.jsを以下のように編集。
plugins: [
    new ExtractTextPlugin('styles.css'),
    new HtmlWebpackPlugin({
        filename: 'index.html',
        template: './app/index.ejs',
        appModules: process.env.NODE_ENV !== 'production'
            ? path.resolve(__dirname, 'app/node_modules')
            : false
    }),
    new webpack.NoEmitOnErrorsPlugin(),
    // 追加 ↓
    new webpack.ProvidePlugin({
        $: 'jquery',
        jQuery: 'jquery',
        "Tether": 'tether',
    }),
    // ここまで
],
これでエラーが消えるはずです。
bootstrap.scssの設定
今回は後ほど編集しやすいように、main.scssを新たに作り、そこにbootstrap.scssをインポートする形で設定します。
// rendererに移動
$ cd app/src/renderer
// main.scssの作成
$ touch main.scss
main.scssに以下を記述
// bootstrap読み込み
@import '../../node_modules/bootstrap/scss/bootstrap.scss';


h1 {
    color: $brand-primary;
}
main.jsに以下を追加して読み込みます。
// styleの読み込み
import './main.scss'
webpackにscssのloaderがないためエラーが出るので、
scss-loaderをダウンロードし、さらにwebpack.renderer.config.jsにscssの設定をします。
sass-loaderとnode-sassのインストール
※ このインストールはwebpackの設定があるルートディレクトリ(my-project)で行うので注意!
//ルートディレクトリに移動してから・・
$ npm i sass-loader node-sass
wepackの設定追加
  {
    test: /\.css$/,
    use: ExtractTextPlugin.extract({
      fallback: 'style-loader',
      use: 'css-loader'
    })
  },
  //以下を追記
  {
    test: /\.scss$/,
    use: ExtractTextPlugin.extract({
      fallback: 'style-loader',
      use: 'css-loader!sass-loader'
    })
  },
  // ここまで
  {
    test: /\.html$/,
    use: 'vue-html-loader'
  },
これで起動してみて以下のように文字色が変わればbootstrapのインポートはOKです。
NeDBの設定
electronでアプリを配布する際に便利なNoSQLデータベースのNeDBの設定を行います。
パッケージインストール
まずはnpmでインストール。(こちらはapp/で)
$ npm i nedb
テストデータの作成
今回はjsonを元データとして使用するので、app/src/renderer/components以下にdbフォルダを作り、namelist.jsonを作成します
[
    {"name":"山田","from":"大阪","age":"20"},
    {"name":"田中","from":"北海道","age":"23"},
    {"name":"佐藤","from":"茨城","age":"35"},
    {"name":"鈴木","from":"沖縄","age":"22"},
    {"name":"井上","from":"福島","age":"52"},
    {"name":"村田","from":"鹿児島","age":"34"}
]
データベースの作成・検索処理の実装
NeDBの読み込み。DBの設定。レコードのインサートを行います。
インメモリでDBを作成し、先ほど作ったテストデータをインサートしてます。
<script>
//インメモリでDB作成
var Database = require("nedb");
var namelistDB = new Database();
//データ読み込み挿入
import dbData from './db/namelist.json';
namelistDB.insert(dbData);
.
.
.
</script>
like検索の実行
先ほど作ったDBからレコードを検索できるように、vue.jsとの連携部分を記述します。index.vueのスクリプトに以下を追加してください。
export default {
    data () {
        return {
            findWord : '',
            items: '',
        }
    },
    methods: {
        dbQuery: function () {
            namelistDB.find({name: new RegExp(".*"+this.findWord+".*", "i")} , (err, doc) => {
                this.items = doc;
            };
        }
    },
    name: 'index'
}
ここでのポイントはmethodsのdbQueryの記述です。
RegExp()スクリプトを使うことでLike検索を実現しています。
namelistDB.find({name: /findWord/} ...
上記では変数(findWord)が展開されず、適切な検索ができないので注意してください。
その他、NeDBのインサート、検索については こちら が大変参考になります。
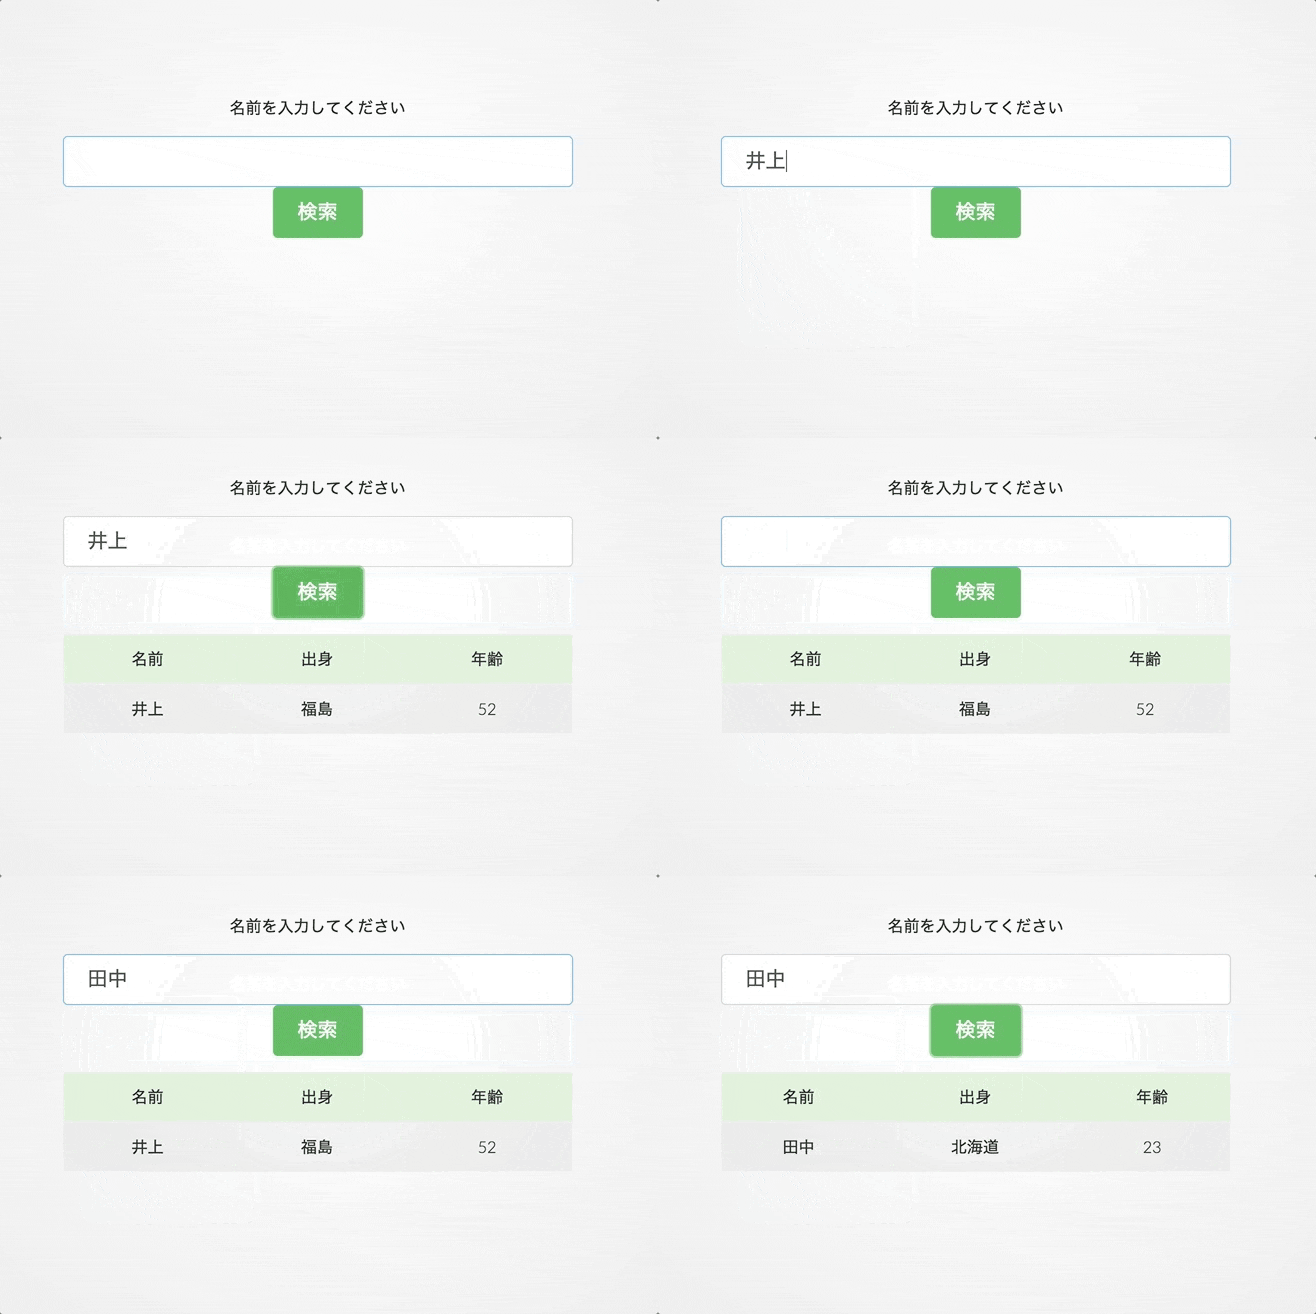
<template> 部分の記述も含め最終的なコードは下記の通りとなります。
<template>
    <div id="app">
        <div class="container">
            <p class="text-center">名前を入力してください</p>
            <div class="form-group">
                <input type="text" v-model="findWord" class="form-control form-control-lg">
                <button @click="dbQuery" class="btn btn-success btn-lg">検索</button>
            </div>
            <!-- 検索結果テーブル -->
            <table class="table table-striped table-bordered mg-t-50 search-table" v-if="items != ''">
                <thead>
                    <tr class="table-success">
                        <td>名前</td>
                        <td>出身</td>
                        <td>年齢</td>
                    </tr>
                </thead>
                <tbody>
                    <tr v-for="item in items">
                        <td>{{ item.name }}</td>
                        <td>{{ item.from }}</td>
                        <td>{{ item.age }}</td>
                    </tr>
                </tbody>
            </table>
        </div>
    </div>
</template>

<script>
//インメモリでDB作成
var Database = require("nedb");
var namelistDB = new Database();
//データ読み込み挿入
import dbData from './db/namelist.json';
namelistDB.insert(dbData);

export default {
    data () {
        return {
            findWord : '',
            items: '',
        }
    },
    methods: {
        dbQuery: function () {
            namelistDB.find({name: new RegExp(".*"+this.findWord+".*", "i")} , function (err, doc) {
                this.items = doc;
            }.bind(this));
        }
    },
    name: 'index'
}
</script>


