概要
Windows7にDocker Toolbox 1.8.1をインストールし、hello-worldコンテナ、redis-serverコンテナの実行まで行います。
またDocker Toolboxに同梱されているKitematicを使用してredis-serverコンテナを作成してみます。
環境
下記の環境で動作を確認しました。
- Windows7 (64bit)
- Git for Windows (MSysGit) 1.9.5
- Docker Toolbox 1.8.1
- Virtualbox 5.0.2
インストール
事前作業
Boot2Docker 1.7.1をインストールした環境なので事前にアンインストールを行います。特にVirtualboxは5.0が必要なようで4.xだと正常にインストールできませんでした。
- Boot2Docker 1.7.1をアンインストール
- ユーザーディレクトリにある
.boot2dockerディレクトリを削除 - Virtualbox 4.3.30をアンインストール
- ユーザーディレクトリにある
.VirtualBoxディレクトリを削除
アンインストールが終わったら念のためPCを再起動します。
なお、Boot2Dockerインストール時に一緒にインストールしたGit for Windowsは残しておきます。
Docker Toolboxのインストール
インストール自体は、[Get Started with Docker for Windows] (http://docs.docker.com/windows/started/)にある説明の通りに進めていきます。
[Docker Toolbox] (https://www.docker.com/toolbox)からWindows版のDocker Toolboxをダウンロードします。
ダウンロードしたインストーラーファイルはDockerToolbox-1.8.1b.exeでした。
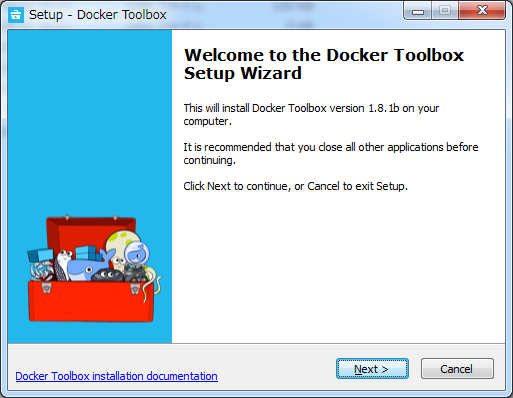
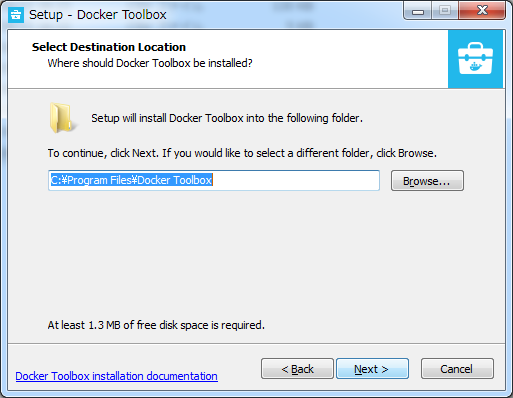
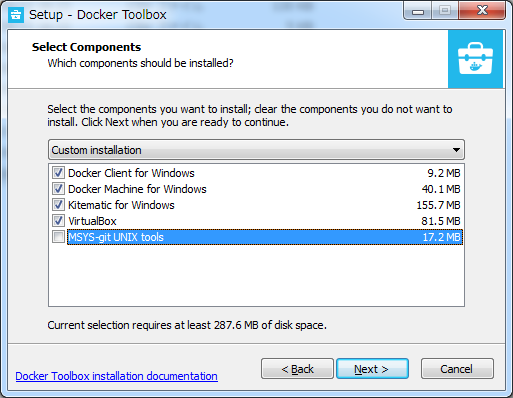
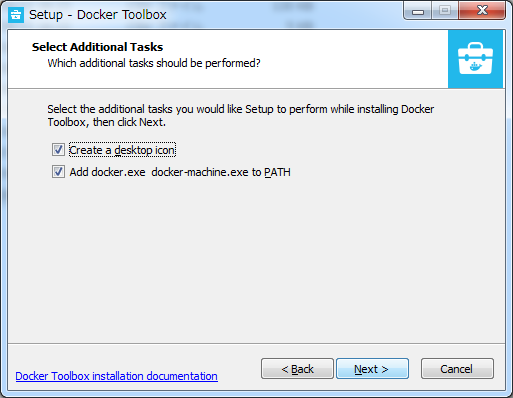
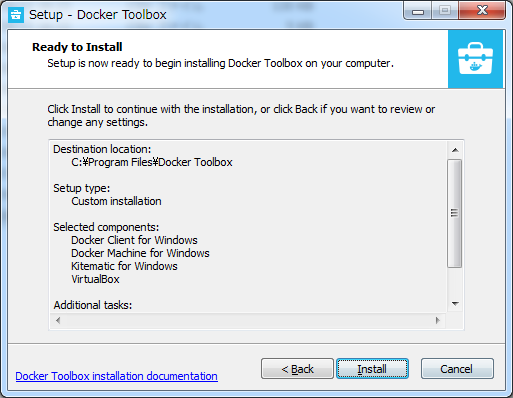
ダウンロードが終わったらインストーラーを実行してDockerToolboxをインストールします。
- Git for Windowsはインストール済みなのでチェックを外します。
インストール後の確認
デスクトップにDocker Quickstart Terminalが作成されているので、このアイコンをクリックしてVirtualbox上にDockerの仮想マシンを作成します。
仮想マシンの作成が終わると下記のメッセージの後にプロンプトが表示されます。
                        ##         .
                  ## ## ##        ==
               ## ## ## ## ##    ===
           /"""""""""""""""""\___/ ===
      ~~~ {~~ ~~~~ ~~~ ~~~~ ~~~ ~ /  ===- ~~~
           \______ o           __/
             \    \         __/
              \____\_______/

docker is configured to use the default machine with IP 192.168.99.100
For help getting started, check out the docs at https://docs.docker.com

Welcome to Git (version 1.9.5-preview20150319)


Run 'git help git' to display the help index.
Run 'git help <command>' to display help for specific commands.

$
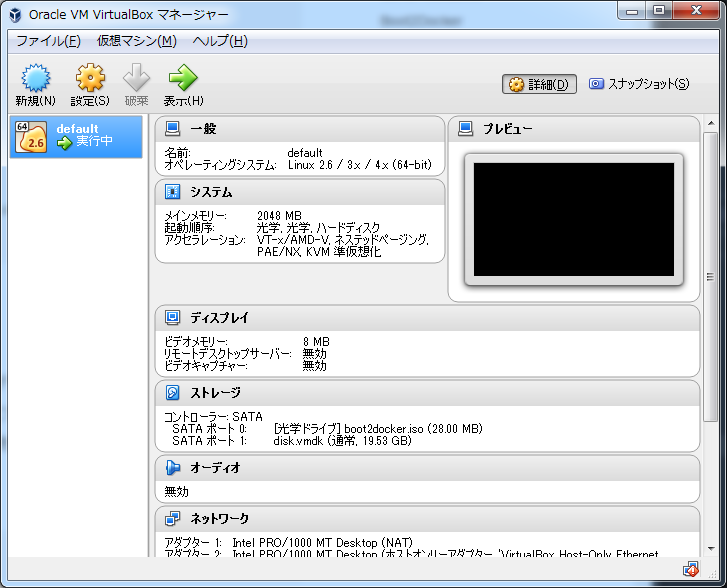
また、Virtualbox上にはdefaultという名前のdocker仮想マシンが作成されています。
仮想マシンにsshでログイン
sshコマンドで仮想マシンにログインします。passwordはtcuserです。
$ ssh docker@192.168.99.100
docker@192.168.99.100's password:
##         .
## ## ##        ==
## ## ## ## ##    ===
/"""""""""""""""""\___/ ===
~~~ {~~ ~~~~ ~~~ ~~~~ ~~~ ~ /  ===- ~~~
\______ o           __/
\    \         __/
\____\_______/
_                 _   ____     _            _
| |__   ___   ___ | |_|___ \ __| | ___   ___| | _____ _ __
| '_ \ / _ \ / _ \| __| __) / _` |/ _ \ / __| |/ / _ \ '__|
| |_) | (_) | (_) | |_ / __/ (_| | (_) | (__|   <  __/ |
|_.__/ \___/ \___/ \__|_____\__,_|\___/ \___|_|\_\___|_|
Boot2Docker version 1.8.1, build master : 7f12e95 - Thu Aug 13 03:24:56 UTC 2015

Docker version 1.8.1, build d12ea79
docker@default:~$
versionの確認
docker@default:~$ docker version
Client:
 Version:      1.8.1
 API version:  1.20
 Go version:   go1.4.2
 Git commit:   d12ea79
 Built:        Thu Aug 13 02:49:29 UTC 2015
 OS/Arch:      linux/amd64

Server:
 Version:      1.8.1
 API version:  1.20
 Go version:   go1.4.2
 Git commit:   d12ea79
 Built:        Thu Aug 13 02:49:29 UTC 2015
 OS/Arch:      linux/amd64
hello-world
hello-worldコンテナが実行できるか確認します。
docker@default:~$ docker run hello-world

...省略...

Hello from Docker.
This message shows that your installation appears to be working correctly.

To generate this message, Docker took the following steps:
 1. The Docker client contacted the Docker daemon.
 2. The Docker daemon pulled the "hello-world" image from the Docker Hub.
 3. The Docker daemon created a new container from that image which runs the
    executable that produces the output you are currently reading.
 4. The Docker daemon streamed that output to the Docker client, which sent it
    to your terminal.

To try something more ambitious, you can run an Ubuntu container with:
 $ docker run -it ubuntu bash

Share images, automate workflows, and more with a free Docker Hub account:
 https://hub.docker.com

For more examples and ideas, visit:
 https://docs.docker.com/userguide/
ubuntu bash
ついでにubuntuコンテナを作成してみます。
docker@default:~$ docker run -it ubuntu bash

...省略...

root@c4033297ab4c:/# cat /etc/issue
Ubuntu 14.04.3 LTS \n \l
puttyから仮想マシンにログイン
puttyを立ち上げ"Host Name (or IP address)"の欄に、default machineのIPアドレスを入力します。
- user: docker
- password: tcuser
login as: docker
docker@192.168.99.100's password:
                        ##         .
                  ## ## ##        ==
               ## ## ## ## ##    ===
           /"""""""""""""""""\___/ ===
      ~~~ {~~ ~~~~ ~~~ ~~~~ ~~~ ~ /  ===- ~~~
           \______ o           __/
             \    \         __/
              \____\_______/
 _                 _   ____     _            _
| |__   ___   ___ | |_|___ \ __| | ___   ___| | _____ _ __
| '_ \ / _ \ / _ \| __| __) / _` |/ _ \ / __| |/ / _ \ '__|
| |_) | (_) | (_) | |_ / __/ (_| | (_) | (__|   <  __/ |
|_.__/ \___/ \___/ \__|_____\__,_|\___/ \___|_|\_\___|_|
Boot2Docker version 1.8.1, build master : 7f12e95 - Thu Aug 13 03:24:56 UTC 2015
Docker version 1.8.1, build d12ea79
docker@default:~$
docker.exe
docker.exeを使用すると、docker仮想マシンにログインしなくてもdockerコマンドを実行することができます。
commands
コマンドの種類はdocker.exe --helpで確認できます。
Commands:
    attach    Attach to a running container
    build     Build an image from a Dockerfile
    commit    Create a new image from a container's changes
    cp        Copy files/folders from a container to a HOSTDIR or to STDOUT
    create    Create a new container
    diff      Inspect changes on a container's filesystem
    events    Get real time events from the server
    exec      Run a command in a running container
    export    Export a container's filesystem as a tar archive
    history   Show the history of an image
    images    List images
    import    Import the contents from a tarball to create a filesystem image
    info      Display system-wide information
    inspect   Return low-level information on a container or image
    kill      Kill a running container
    load      Load an image from a tar archive or STDIN
    login     Register or log in to a Docker registry
    logout    Log out from a Docker registry
    logs      Fetch the logs of a container
    pause     Pause all processes within a container
    port      List port mappings or a specific mapping for the CONTAINER
    ps        List containers
    pull      Pull an image or a repository from a registry
    push      Push an image or a repository to a registry
    rename    Rename a container
    restart   Restart a running container
    rm        Remove one or more containers
    rmi       Remove one or more images
    run       Run a command in a new container
    save      Save an image(s) to a tar archive
    search    Search the Docker Hub for images
    start     Start one or more stopped containers
    stats     Display a live stream of container(s) resource usage statistics
    stop      Stop a running container
    tag       Tag an image into a repository
    top       Display the running processes of a container
    unpause   Unpause all processes within a container
    version   Show the Docker version information
    wait      Block until a container stops, then print its exit code
images
List images
$ docker.exe images
REPOSITORY          TAG                 IMAGE ID            CREATED             VIRTUAL SIZE
ubuntu              latest              8251da35e7a7        9 days ago          188.4 MB
hello-world         latest              af340544ed62        10 days ago         960 B
redis               latest              0ff407d5a7d9        4 weeks ago         109.5 MB
ps
List containers
$ docker.exe ps -a --format="{{.ID}}\\t{{.Image}}\\t{{.Names}}"
0395ab2d8e5e    redis:latest    redis
pull
Pull an image or a repository from a registry
$ docker.exe pull busybox:latest
run
Run a command in a new container
$ docker.exe run -it --rm busybox
/ #
rm
Remove one or more containers
$ docker.exe rm 0395ab2d8e5e
0395ab2d8e5e
rmi
Remove one or more images
$ docker.exe rmi 8251da35e7a7
Untagged: ubuntu:latest
Deleted: 8251da35e7a79dca688682f6da6148a06d358c6f094020844468a782842c2172
Deleted: e5855facec0b251bacf22cb50b4f1b4229024eec726061474867b59a3186c8de
Deleted: 5bff21ba54097b77dd18c10e13c8f8db53356813e10fa36b2443ee8964674bd7
Deleted: 6071b4945dcf0886af97cc4782a189cef303fcc43a3d9813aa9fef86e1f7a318
cp
Copy files/folders from a container to a HOSTDIR or to STDOUT
ホストからコンテナへファイルをコピーします
$ docker cp local.txt 0395ab2d8e5e:/tmp
redis-serverコンテナの作成
docker仮想マシンにログインし下記の手順でredis-serverコンテナを作成します。
redisの最新イメージを取得します。
Usage
docker pull [OPTIONS] NAME[:TAG|@DIGEST]
docker@default:~$ docker pull redis:latest
取得したイメージからコンテナを作成して実行します。
Usage
docker run [OPTIONS] IMAGE [COMMAND] [ARG...]
docker@default:~$ docker run --name some-redis -p 6379:6379 -v /c/Users/Username/dev/docker/redis:/data -d redis redis-server --appendonly yes
OPTIONS
-
--name some-redis<- コンテナの名前を指定します。 -
-p 6379:6379<- ホストのポート:コンテナのポートをマッピングします。 -
-v /c/Users/Username/dev/docker/redis:/data<- ホストのディレクトリ:コンテナのディレクトリをマッピングします。 -
-d<- コンテナをバックグランドで実行します。
IMAGE
-
redis<- イメージの名前を指定します。 -
redis-server<- 実行するコマンドです。 -
--appendonly yes<- コマンドの引数を指定します。
コンテナの状態を確認します。
docker@default:~$ docker ps --format="{{.ID}}\\t{{.Image}}\\t{{.Ports}}\\t{{.Status}}"
5882fae42adf    redis   0.0.0.0:6379->6379/tcp  Up 12 minutes
redis-cliを実行するコンテナを作成して上記のredisコンテナへ接続します。
--rmオプションを指定しているのでexitでコンテナから抜けるとコンテナが自動的に削除されます。
docker@default:~$ docker run --name rc -it --link some-redis:redis --rm redis sh -c 'exec redis-cli -h 192.168.99.100 -p 6379'
192.168.99.100:6379>
OPTIONS
-
--name rc<- コンテナの名前を指定します。 -
-it<- コンテナの標準入力を開きttyを確保します。 -
--link some-redis:redis<-リンクするコンテナの名前:エイリアス名を指定します。 -
--rm<- コンテナ終了時にコンテナを削除します。
IMAGE
-
redis<- イメージの名前を指定します。 -
sh<- 実行するコマンドです。 -
-c 'exec redis-cli -h 192.168.99.100 -p 6379'<- コマンドの引数を指定します。
docker-machine.exe
docker-machine.exeは、ローカルマシンのVirtualbox上やクラウド上のdocker仮想マシン(dockerホスト)の管理を行うツールです。
commands
コマンドの種類は、docker-machine.exe --helpで確認できます。
Commands:
  active                Print which machine is active
  config                Print the connection config for machine
  create                Create a machine
  env                   Display the commands to set up the environment for the Docker client
  inspect               Inspect information about a machine
  ip                    Get the IP address of a machine
  kill                  Kill a machine
  ls                    List machines
  regenerate-certs      Regenerate TLS Certificates for a machine
  restart               Restart a machine
  rm                    Remove a machine
  ssh                   Log into or run a command on a machine with SSH.
  scp                   Copy files between machines
  start                 Start a machine
  status                Get the status of a machine
  stop                  Stop a machine
  upgrade               Upgrade a machine to the latest version of Docker
  url                   Get the URL of a machine
  help, h               Shows a list of commands or help for one command
status
Get the status of a machine
$ docker-machine.exe status default
Running
ls
List machines
$ docker-machine.exe ls
NAME      ACTIVE   DRIVER       STATE     URL                         SWARM
default   *        virtualbox   Running   tcp://192.168.99.100:2376
ip
Get the IP address of a machine
$ docker-machine.exe ip default
192.168.99.100
url
Get the URL of a machine
$ docker.machine.exe url default
tcp://192.168.99.100:2376
ssh
Log into or run a command on a machine with SSH.
$ docker-machine.exe ssh default
                        ##         .
                  ## ## ##        ==
               ## ## ## ## ##    ===
           /"""""""""""""""""\___/ ===
      ~~~ {~~ ~~~~ ~~~ ~~~~ ~~~ ~ /  ===- ~~~
           \______ o           __/
             \    \         __/
              \____\_______/
 _                 _   ____     _            _
| |__   ___   ___ | |_|___ \ __| | ___   ___| | _____ _ __
| '_ \ / _ \ / _ \| __| __) / _` |/ _ \ / __| |/ / _ \ '__|
| |_) | (_) | (_) | |_ / __/ (_| | (_) | (__|   <  __/ |
|_.__/ \___/ \___/ \__|_____\__,_|\___/ \___|_|\_\___|_|
Boot2Docker version 1.8.1, build master : 7f12e95 - Thu Aug 13 03:24:56 UTC 2015

Docker version 1.8.1, build d12ea79
docker@default:~$
stop
Stop a machine
$ docker-machine.exe stop default
exit status 1
Kitematic (Alpha)
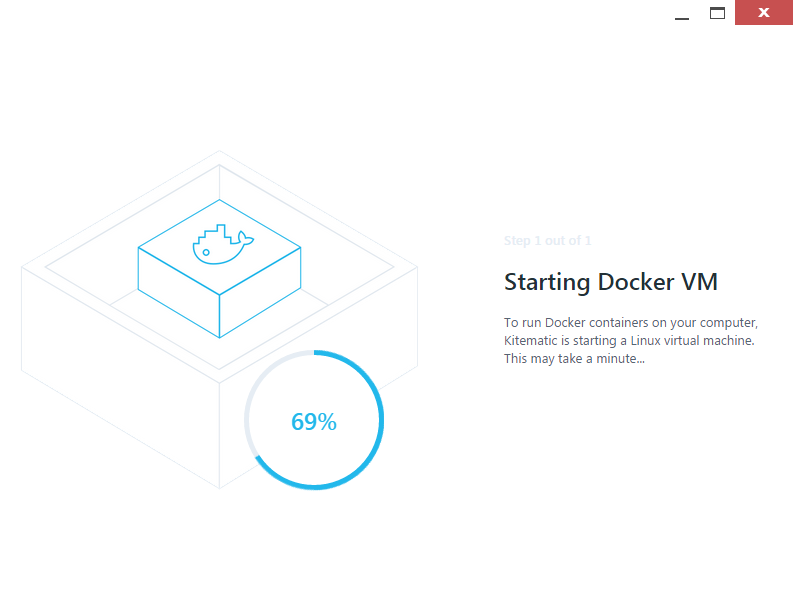
Kitematic (Alpha)アイコンをクリックすると、docker仮想マシンを起動します。(既に立ち上がっている場合はskip)
なお、デフォルトではKitematicを終了させてもdocker仮想マシンは実行中のままです。(Kitematicと同時に終了させるように設定を変えることもできるようです。)
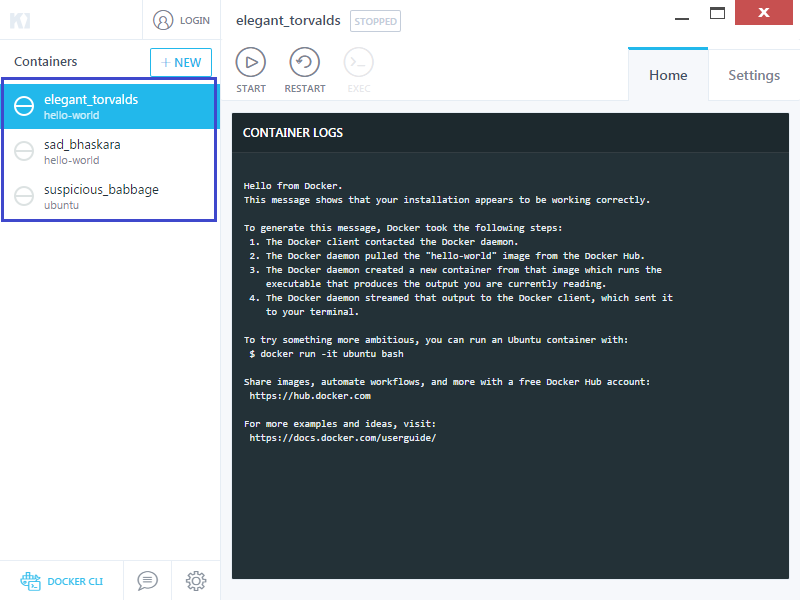
左側にコンテナの一覧が表示されます。これらのコンテナは上記の確認で作成したコンテナです。
コマンドラインでも同じコンテナがあるのが確認できます。
docker@default:~$ docker ps -a --format "{{.ID}}\\t{{.Image}}\\t{{.Names}}"
c4033297ab4c    ubuntu  suspicious_babbage
43268d9f5010    hello-world     sad_bhaskara
612bce93a6ea    hello-world     elegant_torvalds
Kitematic上でコンテナをすべて削除してみます。削除するにはコンテナ名の右側に表示される×アイコンをクリックします。
下記の通りコマンドラインからもコンテナがすべて削除されていることが確認できます。
docker@default:~$ docker ps -a --format "{{.ID}}\\t{{.Image}}\\t{{.Names}}"
redis-serverコンテナの作成
Kitematicからredis-serverコンテナを作成してみます。
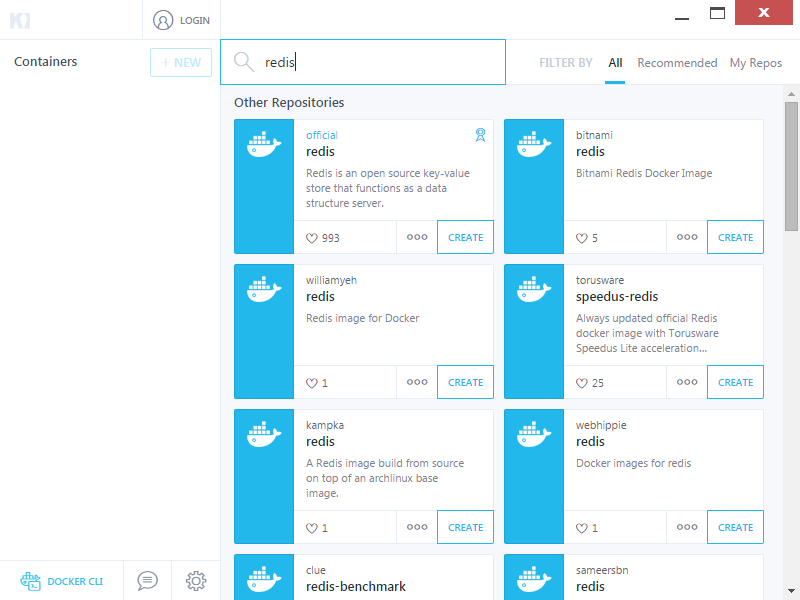
検索フィールドにredisと入力してredisコンテナを探します。
今回使用するコンテナにはofficial repositoryのredisにしました。
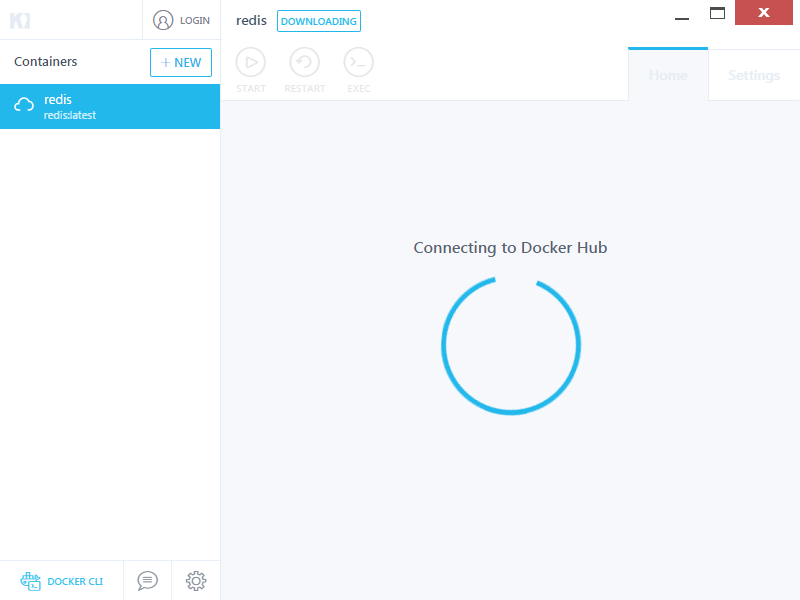
Createボタンをクリックするとイメージのダウンロードが始まります。
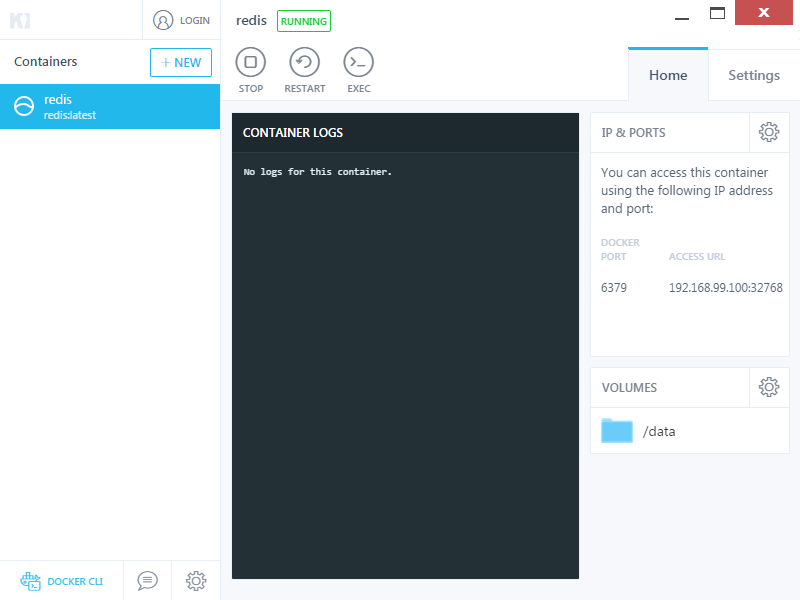
コンテナの作成が完了するとRunning状態になります。
コマンドラインからコンテナを確認します。
docker@default:~$ docker images
REPOSITORY          TAG                 IMAGE ID            CREATED             VIRTUAL SIZE
ubuntu              latest              8251da35e7a7        9 days ago          188.4 MB
hello-world         latest              af340544ed62        10 days ago         960 B
redis               latest              0ff407d5a7d9        4 weeks ago         109.5 MB
docker@default:~$ docker ps --format "{{.ID}}\\t{{.Image}}\\t{{.Names}}"
190a1cf97f10    redis:latest    redis
Windows版のredis-cliを使用してコンテナ上のredisに接続します。
接続先のhostとportは"IP & PORTS"のACCESS URLに記載されています。
> redis-cli.exe -h 192.168.99.100 -p 32768
192.168.99.100:32768>
メモ
仮想マシン(ホスト)のrootアカウントのパスワードを変える
rootにスイッチします
$ sudo su
passwdコマンドで新しいパスワードを設定します
# passwd
