目次
- 目的
- 関連サイト
- 公式サイト
- 参照サイト
- ダウンロードソフトウェア
- 環境
- 手順
目的
- Windows7のVirtual BoxにCentOSをインストールする
- インストールにはVagrantを使用する
- VagrantでインストールしたCentOSに接続する
- CentOSの接続にはTeraTermを使用する
関連サイト
公式サイト
参考サイト
ダウンロードソフトウェア
環境
ホストマシン
- Windows 7 Home Premium
- Vagrant 1.7.2
- VirtualBox 4.3.26-98988
ゲストマシン(今回インストールする)
- CentOS 7
手順
- Vagrantのboxの選択
- Vagrantにboxをadd
- Vagrantのboxから仮想マシンを生成
- 仮想マシンに接続
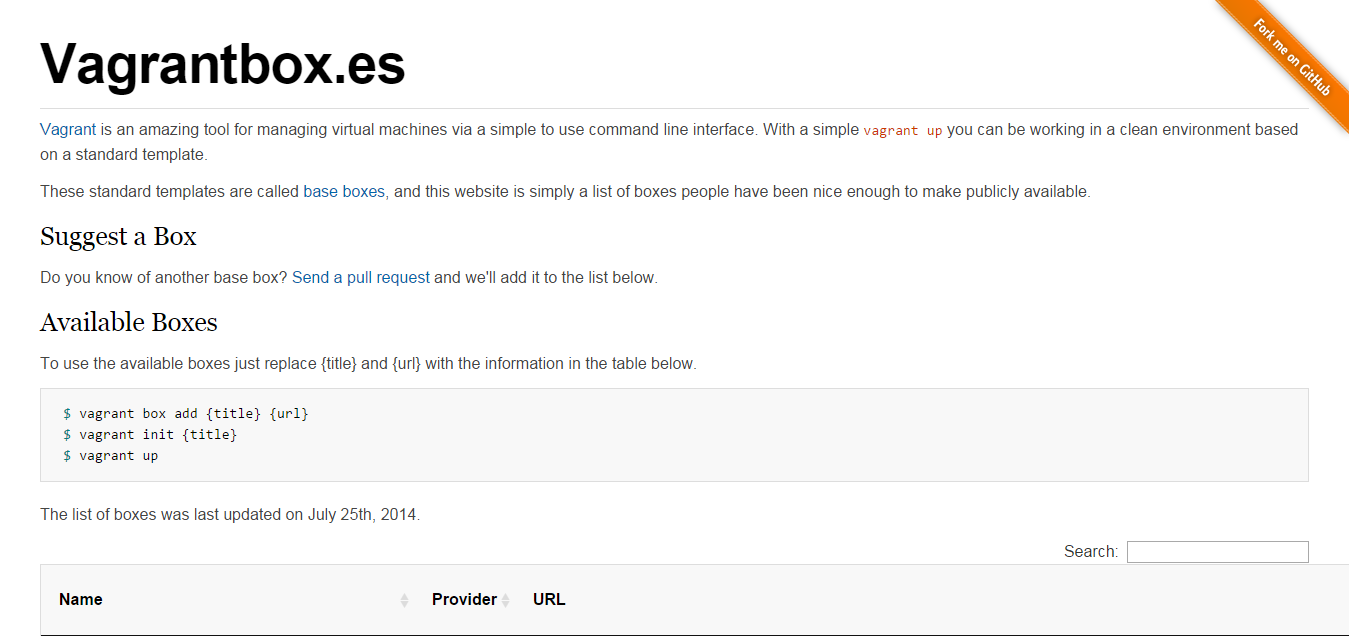
Vagrantのboxの選択
-
Vagrantbox.esにアクセスする。
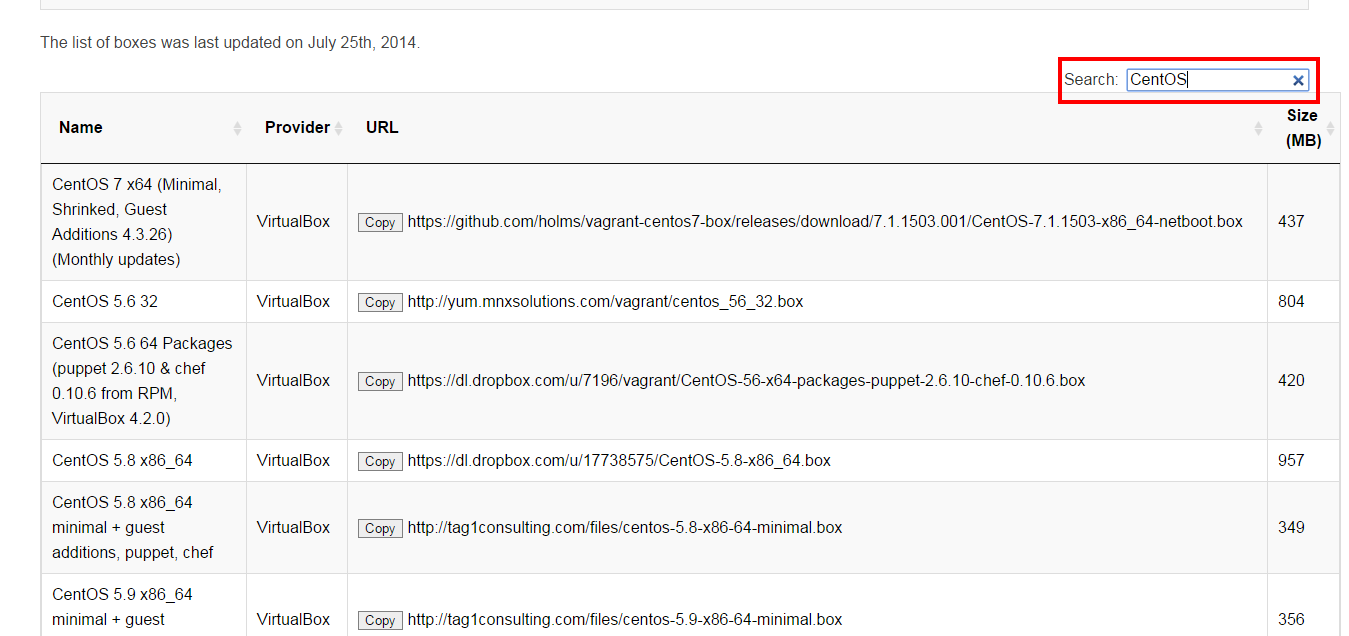
-
検索ボックスに"CentOS"を入力する。
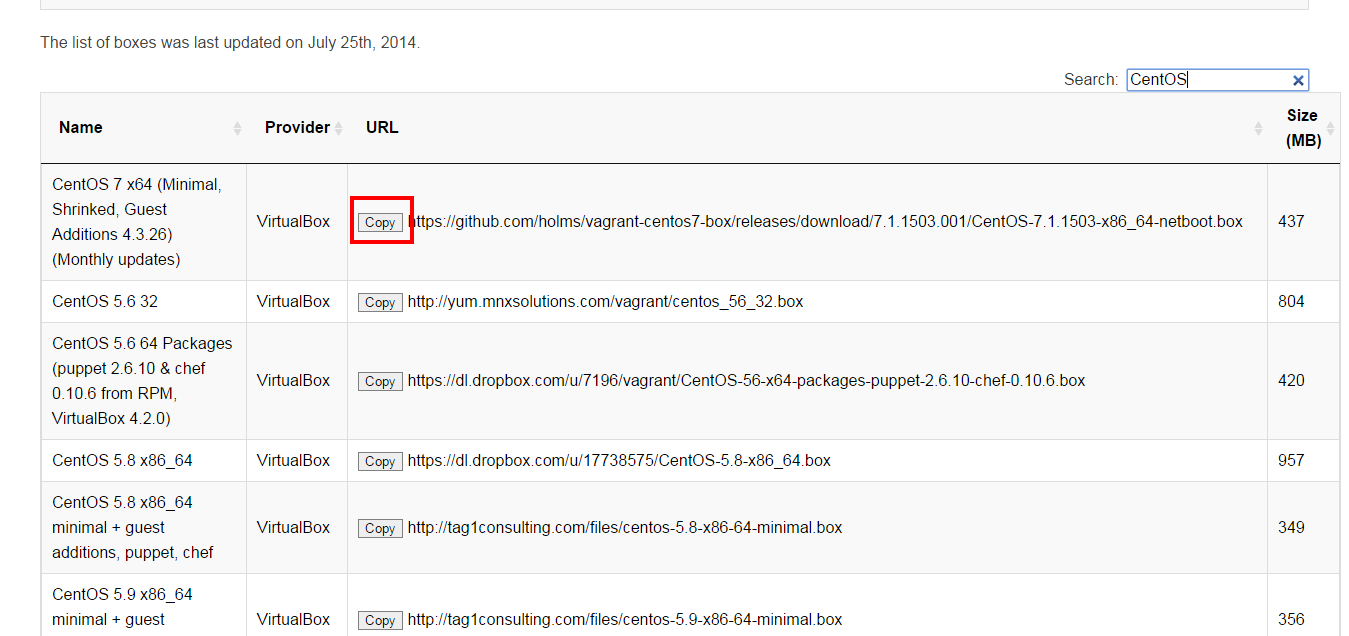
-
検索結果から目的のboxにある"コピー"をクリックする。ここでコピーしたURL文字列をVagrantのbox addコマンドで用いる。
Vagrantにboxをadd
- コマンドプロンプトで以下のとおり実行する。
C:\>vagrant box add CentOS7_x64 https://github.com/holms/vagrant-centos7-box/releases/download/7.1.1503.001/CentOS-7.1.1503-x86_64-netboot.box
==> box: Adding box 'CentOS7_x64' (v0) for provider:
   box: Downloading: https://github.com/holms/vagrant-centos7-box/releases/download/7.1.1503.001/Ce
ntOS-7.1.1503-x86_64-netboot.box
   box: Progress: 100% (Rate: 527k/s, Estimated time remaining: --:--:--)
==> box: Successfully added box 'CentOS7_x64' (v0) for 'virtualbox'!
- 追加されたboxを確認する。
C:\>vagrant box list
CentOS7_x64 (virtualbox, 0)
Vagrantのboxから仮想マシンを生成
- 仮想マシンを格納するフォルダを作成する。ここではUserユーザのものとして、 C:\Users\User\VM\CentOS7_x64_001とする。コマンドプロンプトで以下のとおり実行する。
C:\>cd c:\Users\User\
C:\Users\User\>mkdir VM\CentOS7_x64_001
C:\Users\User\>cd VM\CnetOS7_x64_001
C:\User\User\VM\CentOS7_x64_001>
- 仮想マシンを生成する。仮想マシン名は”CentOS7_x64_001"とする。コマンドプロンプトで以下のとおり実行する。なお、仮想マシン名とフォルダ名は同一でなくても構わない。
C:\Users\User\VM\CentOS7_x64_001>vagrant init CentOS7_x64
A `Vagrantfile` has been placed in this directory. You are now
ready to `vagrant up` your first virtual environment! Please read
the comments in the Vagrantfile as well as documentation on
`vagrantup.com` for more information on using Vagrant.
- 仮想マシンを起動する。コマンドプロンプトで以下のとおり実行する。コマンドは仮想マシンを生成したフォルダにて実行する。
C:\Users\User\VM\CentOS_x64_001>vagrant up
Bringing machine 'default' up with 'virtualbox' provider...
==> default: Importing base box 'CentOS7_x64'...
==> default: Matching MAC address for NAT networking...
==> default: Setting the name of the VM: entOS7_x64_001_default_1431188304390_64185
==> default: Clearing any previously set forwarded ports...
==> default: Clearing any previously set network interfaces...
==> default: Preparing network interfaces based on configuration...
   default: Adapter 1: nat
==> default: Forwarding ports...
   default: 22 => 2222 (adapter 1)
==> default: Booting VM...
==> default: Waiting for machine to boot. This may take a few minutes...
   default: SSH address: 127.0.0.1:2222
   default: SSH username: vagrant
   default: SSH auth method: private key
   default: Warning: Connection timeout. Retrying...
   default: Warning: Connection timeout. Retrying...
   default:
   default: Vagrant insecure key detected. Vagrant will automatically replace
   default: this with a newly generated keypair for better security.
   default:
   default: Inserting generated public key within guest...
   default: Removing insecure key from the guest if its present...
   default: Key inserted! Disconnecting and reconnecting using new SSH key...
==> default: Machine booted and ready!
==> default: Checking for guest additions in VM...
==> default: Mounting shared folders...
   default: /vagrant => C:/Users/Masayuki/VM/CentOS7_x64_001
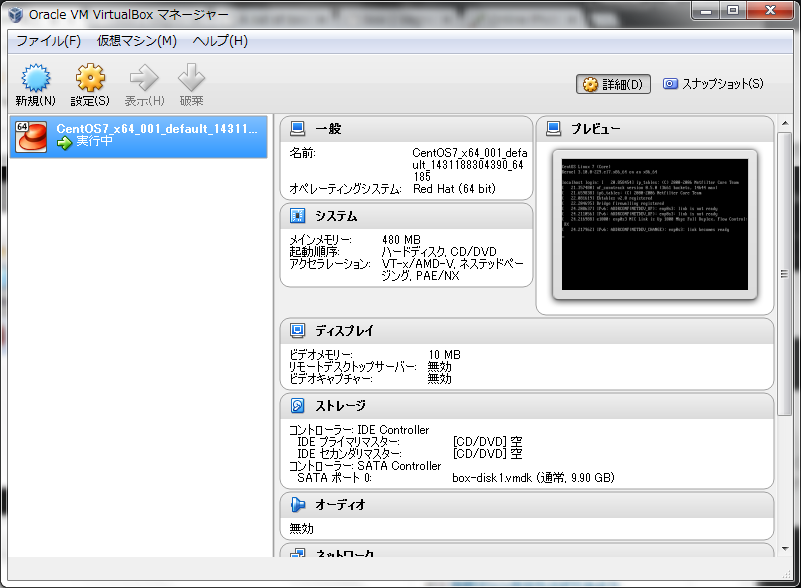
- 仮想マシンの確認。VirtualBoxを起動し、仮想マシンが存在し、"実行中"であることを確認する。
仮想マシンへの接続
vagrant upによって起動した仮想マシンではSSHサーバが起動しているため、ホストからSSHによって接続することが可能である。SSHでの接続方法はvagrantコマンド経由での接続と通常通りのSSHクライアントを起動しての接続がある
vagrantコマンド経由での接続
Windowsがホストマシンの場合、vagrantコマンドは内部的に別のSSHクライアントを呼び出す。そのため、CygwinやMinGWなどでSSHのクライアントがインストールされている必要がある。なお、CygwinやMinGWなどでSSHのクライアントがインストールされていない場合、vagrantコマンド経由で接続しようとすると以下の様な出力を得る。
C:\Users\User\VM\CentOS7_x64_001>vagrant ssh
`ssh` executable not found in any directories in the %PATH% variable. Is an
SSH client installed? Try installing Cygwin, MinGW or Git, all of which
contain an SSH client. Or use your favorite SSH client with the following
authentication information shown below:

Host: 127.0.0.1
Port: 2222
Username: vagrant
Private key: C:/Users/User/VM/CentOS7_x64_001/.vagrant/machines/default/virtualbox/private_key
SSHクライアントを起動しての接続
SSHクライアントを使用して、仮想マシンへ接続する。ここでは、TeraTermを使用する。
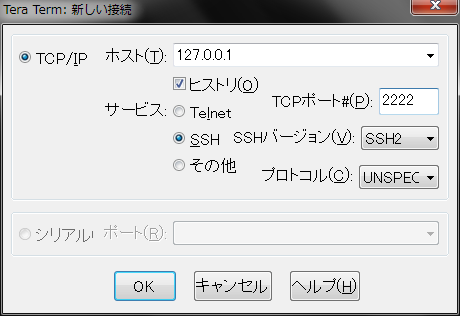
-
TeraTermを起動する。ホストに"127.0.0.1"、サービスに"SSH"、TCPポートに"2222"、SSHバージョンに"SSH2"を入力する。
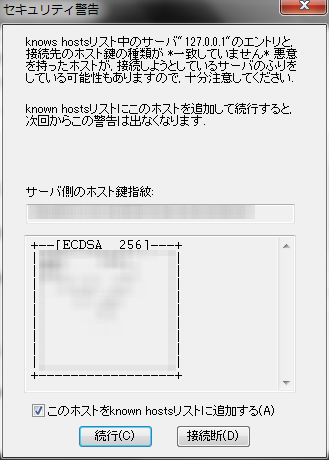
-
セキュリティ警告のダイアログが表示されるので、"このホストをknown hostsリストに追加する(A)"のチェックボックスをオンにして[続行]をクリックする。
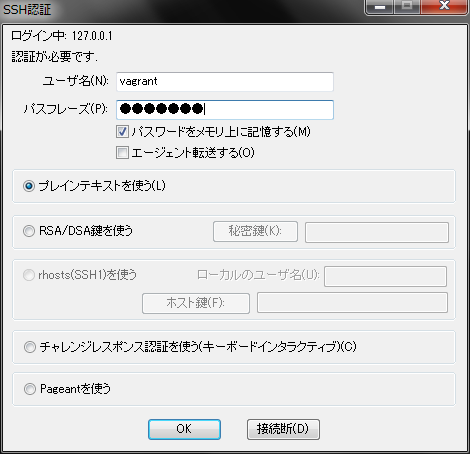
-
SSH認証のダイアログが表示されるので、ユーザ名に"vagrant"、パスフレーズに"vagrant"、"プレインテキストを使う(L)"のラジオボタンをオンにして[OK]をクリックする。
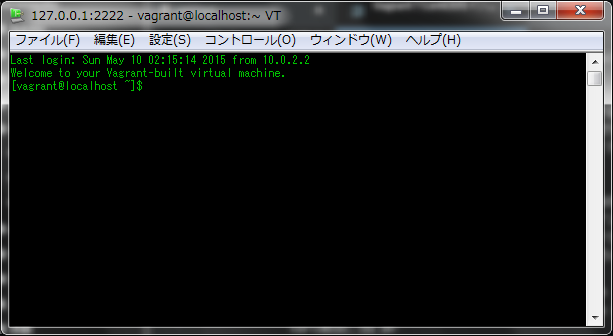
-
SSH接続完了
以上