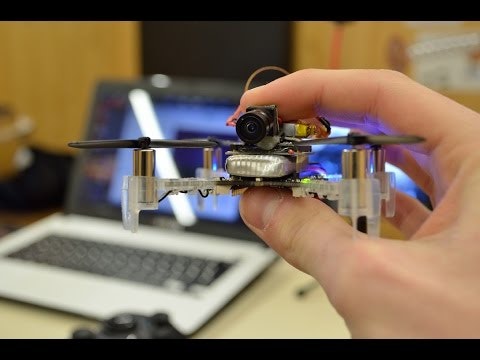
Crazyflieとは
SWEのbitcraze.io社が発売する小型の__ドローン__。機能は必要最低限だが、ソフトウェアがオープンソースで提供されており完成度が高い。操作用のスマホアプリ有り。ROS用のドライバーなども提供されている。
目的
UbuntuからCrazyflieに接続して、センサデータの取得及び操作を行う。Githubの方を見ていくとわかるけど、Wikiの方には記載が見つからなかった。
筆者の環境及びデバイス
- Ubuntu 14.04 64bit
- Crazyflie 2.0 ($180)
- Crazyradio PA ($30。Crazyradio自体は生産終了らしい)
使い方
Crazyradioの接続
- CrazyradioをPCのUSBポートに接続
- 接続確認
$ lsusb | grep Nordic
- udevルールの設定
/etc/udev/rules.d/99-crazyradio.rulesを以下のように作成
SUBSYSTEM=="usb", ATTRS{idVendor}=="1915", ATTRS{idProduct}=="7777", MODE="0664", GROUP="plugdev"
SUBSYSTEM=="usb", ATTRS{idvendor}=="1915", ATTRS{idProduct}=="0101", MODE="0664", GROUP="plugdev"
- USB設定
sudo groupadd plugdev
sudo usermod -a -G plugdev <username>
Python Clientの導入
Githubの説明通り以下の作業を行う
- crazyflie-lib-pythonのインストール
$ sudo apt-get install python3 python3-pip python3-pyqt4 python3-zmq
$ sudo pip3 install pyusb==1.0.0b2    (Ubuntu14.04の場合)
$ sudo pip3 install pyqtgraph appdirs
$ git clone https://github.com/bitcraze/crazyflie-lib-python.git
$ cd crazyflie-lib-python
$ sudo pip3 install -e .
- crazyflie-clients-pythonのインストール
$ git clone https://github.com/bitcraze/crazyflie-clients-python.git
$ sudo pip3 install -e .
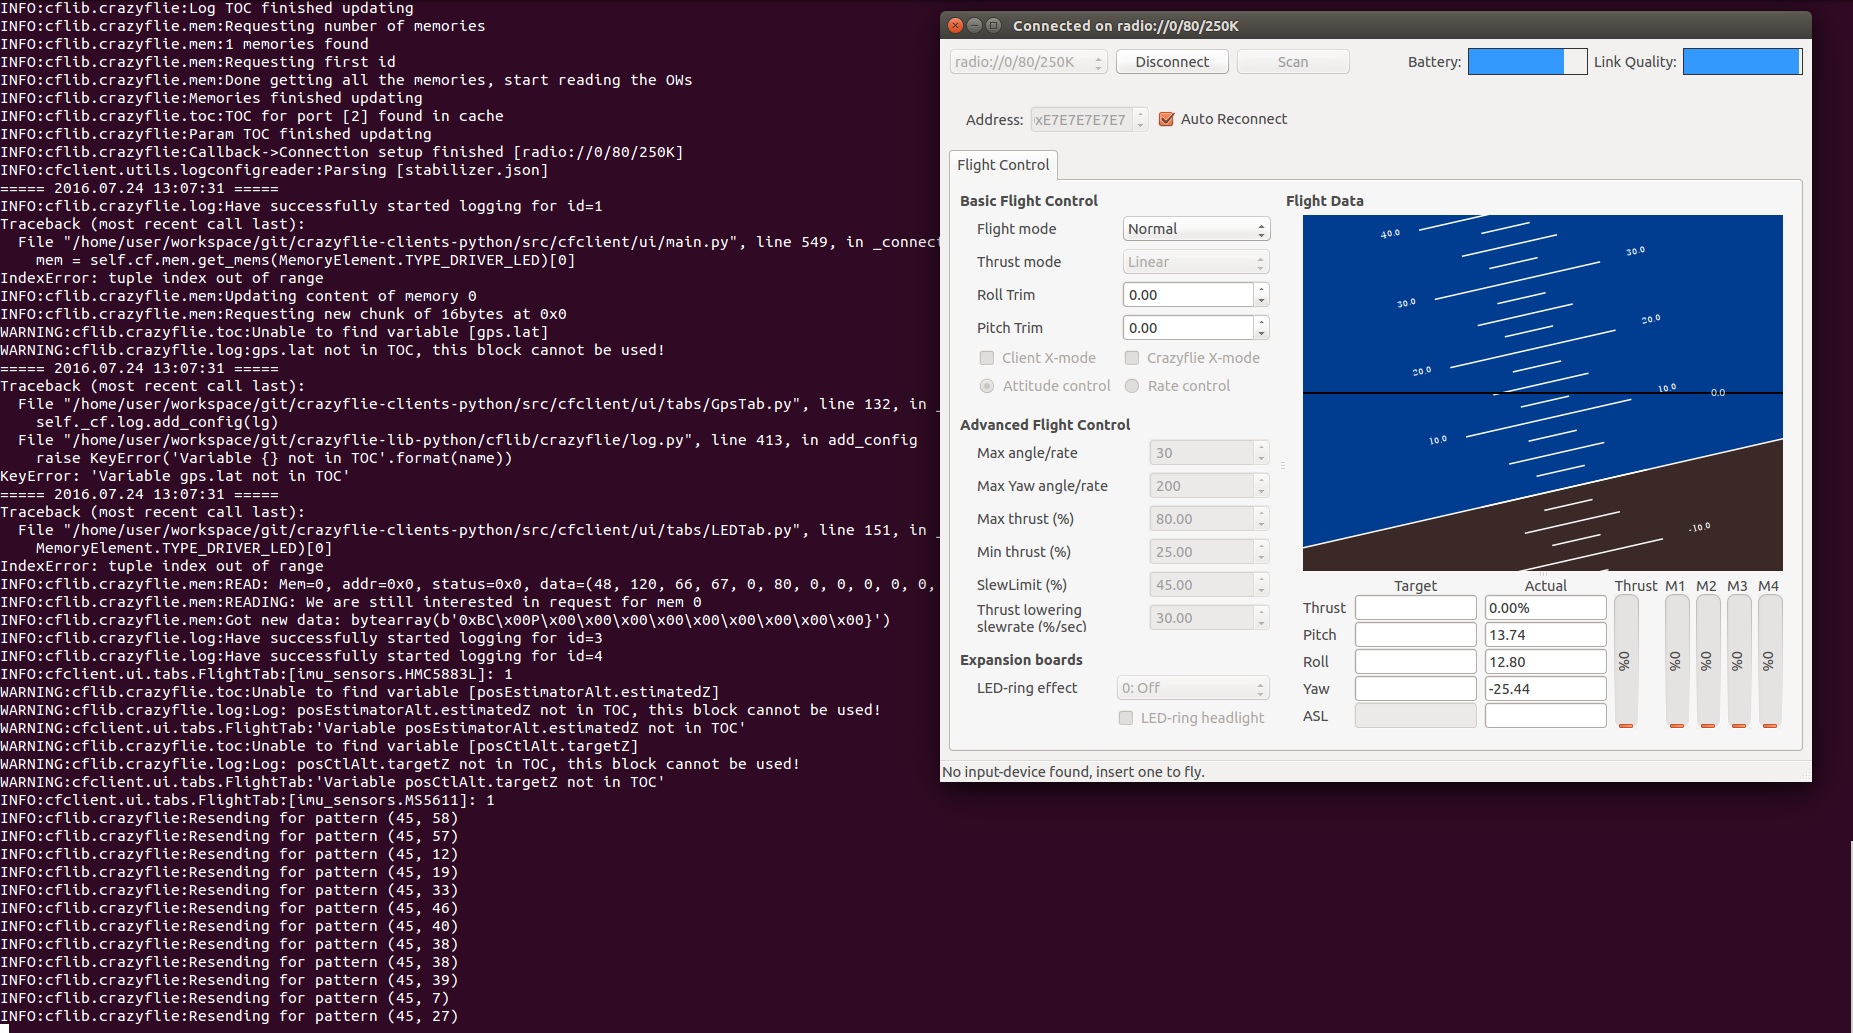
- 実行
$ cfclient

