はじめに
Oculus RiftとかViveをかぶっているとUnityを再生するのがとてもつらいですね。画面見えないし、キーボードも見えないのでCtrl + Pしづらい。
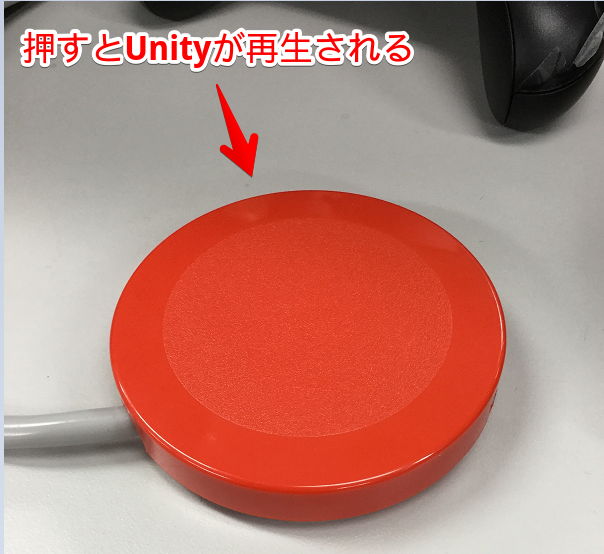
そんなとき、物理ボタンを押してUnityの再生ができれば便利なのではないかと思ってUnityを再生させる物理ボタンを作ってみました。
環境
この記事ではVisual Studio 2015 Communityを使います。
UnityのバージョンはUnity5.3.5f1
OSは Windows 10です。
ボタンを押してからUnityエディタを再生させるまでの流れ
物理ボタンの入力をArduinoで検出してデータ送信
-> データを受信したWindowsアプリ側で Ctrl + P キーストロークを発行
-> Unityエディタが再生される( エディタ再生のショートカットキーがCtrl + Pなので)
1. 用意するもの
フットスイッチ プラスチック赤
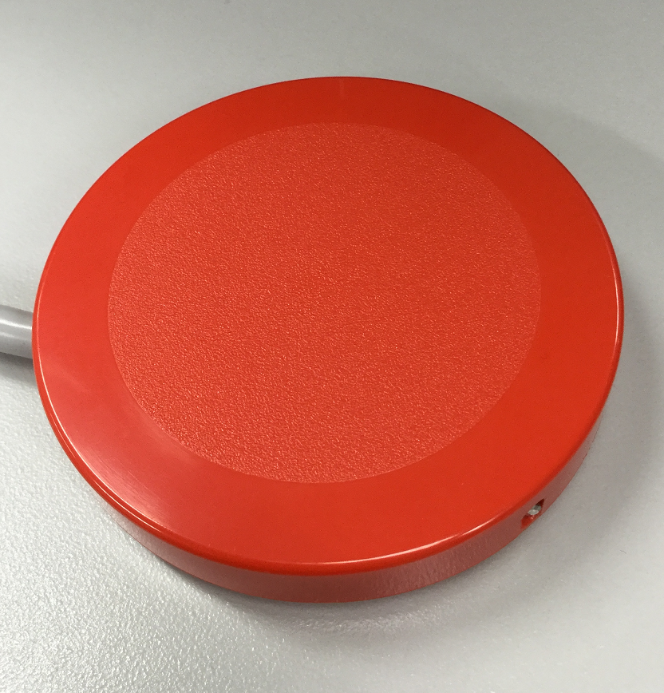
筆者は秋葉原のヒロセテクニカルで購入しました。 Googleマップ
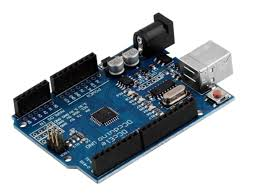
Arduino Uno
わにぐちクリップ (スイッチとArduinoの接続用)
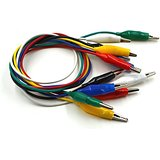
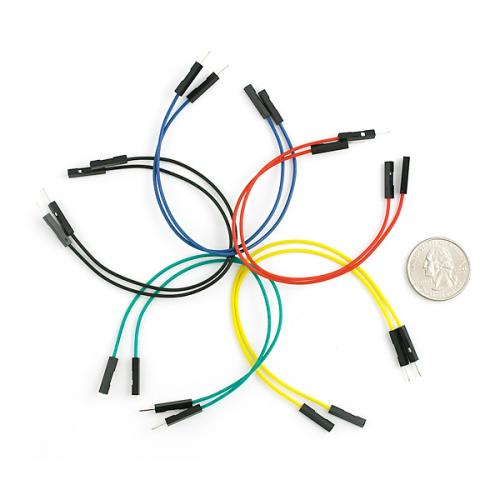
ジャンプワイヤ (スイッチとArduinoの接続用)
2. Arduino側の準備
スケッチ
以下のようなスケッチをArduinoに書き込んでやります。
const int buttonPin = 12;

void setup() {
  Serial.begin(9600);
  pinMode(buttonPin, INPUT_PULLUP);
}

void loop() {
  int buttonState = digitalRead(buttonPin);
  if (buttonState == LOW) {
    Serial.println("Enter!!");
    delay(200);
  }
}
スケッチはこちらの記事(http://qiita.com/ie4/items/7c6764469f3d41c93a19) からお借りしました (ほぼパクリ)
配線
以下の図のようにデジタルピンの12番、GNDとボタンをつなぎます。
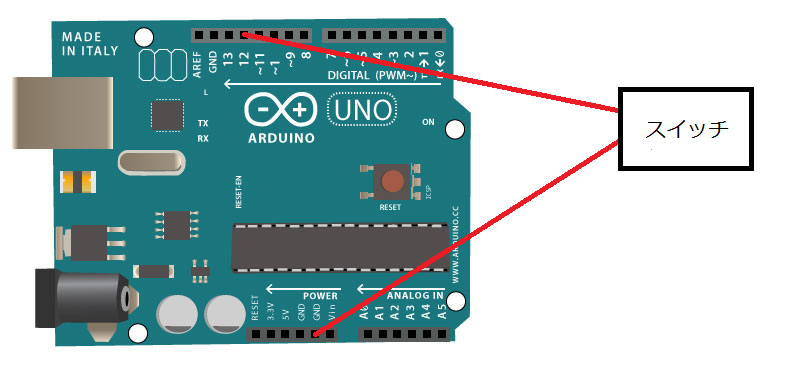
↑ かなり雑な回路図
マイコンボードに書きめばArduino側の準備は完了です。
動作確認
PC側に移る前に動作確認をしておきましょう。
まず、メニュー -> シリアルモニタをクリックして シリアルモニタを開きます。
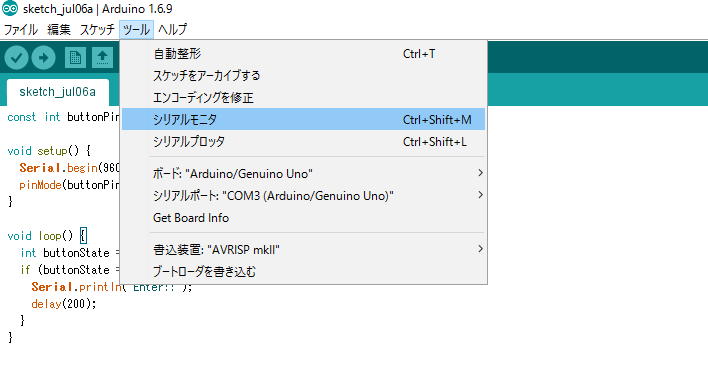
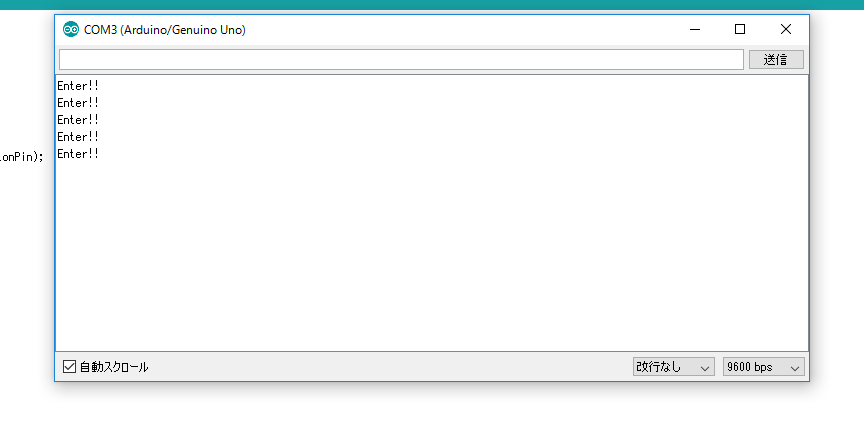
ボタンを押して Enter!! が出てくればOKです。
次にPC側のアプリケーションを作っていきます。
3. PC側の準備
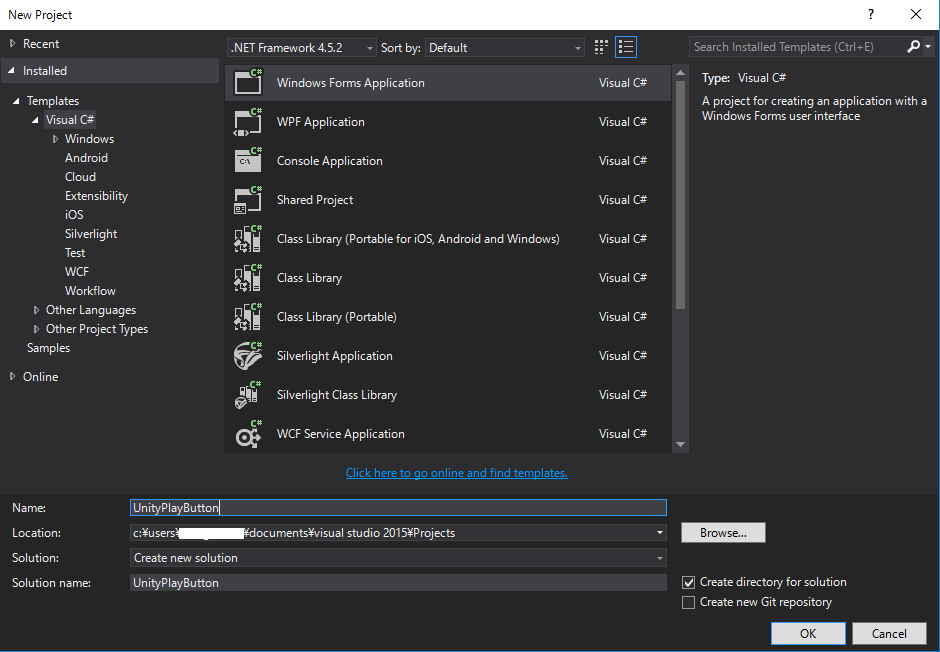
新規プロジェクトの作成
Visual C# -> Windows Form Applicationを選択。 プロジェクト名を UnityPlayButton にしてOKをクリック。
OKをクリックすると以下のようなWindowsフォームデザイナが開かれます。
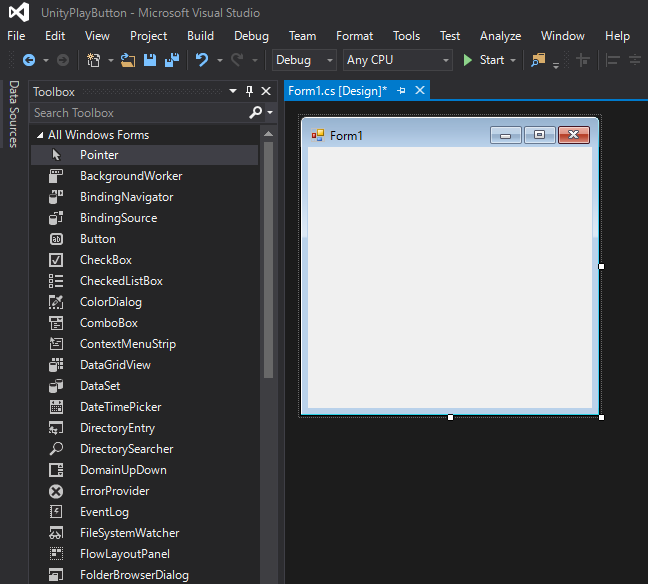
このフォームを編集してアプリケーションを作っていきます。
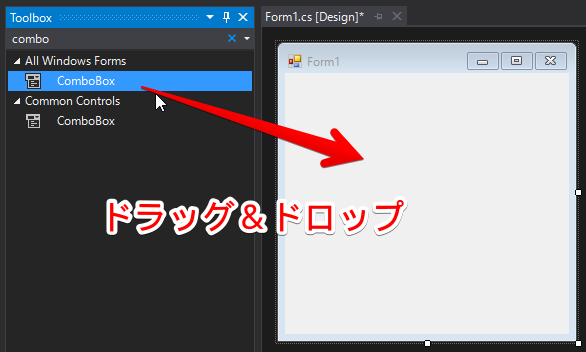
フォームの作成
まず、ComboBoxをドラッグ&ドロップしてフォームへ配置します.
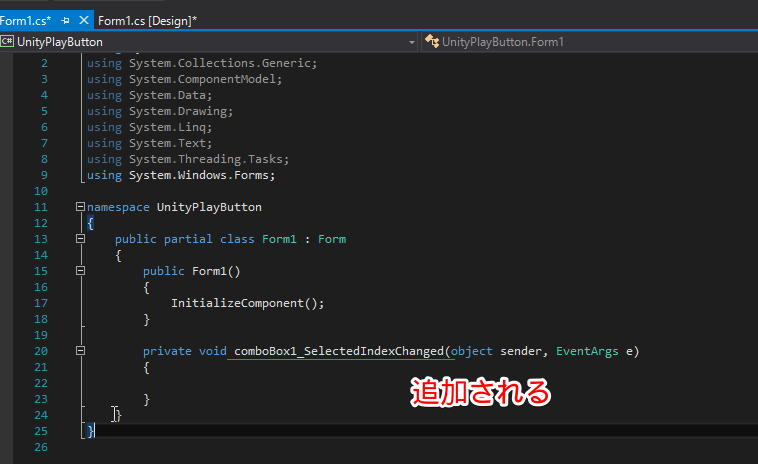
ComboBoxをダブルクリックします。
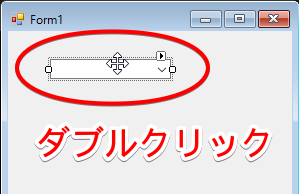
コードが追加されます。
Shift + F7 を押してWindowsフォームデザイナーへ戻ります。
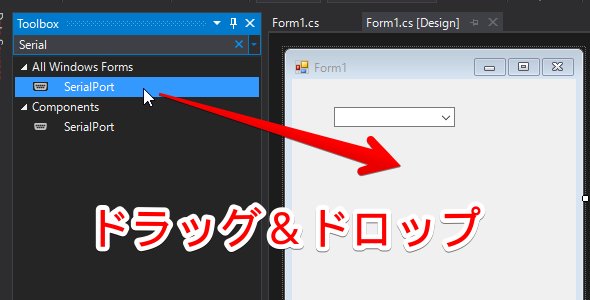
SerialPortをドラッグ&ドロップしてフォームへ配置します
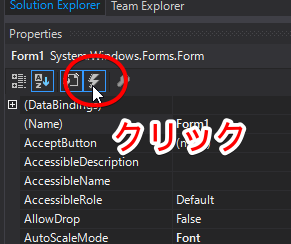
Propertiesウィンドウの稲妻マークをクリック。
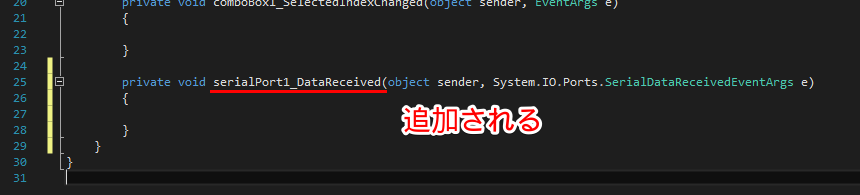
DataReceived をダブルクリック
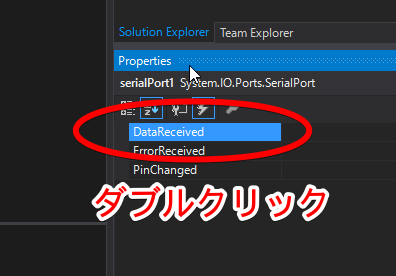
コードが追加されます。
以上でフォームの編集は終わりです。 次にコードを書いていきます。
ソースコード
まず、Form1.csを以下のように書き換えます。
using System;
using System.Windows.Forms;
using System.IO.Ports;

namespace UnityPlayButton
{
    public partial class Form1 : Form
    {
        public Form1()
        {
            InitializeComponent();
            comboBox1.DropDownStyle = ComboBoxStyle.DropDownList;
            string[] ports = SerialPort.GetPortNames();
            foreach (string port in ports)
            {
                comboBox1.Items.Add(port);
                Console.WriteLine(port);
                comboBox1.SelectedItem = port;
                serialPort1.Close();
                serialPort1.PortName = port;
                serialPort1.Open();
            }
        }

        private void serialPort1_DataReceived(object sender, System.IO.Ports.SerialDataReceivedEventArgs e)
        {
            try
            {
                string data = serialPort1.ReadLine();
                if (!string.IsNullOrEmpty(data))
                {
                    if (ActiveWindow.GetActiveWindowName() == "Unity")
                    {
                        // Unityのウィンドウを選択していたらCtrl + P する
                        SendKeys.SendWait("^p");
                    }
                }
            }
            catch (Exception ex)
            {
                MessageBox.Show(ex.Message);
            }

        }

        private void comboBox1_SelectedIndexChanged(object sender, EventArgs e)
        {
            serialPort1.Close();
            string port = (String)comboBox1.SelectedItem;
            Console.WriteLine(port);
            serialPort1.PortName = port;
            serialPort1.Open();
        }
    }
}
次に以下のようなActiveWindow.csを作成します。 現在フォーカスが乗っている(アクティブになっている)ウィンドウの名前を
取得するクラスです。 名前はテキトーです(いい名前が思いつかなかった)
using System;
using System.Windows.Forms;
using System.Diagnostics;
using System.Runtime.InteropServices;

namespace UnityPlayButton
{
    class ActiveWindow
    {
        [DllImport("user32.dll")]
        public static extern IntPtr GetForegroundWindow();
        [DllImport("user32.dll")]
        public static extern int GetWindowThreadProcessId(IntPtr hWnd, out int lpdwProcessId);

        // 現在アクティブになっているウィンドウの名前を取得
        public static string GetActiveWindowName()
        {
            int id;
            IntPtr hWnd = GetForegroundWindow();
            GetWindowThreadProcessId(hWnd, out id);
            return Process.GetProcessById(id).ProcessName;
        }
    }
}
以上でコードの編集は終わりとなります。 実際に動かしてみましょう。
動かしてみる
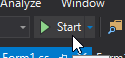
Startボタンをクリックするとアプリケーションが起動します.
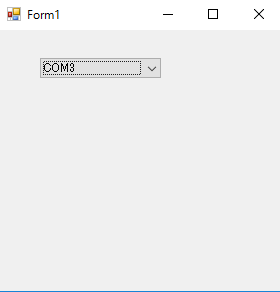
以下のようなウィンドウが出てくればOKです。
そしてこのアプリケーションを動かした状態のまま、Unityへ移ります。
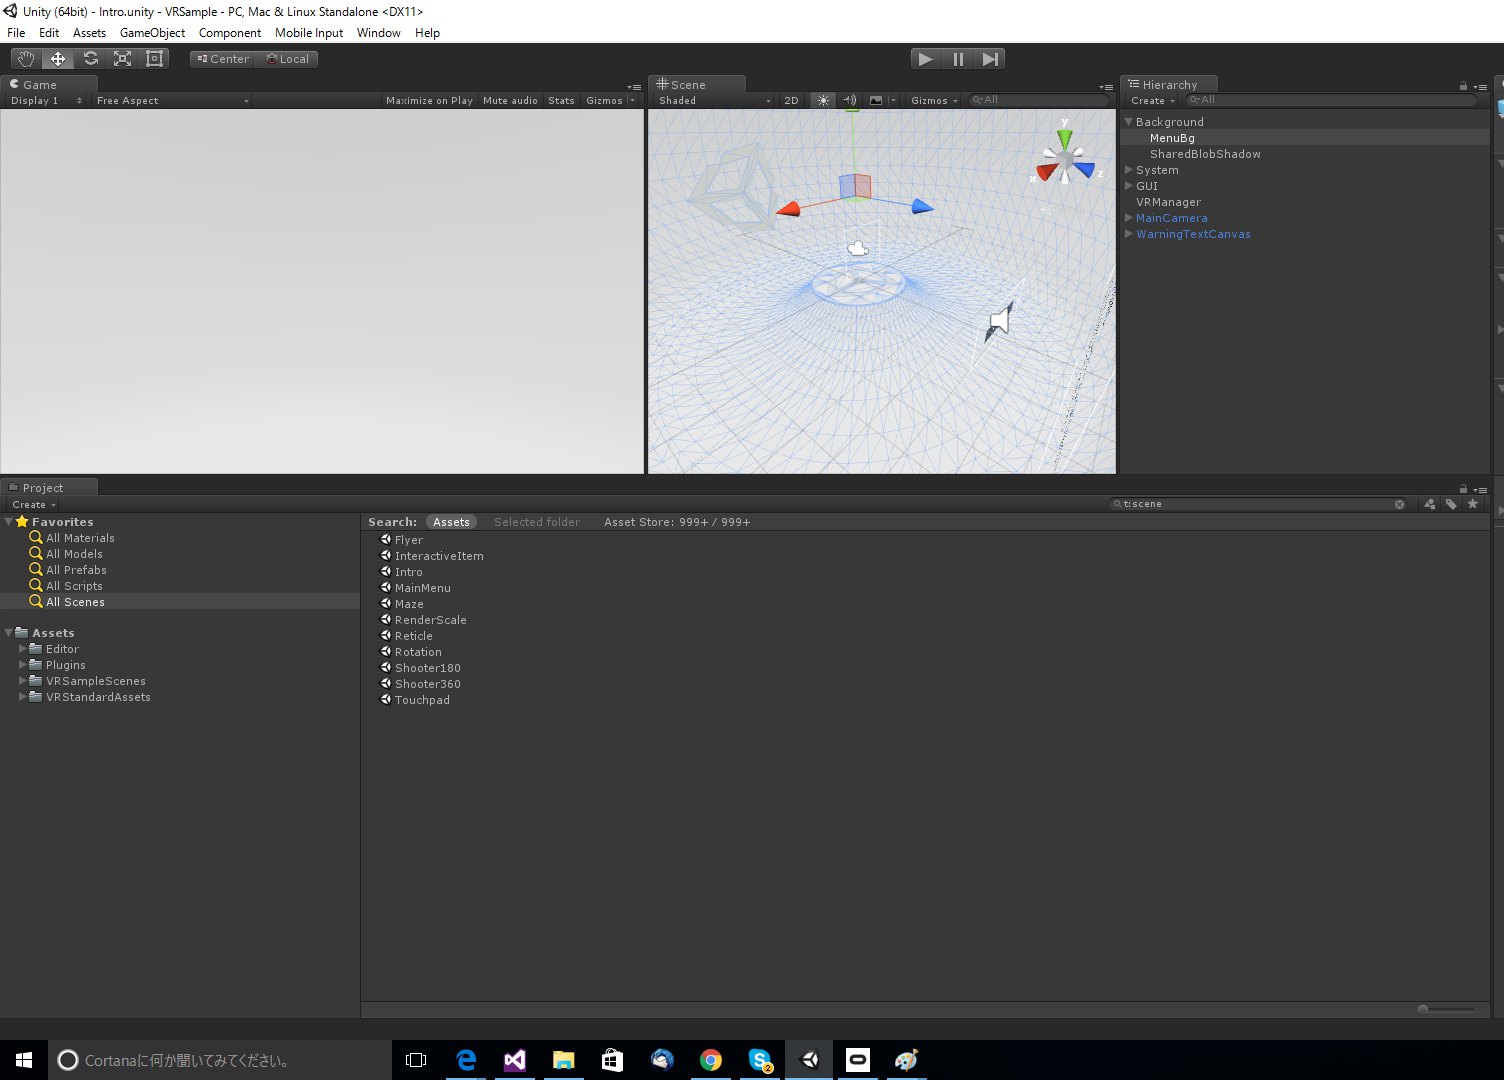
↑Unityエディタ。
物理ボタンを押すとエディタが再生されます(完)
参考URL
Arduinoで物理ボタンを作る (目立つボタンで「ッターーン!」しよう
http://qiita.com/ie4/items/7c6764469f3d41c93a19