概要
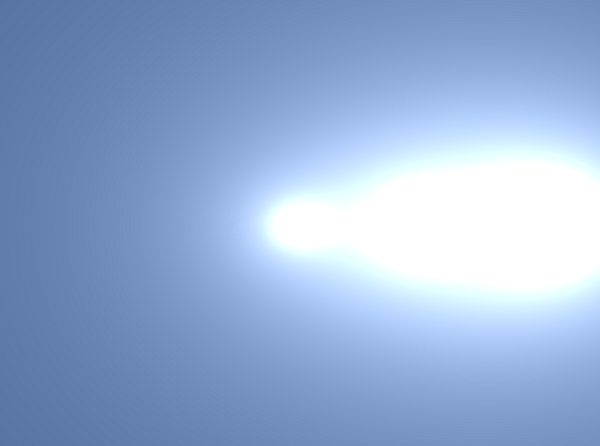
下のようなレーザーをUnity5のカスタムイメージエフェクトを作って描画させる方法を説明します。
カスタムイメージエフェクトについては以下のサイトで詳しく説明されていると思います。
【Unity】カスタムイメージエフェクトのつくりかた ( http://fspace.hatenablog.com/entry/2015/08/11/185815 )
ちなみにUnityのバージョンは5.2.0b3(Pro)です。
準備
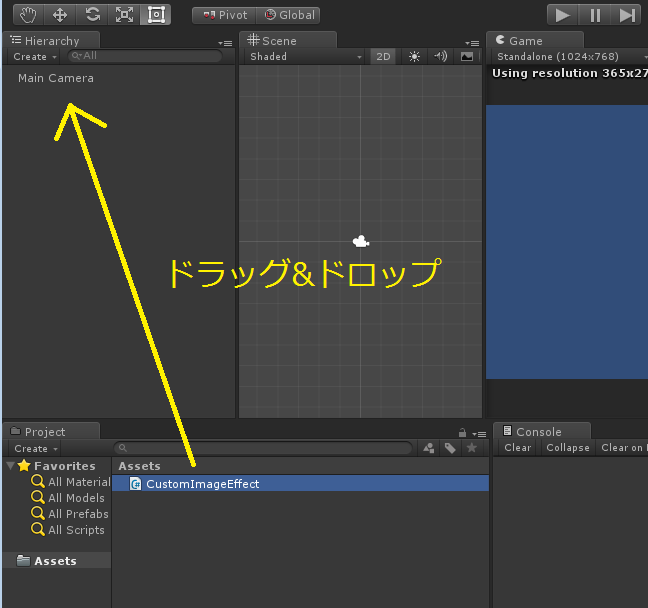
まず、以下のスクリプトを作成し、カメラにアタッチします
using UnityEngine;

public class CustomImageEffect : MonoBehaviour
{
   public Material material;
   void OnRenderImage(RenderTexture source, RenderTexture destination)
   {
       Graphics.Blit(source, destination , material);
   }
}
シェーダーを作る
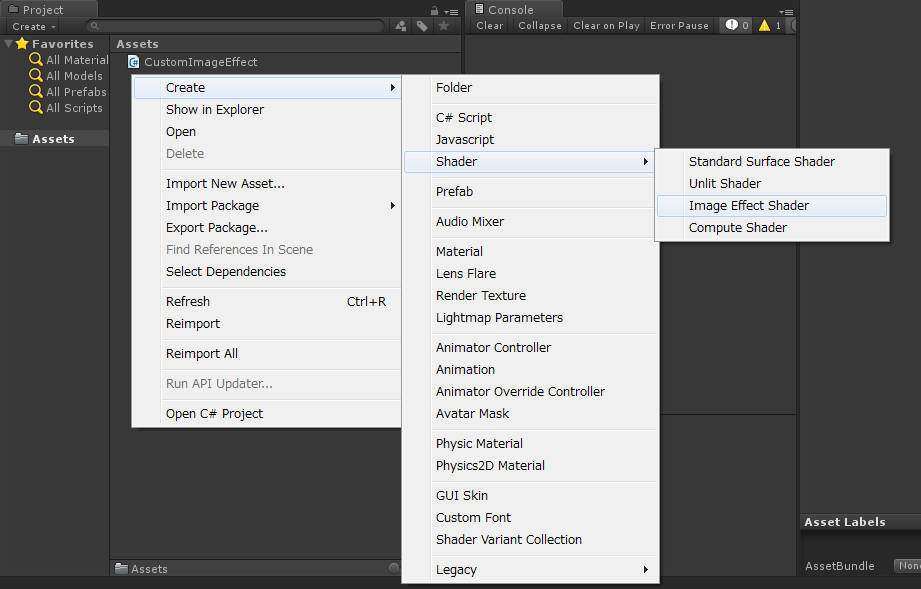
Projectビューで右クリック → Create/Shader/Image Effect Shader を選択
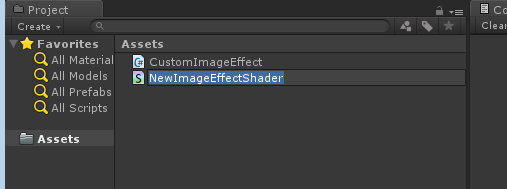 「NewImageEffectShader.shader」というファイルが作られるのでこれの名前を「LaserBeam.shader」に変えます。
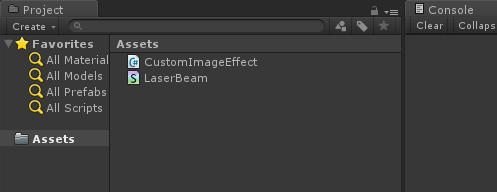 「LaserBeam.shader」のできあがり。
マテリアルを作る
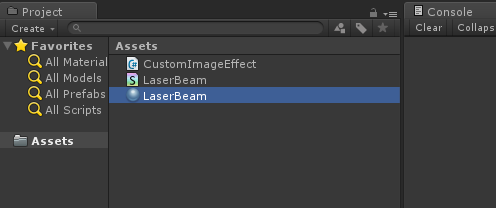
Materialを作り、名前を「LeaderBeam」に変えます
マテリアルにシェーダーをアタッチする
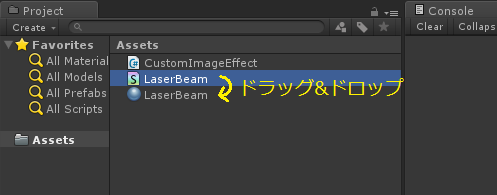
「LaserBeam.shader」を「LaserBeam.material」へドラッグ&ドロップしてアタッチします。
マテリアルをアタッチする
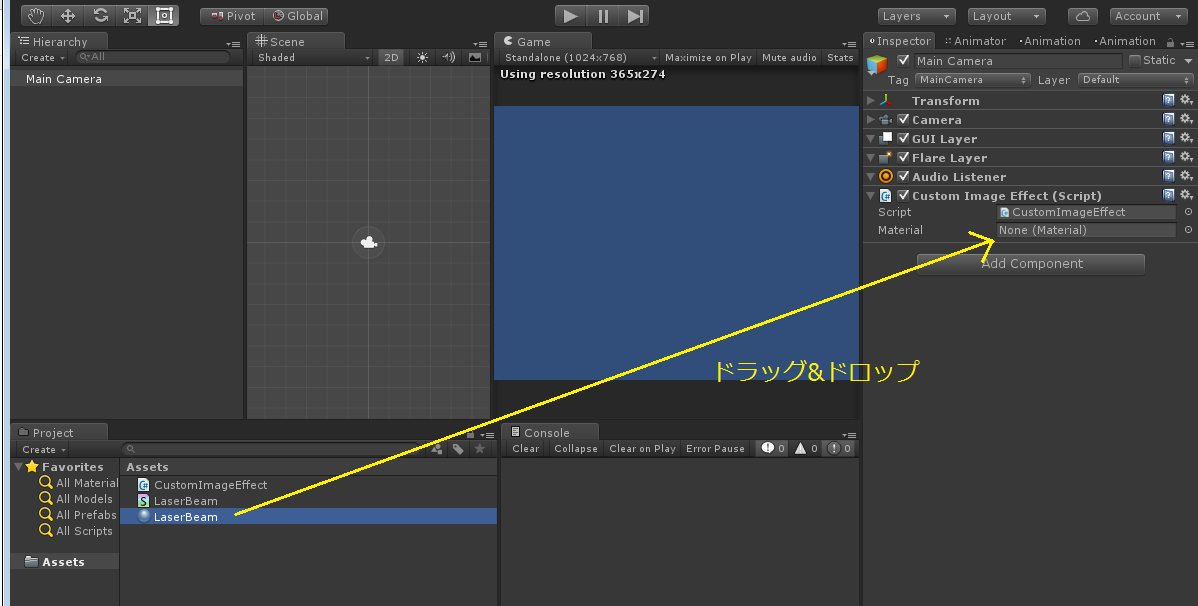
「LaserBeam.material」を先ほどカメラにアタッチした「CustomImageEffect」にアタッチします

こうなればOK
これでシェーダーを使ってカメラのレンダリング結果をいじる準備ができました。 次に実際にシェーダーを書いていきます。
# シェーダーを書き換える 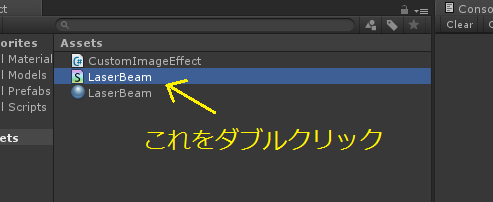 先ほど作った「LaserBeam.shader」を開きます。
・・・・
fixed4 frag (v2f i) : SV_Target
{
    fixed4 col = tex2D(_MainTex, i.uv);
    // just invert the colors
    col = 1 - col;
    return col;
}
・・・・・
40行目あたりに上のコードがあるので、ここを以下のように書き換えます。
・・・・
float metaball(float2 uv, float2 center, float2 size)
{
	return size / length(uv - center);
}
fixed4 frag (v2f i) : SV_Target
{
	fixed4 col = tex2D(_MainTex, i.uv);
	float2 center = float2(0.5, 0.5);
	col += metaball(i.uv, float2(0.5, 0.5), 0.02);
	col += metaball(i.uv, float2(0.7, 0.5), 0.04);
	col += metaball(i.uv, float2(0.9, 0.5), 0.08);
	return col;
}
・・・・・
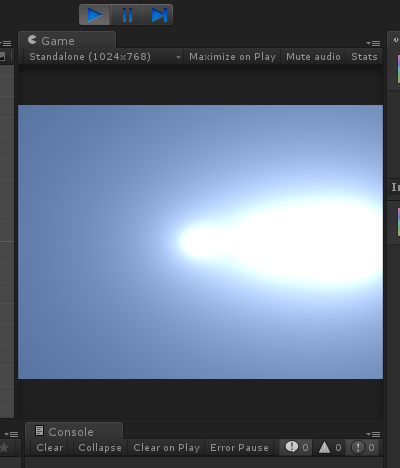
再生ボタンを押して完成
補足
float metaball(float2 uv, float2 center, float2 size)
{
	return size / length(uv - center);
}
上の関数はメタボールを計算する関数です。 uvはUV座標(テクスチャ座標)、centerはメタボールの中心座標、sizeはメタボールの大きさです。
メタボールについてはWikipediaに詳しい説明が載っています。
https://ja.wikipedia.org/wiki/%E3%83%A1%E3%82%BF%E3%83%9C%E3%83%BC%E3%83%AB
col += metaball(i.uv, float2(0.5, 0.5), 0.02);
col += metaball(i.uv, float2(0.7, 0.5), 0.04);
col += metaball(i.uv, float2(0.9, 0.5), 0.08);
ここでは計算したメタボールを足し合わせています。
参考
【Unity】カスタムイメージエフェクトのつくりかた
http://fspace.hatenablog.com/entry/2015/08/11/185815
Wikipedia - メタボール
https://ja.wikipedia.org/wiki/%E3%83%A1%E3%82%BF%E3%83%9C%E3%83%BC%E3%83%AB
