本記事の対象者
・Angular (6.x)
・Onsen UI 2 (2.10.x)
でモバイルアプリ開発を考えている方
概要
「Angular CLI」で作成したプロジェクトに、「Onsen UI 2」を組み込んだモバイルアプリ開発の基盤を作ります。
↓下記リポジトリ参照
https://github.com/puku0x/angular-cli-onsenui
開発環境を作る
1. PhoneGapのインストール
今回はモバイルアプリを作ります。最初にPhoneGapをインストールしてください。
$ npm install -g phonegap
2. Angular CLIのインストール
Angularを使う上で必須のツールです。
忘れずインストールしましょう。
$ npm install -g @angular/cli
3. プロジェクト作成
アプリのプロジェクトを作成しましょう。
$ phonegap create my-app
my-appの部分は自由に設定できます。
4. 不要なファイルの削除
README.mdを削除しましょう。
$ rm my-app/README.md
削除し忘れるとAngular CLIでのプロジェクトの作成に失敗します
5. プロジェクトの上書き
Angular CLIのコマンドで、3.で作成したものと同じ名前のプロジェクトを作りましょう。
$ ng new my-app --style=scss
スタイルシートはscssに変更しておくと良いと思います👍
6. 作業ディレクトリへ移動
生成したプロジェクトの作業ディレクトリに移動します。
$ cd my-app
7. PhoneGapアセットの退避
Angular CLIでのビルド時にwwwディレクトリ以下は消去されてしまいます。
www/resとwww/imgをsrcに退避しましょう。
$ mv www/res src/res
$ mv www/img src/img
8. angular.jsonの変更
該当する部分を以下のように変更してください。
"options": {
  "outputPath": "www",
  <中略>
  "assets": [
    "src/favicon.ico",
    "src/assets",
    "src/res",
    "src/img"
  ],
9. 開発サーバの起動
開発用のサーバを起動します。
$ ng serve -o
ブラウザでlocalhost:4200を開いてアプリの画面が表示されればOKです。
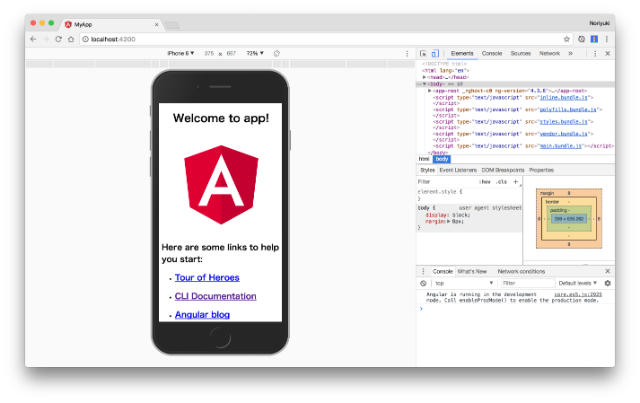
↑開発者ツール(F12)を開いてモバイル表示させたところ
10. 開発サーバの終了
開発中はファイルを変更すると自動で画面を更新してくれます。
ターミナルでCtrl + Cを押すと開発サーバを終了することができます。
11. Onsen UIのインストール
モバイルUIの表示にOnsen UIを使います。
npmでインストールしましょう。
$ npm install onsenui ngx-onsenui
12. AppModuleの修正
OnsenModuleとCUSTOM_ELEMENTS_SCHEMAを追加してください。
import { BrowserModule } from '@angular/platform-browser';
import { NgModule, CUSTOM_ELEMENTS_SCHEMA } from '@angular/core';
import { OnsenModule } from 'ngx-onsenui';

import { AppComponent } from './app.component';

@NgModule({
  declarations: [AppComponent],
  imports: [BrowserModule, OnsenModule],
  providers: [],
  bootstrap: [AppComponent],
  schemas: [CUSTOM_ELEMENTS_SCHEMA]
})
export class AppModule { }
13. styles.scssの修正
Onsen UI関連のCSSをインポートしましょう。
/* You can add global styles to this file, and also import other style files */
@import "~onsenui/css/onsenui.css";
@import "~onsenui/css/onsen-css-components.css";
これでOnsen UIを使う準備ができました。
14. ページを作る
ターミナルで下記のコマンドを実行してください。
$ ng g component page1
15. Page1Componentの修正(1)
テンプレートを修正しましょう。
<ons-toolbar>
  <div class="left"></div>
  <div class="center">Page 1</div>
</ons-toolbar>
<div class="content">
  <p>This is the first page.</p>
  <ons-button>Push page</ons-button>
</div>
16. Page1Componentの修正(2)
セレクタをons-page[page1]に変更しましょう。
import { Component, OnInit } from '@angular/core';

@Component({
  selector: 'ons-page[page1]',
  templateUrl: './page1.component.html',
  styleUrls: ['./page1.component.scss']
})
export class Page1Component implements OnInit {

  constructor() { }

  ngOnInit() {
  }

}
17. AppComponentの修正(1)
テンプレートを以下のように変更しましょう。
<ons-navigator [page]="rootPage"></ons-navigator>
ons-navigatorはページ遷移機能を提供するコンポーネントです。ここでは初期画面を設定しています。
18. AppComponentの修正(2)
rootPageを設定しましょう。
import { Component } from '@angular/core';
import { Page1Component } from './page1/page1.component';

@Component({
  selector: 'app-root',
  templateUrl: './app.component.html',
  styleUrls: ['./app.component.scss']
})
export class AppComponent {
  rootPage = Page1Component;
}
19. entryComponents追加
Page1ComponentをAppModuleのentryComponentsに追加してください。
import { AppComponent } from './app.component';
import { Page1Component } from './page1/page1.component';

@NgModule({
  declarations: [AppComponent, Page1Component],
  entryComponents: [Page1Component],
  <中略>
})
export class AppModule { }
ons-navigatorでの画面遷移時にコンポーネントを動的に読み込むため、entryComponentsを指定してAngularに教える必要があります。
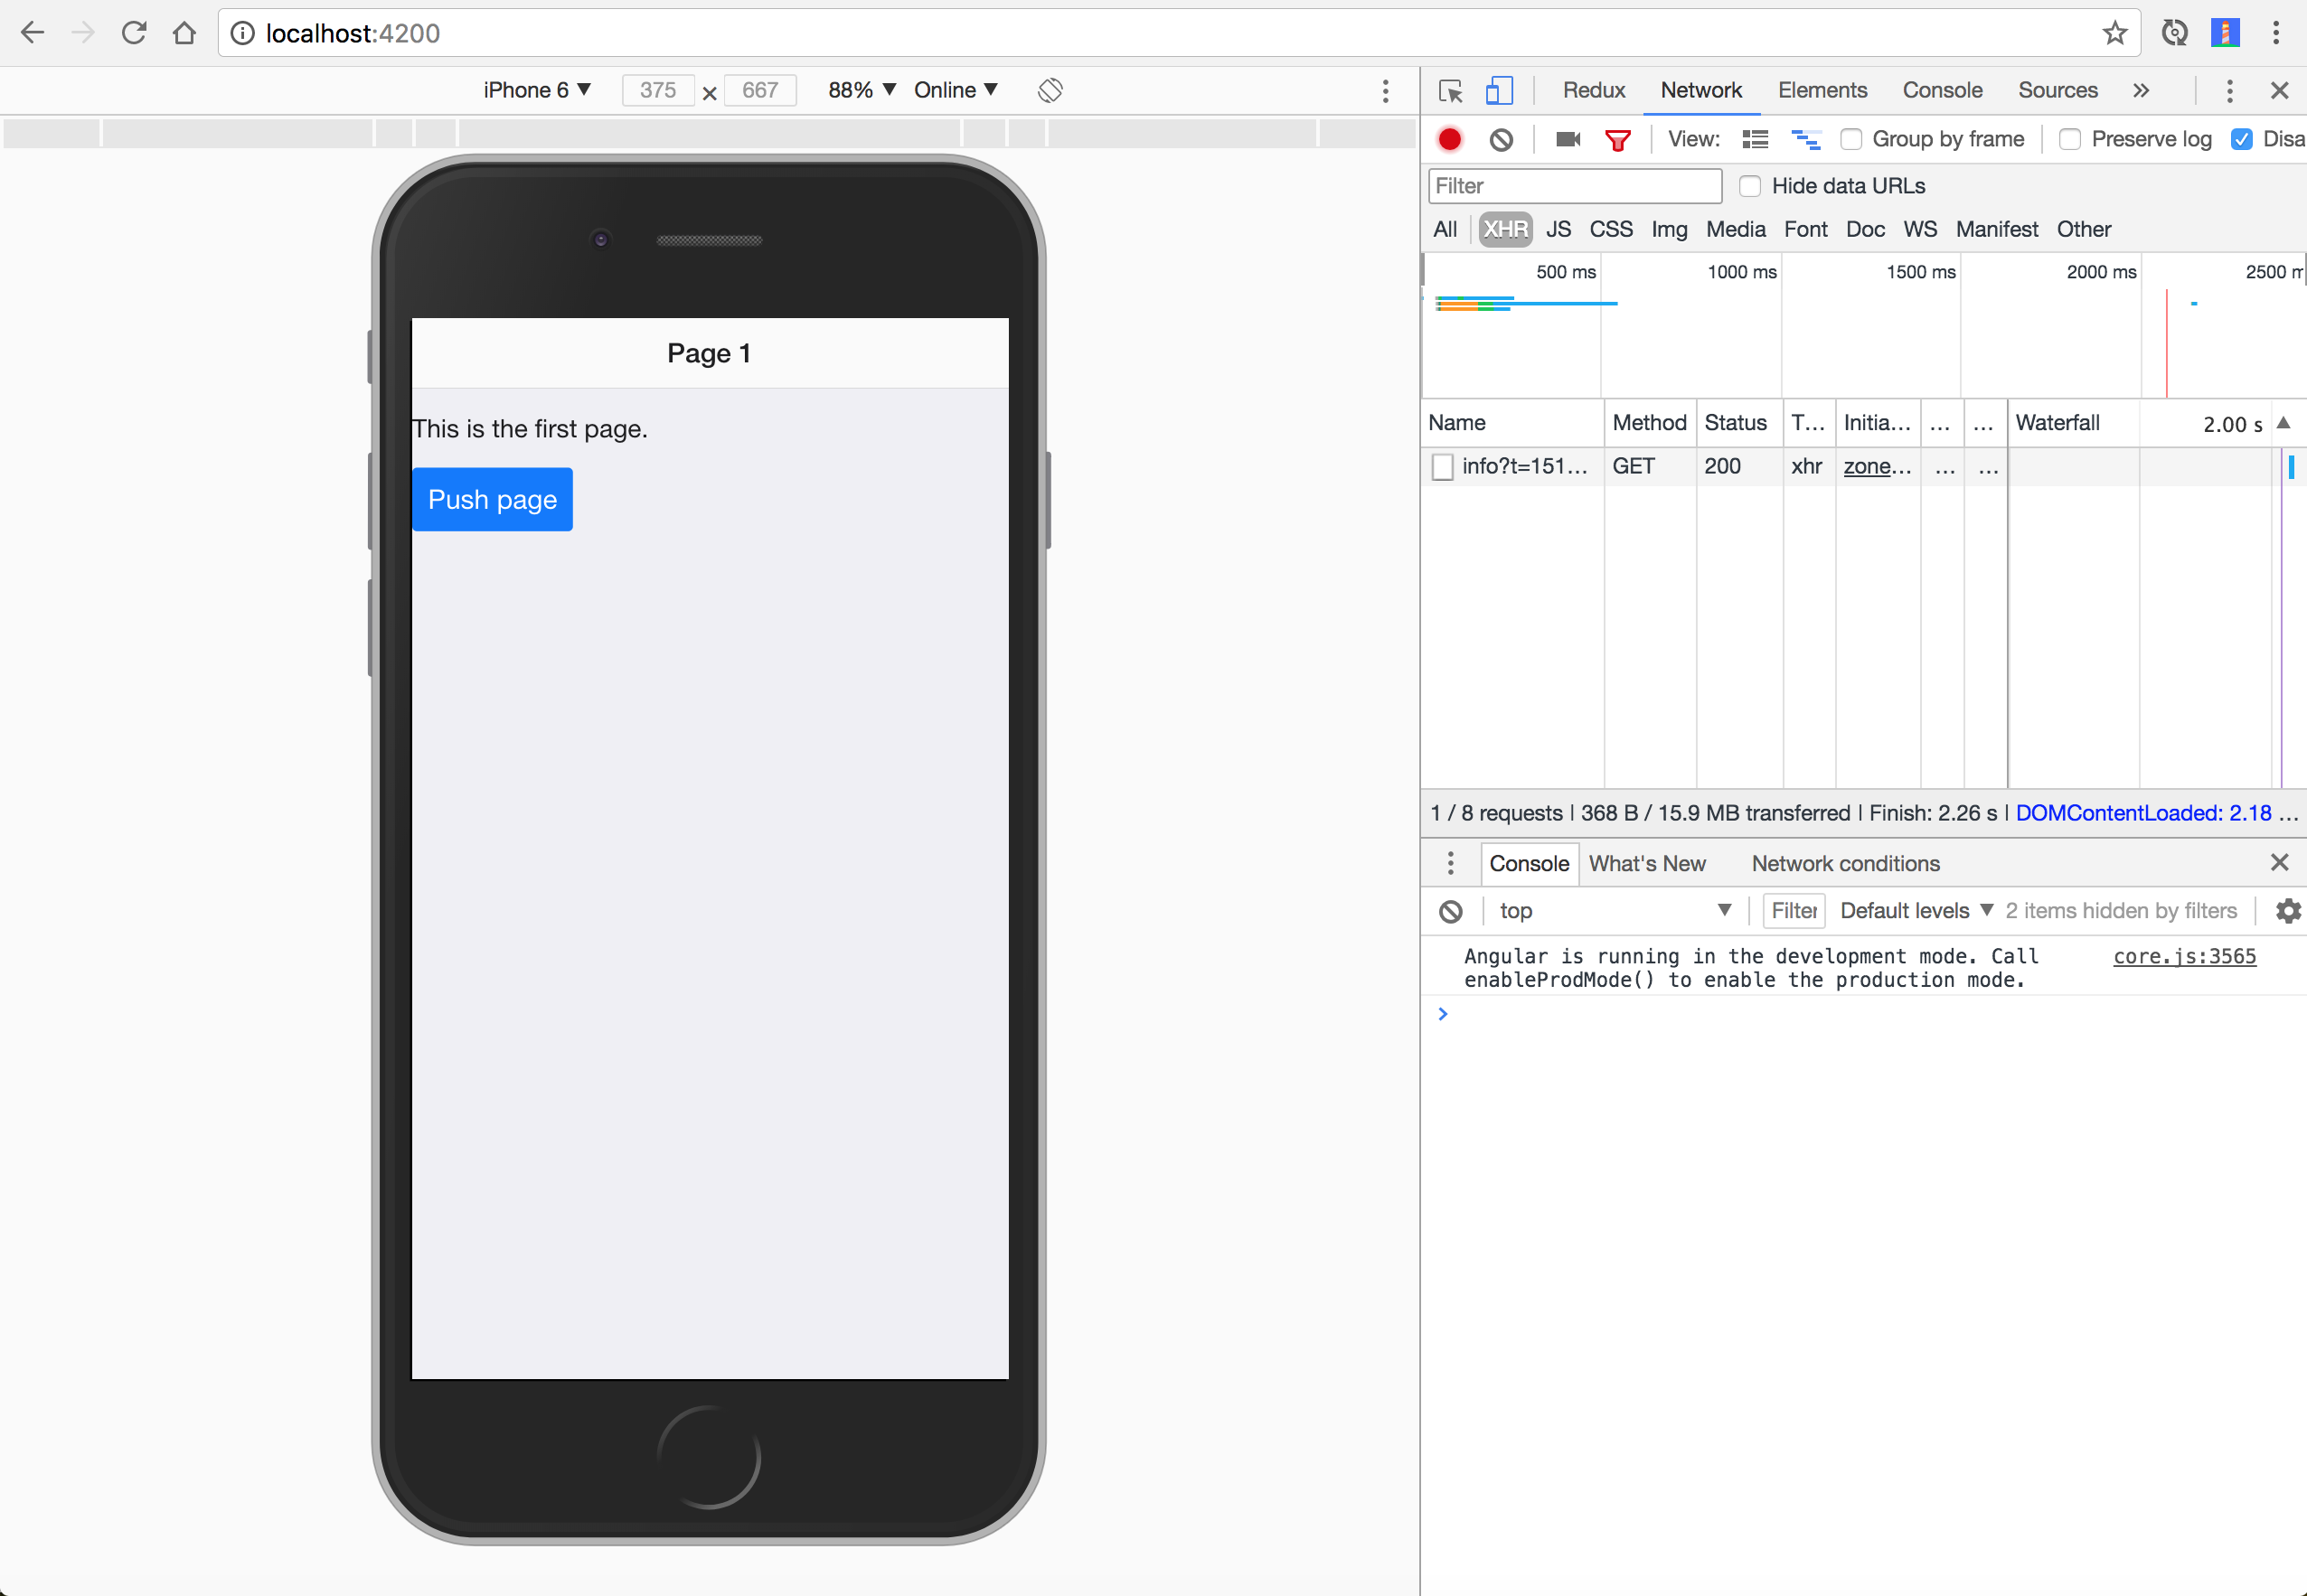
20. 確認
再度開発サーバを起動して、画面にOnsen UIのスタイルが適用されていれば成功です。
開発用アプリで動かそう
21. インストール
モバイル端末に「PhoneGap Developer」をインストールしましょう。
※現在はAppStoreでの配信が停止されています。
22. index.html編集
cordova.jsを追加しましょう。
<!doctype html>
<html lang="en">
<head>
  <meta charset="utf-8">
  <title>MyApp</title>
  <!-- <base href="/"> 削除 -->
  <script type="text/javascript" src="cordova.js"></script>

  <meta name="viewport" content="width=device-width, initial-scale=1">
  <link rel="icon" type="image/x-icon" href="favicon.ico">
</head>
<body>
  <app-root></app-root>
</body>
</html>
23. ビルド(+ウォッチ)
Ctrl+Cでサーバを止め、下記のコマンドを実行してください。
$ ng build --watch
ファイルの変更が発生した場合に自動で再ビルドされ、/www に出力されます。
24. PhoneGapサーバの起動
新しいターミナルで下記コマンドを実行後、
$ phonegap serve
PhoneGap Debuggerアプリで開発PCのIPアドレス:3000開いてください。
ブラウザでlocalhost:3000を開いても良いです。
20.と同じ画面が表示されていれば成功です。
終わり
お疲れ様でした!
これでAngular CLIのプロジェクトでOnsen UIを利用する準備ができました。
これだけでは物足りない!という方は
https://github.com/puku0x/angular-cli-onsenui
を参考にページ遷移も実装してみましょう!!
補足
ng serveとphonegap serveどっちを使うの?
→ 普段の開発ではng serveを使ってください。
phonegap serveは実機で動かす時用です。
Cordovaじゃダメなの?
→ デバッガアプリを使わないならCordovaでOK
Onsen UIの他コンポーネントはどう使うの?
→ つ https://ja.onsen.io/v2/docs/angular2.html