Spring 2014時点ではまだpilotなのでDE環境でしか動作しませんが、Apexからモバイルアプリにプッシュ通知を送るAPIが追加されていますので、使ってみます。
証明書の準備と登録
ここでは詳しくは説明しませんが、プッシュ通知用にAppleから発行される証明書が必要です。
こちらなどを参照→Apple Push Notification Serviceを使ってiOSにプッシュ通知をするために必要な証明書の準備方法
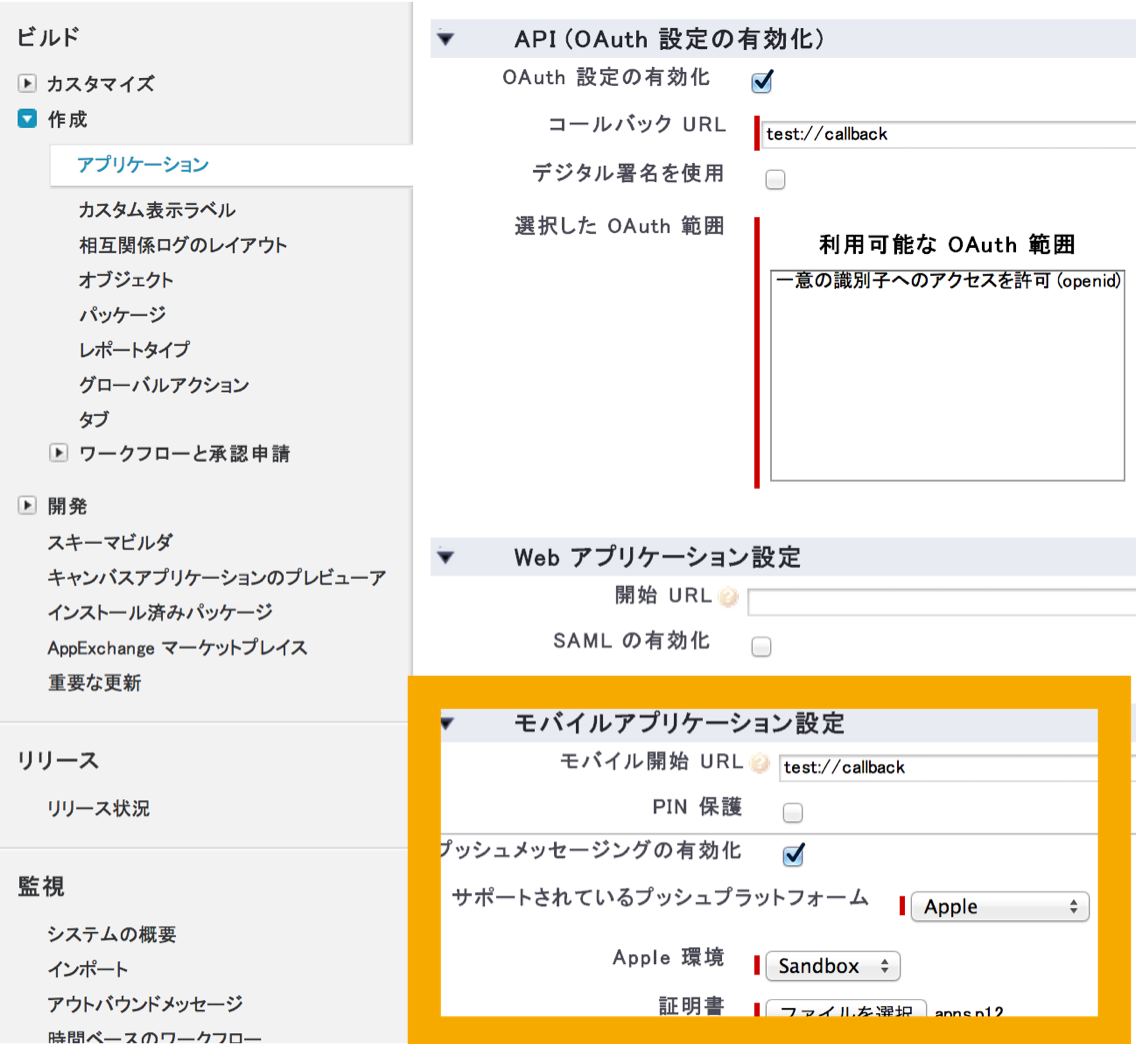
取得した証明書を、「作成 > アプリケーション > 接続アプリケーション」から、「モバイルアプリケーション設定」で登録します。
アプリ側の実装
アプリ起動時にプッシュ通知を有効化し、プッシュ通知用のdeviceTokenが発行されたら後で認証後に使うので保持しておきます。
SEAppDelegate.m
- (BOOL)application:(UIApplication *)application didFinishLaunchingWithOptions:(NSDictionary *)launchOptions
{
    // プッシュ通知を有効化
    [application registerForRemoteNotificationTypes:(UIRemoteNotificationTypeNewsstandContentAvailability | UIRemoteNotificationTypeAlert | UIRemoteNotificationTypeBadge | UIRemoteNotificationTypeSound)];

    // Override point for customization after application launch.
    return YES;
}

-(void)application:(UIApplication *)application didRegisterForRemoteNotificationsWithDeviceToken:(NSData *)deviceToken
{
    NSLog(@"token=%@", deviceToken);
    // 認証後に紐づけるのでtokenを保持
    self.deviceToken =  [[[deviceToken description] stringByTrimmingCharactersInSet:[NSCharacterSet characterSetWithCharactersInString:@"<>"]] stringByReplacingOccurrencesOfString:@" " withString:@""];
}
端末毎に発行されるプッシュ通知用のtokenを、サーバに登録します。
※MobileSDKを使わない場合のdeviceToken登録方法はドキュメントに記載がないのでMobileSDKのソースを追っかけて解析
SEDetailViewController.m
-(BOOL)webView:(UIWebView *)webView shouldStartLoadWithRequest:(NSURLRequest *)request navigationType:(UIWebViewNavigationType)navigationType
{
    // 【ここまで認証用のコード省略】

    // プッシュ通知用のtokenを登録
    SEAppDelegate *app = (SEAppDelegate *)[UIApplication sharedApplication].delegate;

    NSString *url = [authInfo[@"instance_url"] stringByAppendingString:@"/services/data/v29.0/sobjects/MobilePushServiceDevice"];
    NSMutableURLRequest *req = [[NSMutableURLRequest alloc] initWithURL:[NSURL URLWithString:url]];
    req.HTTPMethod = @"POST";
    req.HTTPBody = [NSJSONSerialization dataWithJSONObject:@{@"ConnectionToken":app.deviceToken, @"ServiceType":@"Apple"} options:0 error:nil];
    [req setValue:@"application/json" forHTTPHeaderField:@"Content-Type"];

    NSURLSessionDataTask *registerToken = [session dataTaskWithRequest:req completionHandler:^(NSData *data, NSURLResponse *response, NSError *error) {
        if (error) {
            NSLog(@"ERROR: %@", error.localizedDescription);
        }
    }];
    [registerToken resume];

    return NO;
}
テスト送信
開発者コンソールのExecute Anonymousからテストメッセージを送ってみます。
※ユーザID指定で送るので、アプリでログインしたのと同じユーザで実行してUserInfo.getUserId()で取得しています。
Map<String, Object> payload
= Messaging.PushNotificationPayload.apple('Hello iPhone!', '', null, null);
Messaging.PushNotification msg = new Messaging.PushNotification();
msg.setPayload(payload);
// 1つ目の引数は登録した接続アプリケーション名
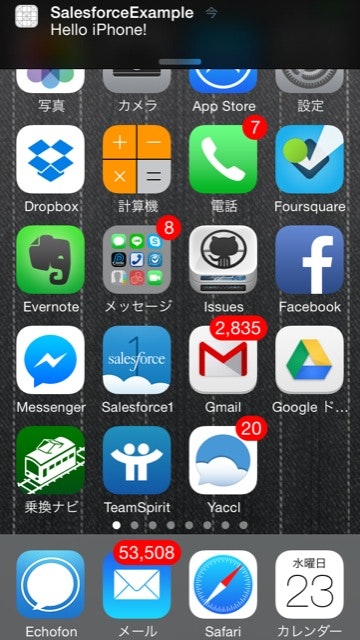
msg.send('SalesforceExample', new Set<String>{UserInfo.getUserId()});
こんな感じで、通知が出ます!