はじめに
TeXで図を貼り付ける際,ベクタ画像をいかに貼り付けるかは悩ましい問題です.
ここではWindowsを利用したTeX作成における図の作成として,EPSやPDFで貼り付ける手順を紹介します.
EPSとPDFのどちらを使うかは,好みで選びましょう.
EPS編
環境設定
- Metafile to EPS Converterのインストール
上記URLからmetafile2eps.exeをダウンロードし,インストール
EPSファイル作成
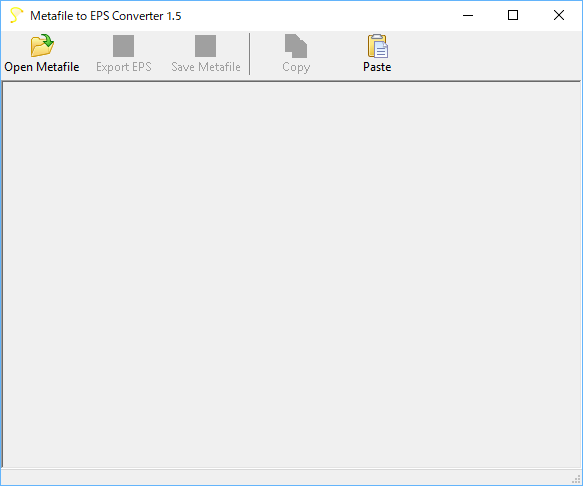
- Metafile to EPS Converterの起動
- Power Pointなど図を作成したアプリケーションで図を「コピー」
- Metafile to EPS Converterで「貼り付け(Paste)」
- 「Export EPS」で保存
PDF編
TeX環境が入っていることが前提です.pdfcropコマンドが使えることを確認しましょう.
環境設定
- Perl環境の設定
pdfcropコマンドの利用にPerlが必要なので,Perlをインストールします.
上記サイトからダウンロードできます.
インストールしたら再起動してください.
- 以下のbatファイルを作成
crop.bat
@echo off

rem PDFから余白を切り取る
pdfcrop %1

rem .bbファイルを作成
ebb %~n1-crop.pdf

rem 一時ファイルを削除
del tmp-pdfcrop-*.pdf
PDFファイル作成
- Power Pointなどで図を作成
このとき,図の周囲に余分なデータ(改行文字も含む)を入れないようにする.
-
PDFファイルとして出力
-
作成した
crop.batにドラッグアンドドロップ -
同じ階層に
***-crop.pdfとして余白がトリミングされたPDFが出力される.
